How to Use GPEdit (Group Policy Editor) In Windows 11 [Simple Guide]
Windows 11 Home doesn't have gpedit installed by default

Today we’ll show you how to enable and use GPEdit in Windows 11.
With the Group Policy Editor, you can manage and configure various system settings. It helps you take care of everything from app settings to security options and customization.
Let’s get right to it.
How do I enable Gpedit in Windows 11?
Table of contents
1. Enable Group Policy Editor with a batch file
1.To install gpedit.msc on Windows 11, press Windows + S to open the Search menu, enter Notepad in the text field, and click on the relevant result.

2. Copy this batch file code by selecting the text and pressing the Ctrl + C hotkey:
@echo off

pushd "%~dp0"

dir /b %SystemRoot%\servicing\Packages\Microsoft-Windows-GroupPolicy-ClientExtensions-Package~3*.mum >List.txt

dir /b %SystemRoot%\servicing\Packages\Microsoft-Windows-GroupPolicy-ClientTools-Package~3*.mum >>List.txt

for /f %%i in ('findstr /i . List.txt 2^>nul') do dism /online /norestart /add-package:"%SystemRoot%\servicing\Packages\%%i"

pause
3. Press the Ctrl + V keyboard shortcut to paste the copied batch file code into Notepad.

4. Click on the File menu in the Notepad, and select the Save As option.

5. Head to the desired location, enter Group Policy Editor.bat as the File name, choose All files from the Save as type dropdown menu, and click on Save.

6. Thereafter, right-click the Group Policy Editor batch file and then select Run as administrator.

7. If a UAC prompt opens, select the Yes option on it.
8. Thereafter, a Command Prompt window will open. Wait until it says, 100% This operation completed successfully, before you close that window.
If you were wondering how to enable Group Policy Editor in Windows 11 Home, running the batch file would do the trick.
2. Enable Group Policy Editor via the Command Prompt
- Press Windows + S to open the Search menu, type Command Prompt in the text field, and click on Run as administrator.

- Click Yes in the UAC prompt that appears.
- Next, select and copy this text with the Ctrl + C hotkey:
FOR %F IN ("%SystemRoot%\servicing\Packages\Microsoft-Windows-GroupPolicy-ClientTools-Package~*.mum") DO (DISM /Online /NoRestart /Add-Package:"%F")
FOR %F IN ("%SystemRoot%\servicing\Packages\Microsoft-Windows-GroupPolicy-ClientExtensions-Package~*.mum") DO (DISM /Online /NoRestart /Add-Package:"%F")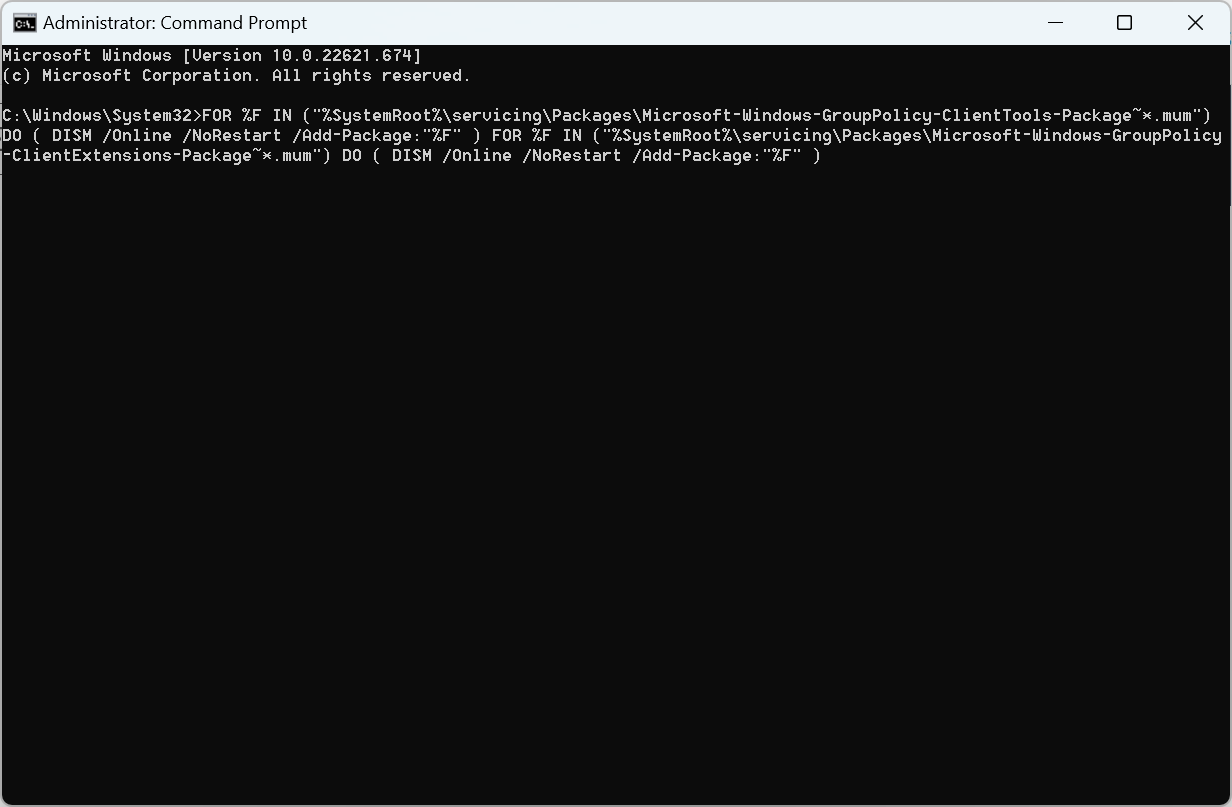
- Press the Ctrl + V hotkey to paste that text into the Command Prompt’s window. Doing so will automatically execute a command that enables Group Policy Editor.
- Wait for the operation to reach 100 percent.
After the Group Policy Editor for Windows 11 download is complete, restart the computer and then open the tool.
How do I access the local Group Policy Editor?
- Press Windows + R to open Run.
- Type gpedit.msc, and hit Enter.

- After doing that, the Group Policy Editor will open.
Why is GPEdit Missing?
GPEdit (Group Policy Editor) is missing because you’re likely using Windows Home Edition, which doesn’t include it by default. Microsoft only provides this tool in Professional, Enterprise, and Education editions of Windows.
If you’re using one of those editions and it’s still missing, the issue could be due to system corruption or an incomplete installation.
To use it, you can upgrade to a higher edition or try third-party tools that enable it, though these should be used with caution To add it to your PC, check this guide on gpedit.msc is not found in Windows 11.
Summary
Overall, it’s very quick and straightforward to enable Gpedit in Windows 11, and it requires just running a couple of commands. In case you get a gpedit.msc access is denied error message, we have a fix for that too.
And if you also want to fix issues where Group Policy Editor is installed but not showing administrative templates, you can follow this detailed guide on how to fix gpedit not showing administrative templates.
Additionally, if your system doesn’t have Gpedit.msc at all, there’s a step-by-step tutorial on how to enable Group Policy Editor on Windows Home editions, helping you get access to this powerful tool even if it’s not included by default.
To learn more, check our guides on how to install Group Policy Editor on Windows 10 Home or how to get Group Policy Management console in Windows 11.
Let us know which method worked for you in the comments area below.
Read our disclosure page to find out how can you help Windows Report sustain the editorial team. Read more


Improve this guide


User forum
12 messages