4 Ways to Download & Install Epson L130 Driver on Your PC
Multiple ways for printer drivers to find their way to your PC
3 min. read
Updated on
Read our disclosure page to find out how can you help Windows Report sustain the editorial team. Read more
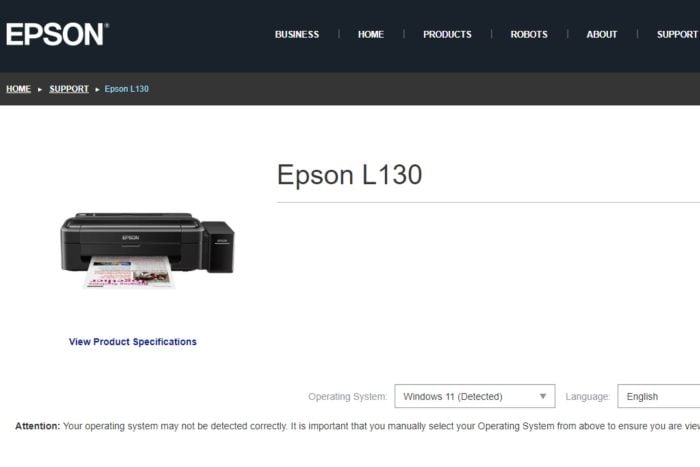
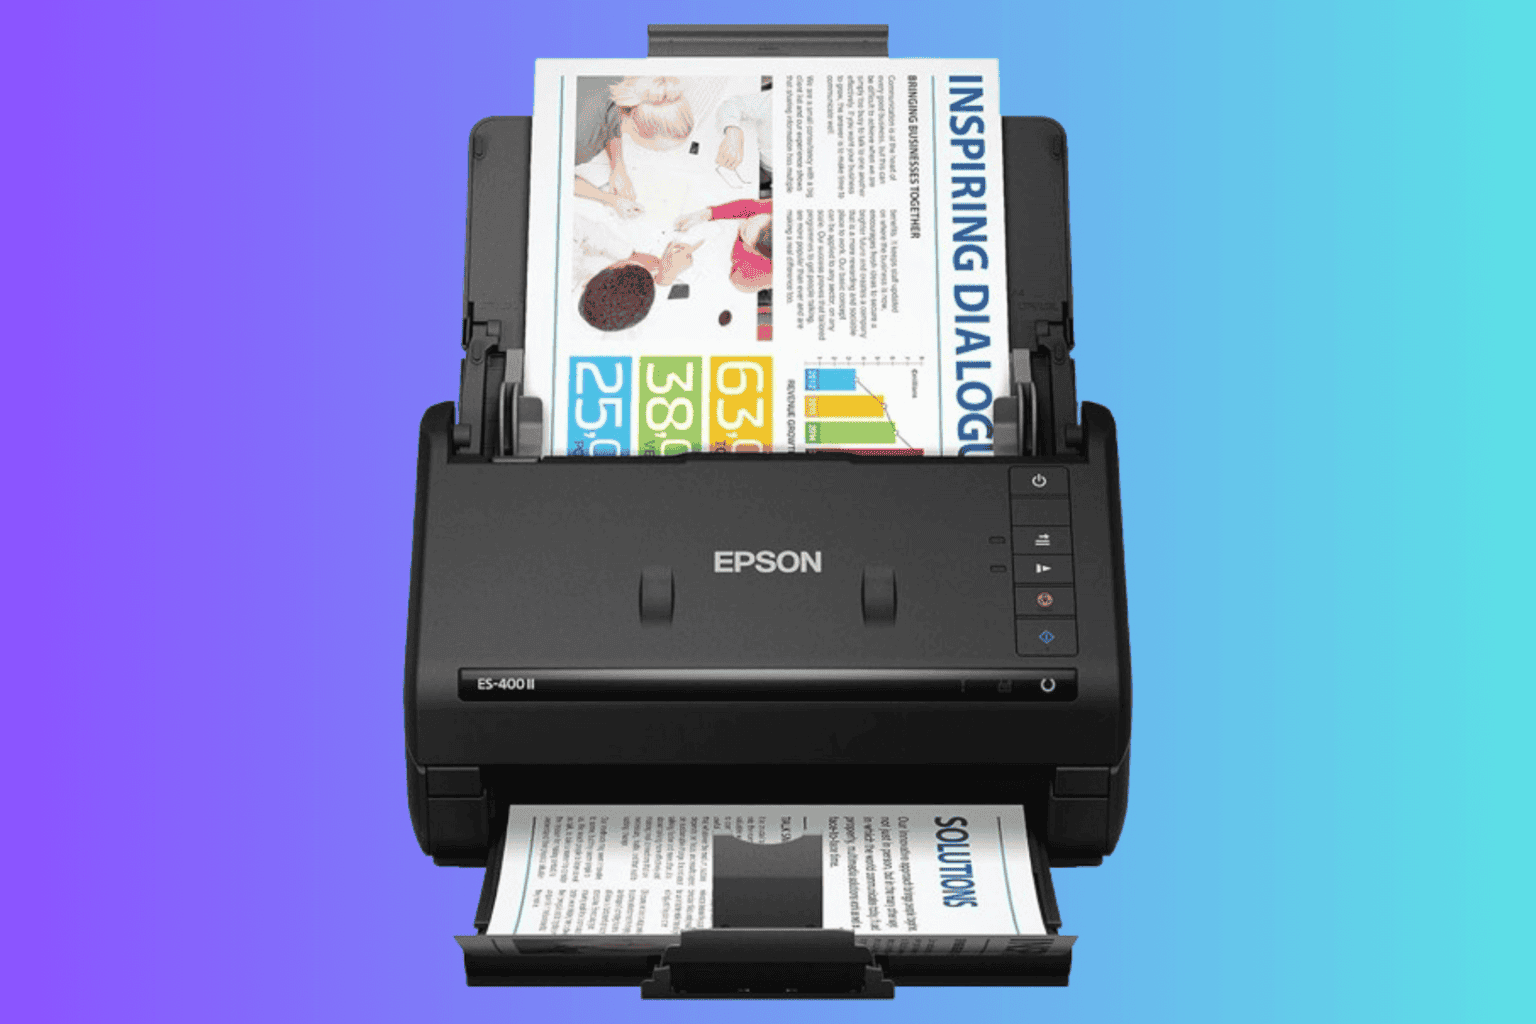
The Epson L130 printer is great for its impeccable prints and thus needs accompanying drivers to complete the job. Regardless of the Windows version you’re on, getting the correct drivers is crucial for optimal performance.
How can I install the Epson L130 driver?
1. Use a driver installer software
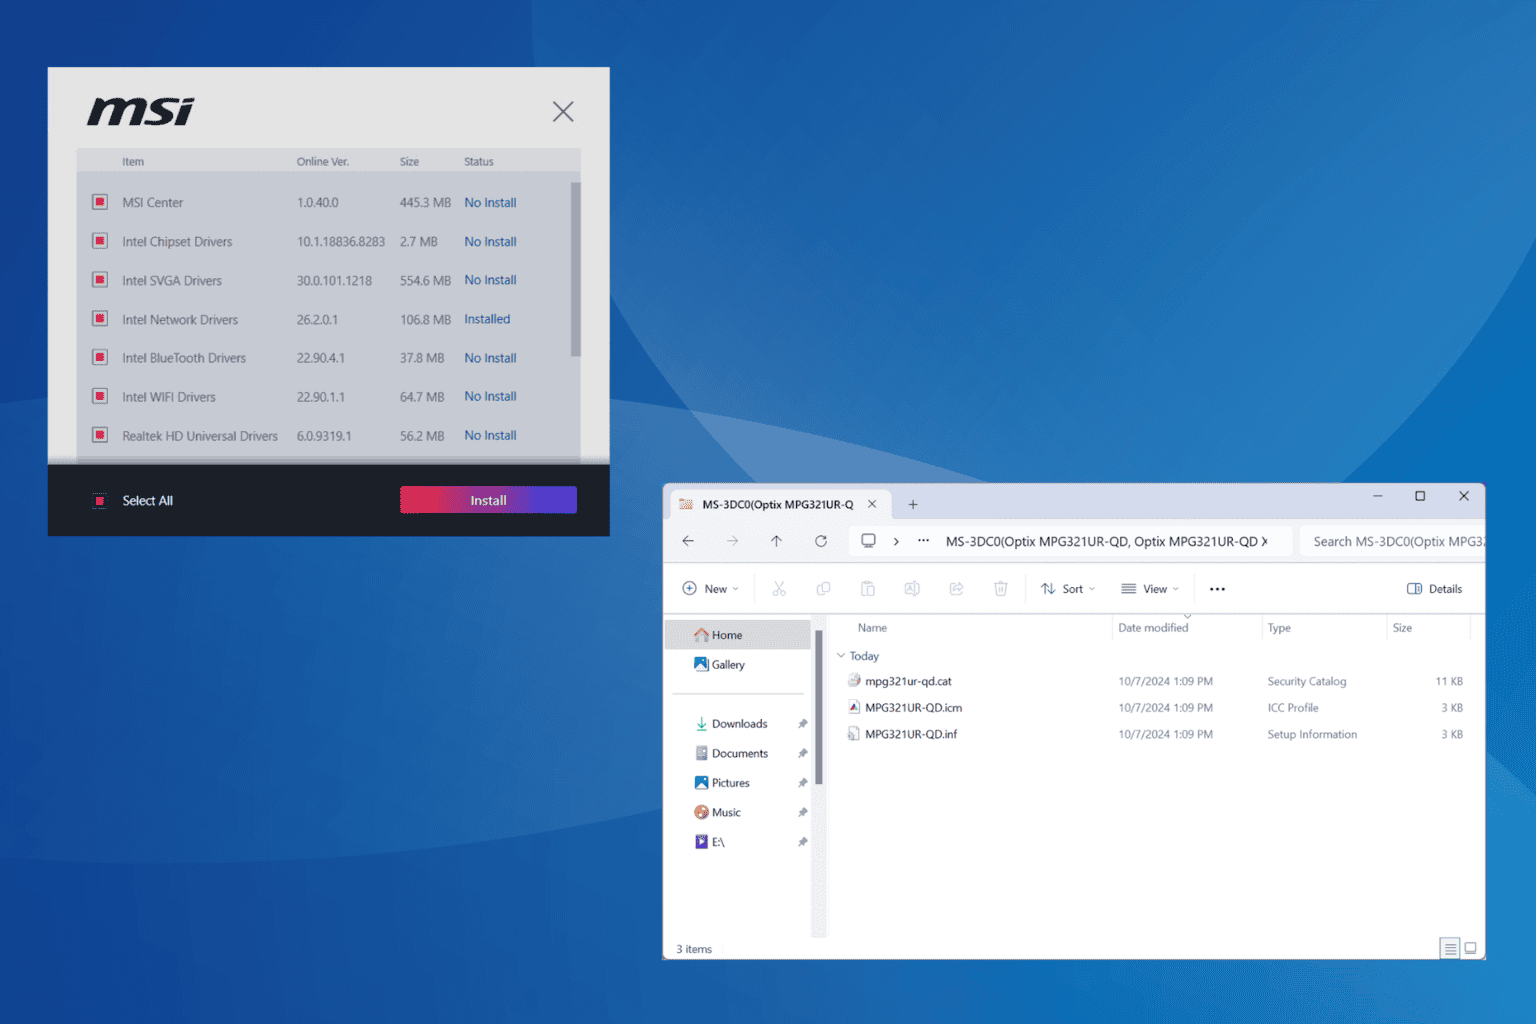
Now, if you’re looking for the easiest way to get you drivers for your Epson L130, a driver updater software for Windows 7, Windows 10 or Windows 11 should suffice.
The good thing about these tools is they do all the work for you in the background. Once you plug in your printer, the software will automatically scan the PC, identify missing drivers, and install a fresh copy from its wide database.
The success rate is also pretty high so you can take out all the worry of ending up with a wrong driver. Because there are so many out there, we’d recommend PC HelpSoft Driver Updater. It’s fast, reliable and has additional features like regular maintenance schedules making sure your drivers never go out of date.
⇒ Get PC HelpSoft Driver Updater
2. Download and Install from the manufacturer’s website
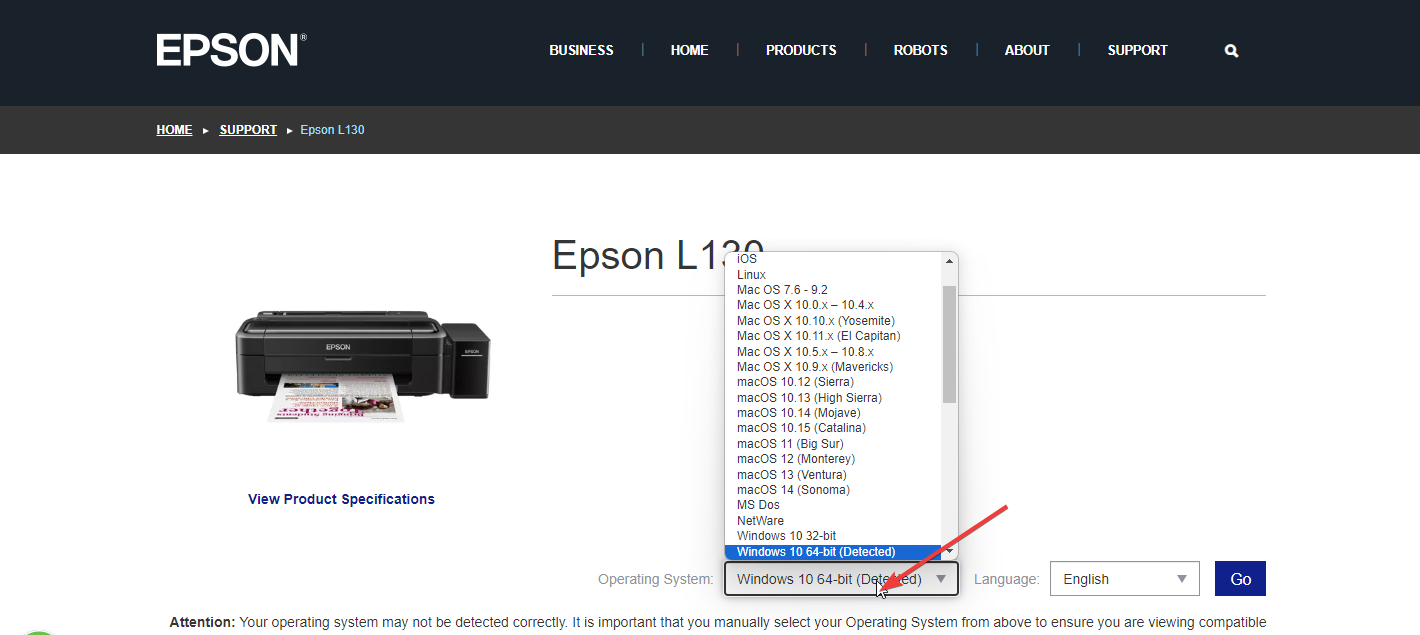
- Navigate to your browser and go to Epson’s official driver download page.
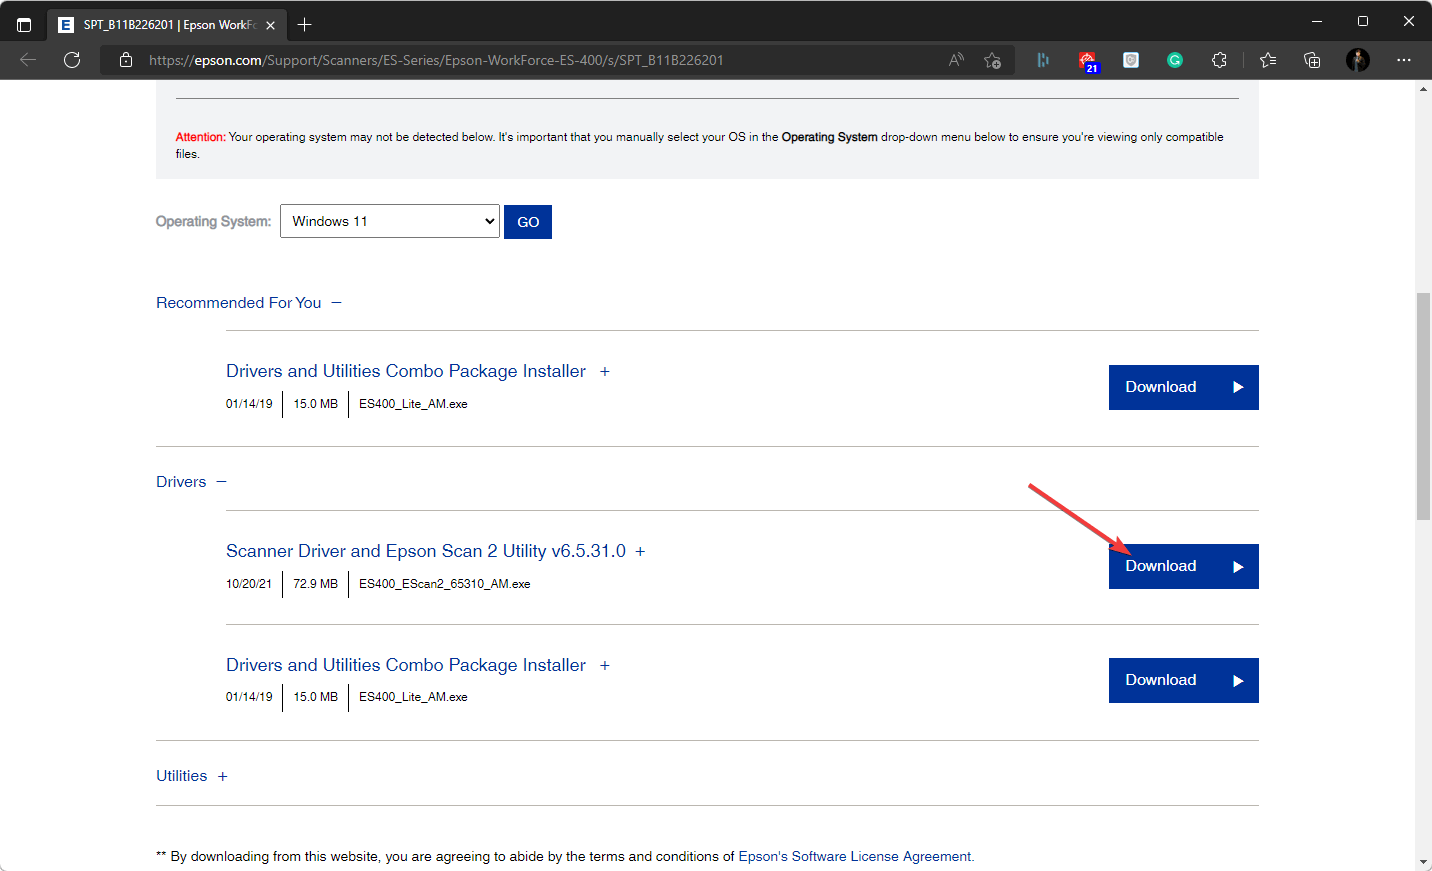
- Select your OS from the Operating System list. In most cases, it detects your Windows version but it can be incorrect so make sure you manually select for Windows 7, 10 or 11.
- Now, download the driver.
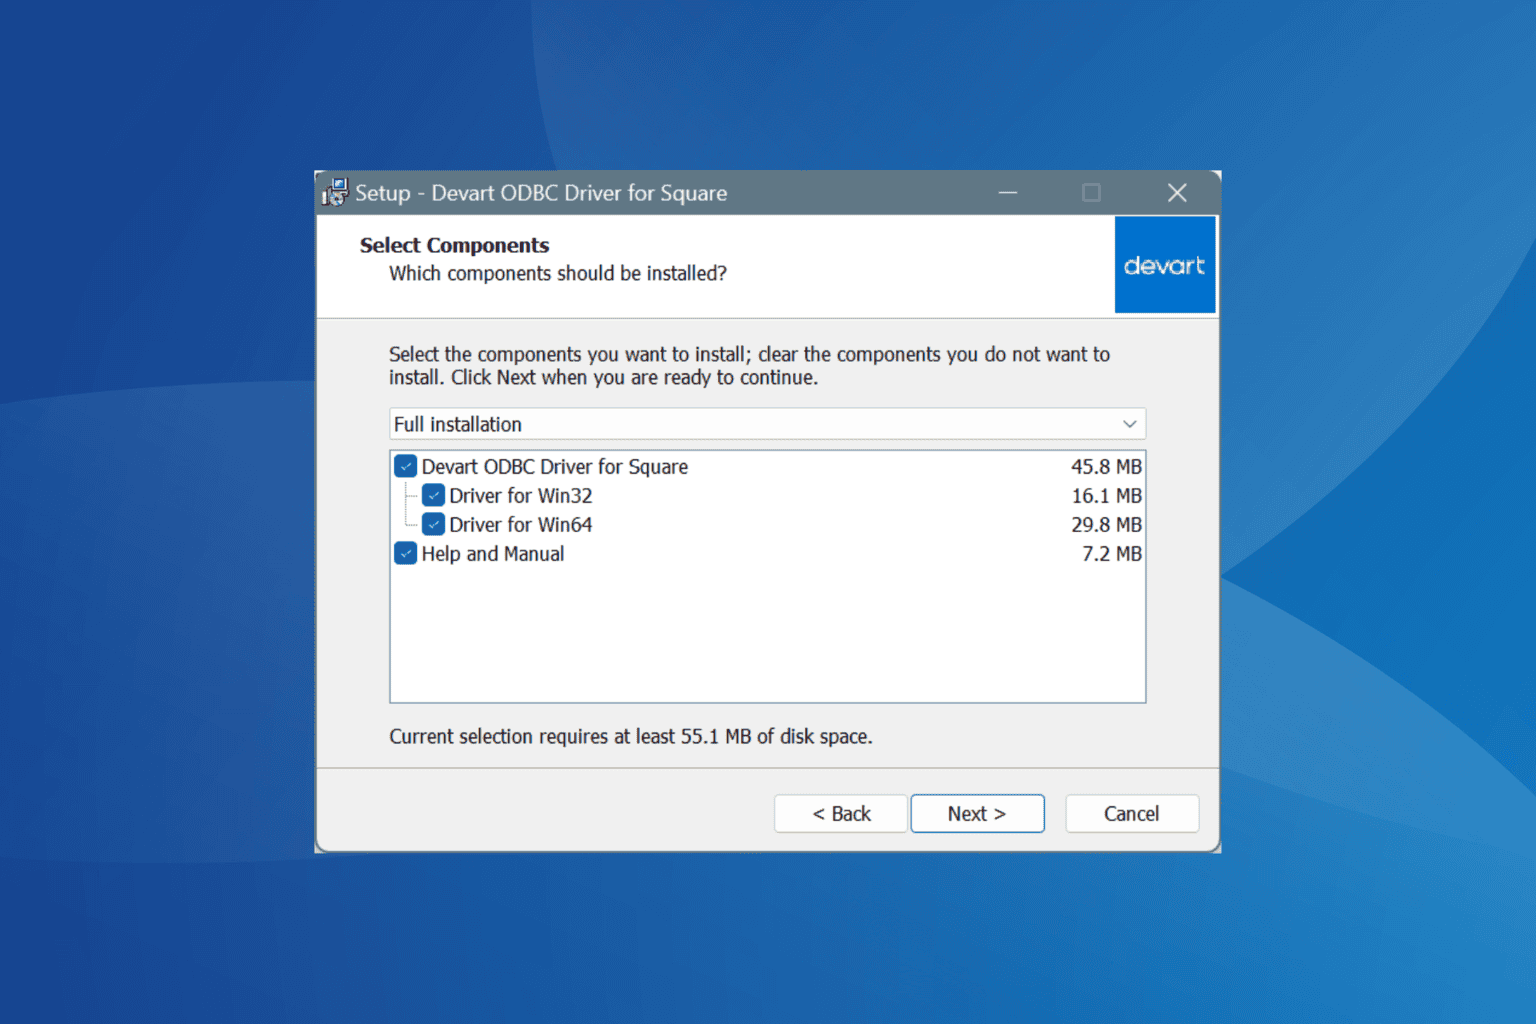
- Open the installer file and install it on your computer.
- Restart your PC.
3. Use Device Manager
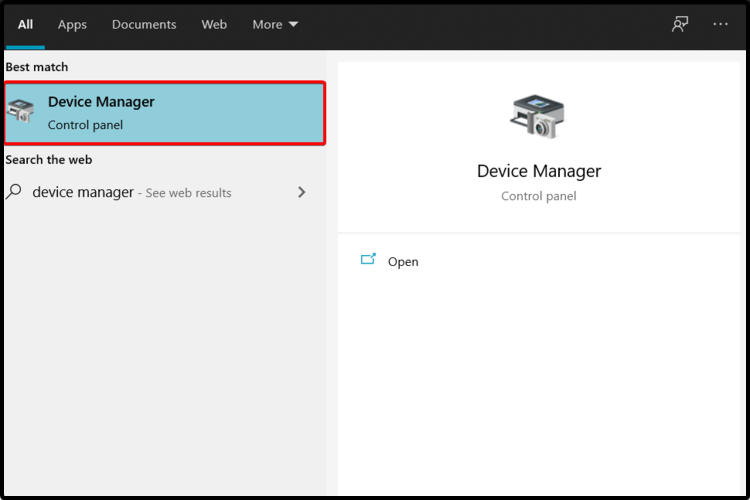
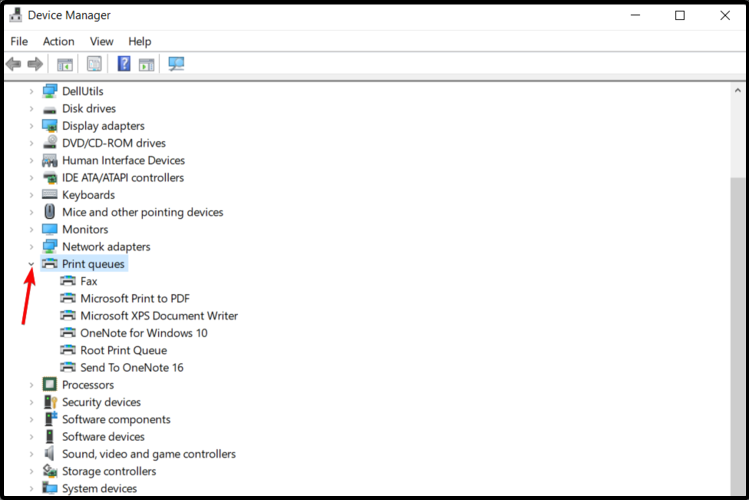
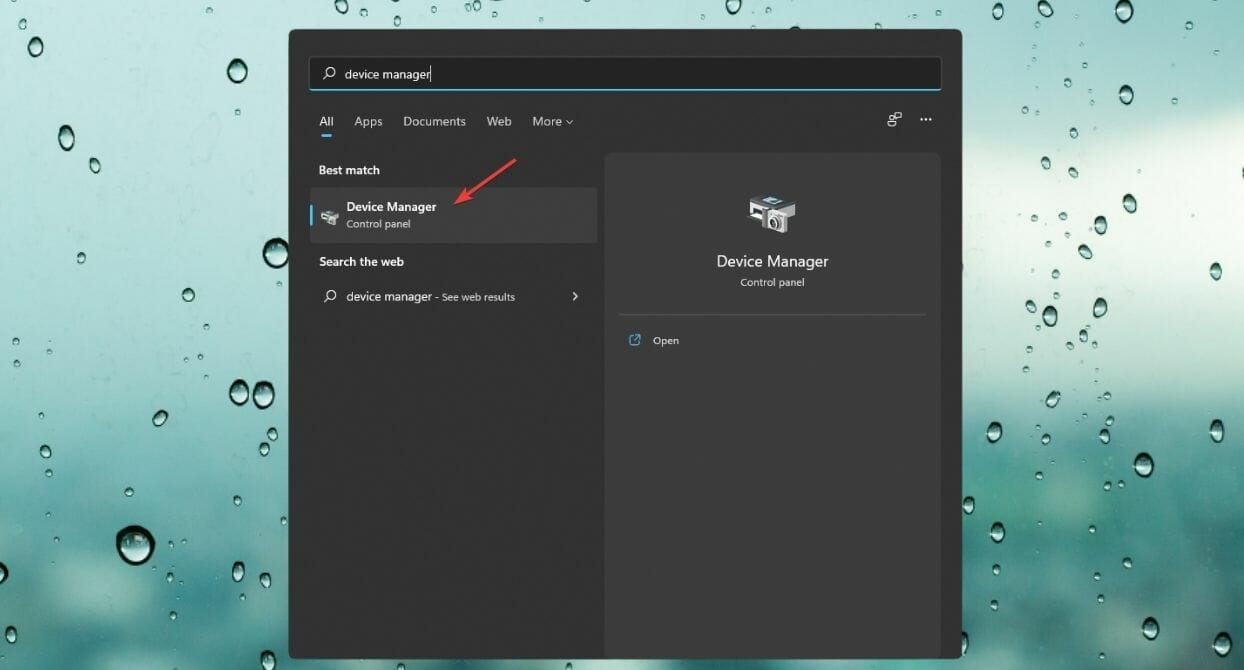
- Open the Start Menu, type Device Manager, and hit Enter.
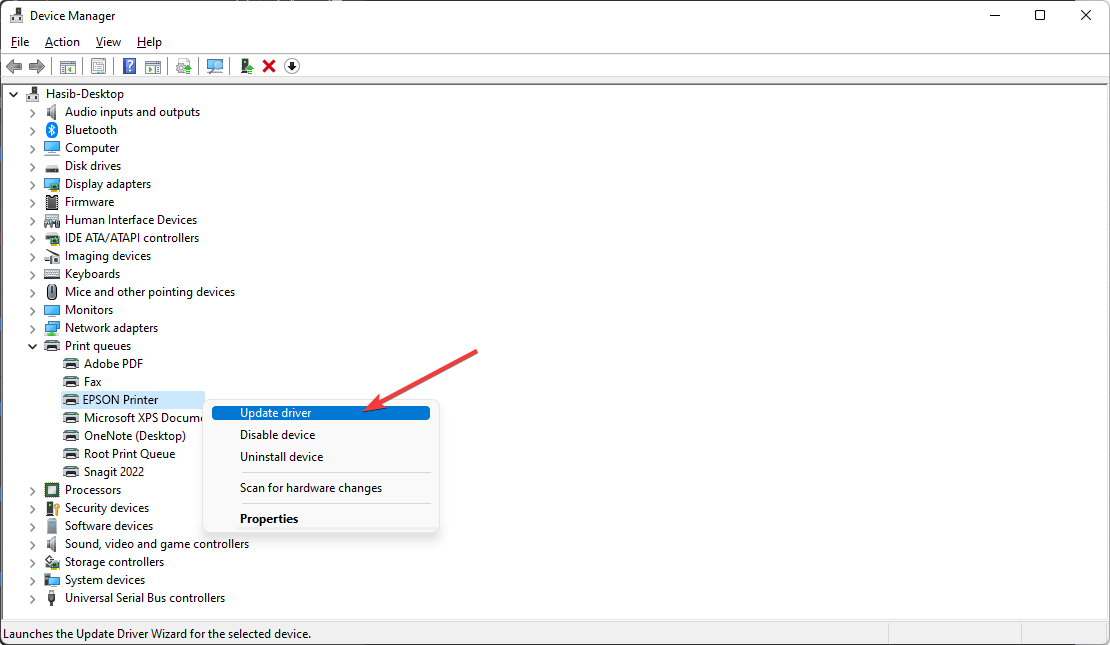
- Expand Print queues.
- Right-click on the one you need, and select Properties.
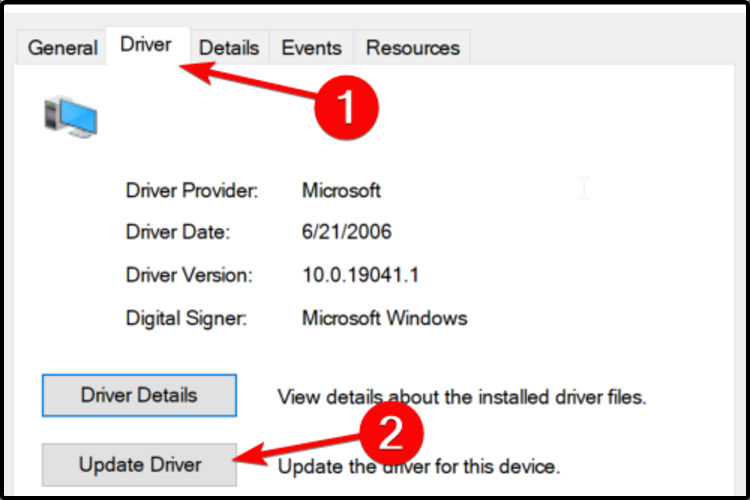
- Select the Driver tab and click on Update Driver.
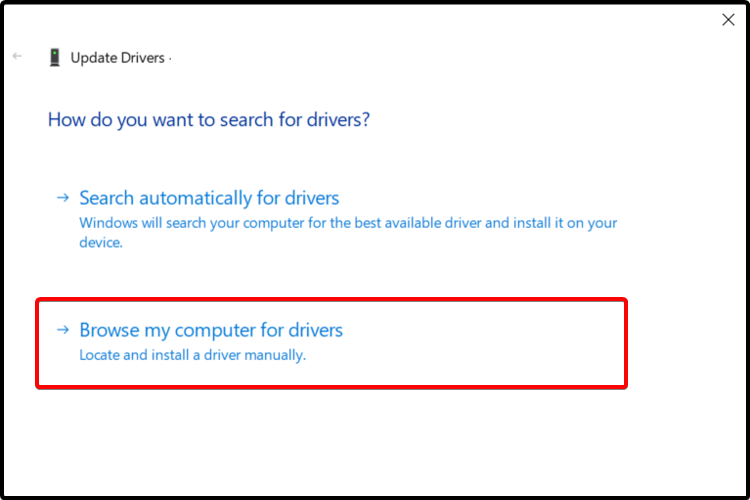
- Choose to Browse my computer for drivers.
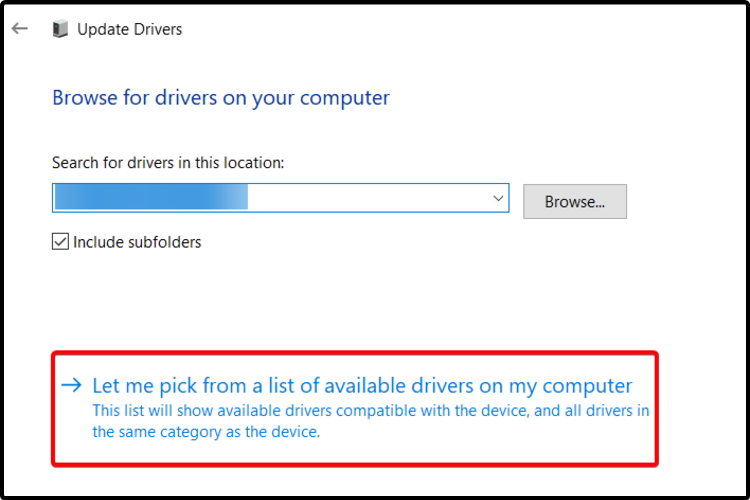
- Navigate to Let me pick from a list of available drivers on my computer.
- Click on Have Disk…, and locate your driver file.
- Select Next and wait until the installation is completed.
- Find the Epson device you want to update.
- If you don’t have the driver in your files, right-click on the device and choose Update driver.
- Click on Search automatically for drivers.
- Finish the update process.
4. Install drivers from Windows Update
- Connect your Epson printer to your Windows 11 computer using a USB cable.
- Press the Windows + I keys to open the Settings app.
- Then, click on Windows Update and select Advanced options.
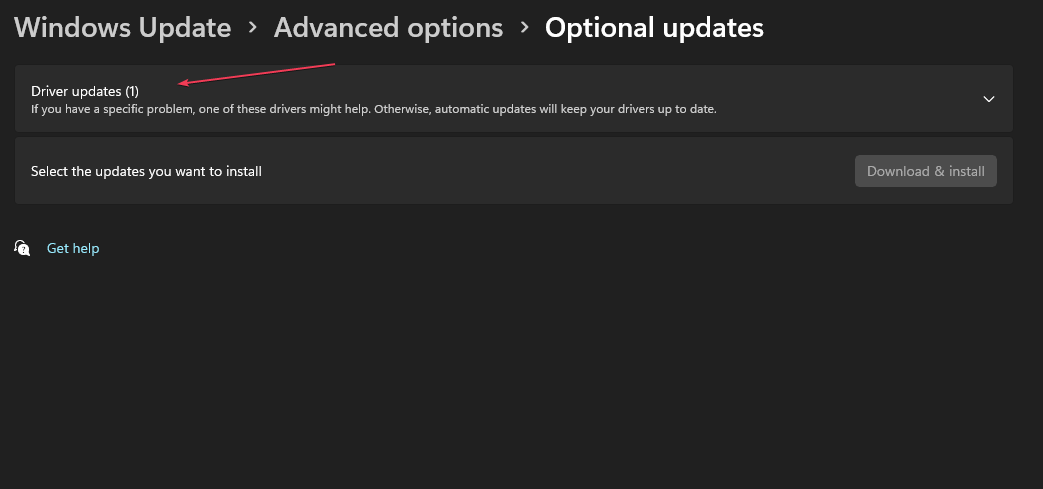
- Then, check Optional updates for available updates.
- Now, select Driver updates and click on Download & Install.
- Restart your computer.
Older versions like Windows 7 and Windows 10 may not have a dedicated driver download page via Windows Update. However, all other steps apply for when you want to download Epson L130 drivers for your Windows 7, Windows 10 or Windows 11.
How do I install printer drivers on Android?
Android devices are different from PCs and don’t necessarily require separate drivers for printing to be successful. Most modern manufacturers have a dedicated app that allows you to print directly.
Epson printers like the L130 leverage the Epson iPrint app to print from your phone. Sometimes the Epson printer may have trouble connecting to the Internet so make sure you have a working Internet connection.
If you have another model, we also have a dedicated article on how to download drivers for your Epson L380 printer or Et-4850 driver.
You might also benefit from downloading the Epson Software Updater to keep your printer working well and avoid issues like the printer not working.
For any additional comments, drop us a line below.


User forum
0 messages