Epson Software Updater: How to Download & Install It
Follow these easy steps to download the Epson Software Updater
3 min. read
Updated on
Read our disclosure page to find out how can you help Windows Report sustain the editorial team. Read more
Key notes
- The Manufacturer’s official website is the safest and most secure place to download the Epson Software Updater.
- In this article, we will show you how to navigate through downloading and installing the Epson Software Updater.
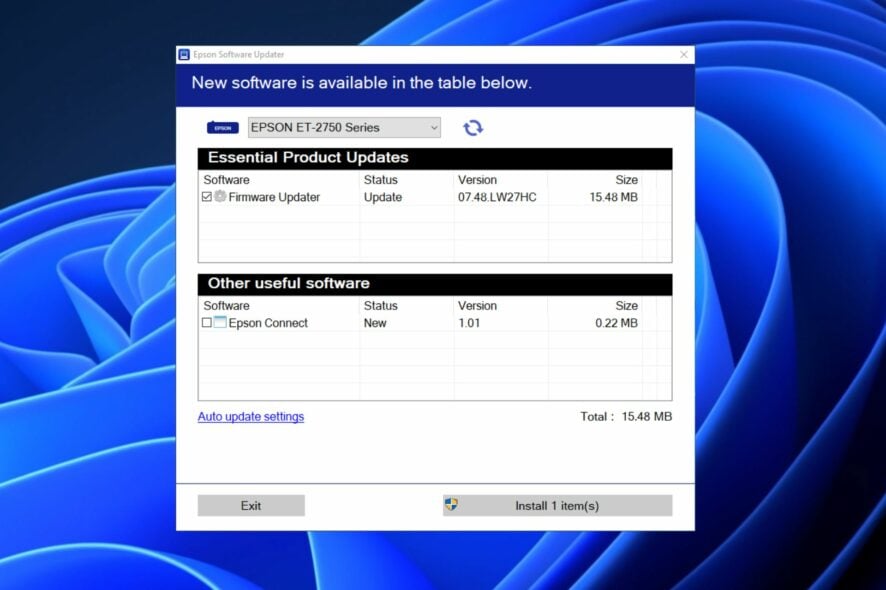
Some of our readers have requested to know how to download and install the Epson Software Updater if there’s a need to fix driver problems for its products. In this article, we will explore what steps to take to enable you to download and install the Epson Software Updater on your PC.
What does Epson Software Updater do?
The Epson Software Updater, as its name implies, is a tool that allows users to update Epson software and drivers.
The tool was formerly known as Download Navigator. It analyzes the Epson software, such as drivers, utilities, firmware, etc., which are already installed on your computer, and notifies users whenever new updates are available for download.
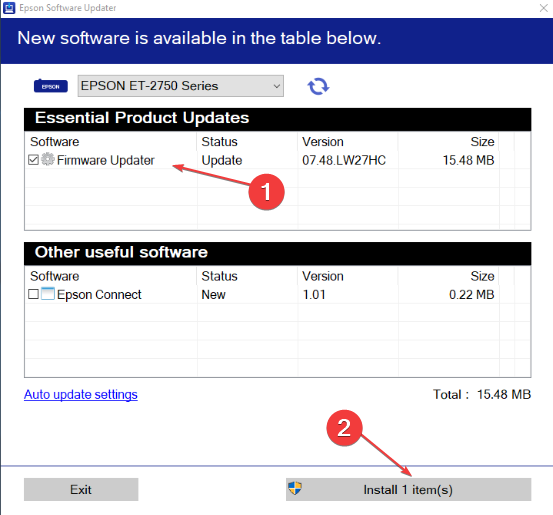
Whenever you launch the tool, if any new update is available for already installed software, these will be listed in the window. This new software or updates will be divided into two groups:
- The first is for Essential Product Updates that will be recommended to improve the performance of your Epson product.
- In contrast, the second is tagged Other Useful Software, which will contain additional functionality.
Also, Epson Software Updater fixes the communication error with the printer and helps eliminate several other issues.
How do I download and install the Epson Software Updater?
1. Download the application
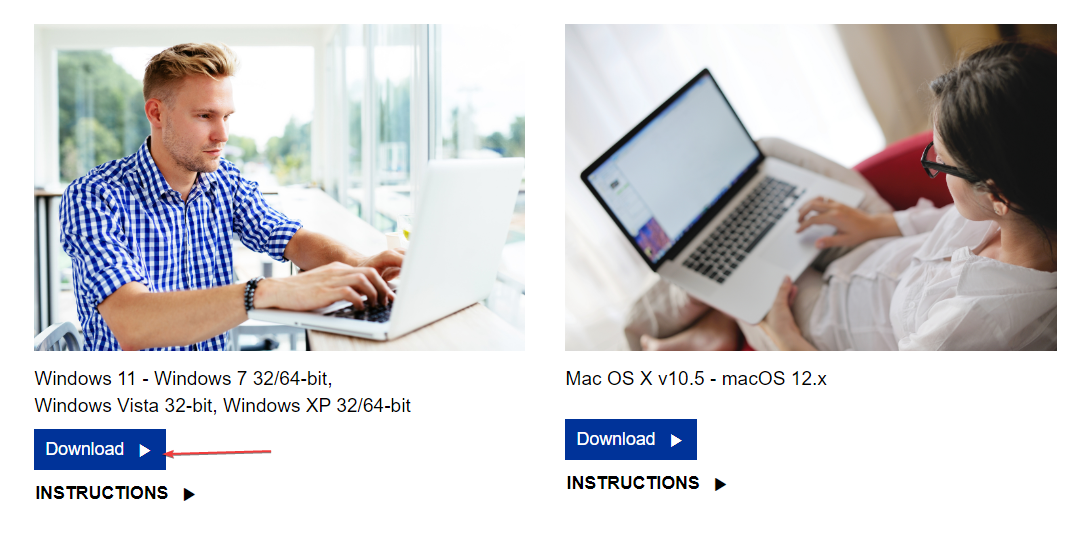
- Visit the Epson official support website, locate the Download button, and click on it.
- This immediately brings up the .exe file and requests you grant permission to download.
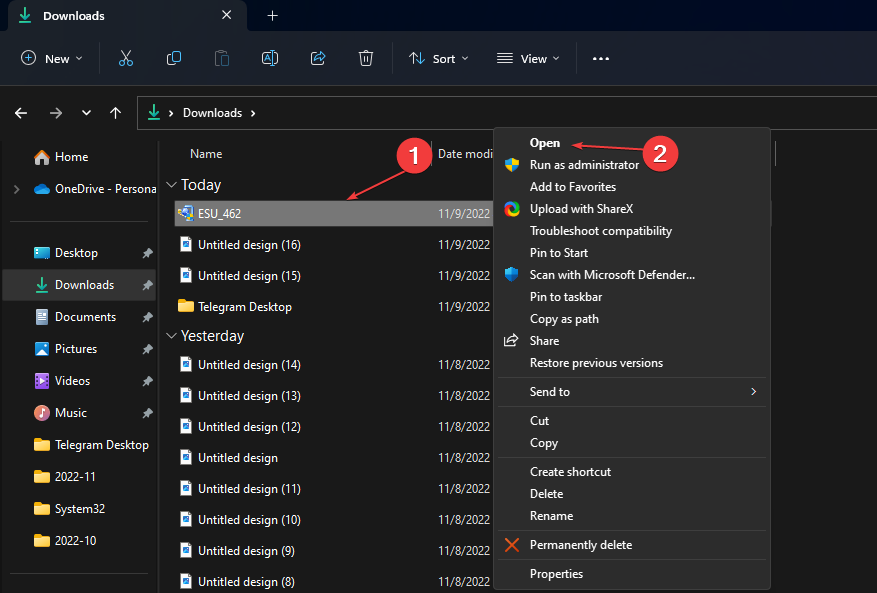
- Open File Explorer by pressing the Windows + E keys. By default, the file should be in the Downloads folder.
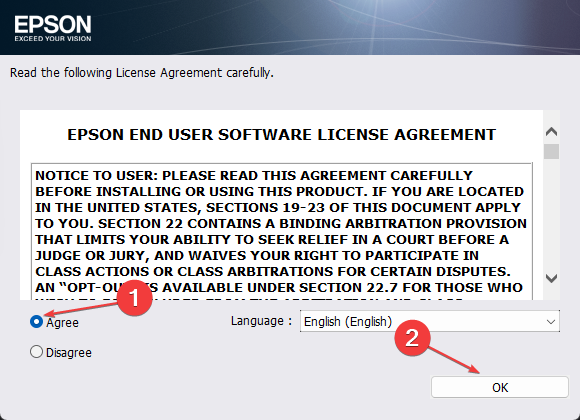
- Launch the .exe file and click Agree on the License Agreement page, then click OK.
- After the installation, click on your Epson product and wait for driver’s suggestions, then click Install.
Logically, before installing the updater for your device, you need to download it and then follow the on-screen installation wizard. It will install the software updater for you automatically.
How do I stop my Epson Software Updater?
Using Windows 11, you can easily disable Updater by launching the app from your desktop. Follow the steps below in this regard:
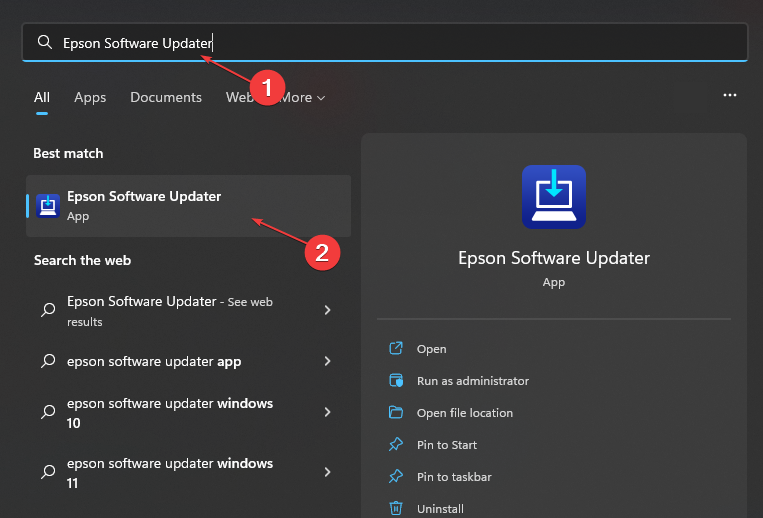
- Left-click the Start button on your desktop, type Epson Software Updater in the Windows search bar, and hit Enter.
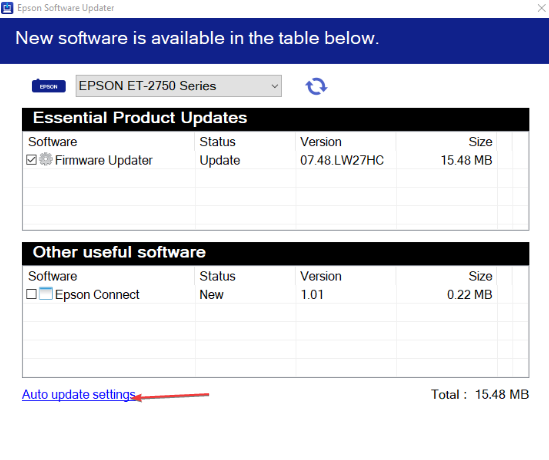
- Select your printer model from the drop-down menu and click on Auto Update Settings.
- Under the Interval to Check menu, select Never.
- Then, save your settings and exit by clicking the OK button.
These are the steps to download and use this tool. Ensure to follow them strictly to avoid installation issues. If you get the Epson Software Updater is damaged and can’t be opened error, uninstall the program and download it all over again.
Besides, if Epson Software Updater cannot find the printer, ensure you are running the latest app version and that the printer and device are connected to the same network.
Epson’s products can be complicated to install. Hence, you can check our guide on how to install the Epson scanner driver for Windows 10 or the Epson L130 driver.
If you have further questions and suggestions, kindly leave them in the comments section below.

User forum
0 messages