How to Fix Corrupt CMOS in 4 Easy Steps
Give a try to these quick methods right away
The corruption of CMOS is a relatively common occurrence. Sadly, it mainly points towards the motherboard failure, but that’s not a rule of thumb. The BIOS/UEFI might be the problem, or the CMOS battery is failing. The estimated longevity is around 3 years, so the latter shouldn’t come as a surprise.
You can try to fix corrupt CMOS with the steps we enlisted below. Make sure to tell us whether they helped you later on.
How to fix corrupt CMOS in a few simple steps?
1. Reset BIOS to factory values
The first step you should take when all and any BIOS-related problems like the BIOS ID check error appear is to try and restore the default configuration. If the hardware is broken, this is a long-stretch solution, but it still might help. Since we need to move gradually toward the battery replacement, let’s give it a shot, and hopefully, the CMOS corruption will be addressed.
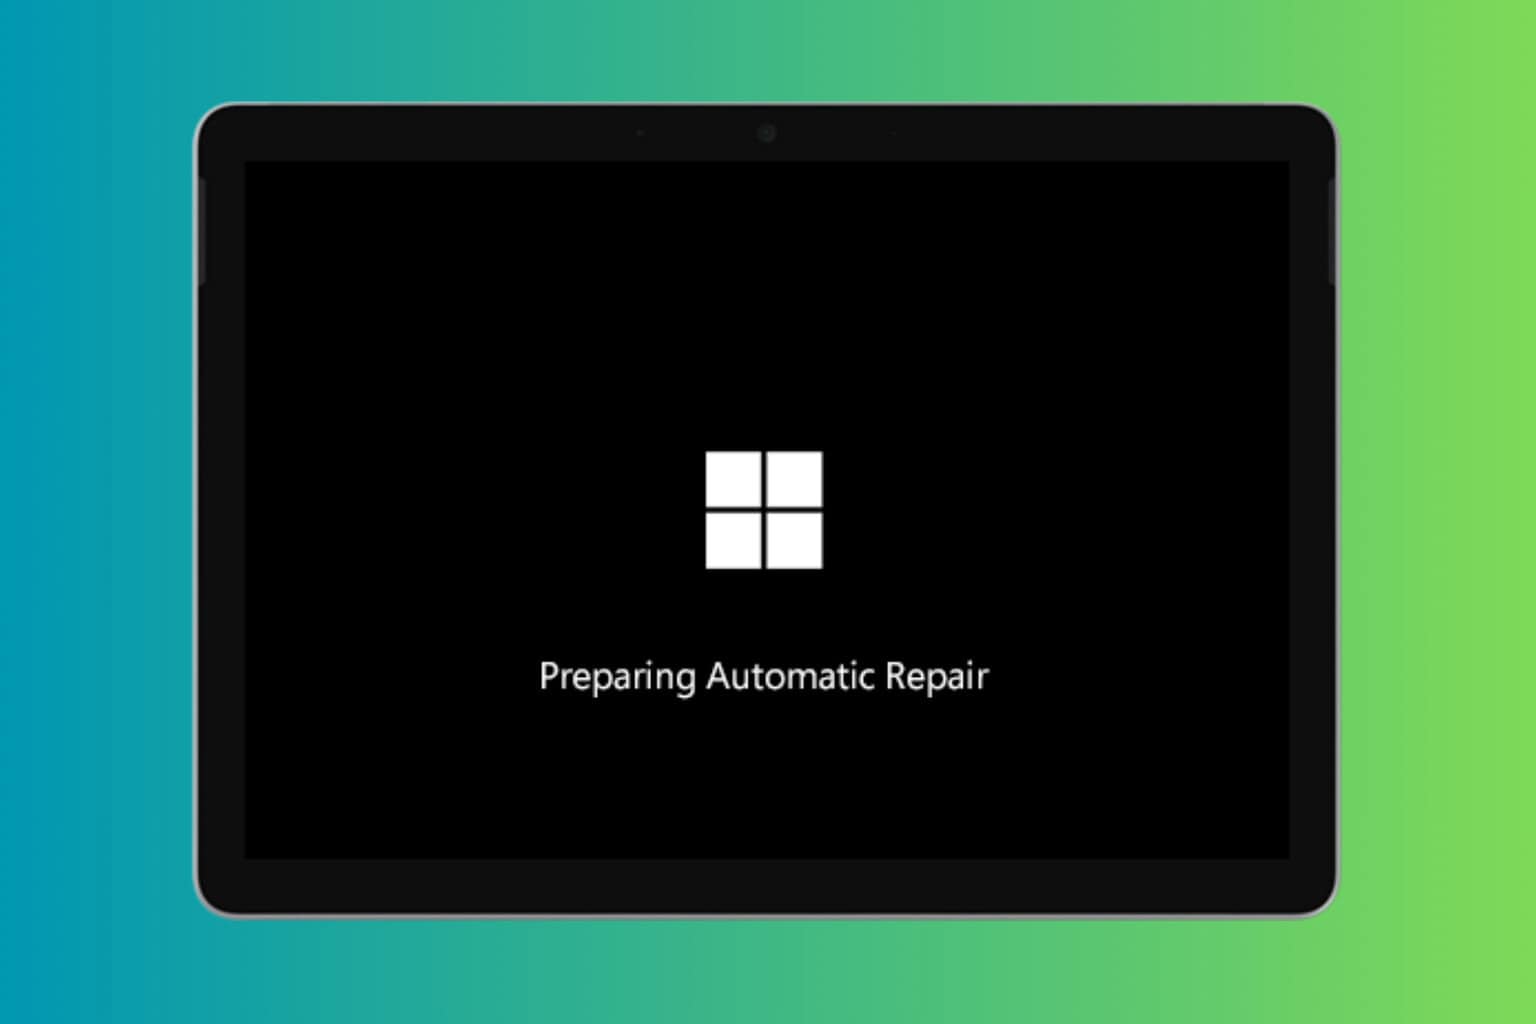
Booting into the BIOS/UEFI settings is a relatively simple task on previous Windows iterations. However, on Windows 10, due to a Fast boot option, the initial screen will be skipped, and you won’t be able to access any of the menus. That’s why we need you to follow the steps we enlisted below and give it a go:
- Press the Windows key + I to open Settings.
- Choose Update & Security.
- Select Recovery from the left pane.
- Under the Advanced startup, click Restart now.
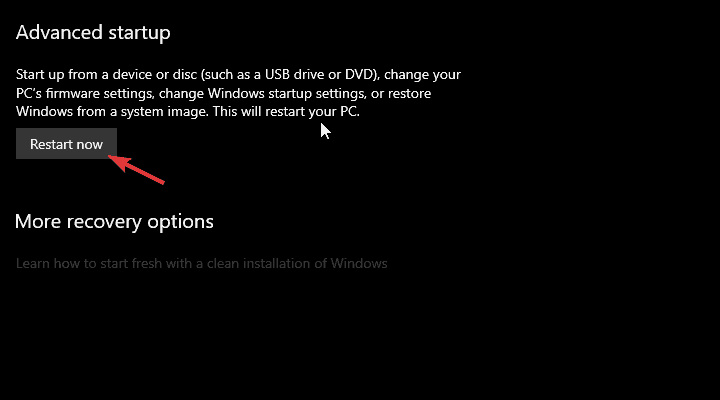
- Choose Troubleshoot.
- Select Advanced options.
- Choose UEFI Firmware Settings and click Restart.
- Reset all settings to default and reboot your PC.
2. Flash BIOS
Some errors like the “CMOS checksum” can appear due to an outdated BIOS. On the other hand, they can appear if you flashed the wrong version of BIOS. That’s why we suggest re-flashing the BIOS, thus updating it to the latest version. Even though unaccustomed users see meddling with BIOS as a dangerous task, we wouldn’t say so.
There are only two rules you need to follow when flashing BIOS. Keep the power on throughout the procedure. If your PC suddenly shuts down, chances are you bricked your motherboard. The second rule is double-checking the updated version of your motherboard model. Flashing a wrong version leads to worse errors (read: bricking motherboard).
With those in mind, check your motherboard’s model number and look it up online. If there’s a Flashing tool for your model provided by the OEM, use it. Some OEMs even offer direct updating from the BIOS menu, which is even better.
But this is hardly a rule, so check it before moving to flash BIOS. You can find out more about the procedure in this article.
3. Reset the battery
Resetting the CMOS battery is also quite a simple task. It requires some tools (a small screwdriver) to remove the side casing from your case. The same goes for the notebooks. Power off your PC and unplug the power source cable. Watch for the Remove the screws to gain access to the motherboard.
Once there, you should be able to see a small jumper next to the CMOS battery tagged with the Reset CMOS description. Remove it and keep it off for approximately 20 seconds. Put it back, plug back the power source, place the casing back, and start your PC.
If you cannot locate the jumper, remove the battery and place it back after 10 minutes. Do it gently to avoid breaking the metal clip which holds it still. We need it to fully discharge before placing it back.
4. Replace the battery
Finally, if the battery dies out, you should replace it by following the steps above. As you can see, the battery most likely holds the model number CR2032. It’s a standard hand watch lithium coin battery cell. So you shouldn’t have difficulty finding a replacement as it’s widely available.
If the issues persist, the faulty hardware is to blame. Either the motherboard is malfunctioning, or the Power Supply Unit is faulty, and the replacement is mandatory. For that, you’ll probably need to contact a PC technician, so prepare to spend some money if you’re out of warranty.
With that said, we can conclude this article. Tell us in the comments section below if you have any alternative solutions for the corrupted CMOS. We’ll be thankful for your effort.
Read our disclosure page to find out how can you help Windows Report sustain the editorial team. Read more


Improve this guide


User forum
2 messages