3 Easy Ways to Fix the UEFI Boot Problems in Windows
Expert recommended solutions to get things running in no time
Key notes
- UEFI is a protocol that replaces the popular BIOS and introduces a range of improvements.
- A broken UEFI leads to issues booting Windows, but the problem is not as intricate as it appears.
- A few quick solutions include running the Startup Repair or employing Diskpart.
Windows 10 and 11 boot problems might be quite annoying since the troubleshooting process is usually complex. And instead of taking out the time to fix UEFI boot issues, most users reinstall the OS.
But that leads to a loss of data. So, why take that route when a simpler, more viable alternative is already available? Let’s find out about UEFI and how to fix issues with it.
What is UEFI?
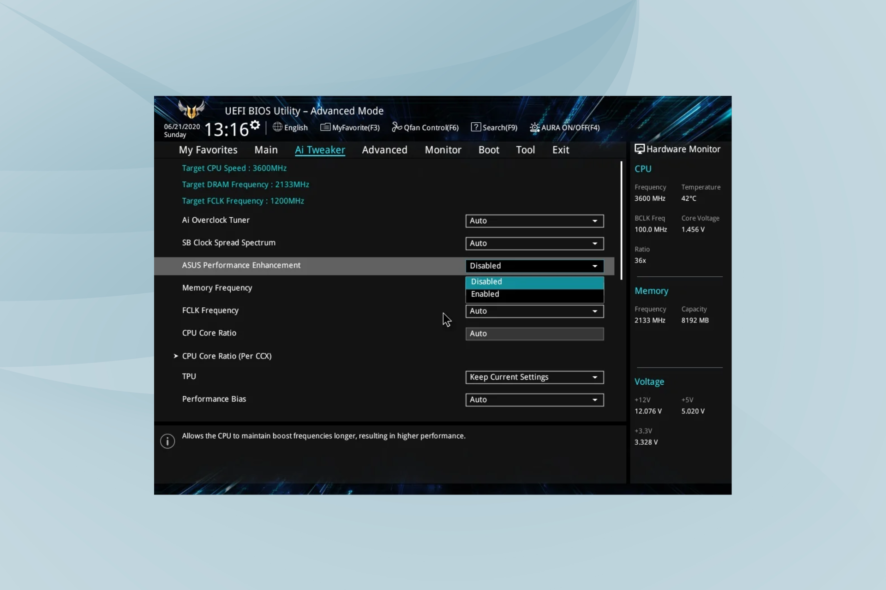
UEFI, or Unified Extensible Firmware Interface, is a protocol that replaces the popular BIOS with new software. UEFI offers vital benefits such as improved security measures, faster startup time, support for disks larger than 2 TB, and more. Before proceeding, check which BIOS mode your computer just to be sure.
A broken UEFI means that you have a broken bootloader, in which case you won’t be able to reboot or power on your Windows device.
Therefore, fixing UEFI boot problems is essential, especially if you want to use your device without having to reinstall the Windows OS.
How can I fix Windows UEFI boot problems?
1. Convert GPT to MBR
 NOTE
NOTE
- Press Windows + R to open Run, type cmd, and press Ctrl + Shift + Enter.

- Click Yes in the UAC prompt.
- Now, paste the following two commands one at a time, and hit Enter after each:
mbr2gpt /validate /allowFullOSmbr2gpt /convert /allowFullOS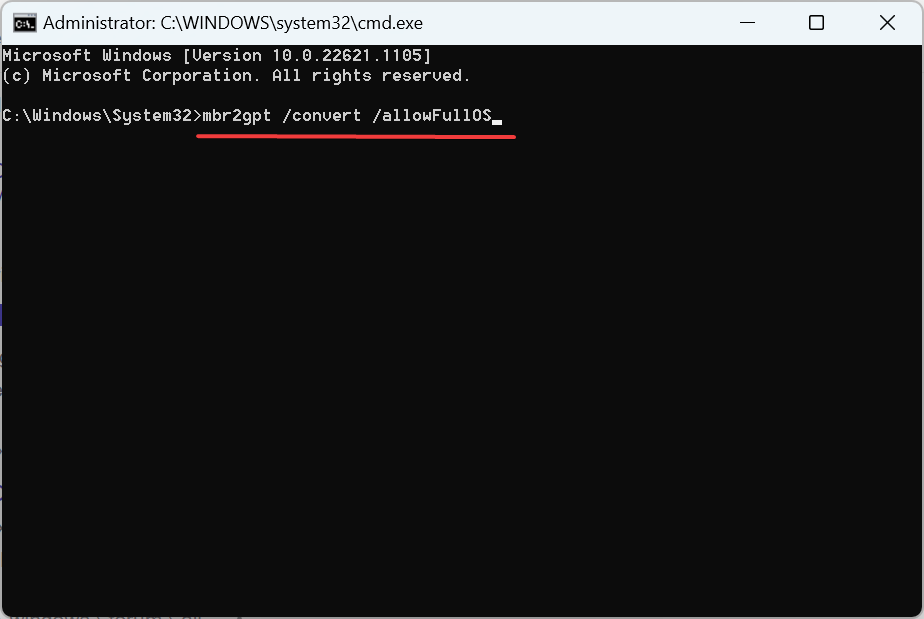
Once done, the primary partition will change from MBR to GPT, which will fix a range of problems with UEFI, including boot issues.
2. Use Diskpart and recreate Boot Configuration Data
- Create a bootable Windows USB for the iteration on another PC using Rufus or another similar tool, and plug it into the affected computer.
- Now turn on the PC and boot it from the connected drive.
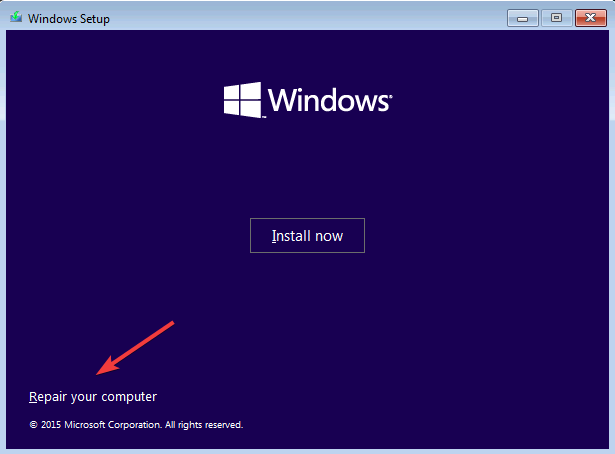
- Once the Windows setup loads, proceed with the initial steps and then click on Repair your computer when the option appears.
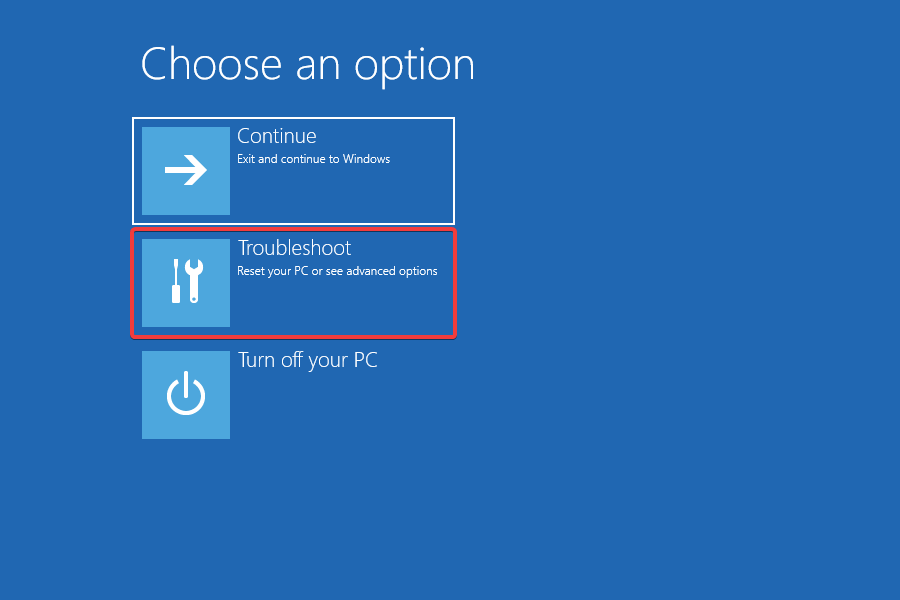
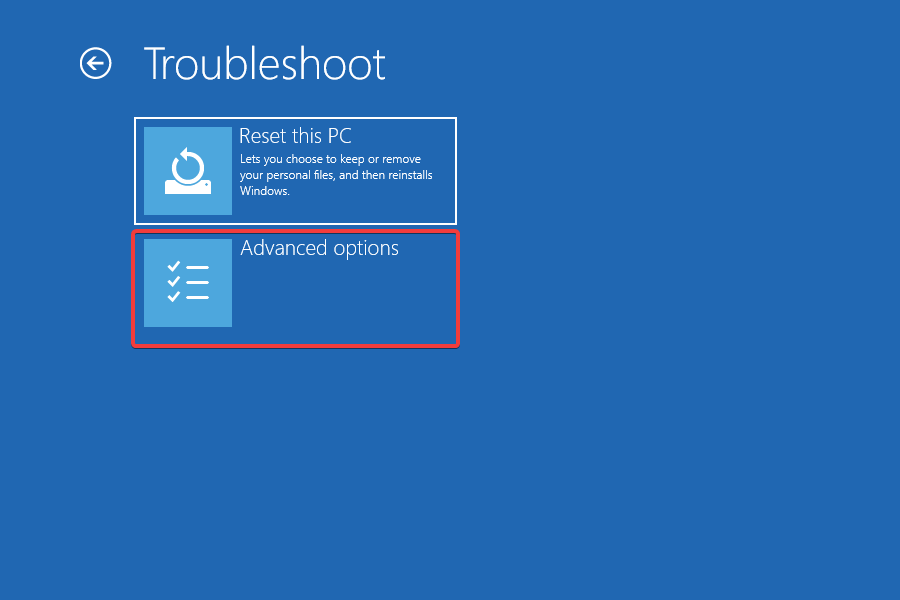
- Now, choose Troubleshoot.
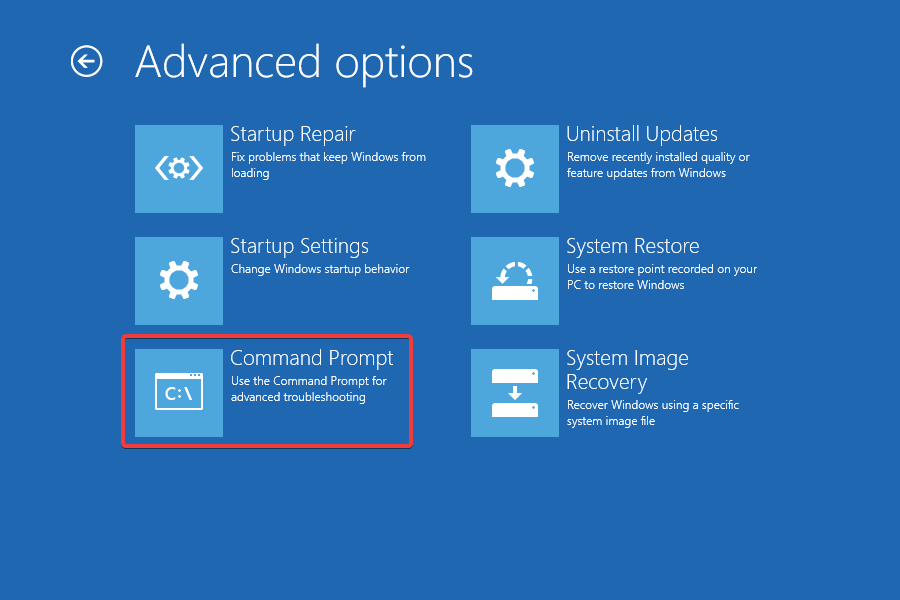
- Click on Advanced options.

- Select Command Prompt from the options listed here.
- Now, paste the following command and hit Enter:
Diskpart - Find out on which disk you have installed Windows by executing the following command:
list disk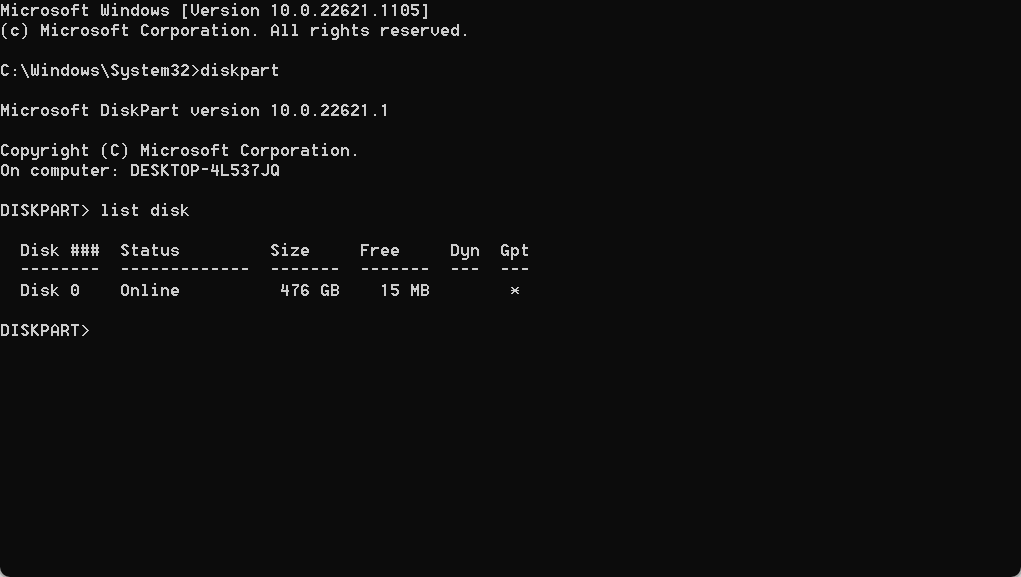
- Usually, the Windows system is installed on disk 0. If not, change the following command to select the system disk accordingly to the number of your disk:
sel disk 0 - Next, execute the following command to view the partitions:
list vol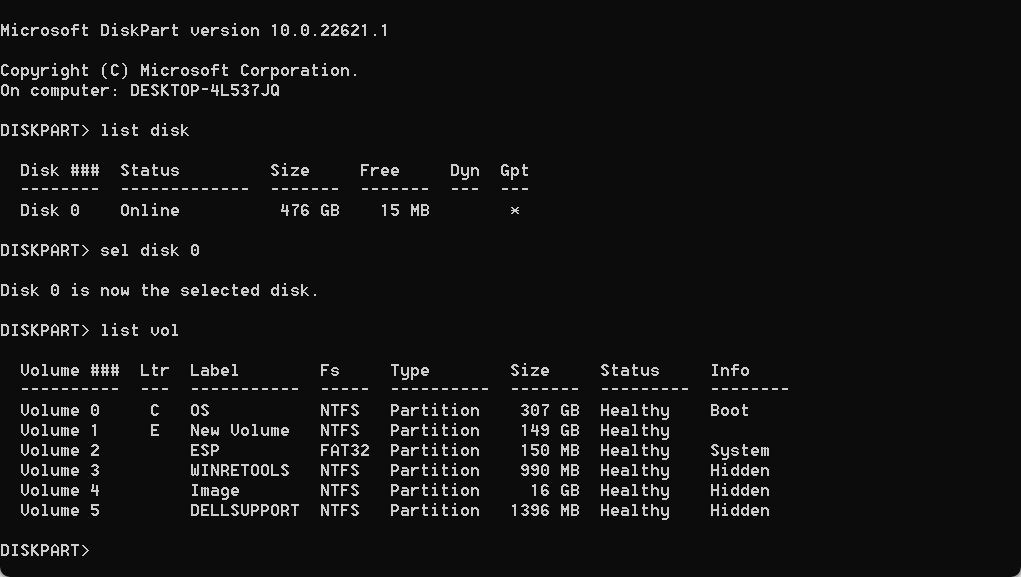
- The UEFI partition should be a FAT32 file system. To select the UEFI partition, execute the following command while replacing X with the correct volume number:
sel vol X - Finally, paste the following command and hit Enter to assign a new letter to the selected volume:
assign letter=b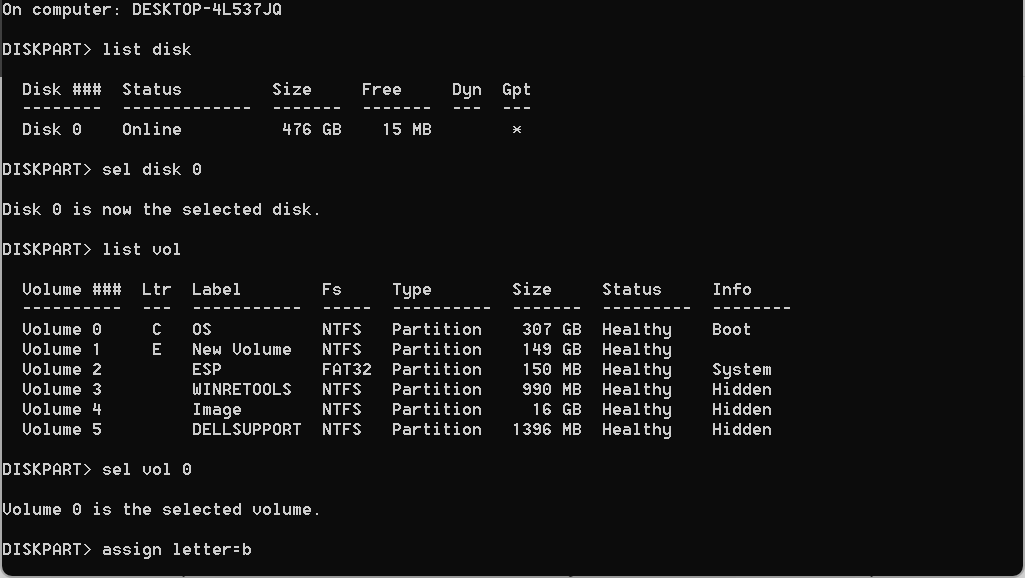
- Now, run the following command to leave Diskpart:
exit - Finally, execute the following three commands individually to fix the Boot Record and recreate the Boot Configuration Data:
cd /d b:EFIMicrosoftBootbootrec /fixbootren BCD BCD.oldbcdboot c:Windows /l en-us /s b: /f ALL
That’s it! You should now be able to boot Windows normally without running into any trouble with the UEFI.
3. Run Startup Repair
- Plug in the bootable drive you created earlier, boot it and choose the Repair your computer option.
- Select Troubleshoot.

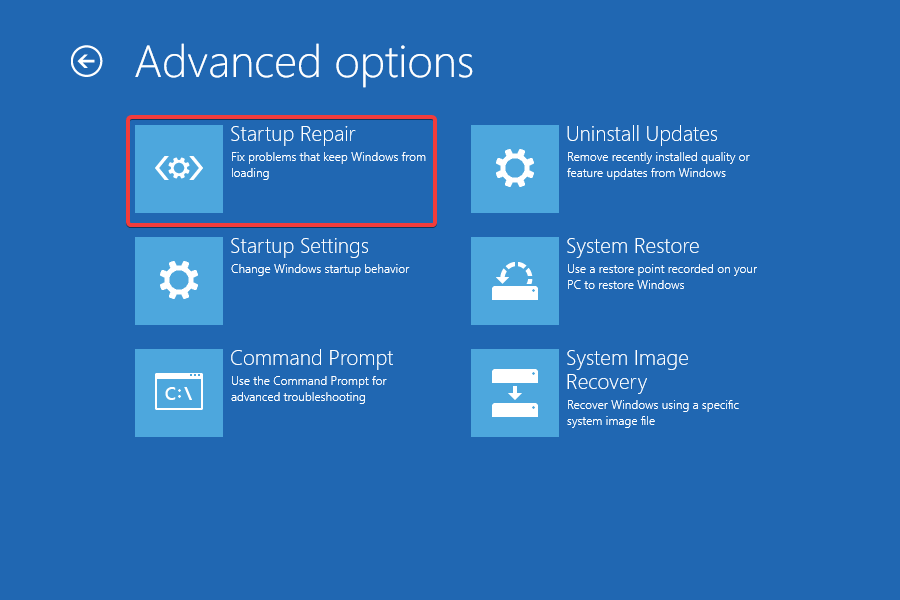
- Click on Advanced options.
- Now, select Startup Repair.
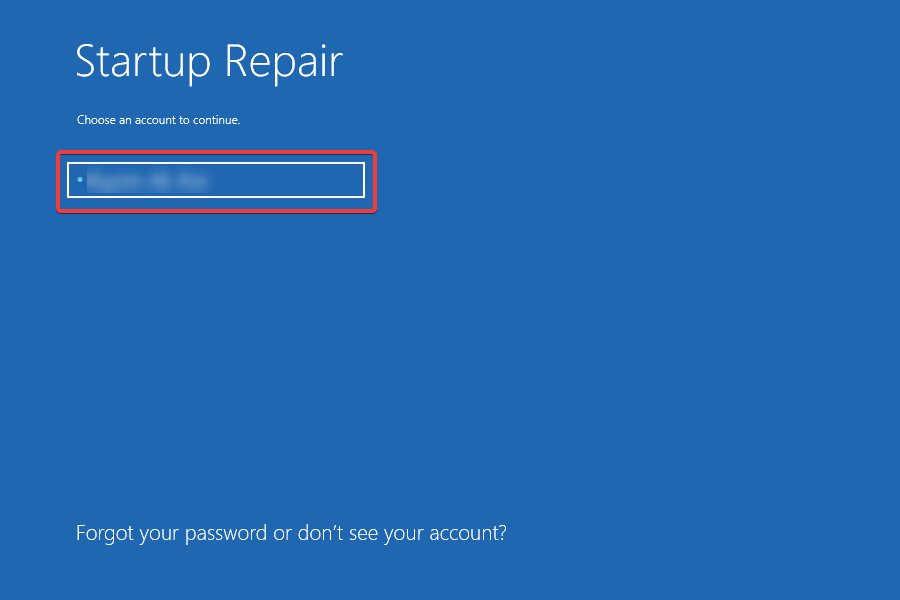
- Select your account.
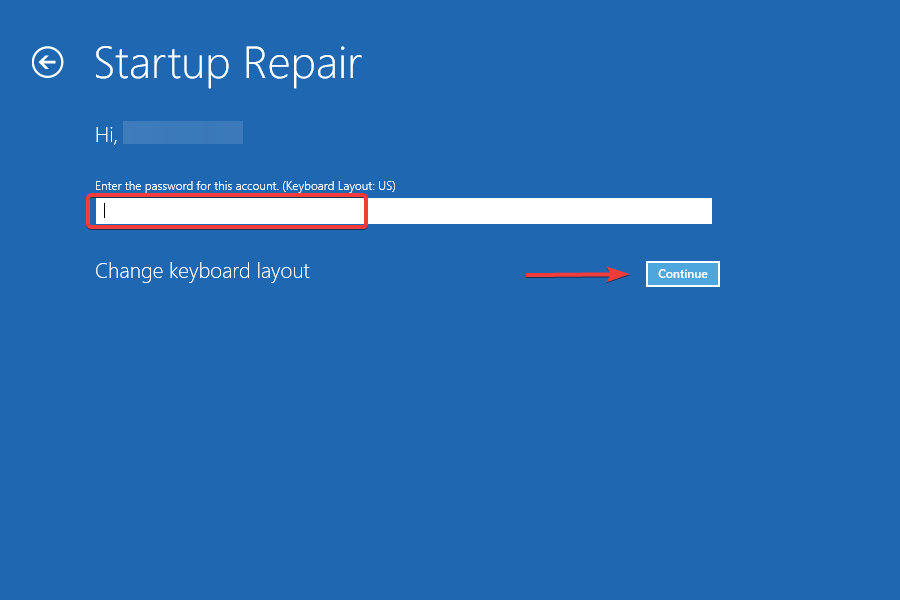
- Enter the password for the chosen account and click Continue to start the repair process.
A more straightforward way to fix UEFI boot issues is to run Startup Repair, a built-in option in Windows to eliminate issues preventing the OS from loading. It should be the preferred option for not-so-tech-savvy users.
By now, you should have fixed UEFI boot errors and problems, and these shouldn’t reappear. You can always refer to this article and execute the same steps even if they do. Some of these solutions may even help when the screen reads, Your VAIO failed to start Windows.
While you are at it, also find ways to reduce the boot time in Windows.
Tell us which fix worked for you in the comments section below.
Read our disclosure page to find out how can you help Windows Report sustain the editorial team. Read more


Improve this guide


User forum
8 messages