Full Fix: Elevated Permissions are Required to Run DISM
Simply starting the command line as administrator fixes this issue

Many users reported getting the Elevated permissions are required to run DISM message. This will prevent you from scanning your system. Here’s how to make it go away:
How do I elevate permission to run DISM?
Below, we’ll lay it all out in easy-to-follow steps. Here’s a quick, more condensed version in video format:
1. Run Command prompt as administrator
1. First you need to open Windows 10’s search box. To do that, press the Windows key + S keyboard shortcut.
2. Type Command Prompt in the search utility then select Run as administrator from the right side, under the result.
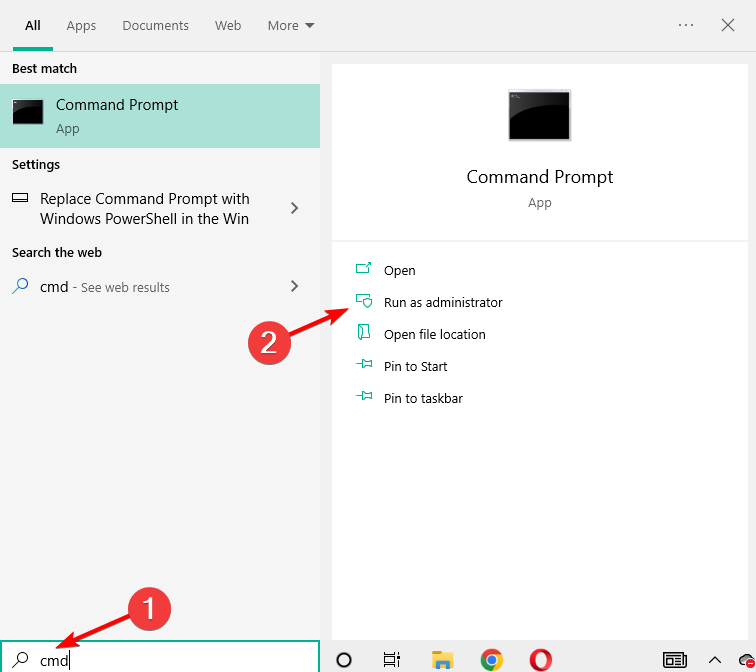
3. Click Yes on the UAC dialog box that might open. An Administrator: Command Prompt window will then open.

4. Type in the Deployment Image Servicing command.
5. Press the Enter key to run the command. The Elevated permissions are required to run DISM issue should no longer appear.
If you are encountering the Elevated permissions are required to run DISM issue, the first thing you need to try is run the command-line tool you want to run DISM on with administrator rights.
Sometimes, the Run as Administrator option will not work. In this case, we recommend that you remove the problematic application that causes this issue.
2. Select the Run new task option
- Alternatively, you can open an elevated Command Prompt via Task Manager. Right-click the taskbar in Windows 10 to select the Task Manager option.
- Next, click File.

- Select the Run new task option to open the window shown directly below.
- Enter cmd in the Open text box.2
- Select the Create this task with administrative privileges option.
- Click OK to open an elevated Command Prompt.
3. Open an elevated Command Prompt with Run
- Run is an accessory you can open an elevated Command Prompt with. To do so, open the Win + X menu by right-clicking the Start menu.
- Select Run to open it. Enter cmd in the Run box.

- Press the Ctrl + Shift + Enter hotkey.
- Select the Yes option on the UAC dialog box.
4. Set up a Command Prompt shortcut
- You can also set up a desktop shortcut that will open an elevated Command Prompt when you click it. To do that, right-click the desktop and select Shortcut.
- Enter cmd.exe in the Type the location of the text box.

- Click the Next button.
- The shortcut title will be cmd.exe by default, but you can change it to an alternative of your preference.
- Click the Finish button.
- Next, right-click the cmd.exe desktop shortcut and select Properties.
- Select the Shortcut tab in the snapshot directly below.

- Click the Advanced button.
- Select Run this administrator option.

- Click the OK button to exit Advanced Properties.
- Click the Apply option.
- Select OK to close the window and fix error 740 DISM.
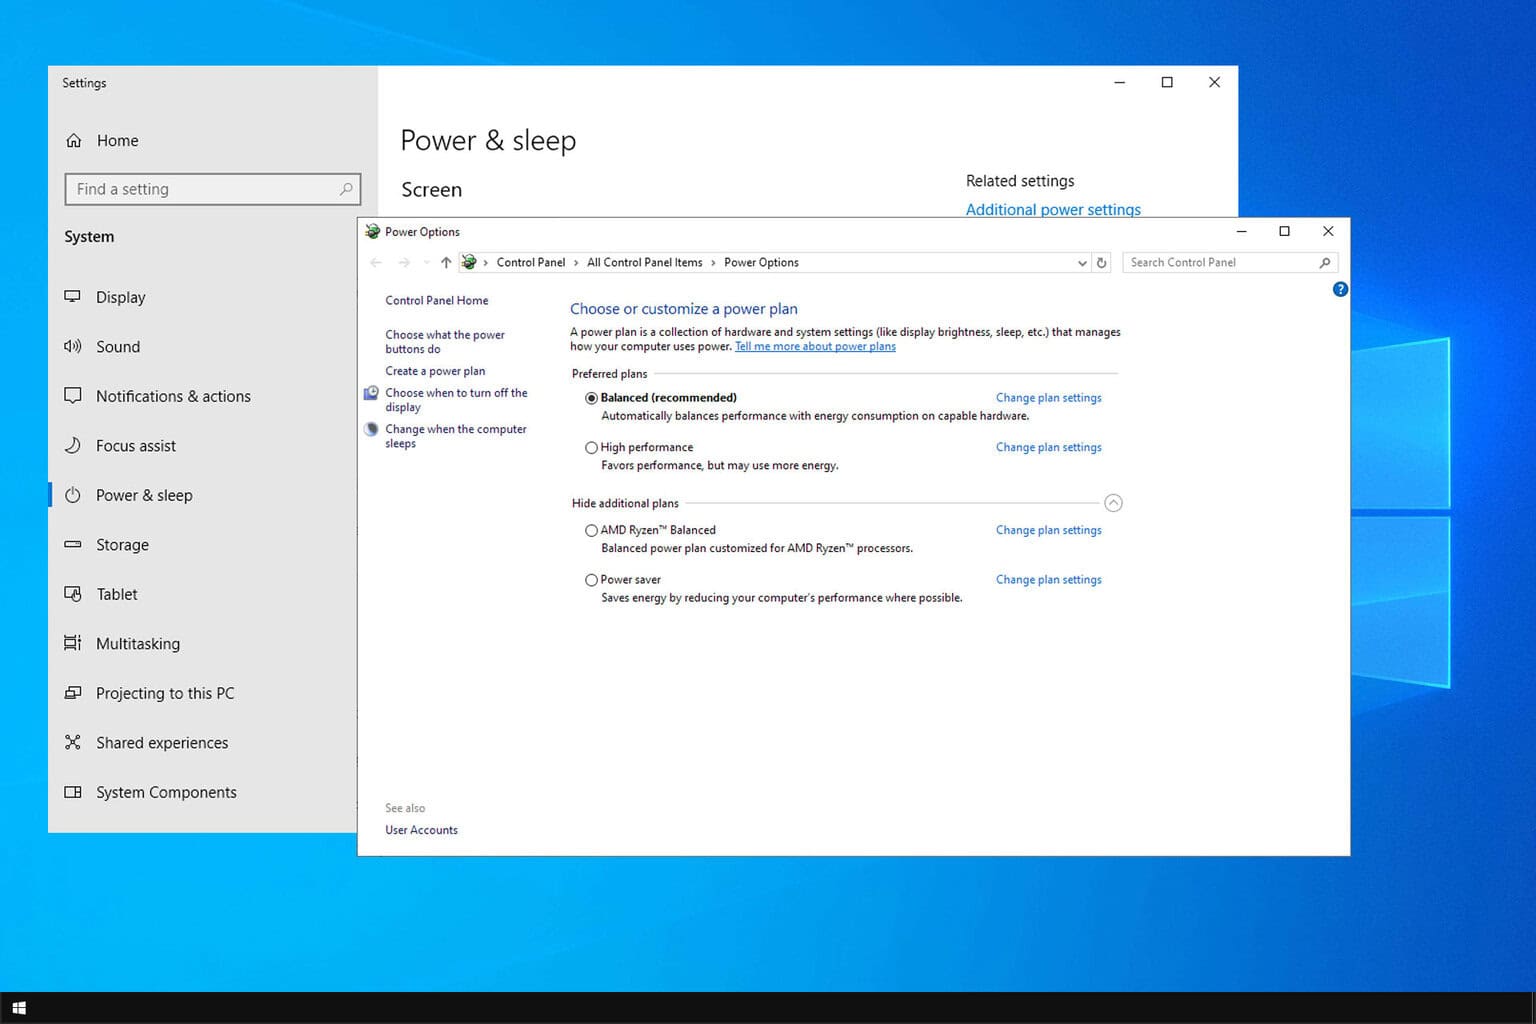
5. Create a new administrator account
- Open Windows Settings and select Accounts.

- Select Other Users.

- Click on the Add an account button.

- Enter signup name and select Administrator for the account type.
- Access the new account, open CMD and try running the DISM command again.
If you can’t create a new account, contact someone with administrative privileges, like an IT admin. Ask them to create a new administrator account or adjust your settings to grant you admin rights, then run the DISM command.
What is an elevated permission?
In Windows, a user that has elevated permissions has additional privileges. These include the ability to install software, change system settings, and manage other user accounts. Typically, the user account with most privileges is an administrator.
How and why are elevated permissions used?
The CMD starts by default with limited rights and this is nothing but a security measure designed to prevent users from running commands that can make system changes.
While you won’t have any trouble executing most commands in standard mode, there are specific lines that require administrative privileges (aka elevated permissions).
Wrapping up
If you encounter access denied errors despite having administrative rights, check for issues with the user account or group policies. Reviewing and adjusting the permissions or consulting our troubleshooting guide might be necessary.
These are the best solutions to try out to fix error 740: elevated permissions are required to run DISM Use an elevated command prompt to complete these tasks. Feel free to ask for more information in the comments below.
Read our disclosure page to find out how can you help Windows Report sustain the editorial team. Read more


Improve this guide


User forum
2 messages