How to set up a flowchart with the LibreOffice Draw
Key notes
- Flowcharts are diagrams that system designers and software developers design IT systems and programs with. The open-source LibreOffice Draw is one diagramming application that you can utilize for flowcharts.
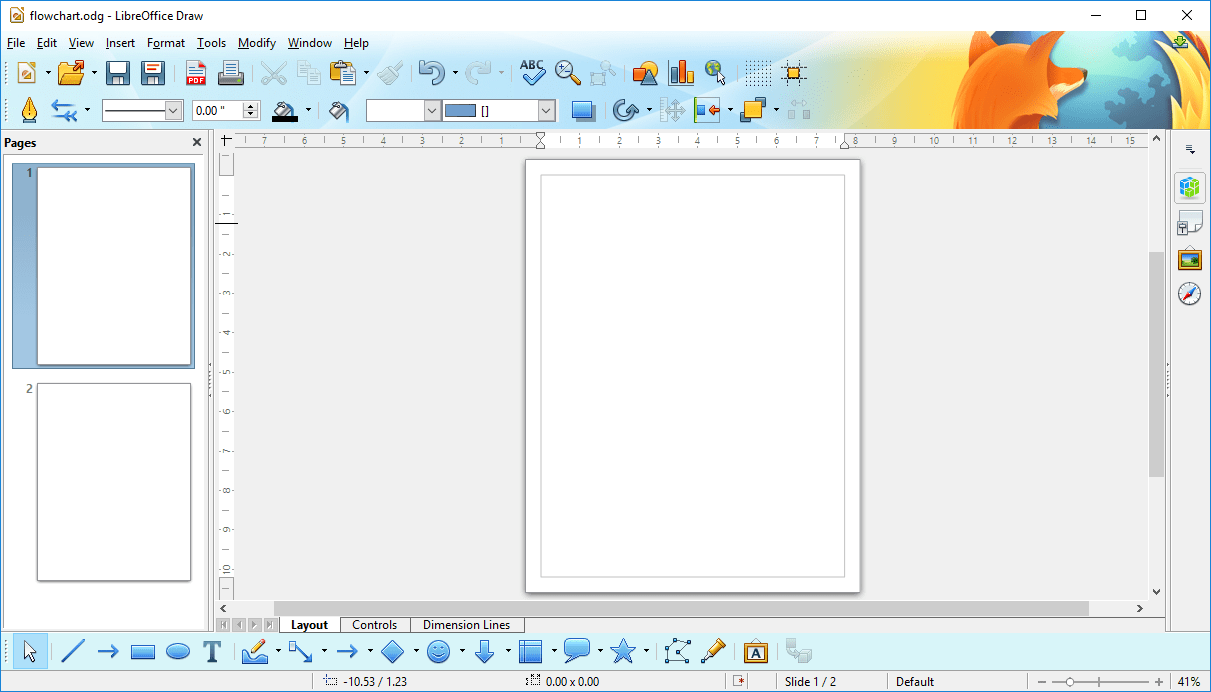
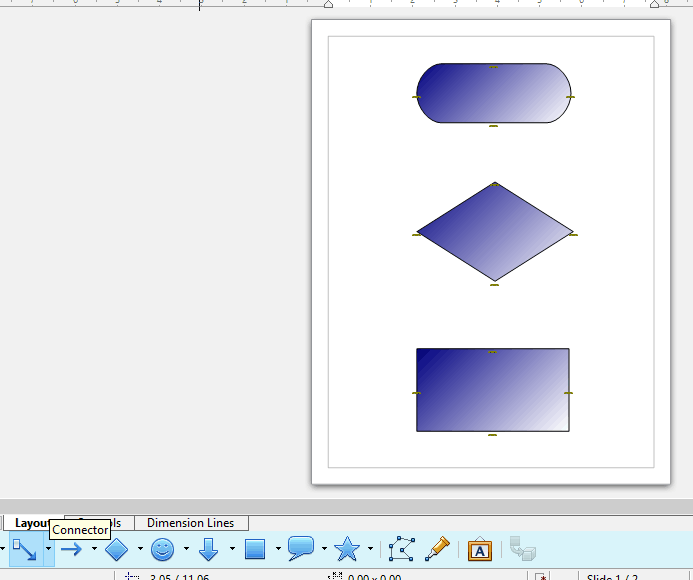
- First, add some shapes to the flowchart. Draw's toolbar includes a Flowcharts button you can press to select shapes more specifically for flowchart diagrams. Press that button's small arrow to expand its list of shapes.
- LibreOffice is a nice alternative to Microsoft Office If you want to know more about it, go to our LibreOffice section.
- Check out our Tech Tutorials Hub. You can always use some new tips about your devices or your software.

Flowcharts are diagrams that system designers and software developers design IT systems and programs with. There are numerous diagram software applications you can set up flowcharts with.
The open-source LibreOffice Draw is one diagramming application that you can utilize for flowcharts.
It includes all the basic, and some more advanced, options and tools you’ll need to set up diagrams for system design or software algorithms.
This is how you can set up a flowchart with Draw.
1. Download the LibreOffice Draw flowchart designer tool
If you don’t already have the LibreOffice suite installed, you can save its wizard from this webpage. Select either Windows X86 (32-bit platform) or Windows X86_64 (64-bit platform) from the drop-down menu.
Press the Download button to save LibreOffice’s installer. Open LibreOffice’s Installation Wizard window to add the suite to Windows. Then open Draw’s window.
2. Adding Shapes to Flowchart Diagrams
First, add some shapes to the flowchart. Draw’s toolbar includes a Flowcharts button you can press to select shapes more specifically for flowchart diagrams.
Press that button’s small arrow to expand its list of shapes as shown directly below.
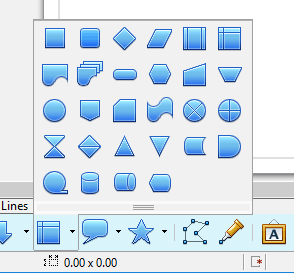
Now select the first flowchart shape to add to the diagram from there. Hold the left mouse button and drag the cursor on the diagram sheet to expand the shape.
Then you can resize the shape by selecting it and dragging its border points.
To alter shapes’ colors, select Color from the Area/Styling drop-down menu. Then select a color from the adjacent drop-down menu.
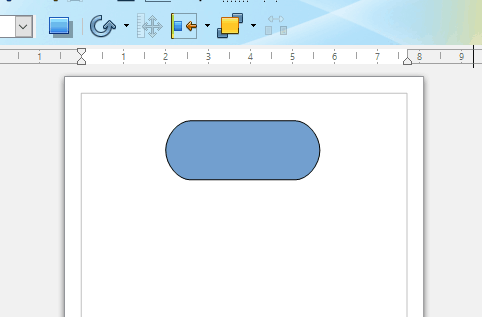
Alternatively, you can add a gradient effect to the shape by selecting Gradient from the Area Style drop-down menu as shown in the snapshot directly below.
Shadow is another shape formatting option that adds flat shadows to the symbols. Select a shape to add the shadow to. Then press the Shadow button to add a shadow effect to the symbol as below.

3. Connecting Flowchart Symbols
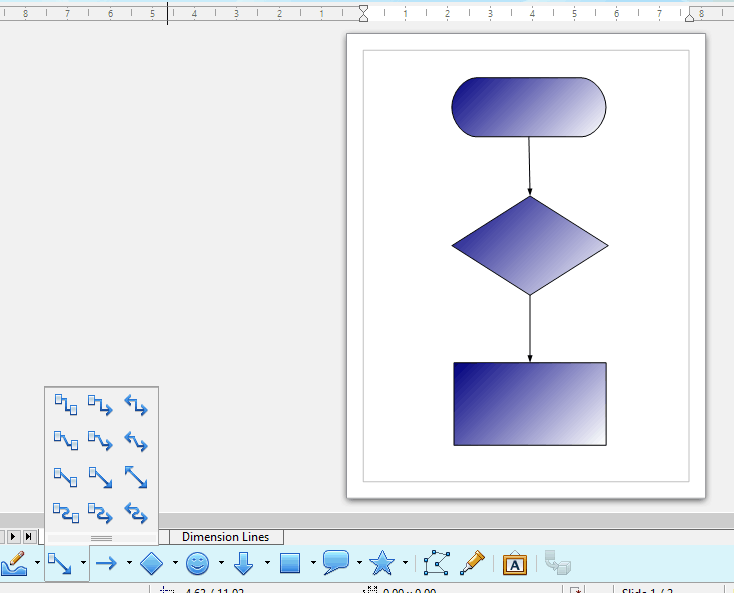
When you’ve added and positioned more flowchart symbols on the diagram, you’ll need to connect them with arrows. Although you can add them with the Lines and Arrow option, it’s better to press the Connector button.
This will ensure that the arrows connect to the shapes. When you press Connector, you’ll see four connection points on the flowchart’s shapes as in the snapshot directly below.
Click the small arrow beside the Connector button, and select the Straight Connector ends with arrow option.
Then hover the cursor over a connector point on one shape, hold the left mouse button and drag the cursor to a connector point on the second shape.
That will connect your flowchart’s shapes with straight-line arrows as shown in the shot directly below. As you’ve added connector lines to the diagram, the arrows will move if you alter the shapes’ positions.
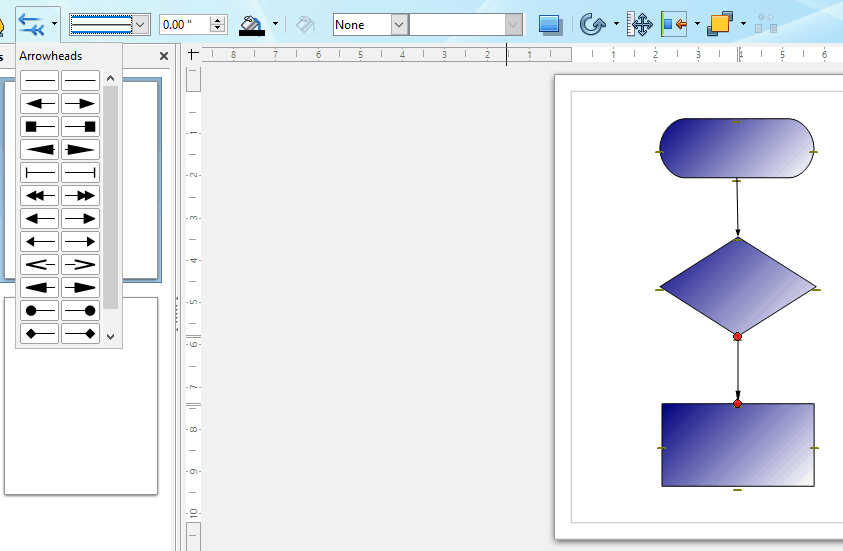
You can choose alternative arrow styles by selecting an arrow on the diagram and then clicking the small arrow on the Arrow Styles button.
That will open the drop-down menu below from which you can choose alternative arrowheads. Select an arrowhead listed there to alter the selected arrow.
To select an alternative color for an arrow, first, click an arrow on the diagram. Click the small arrow on the Line Color button to open the palette below.
Then you can choose another arrow color from the palette.

4. Adding Text to Flowchart Diagrams
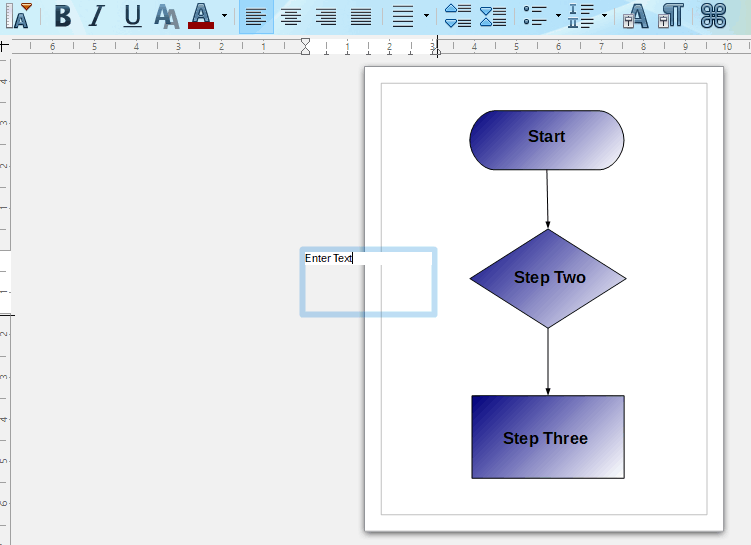
- Finally, you’ll need to add some text to each shape within the diagram. Press the T (Text) button to open the text toolbar.
- Then hold the left mouse button and drag the cursor to expand a text box.
- Enter something in the text box, and then resize and drag the box onto a shape in your flowchart.
- Then you can format the text entered by selecting the Bold, Italic, Shadow, Font Color or Underline options on the toolbar. Click the Font Size drop-down menu to adjust the font’s dimensions, and you can choose alternative fonts from the Font Name drop-down menu.
5. Add 3D to Flowchart Symbols
To give your flowchart a little more visual impact, you can convert the 2D symbols to 3D shapes. Then you can rotate the shapes and add extra 3D effects to them. This is how you can add 3D shapes to flowchart diagrams in Draw.
- First, right-click a shape on the diagram and select Convert > To 3D from the context menu. That will convert the selected shape to 3D as below.

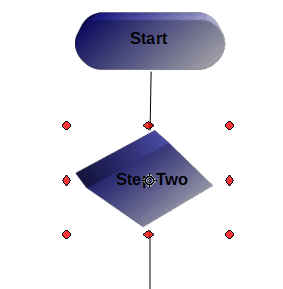
- To rotate the symbol, position the cursor in the center of the shape and left-click. The cursor will then become a curved arrow.
- Now hold the left mouse button with the cursor within the shape to rotate it.
- To add further 3D effects, right-click the flowchart symbol and select 3-D Effects from the menu. That will open the window shown in the snapshot directly below.
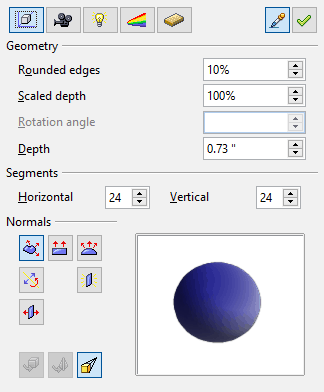
- There you can select to add shading, geometry, illumination , and material effects to the 3D symbol. For example, click the Shading button, select the 3-D Shadowing on/off option and press the Assign button to add a 3D shadow effect to the shape as in the shot below.

So you can set up flowcharts with Draw’s Text Box, Flowcharts, and Connector tools and add some groovy effects to them with the application’s 3D options. The application probably has most of the tools and options you’ll need for flowcharts.
However, you can also set up flowcharts with the diagram software included in this software guide.
Read our disclosure page to find out how can you help Windows Report sustain the editorial team. Read more


Improve this guide
User forum
0 messages