Gcapi.dll: What Is It & How to Remove It
This DLL file is associated with legitimate software and it's safe

Today, we’ll explain what gcapi.dll is, how to remove it, and whether it poses any security risks.
This Dynamic Link Library (DLL) file is part of Google Chrome’s Cloud API and is also used by AnyDesk. While it’s generally safe, it has been exploited by hijackers in some cases.
Here’s how to get rid of it:
How can I remove Gcapi.dll from my PC?
Before proceeding with the steps below, back up your system since removing DLL files can cause stability issues.
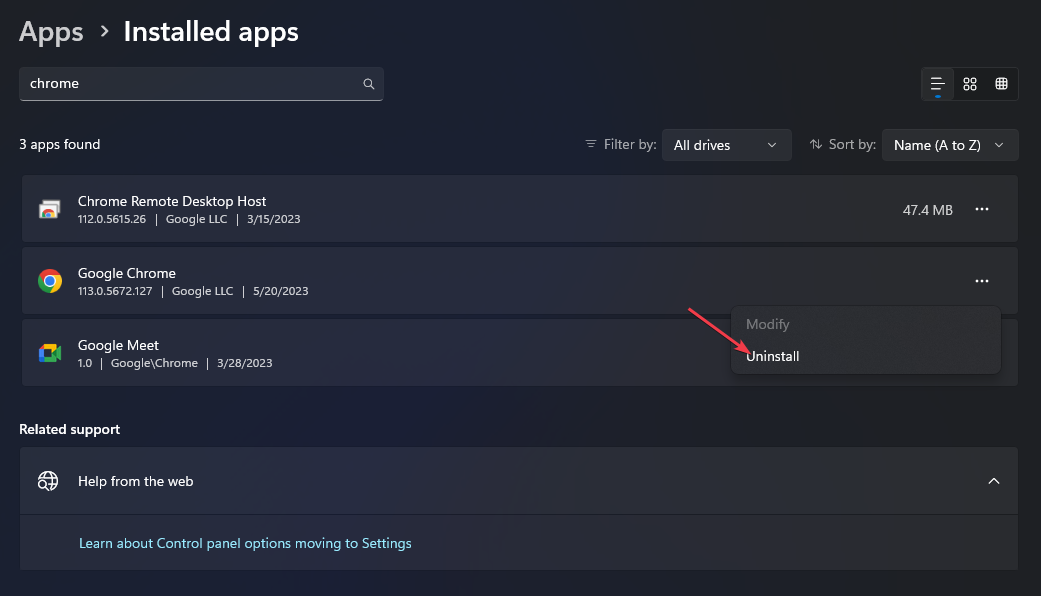
1. Uninstall Chrome / Anydesk
- Press the Windows + I key to open the Windows Settings app.
- Select Apps from the Settings menu and select Installed apps.
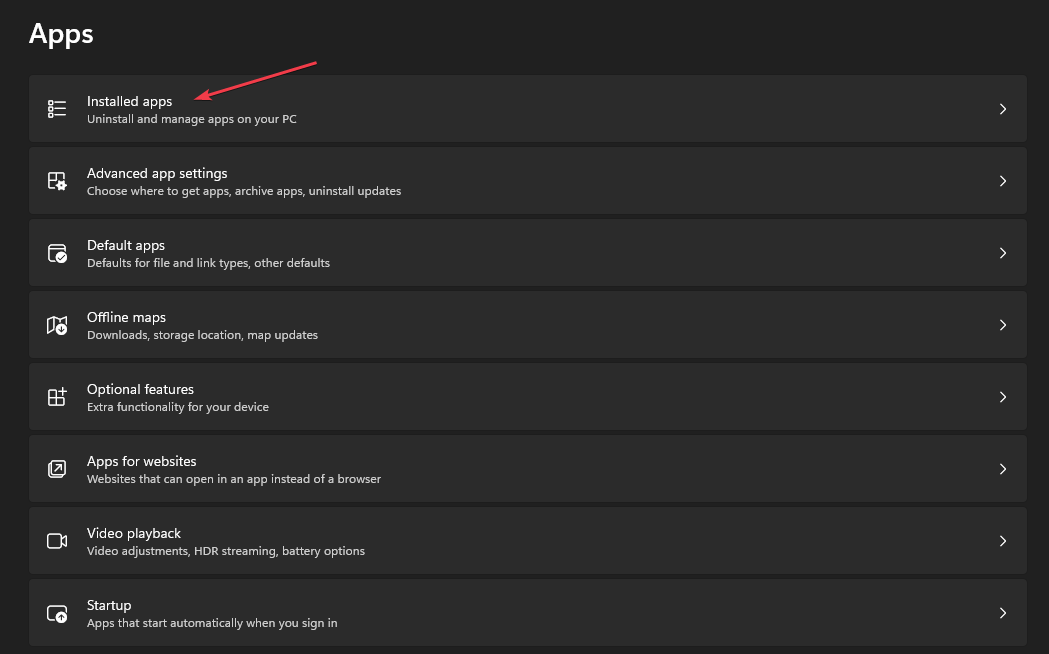
- Navigate to Anydesk / Chrome, click on the options, then select Uninstall from the context menu.
- Reinstall the Chrome browser on your computer.
- Restart your PC and check if the file still exists.
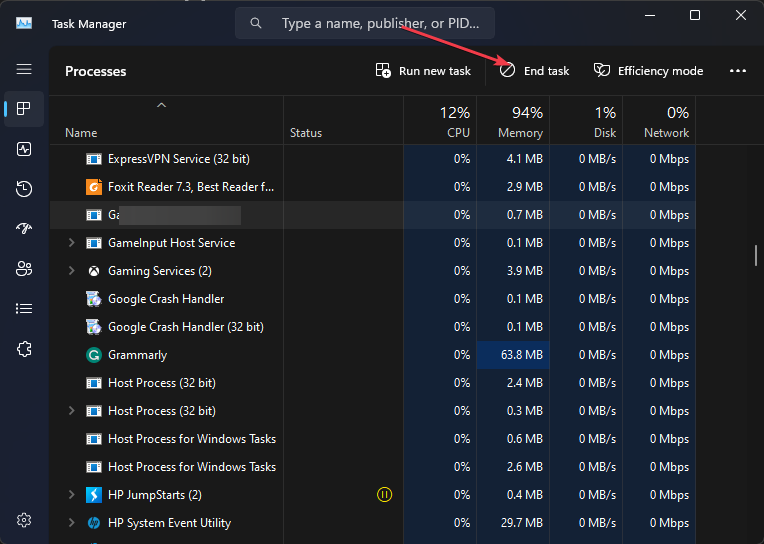
2. End the task for the Gcapi.dll process
- Right-click the Start button and select Task Manager from the menu.
- Go to the Processes tab. Select the Gcapi.dll from the list, right-click on it, then click End Task from the drop-down menu.
- Right-click on Gcapi.dll in the Task Manager and select Open file location from the context menu.
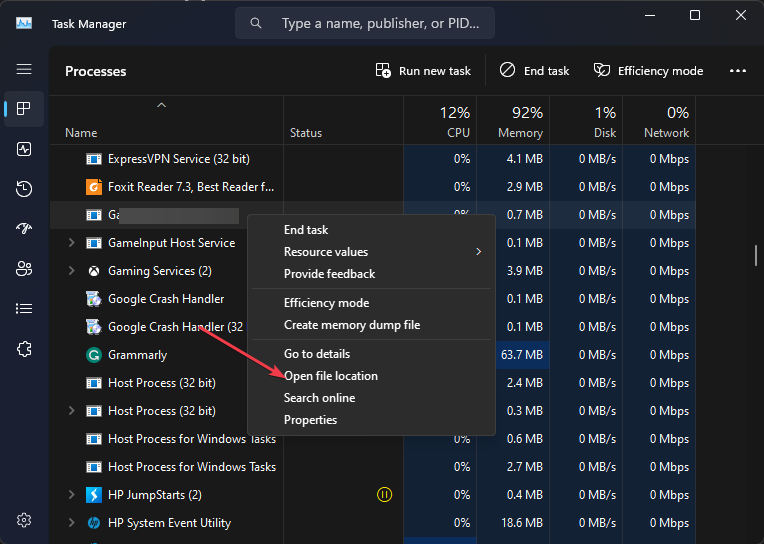
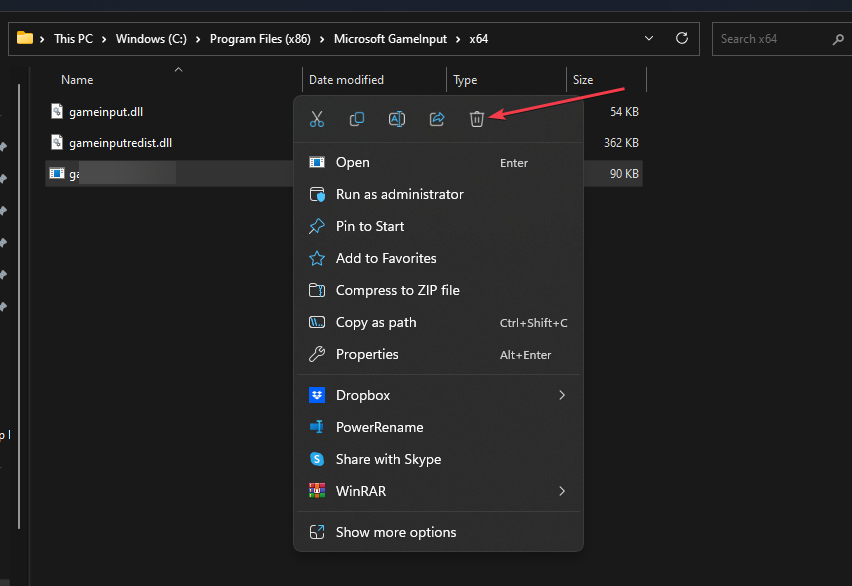
- In the file location in Windows Explorer, right-click on the file and select Delete from the context menu.
- Restart your PC.
3. Reset the HP desktop via the Command Prompt
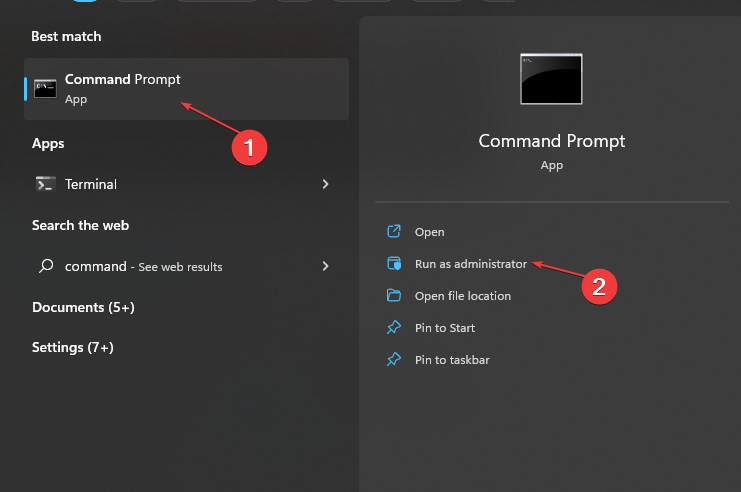
- Left-click the Start button, type the command prompt, and select Run as administrator.
- Click Yes on the User Account Control prompt.
- Copy and paste the following command and press Enter:
systemreset -factoryreset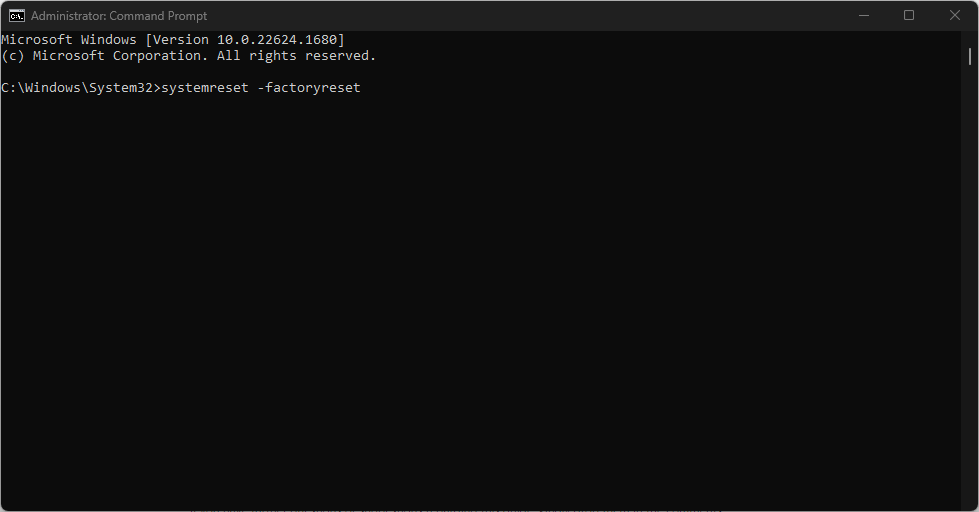
- Now you should be able to see the traditional reset window on your screen.
- Follow the on-screen instructions to reset your PC.
Running the above command option will trigger the traditional Windows 11 Reset dialog box from Command Prompt, allowing you to select your preferred option. This also helps when deleting OCSetupHlp.dll.
As we said in the beginning, gcapi.dll is generally a safe file. It’s mostly associated with Chrome and AnyDesk. However, it’s been exploited in the past by malicious AnyDesk users.
The good news is that you can safely remove it without causing any harm to your system and the process, as you’ve seen, is simple.
If you need more information on DLLs, check out our guides on Psapi.dll missing errors, Dnsapi.dll not found, and SppExtComObjHook.dll.
We hope this piece answered your questions about what gcapi.DLL is, its safety, and how to remove it. Feel free to use the comment section to ask any questions you may still have.
Read our disclosure page to find out how can you help Windows Report sustain the editorial team. Read more


Improve this guide


User forum
0 messages