5 Ways to Fix Your HDMI if It's Not Allowing 144Hz
Not all cables and monitors are going to support a 144Hz refresh rate
4 min. read
Updated on
Read our disclosure page to find out how can you help Windows Report sustain the editorial team Read more
Key notes
- You bought a new cable and monitor and you're still not getting a 144Hz refresh rate?
- This might have to do with the monitor, or the cable actually not being compatible.
- If they are both good, carefully go through the troubleshooting process shown below.
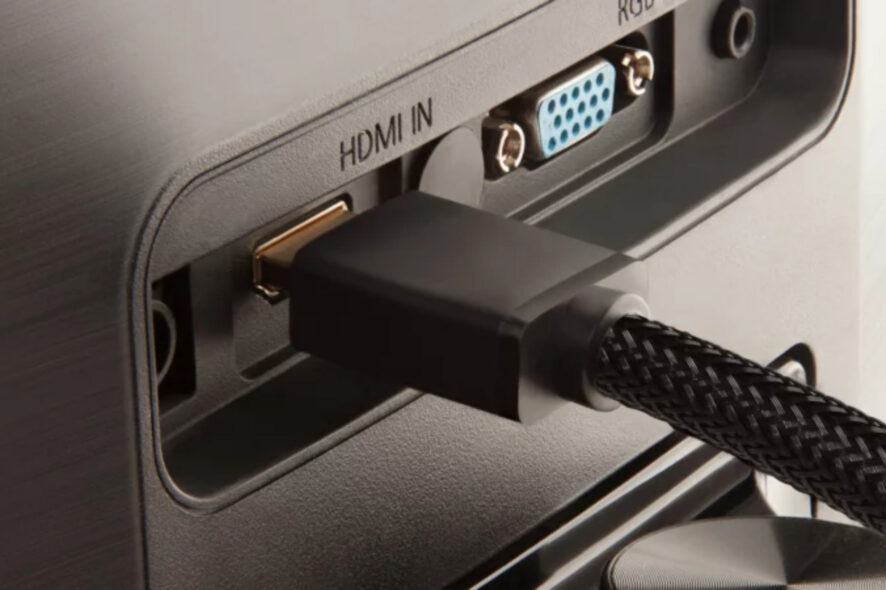
It goes without saying that, nowadays, most monitors, TVs, and graphics cards feature at least an HDMI 1.4 port which is enough for 144Hz at 1080p, 75Hz at 1440p, and 30Hz at 4K.
Keep in mind that some monitors have limited bandwidth over HDMI 1.4 making it max out at 120Hz or even at 60Hz in some cases, which are mostly G-SYNC and older monitors.
Furthermore, most 144Hz monitors are limited to 120Hz over HDMI 1.4. Still, some monitor manufacturers use custom timing parameters and pixel rates to use the full potential of the HDMI 1.4 bandwidth, thus getting 144Hz at 1080p.
That being said, we are now going to show you what to do when your 144Hz monitor is only showing 120Hz or less.
Before we begin, though, we’ll also show you how to duplicate 3 monitors on Windows 10 and how to turn on Auto HDR in Windows 11.
Why is my HDMI not allowing 144Hz?
Users that have experienced this problem can understand the frustration that comes with a monitor that isn’t displaying correctly.
It all comes down to pairing compatible cables with compatible monitors, so keep this in mind just to avoid nasty surprises.
Just make sure the exact monitor you’re looking at supports 144Hz or at least 120Hz over its HDMI 1.4 port, or just look for a 144Hz display with HDMI 2.0.
Remember that HDMI 2.0 is also fairly standard and can be used for 240Hz at 1080p, 144Hz at 1440p, and 60Hz at 4K.
What can I do if my HDMI doesn’t allow 144Hz?
1. Check the monitor’s specifications
As we said above, it all starts with choosing the right monitor and the right cables for the job, so we are going to start here.
In fact, most 144Hz monitors will connect at that specification on Windows computers by default, so remember that in the future.
Thus, if your monitor is not working correctly, check to make sure you have a 144Hz-capable display and have it plugged into the display or DVI-D port.
It is also important for you to keep in mind that other display connections will not render at 144Hz. So, before we get further into the troubleshooting process, make sure this is checked.
2. Inspect the cable for any damage
We know that this should go without saying but we can sometimes overlook the simplest details and go through a lot of work.
All you need to do is a simple visual inspection and make sure the cable doesn’t have any frays or cuts that could prevent it from working properly.
If by chance you find any damage, simply buy another cable and try again. You might find it hard to believe, but some users actually reported that this worked for them after replacing faulty cables.
3. Manually adjust refresh rate settings
- Press Win + I to access Settings.
- Select the System tab and click on Display.
- Click on Advanced display settings.
- Under Choose a refresh rate, choose the desired rate (144Hz).
4. Update monitor drivers
- Search for Device Manager and open the app.
- Expand Monitors, right-click the one you are using and select Update driver.
- Select Search automatically for drivers.
- Download and install the Outbyte Driver Updater app.
- Launch the software and wait for the app to detect all incompatible drivers.
- Now, it will show you a list of all outdated drivers to select the ones to Update or Ignore.
- Click on Update & Apply Selected to download and install the latest versions.
- Restart your PC to ensure the applied changes.

Outbyte Driver Updater
Maintain your device healthy by letting OutByte Driver Updater find the latest driver options.5. Update Windows
- Press Win + I to access Settings.
- Select the Windows update tab.
- Click on Check for updates, and then Restart now.
Do I need a special HDMI cable for 144Hz?
Yes, as we mentioned at the beginning of the article, not all cables will suit your needs so make sure you buy the correct one.
For 144Hz at 1440p, you will need at least HDMI 2.0 or DisplayPort 1.2 while for 4K 144Hz you are going to need HDMI 2.1 or alternatively, DisplayPort 1.4 with DSC 1.2.
That is all you need to know about the matter, so you can think twice before getting an HDMI 1.4 cable for a 144Hz refresh rate.
We recommend HDMI 2.1 for 144Hz, so don’t even waste your time with anything else. Thus, if your monitor is 144Hz but only has a 60Hz refresh rate, remember what we told you.


