How to Check Mouse DPI in Windows 10 [Easy Steps]
Learn the different ways to know the DPI of your mouse
5 min. read
Updated on
Read our disclosure page to find out how can you help Windows Report sustain the editorial team Read more
Key notes
- Knowing the DPI of your mouse can help you use it to its advantage in the task that you are doing.
- Some manufacturers' websites mention the exact DPI the mouse supports, while some do not.
- You can follow the different ways mentioned in this guide to know the DPI of your mouse.
DPI or Dots Per Inch is the most important characteristic of a mouse. If your mouse has a higher DPI then it will be more fast and responsive, and if the DPI is low, then your mouse will lag.
In this guide, we will share with you a guide on how to check mouse DPI in Windows 10. We have listed different ways to check out your mouse DPI. Let us get right into it.
What is mouse DPI?
DPI or Dots Per Inch refers to how your mouse measures physical distance. It is the speed at which your mouse travels from one point to another on your screen.
If your mouse has a low DPI and you move it one inch on your screen, then your mouse will travel less distance. However, if the mouse has a higher DPI and you move it an inch, then the mouse with a higher DPI will travel more distance, even though the sensor size is the same.
So, DPI measures how smoothly or how far your mouse can travel the distance on your screen.
Is a high DPI always preferable?
This is a highly debatable question. While some may think high DPI will help them have a smooth experience when using a mouse and could be better for gaming and editing-related tasks.
However, several gaming companies have said that a high DPI mouse is an irrelevant specification to talk about. Often high DPI mouse could fly across your screens resulting in not so better gaming or editing experience.
So, you should choose a mouse with a DPI that is suitable for your needs. If you are a gamer, then you should check which is the appropriate DPI mouse for that game or the type of games you play. This applies to other professions as well.
How can I check the mouse DPI in Windows 10?
1. Visit the official website
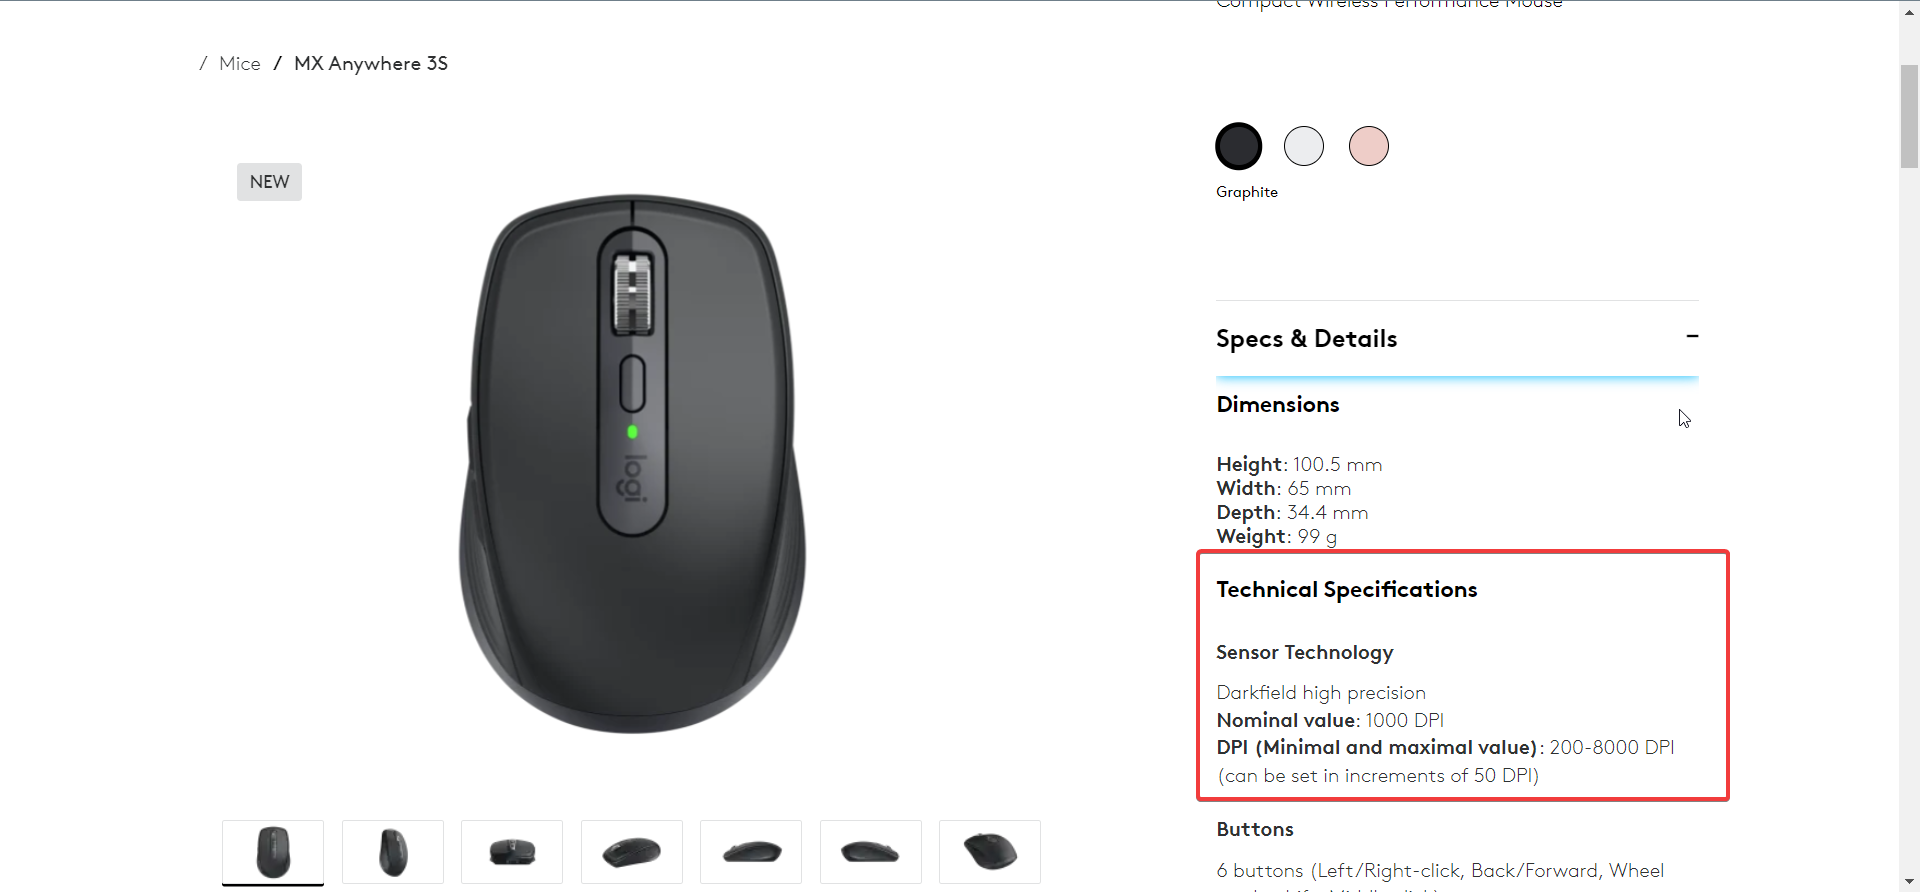
The best way to know or check the mouse DPI in Windows 10 or any OS for that matter is to visit the official website of your mouse.
There you will see the exact DPI of your mouse along with other details, you might need. The DPI is usually written in the spec sheet of the device. So, you may want to scroll through the specifications sheet.
You will find different ways of mentioning DPI. Some manufacturers mention the exact DPI or the highest DPI the mouse supports. While some, such as Logitech, would only specify a range the mouse supports.
2. Use an online tool
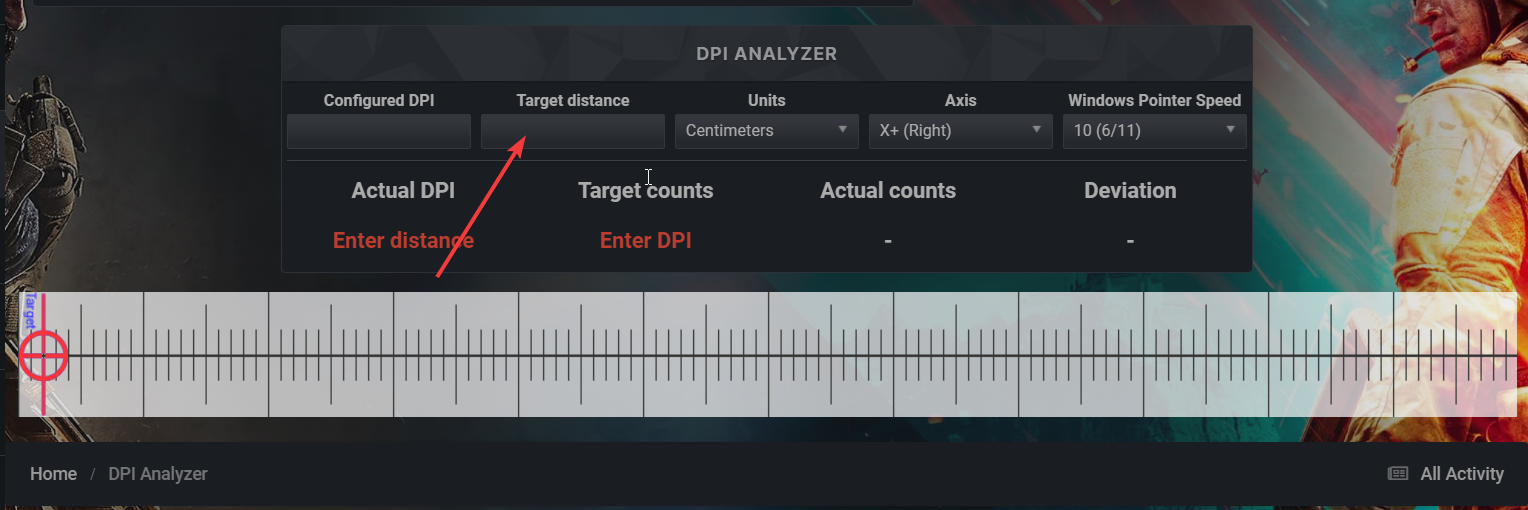
- Visit the DPI analyzer website.
- Make sure any pointer acceleration option is disabled in your mouse driver software.
- Draw inch or centimeter lines on a blank paper that will serve as your mousepad.
- Measure the rough distance that you need your mouse to move from the left to the right side of the screen and enter the distance inside the Target distance box. Leave the Configured DPI box blank.
- Click the red crosshair and move your mouse from the left side to the right moving the mouse to the distance specified in the Target distance box. Do not move your mouse fast, you have to be accurate.
- A figure will appear in the Actual DPI box, which will be the approximate DPI of your mouse.
The above steps will not let you know the actual DPI of your mouse. However, it will at least let you know the approximate DPI of your mouse.
3. Use Microsoft Paint
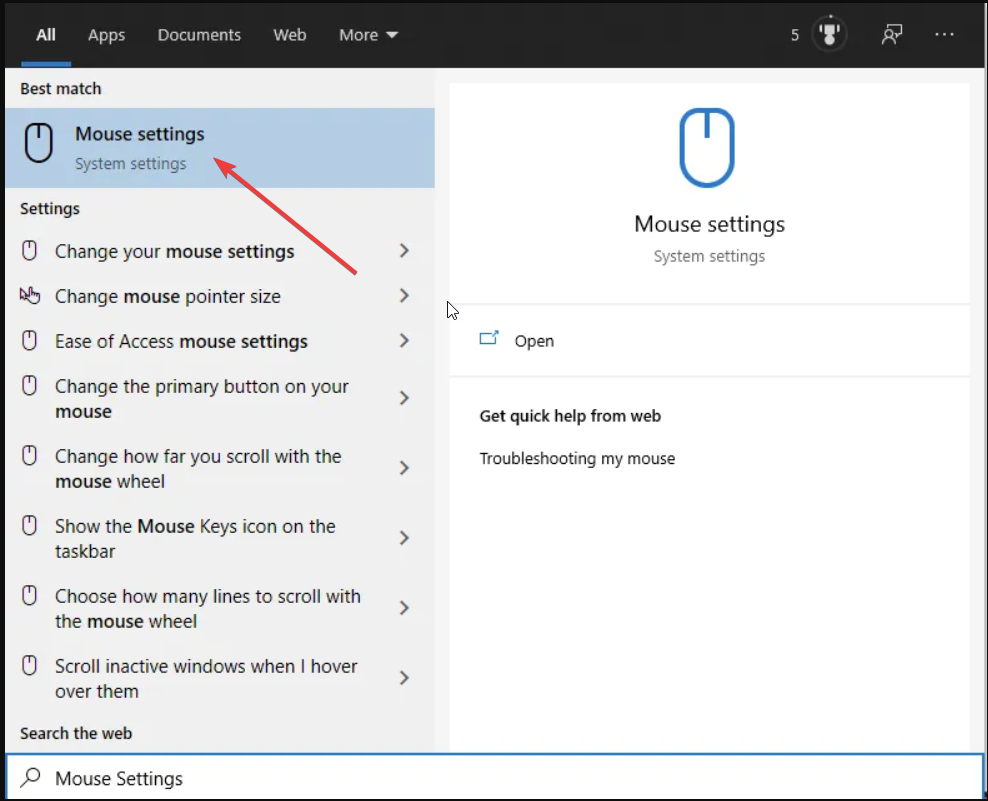
- Press the Win key to open the Start menu.
- Type Mouse and open the Mouse Settings.
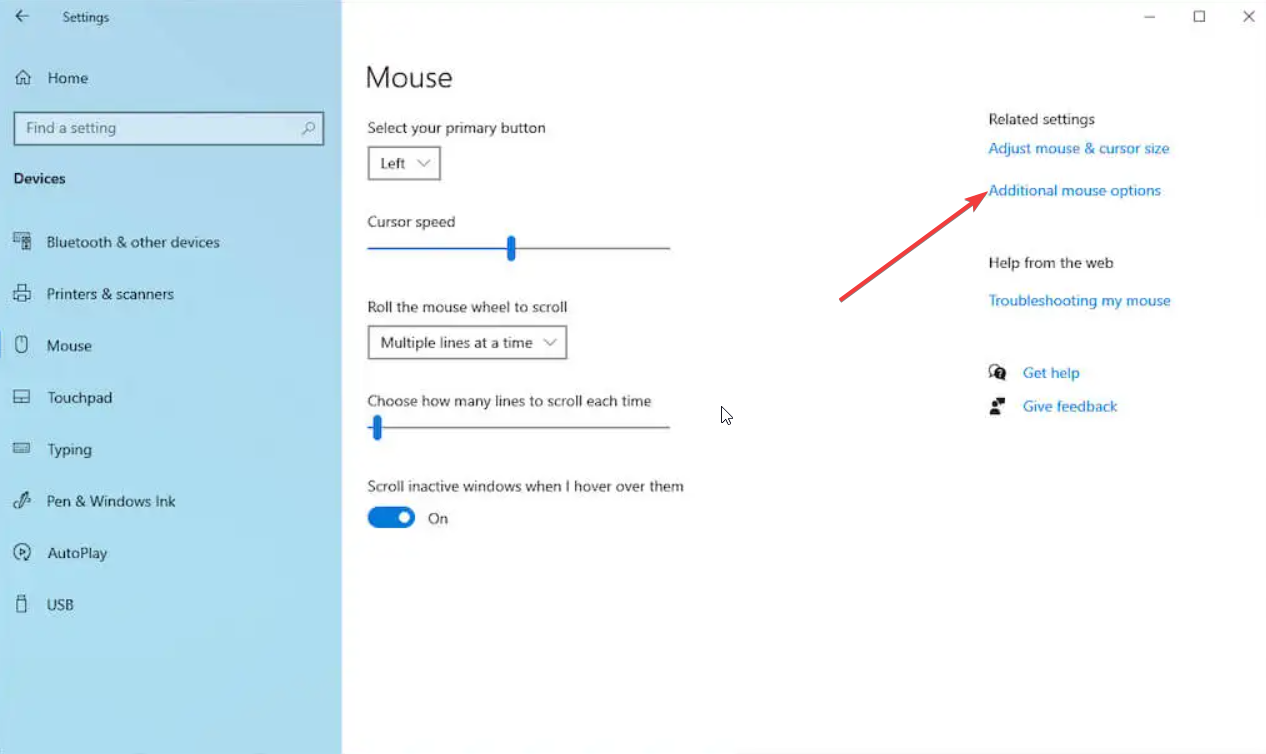
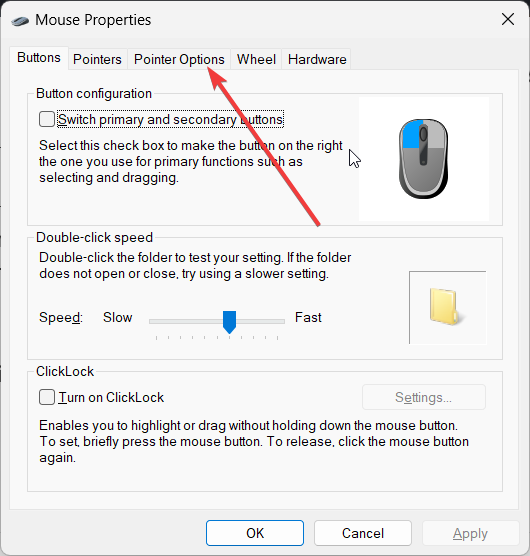
- Click on Additional mouse settings.
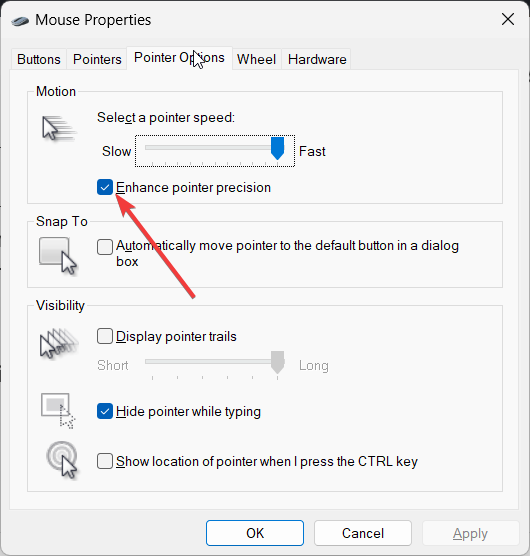
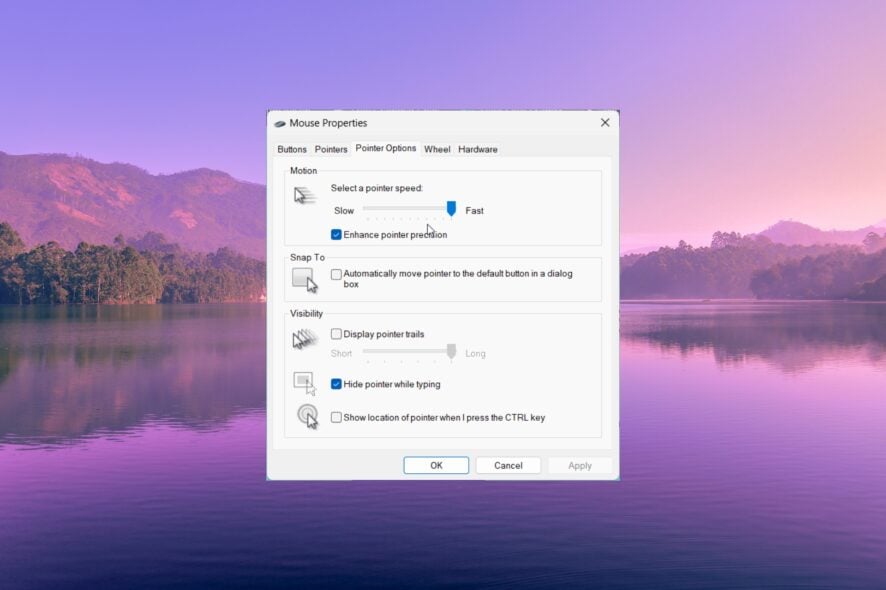
- Click on the Pointer options tab.
- Uncheck the Enhance pointer precision box and click OK.
- Launch the Paint program on your PC.
- Make sure the zoom level is set to 100%.
- Click on the Pencil tool in Paint.
- Move the mouse to the leftmost side of the working area, where it reads 0 pixels. For example, you will see something like 0, 200px.
- Place a ruler below your mouse and move the mouse by left-clicking to draw a line until you reach the one-inch mark.
- Note down the pixel movement (i.e., check the number in place of 0 in the above example 0, 200px) and note it down.
- Repeat step number 10 multiple times.
- Take out the average of the px number, that will be your approximate DPI.
This way you can at least know the approximate DPI of your mouse. Although this is not a precision method and you don’t get to know the actual DPI, something is better than nothing, in case you urgently require it.
That is it from us in this guide. If you are experiencing erratic mouse movements in Windows 10, then you should read our guide which lists the best solutions to resolve the problem.
We also have a guide that explains in detail how you can resolve the mouse flickering issue in Windows 10 computers.
Feel free to let us know in the comments below, which one of the above methods you used to know the DPI of your mouse in Windows 10.

