How to Create scr Files on Windows 10 [Screensaver Guide]
6 min. read
Updated on
Read our disclosure page to find out how can you help Windows Report sustain the editorial team Read more
Screensavers are an old technology that were used to fix an old burning problem that occurred on old CRT computer monitors had many years ago. Any image that was displayed for a long time became “burnt”into the screen, leaving behind a ghost image.
Nowadays with modern LCD displays, that problem is practically non-existent and there’s no real functionality behind having a screensaver, but it’s still something that people like to have.
People still enjoy seeing their favorite pictures flow by in a slow moving slideshow on their computer display. Nowadays, it isn’t enough to download photo files from a digital camera and have them play on screen. You’ll need to create a screensaver as a SCR file.
What is a SCR File?
A SCR file is the format often used for importing screen savers to be installed on the computer. You can find screensavers online just by Googling them, but it’s not recommended that you do so.
You never know which one of these screensavers sites are pushing malware or some kind of virus onto your computer. Plus, it’s better to create your own screensaver because it’s a lot more personal. There are many different ways to change the look of a Windows 11 computer, like making the taskbar transparent.
The screensaver should be something that you created with your own two hands. With that said, this guide will show you how to create your own screensaver on Windows 11 as well create your own SCR file using the appropriate software.
How can I create and set up a .scr screensaver on Windows?
1. Setting up via File Explorer
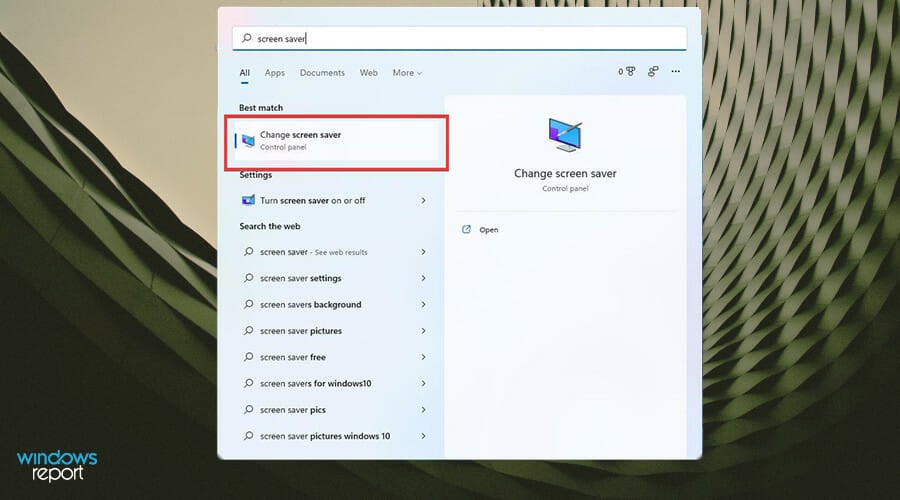
- On the home page, click on the magnifying glass icon to bring up the search bar.
- Type in screensaver and click the first entry you see.
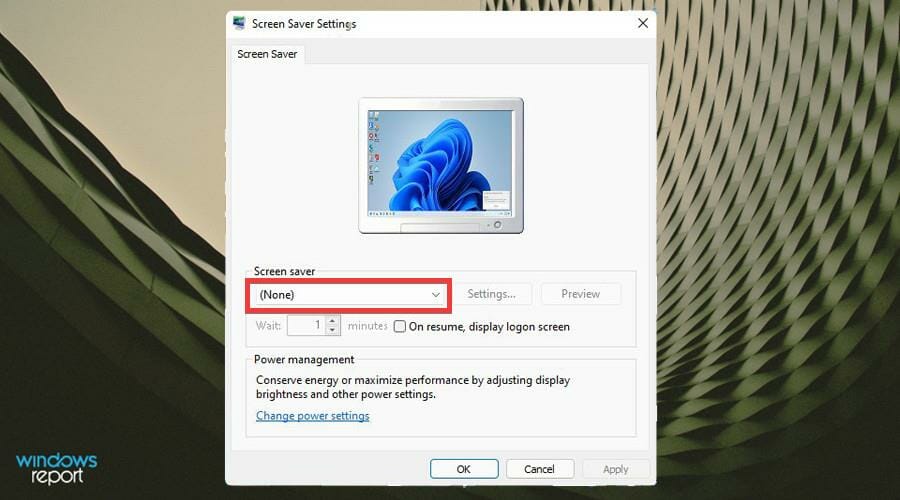
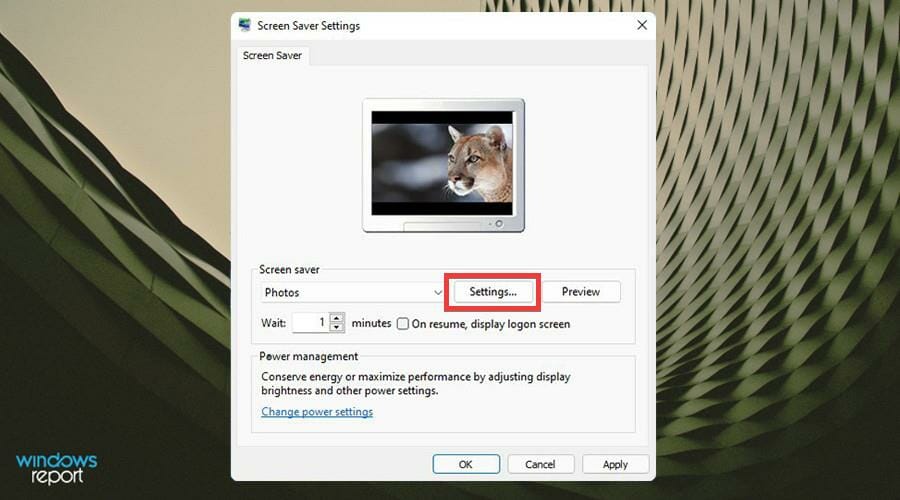
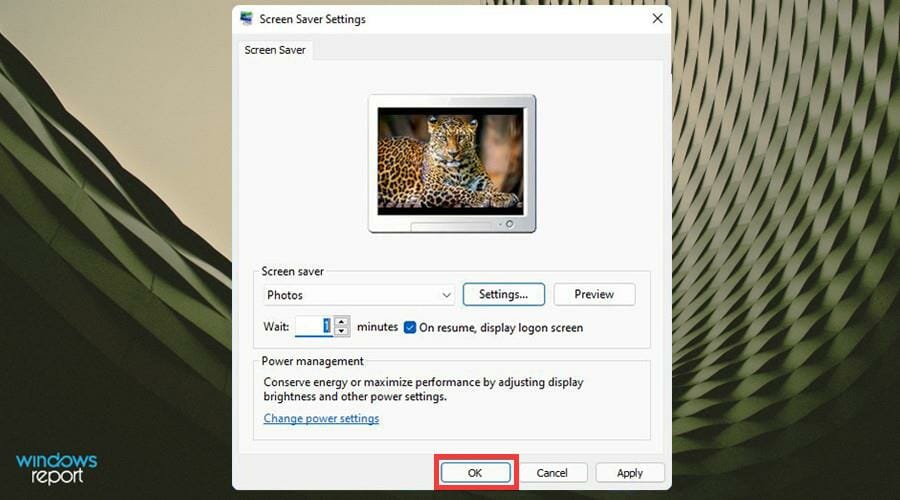
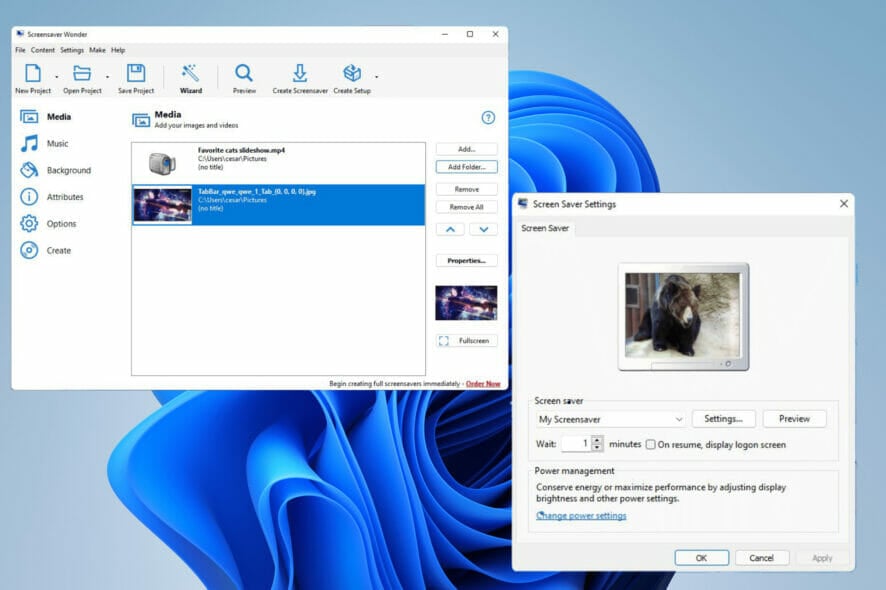
- The Screen Saver settings window opens. Click the drop-down menu under Screen saver.
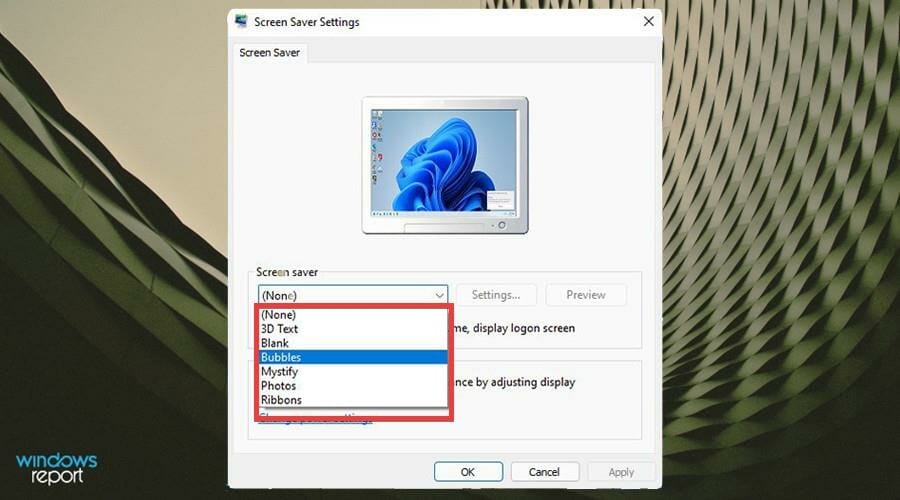
- Select one of the default screen saver options available.
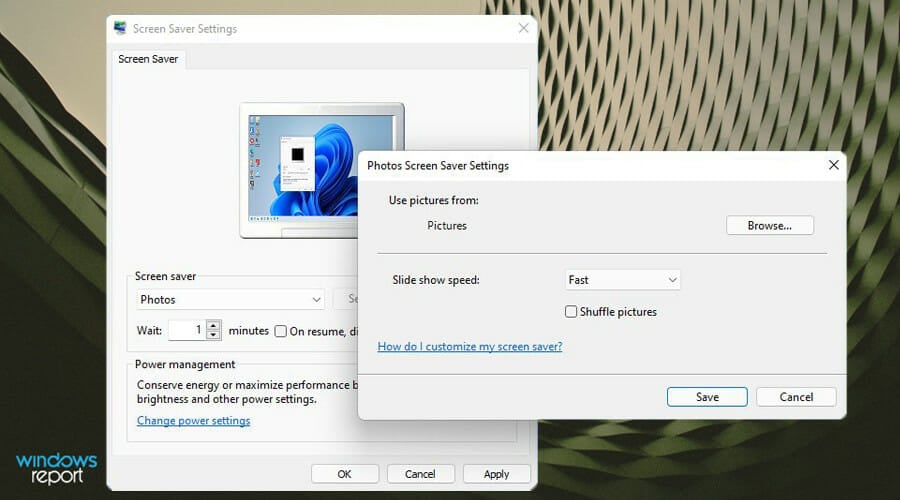
- Once you’ve made your selection, you can change the screensaver’s configuration by clicking Settings. However, not all options will have settings to alter.
- The Photos options does, however. The Settings window allows to choose which Pictures to use, the slide show speed, and the ability to shuffle them.
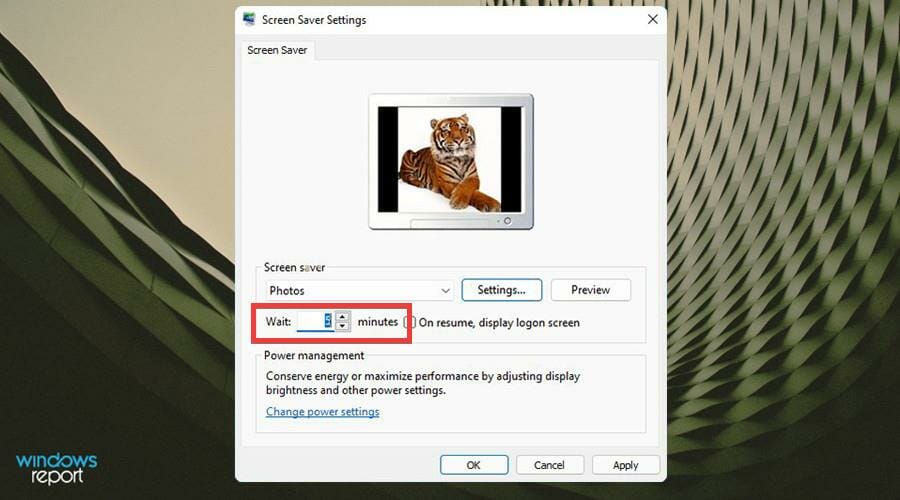
- Use the box next to Wait to set the slideshow delay in minutes.
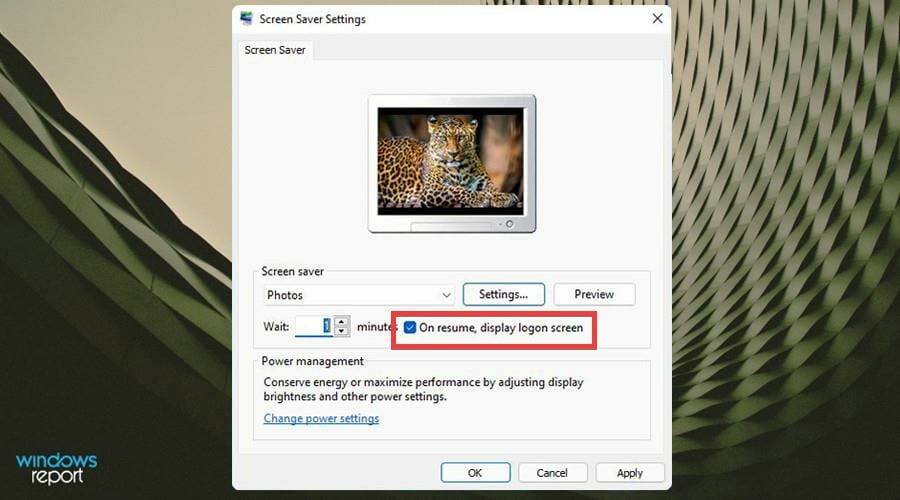
- Check the box next to On resume, display login screen to lock the computer when the screensaver ends.
- Click Apply, then OK.
- The screensaver begin after the time you specified as long as your computer receives no keyboard or mouse input until that time.
2. Create .scr file with Screensaver Wonder 7
An amazing tool can also offer a more user-friendly experience which will enable you to create custom screensavers with ease.
Such a tool is the Screensaver Wonder 7 from Blumentals, which not only simplifies the process, but ensures that high-grade results can be produced repeatedly.
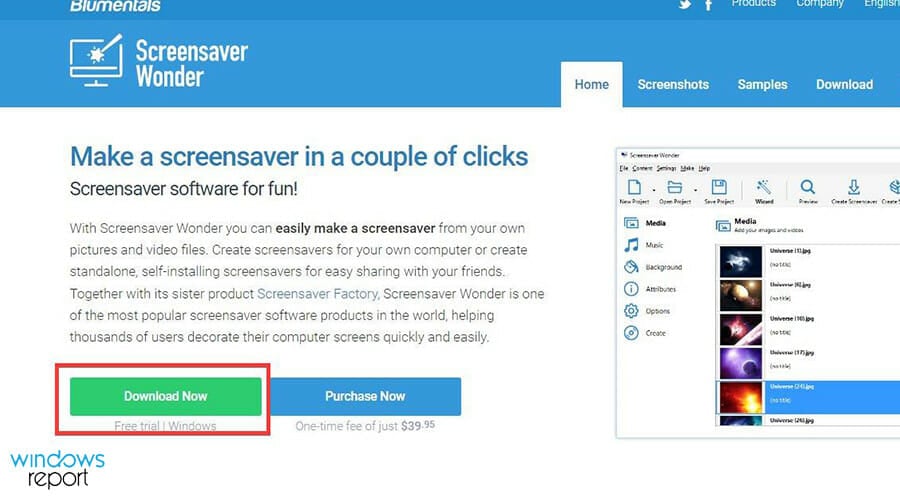
- Download Screensaver Wonder 7.
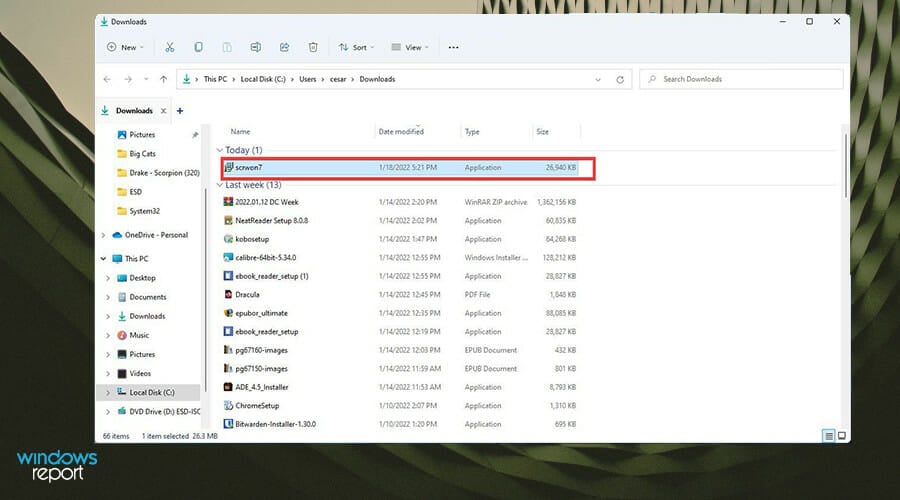
- After downloading the file, locate it wherever it was downloaded to.
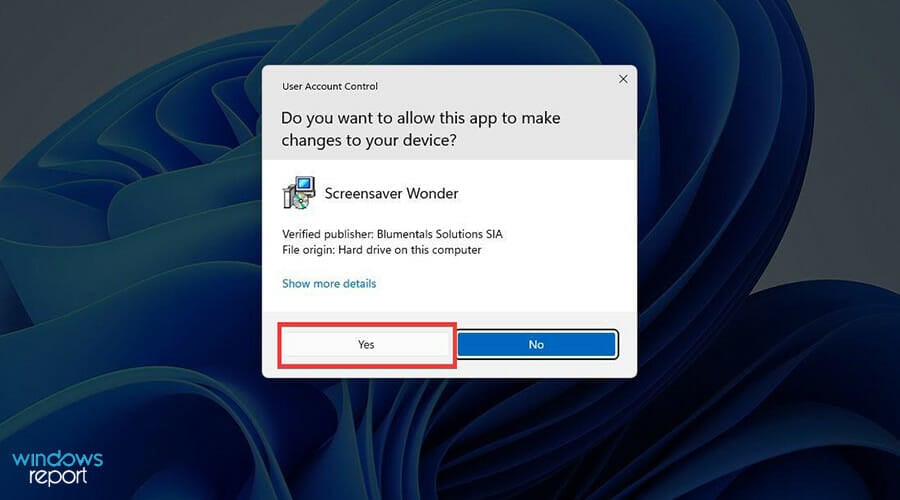
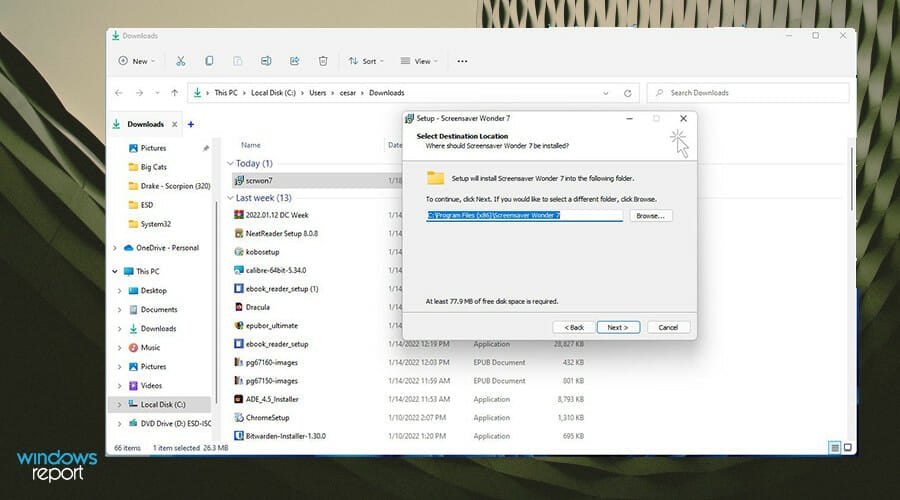
- Double-click to begin installation. A window may appear asking if you want to make changes. Select Yes.
- Proceed through the installation wizard.
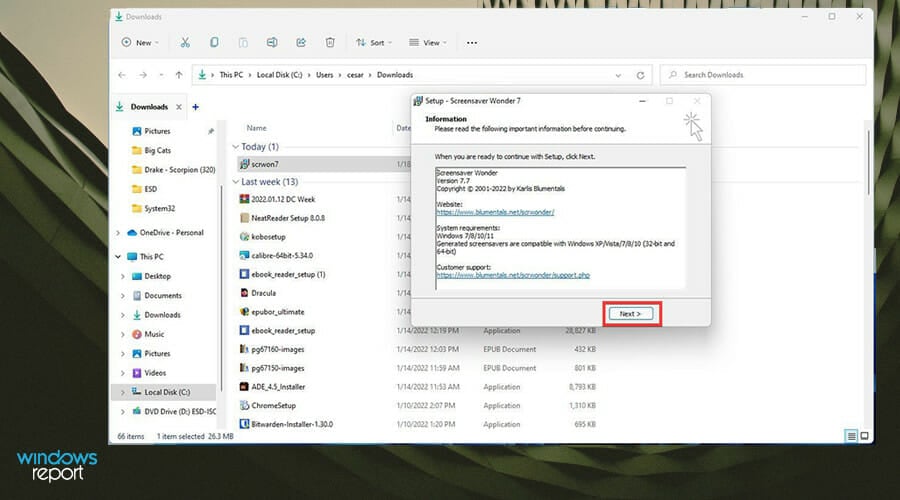
- After installing, the wizard asks you to read some important information. Click Next when done.
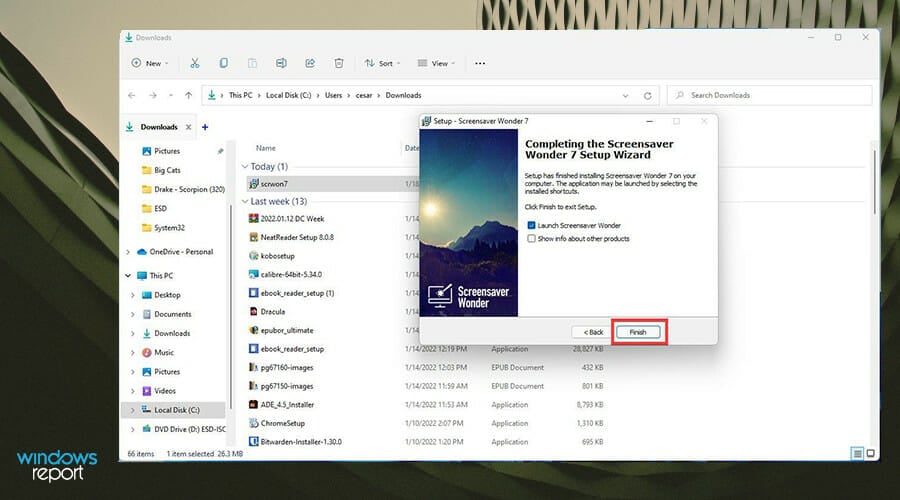
- Select Finish to open Screensaver Wonder.
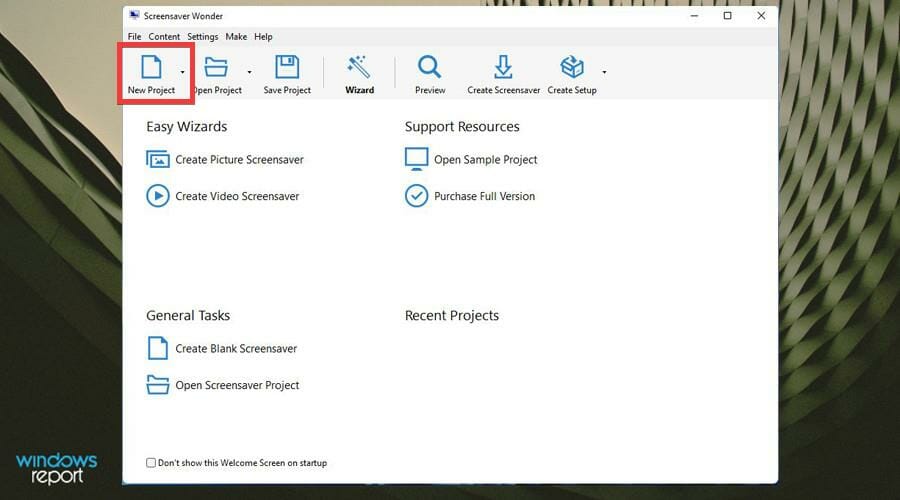
- In Screensaver Wonder, start by clicking on New Project.
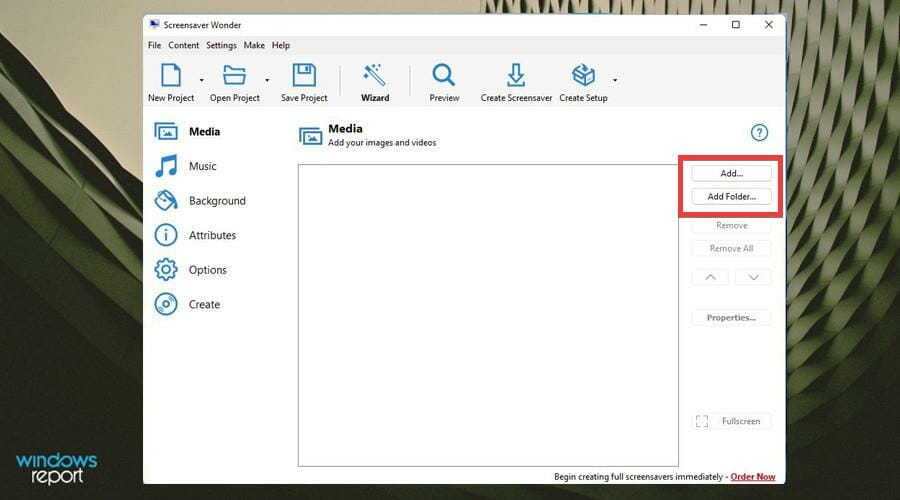
- Under the Media tab, you can start by click either the Add… or Add Folder… buttons to the right. This guide will select Add Folder…
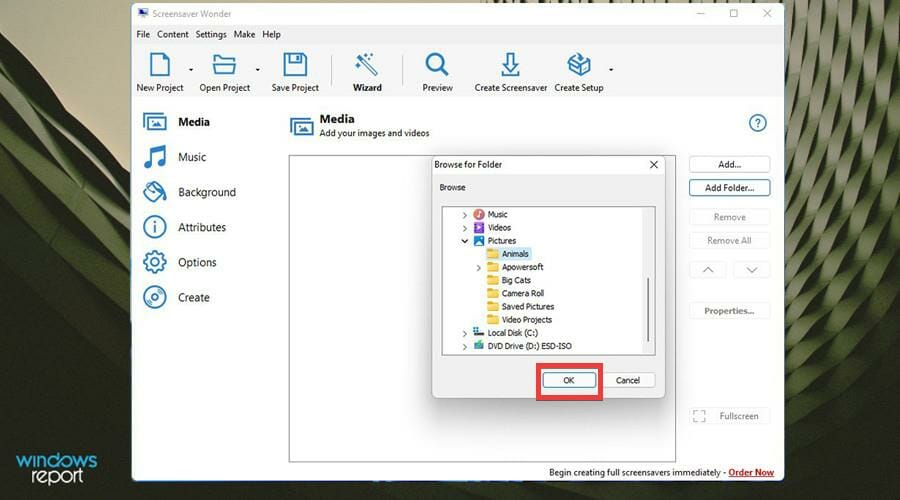
- A small window will appear where you will select the folder of photos you want to make up your screensaver. Once you’ve selected the Folder, click OK.
- Now all the photos in the folder will appear under Media.
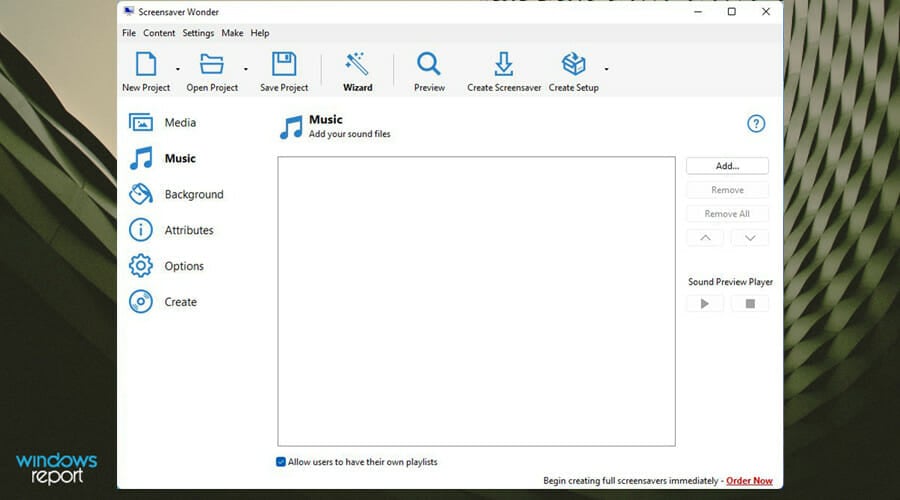
- If you want add music to your screensaver, select the Music tab.
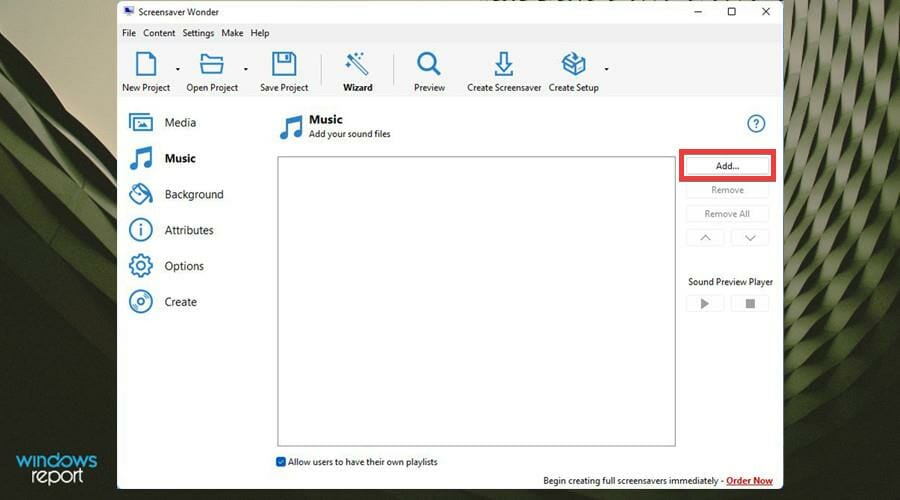
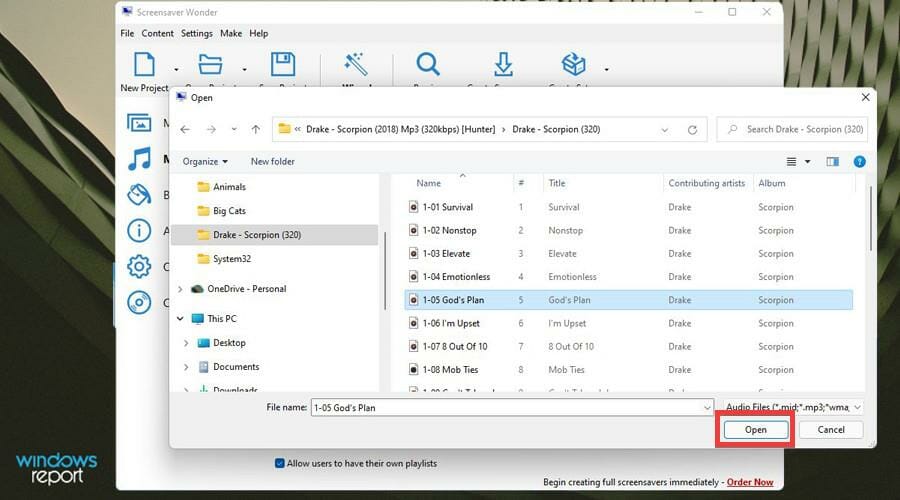
- Click the Add… button on the right-hand side.
- Locate the music file you want to add. Click it and then hit Open.
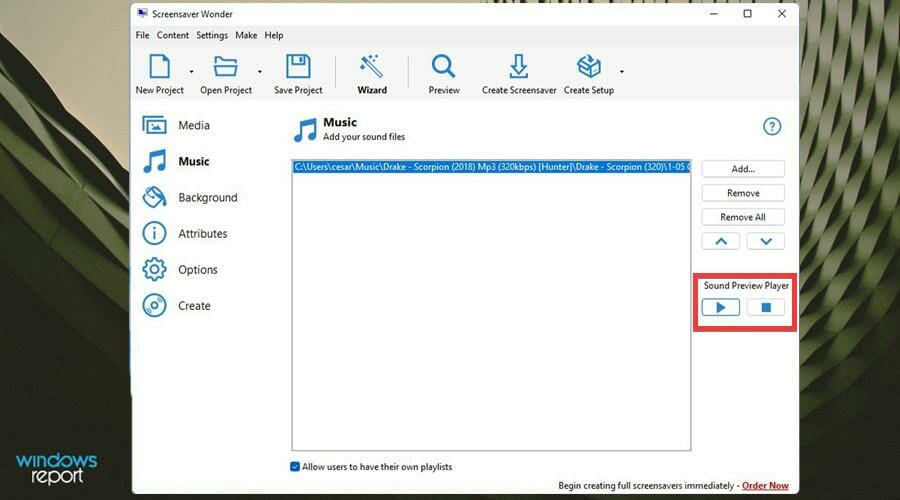
- You can preview the track with the button on the right hand side.
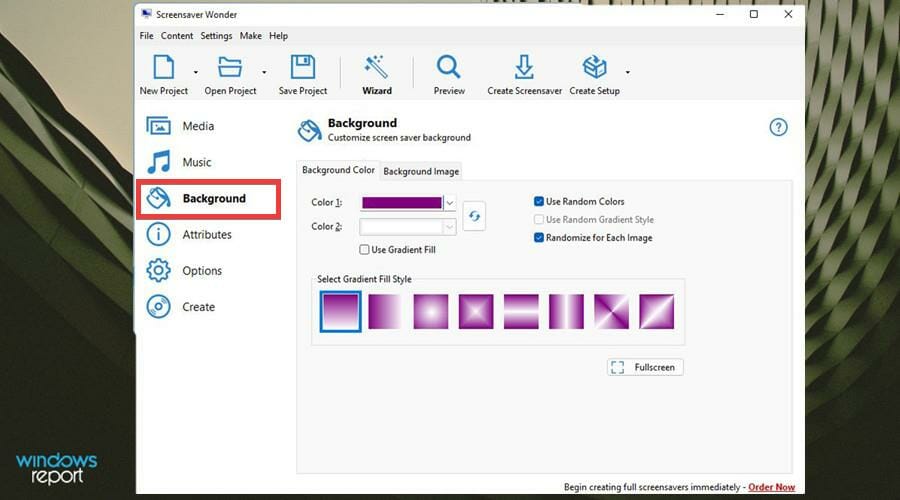
- In Background, you can change the background color of the slideshow and select the gradient fill. Or you can randomize everything by clicking the buttons on the side.
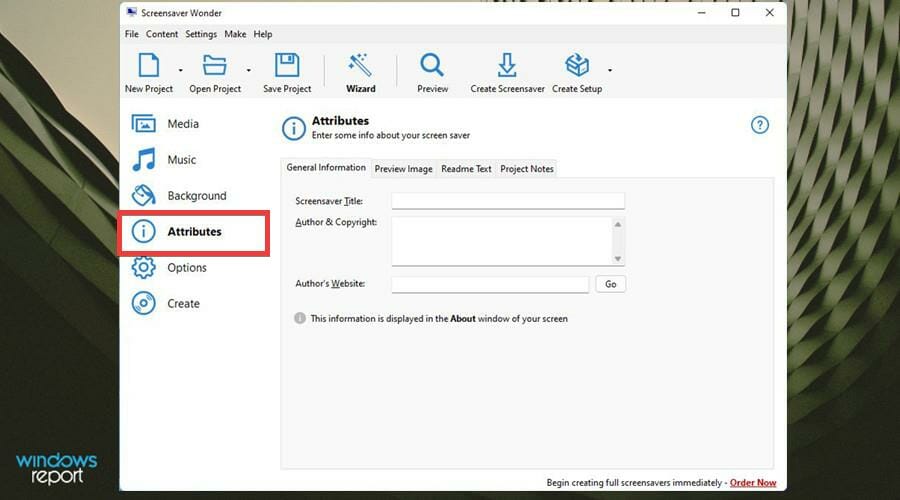
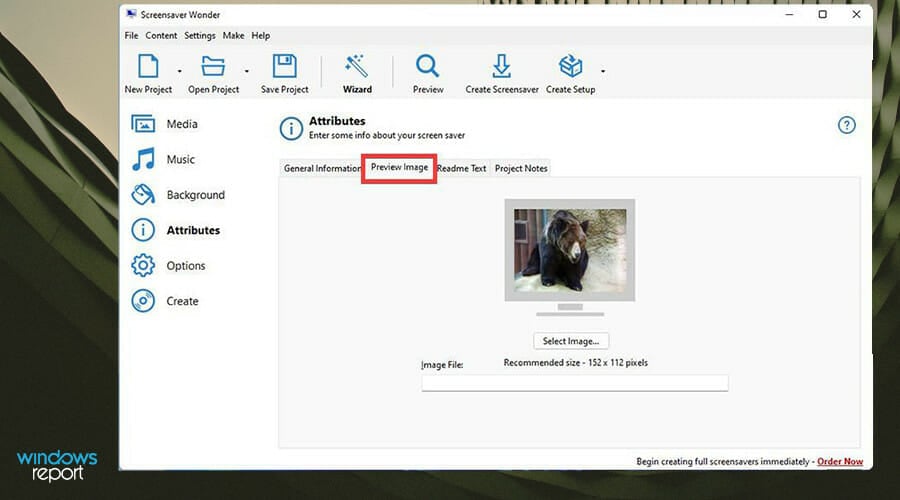
- Attributes allows you to give the Screensaver a title, write down your name, and include your website.
- The Preview Image tab gives a preview of the slideshow before it starts, which you can switch out.
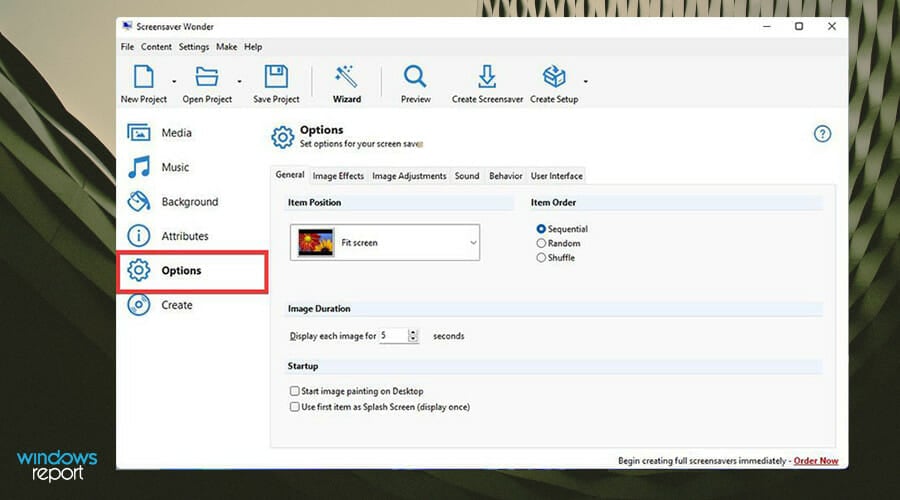
- Options allows the most in depth customization. The General allows you to choose how the image is positioned and in what order the slideshow comes out in.
- Image Effects allows you to configure which transition effects you want in the slideshow and how fast you want them.
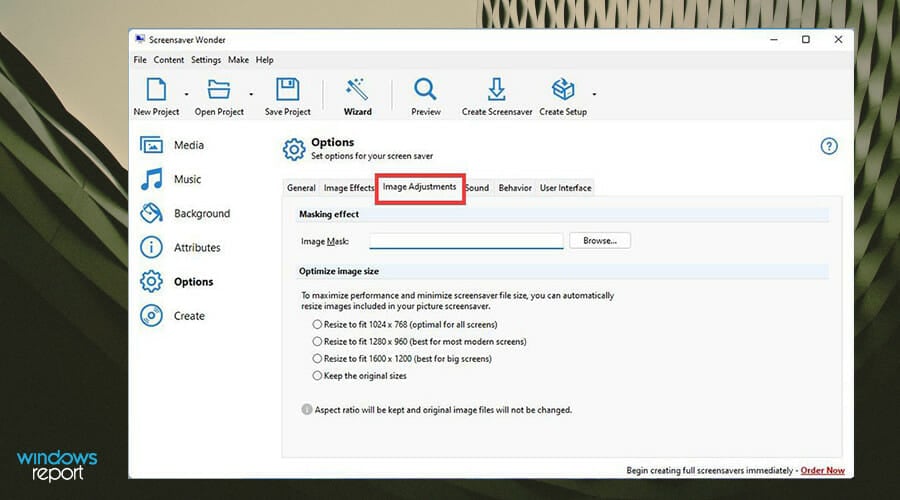
- Image Adjustments optimize the image size to fit the screen.
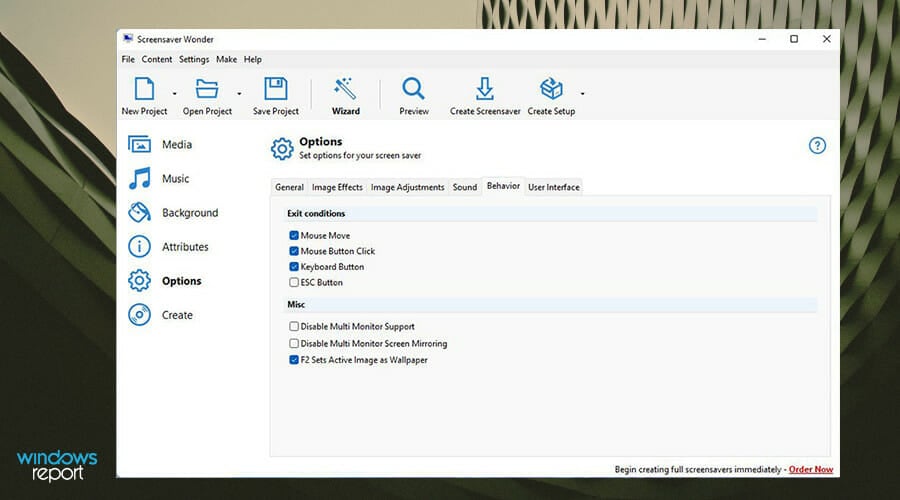
- Behavior configures the exit conditions, how the screensaver ends. You can select which ones work or don’t.
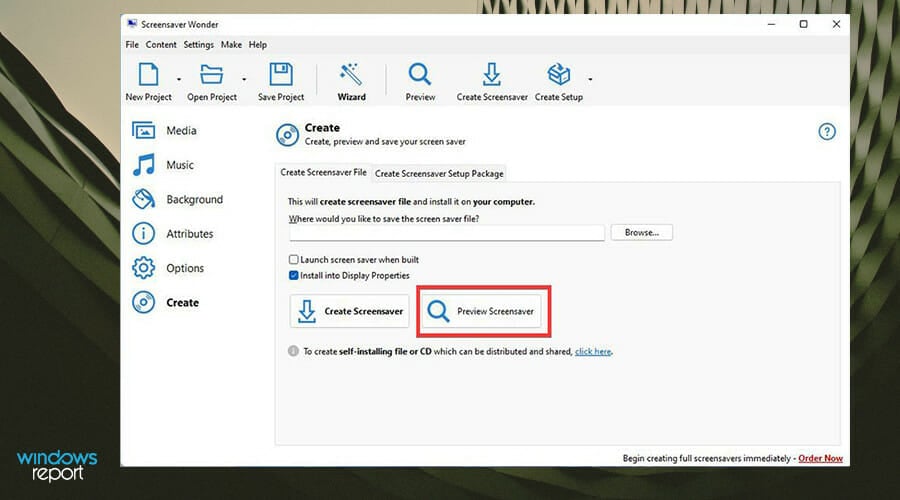
- Once you’re done configuring, select Create on the left hand side.
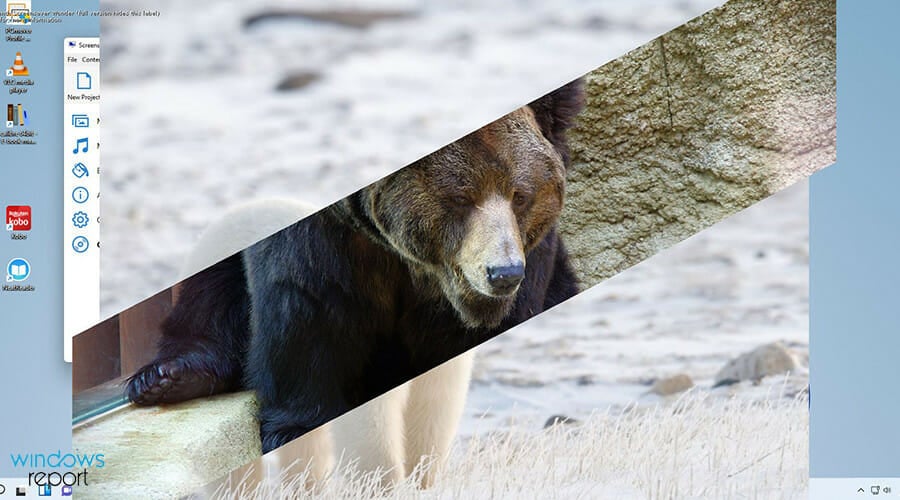
- You can preview the screensaver by selecting Preview Screensaver.
- The screensaver previews as you intended to. View it and make any changes as you see fit.
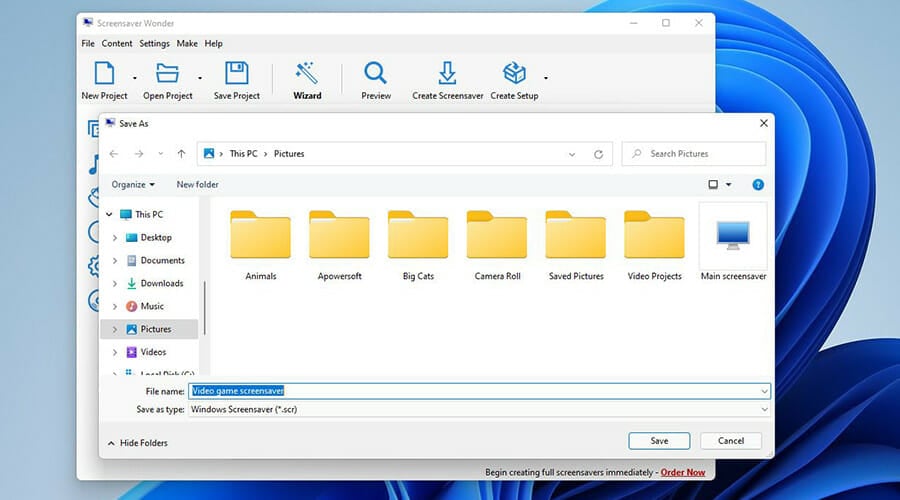
- Then click Create Screensaver.
- Give the screensaver a name.
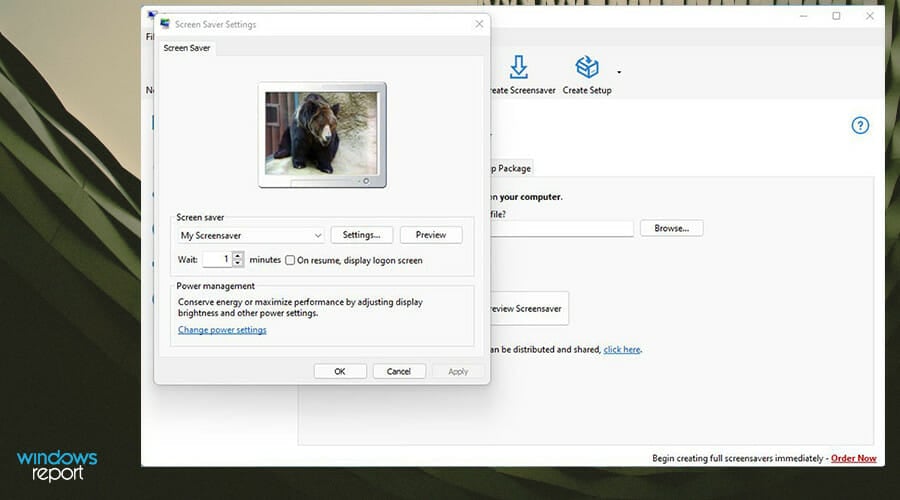
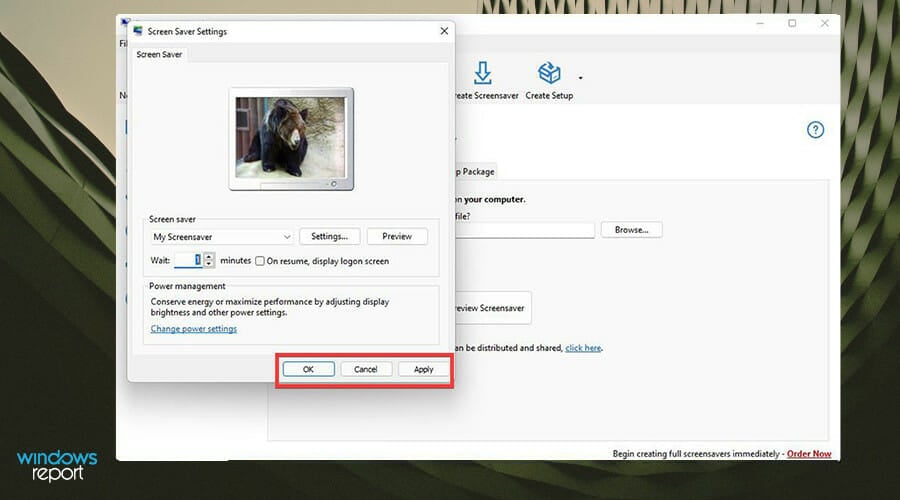
- Immediately after creating the screensaver, the window for the Screen Saver Settings appears.
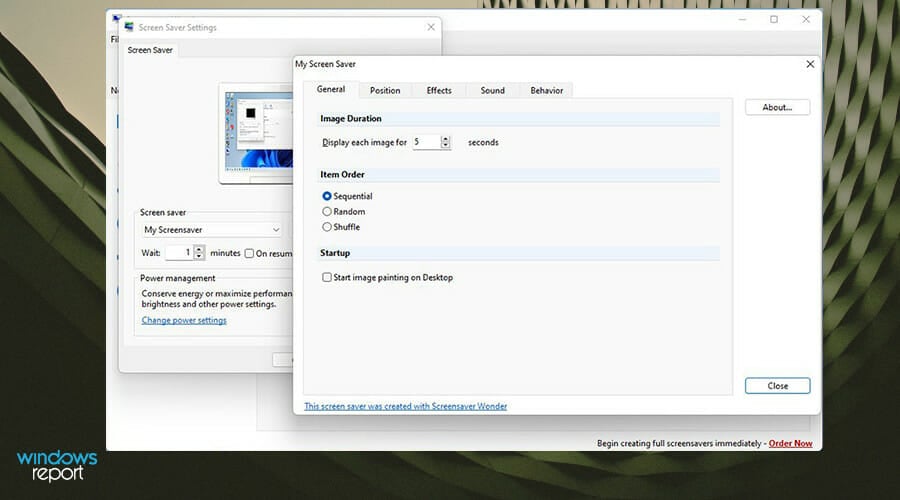
- Click on the Settings button and you can make many of the same changes found in Screensaver Wonder 7.
- After making changes, click Apply then OK.
- After a brief moment, the screensaver that you created will appear.
Are there other ways to customize the look of my Windows 11 computer?
If creating a screensaver out of your own pictures doesn’t do it for you, there are other options like creating a 3D screensaver. You may see that a lot of 3D screensaver software is seemingly only for Windows 10, but don’t worry, they also work for Windows 11.
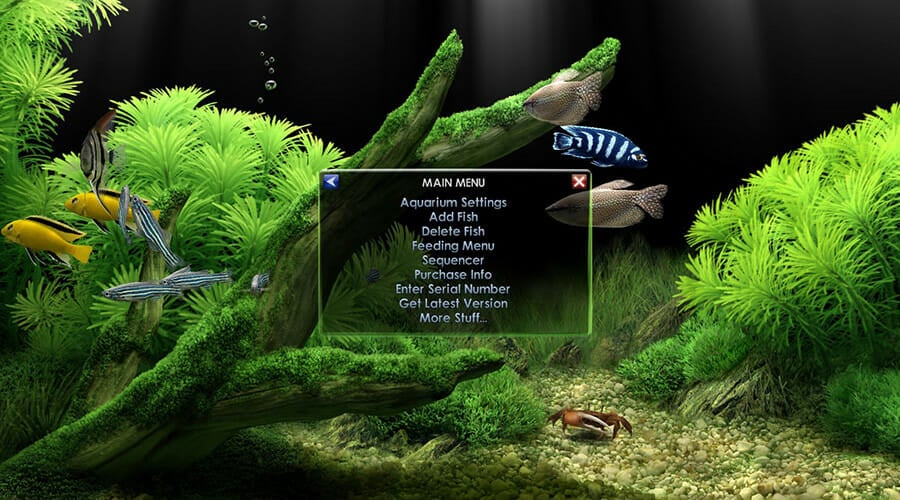
One of the best ones out there is Dream Aquarium which displays a high definition looping video of fish in an aquarium as your screensaver. If you prefer something otherworldly, there’s also Mars 3D Live Wallpaper and Earth 3D.
If you want something outside of screensavers to enhance your experience, adding the QT TabBar app is highly recommended as it enables multiple tabs to be used on the File Explorer in Windows 11. It’s not a major design change, but it is very helpful.
Feel free to leave a comment below if you have any questions on other Windows 11 apps. Also, leave comments about other guides that you’d like to see or information on other Windows 11 features.

