How to add QT TabBar to Windows 11 File Explorer
Key notes
- QT TabBar is a third-party software that enables tabs to be used on File Explorer for Windows 11.
- Having the ability to have multiple tabs open on File Explorer is a great quality-of-life addition and make browsing more enjoyable.
- This guide will show you how to download, install, and configure (to an extent) QT Tab Bar on Windows 11.

Windows 11 made a lot of big changes when it first came out and simplified a lot of the menus to make the system as a whole more approachable and user-friendly. But certain aspects of the OS remain in the past and that is the case for the File Explorer.
The File Explorer is the system’s default file manager that, in the past, has been pretty confusing to use. That is until the release of Windows 11, which made the app much more simple and easier to use.
However, it still forces you to open two separate windows instead of a tab if you want to browse through and this can be a little annoying.
We live in a world where our favorite web browsers like Firefox, Chrome, and Edge, allow you to surf through the internet with multiple tabs open with no need to switch between two separate windows.
Multiple tabs are so ubiquitous that it’s difficult to imagine a browsing app without that capability.
Fortunately, there’s a way to add multiple tab functionality onto File Explorer, and that is through downloading QT TabBar. It’s the best way to get multiple tabs working on Windows 11.
What is QT TabBar?
It’s third-party software that integrates itself into File Explorer and enables multiple tabs to be open at the same time.
This may not sound like a big deal since it’s so ubiquitous on a web browser, but when it’s missing, it’s highly noticeable and makes using the app not as intuitive.
It’s unknown if Microsoft plans on including this feature in a future version of Windows 11. It’s certainly possible since Windows 10’s File Explorer had multiple tab functionality.
It’s entirely within Microsoft’s power to add this, but nothing official has been said.
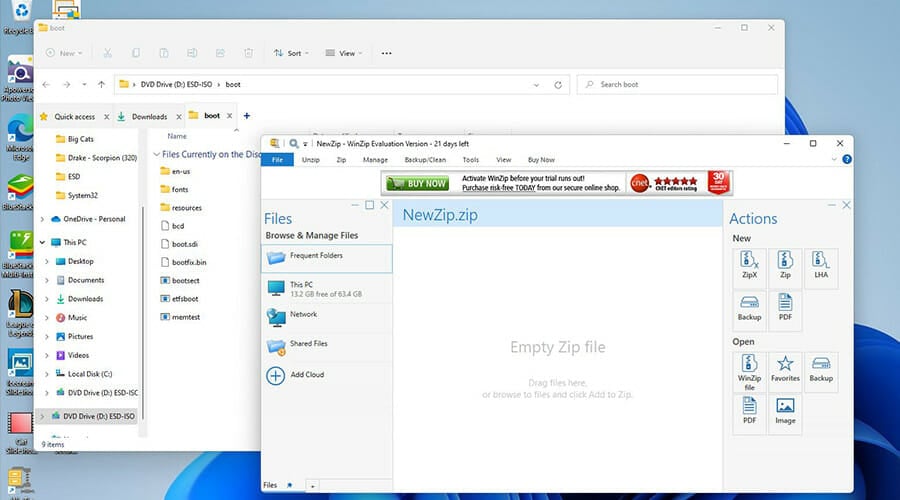
Installing and configuring QT TabBar can be a little tricky. This guide will show you how to download and configure QT TabBar so you can customize the app however you want to suit your needs. Zip file apps like WinRar or 7Zip are needed for QT TabBar.
How do I enable QT TabBar in Windows 11?
1. Downloading QT TabBar
- In a search bar, search for QT TabBar.
- Locate and click the QuizoApps entry.

- Click on the QT TabBar for Windows 11 hyperlink. This will begin the download.

- A small may appear asking you what you want to do with the file. Click on Open with and select your Zip file opener app.
- Conversely, you can save the file and hold it for later until you have an app to open it.
- Once you’ve made your selection, click Ok.

- After downloading, the Zip file app will open.
- Click on the folder and select Extract To on the top bar.

- Select where you want to extract the file to. As an example, this will choose Downloads.

- Click OK.

- Go to the destination where the files were extract to.
- Locate and double-click the installation file.

- A small window will appear asking if you want to make changes. Select Yes.

- The QT TabBar Setup Wizard will appear. Select Next.

- In the next window, select Next to start the installation.

- After installation, the QT TabBar will automatically be installed onto File Explorer.

- To add tabs, click on the Plus sign in the top bar.

- A small window will appear where you can select what you want to open from a folder to a section of the computer.

- Once you’ve made your selection, click OK.

2. Configuring QT TabBar
- To change and configure the settings of QT TabBar, first open the File Explorer.
- Hover over the Plus sign next to the tab and right-click it.

- Scroll down and click QTTabBar Options….

- The QTTabBar Options window will open allow you to configure the tabs as you see fit.
- The General tab allows you to change the language file for File Explorer if you have one and you can even select if you want to be notified of any updates.

- If you want to change how the tabs look, click on the Appearance tab on the left.

- To change the appearance of the Tab size, adjust the number of the tab’s Height.

- To change the width, click on the drop down menu for Width and select an option.
- Auto adjusts the width in accordance with the height, Fixed allows you set the size manuall, and Limit tab width adds a limit to how big the tabs can be.

- You can change the tab’s font by pressing the Choose font button and making a selection.

- Change the font and select OK.

- Change the color by selecting Active in the Text color section.

- Pick a color and then click OK.

- Clicking on Text Shadow will add a backdrop to the text to make it stand out.

- Here, click on Active again. and then choose a color to serve as the shadow.

- Choose a color to serve as the shadow. Click OK.

- Change the font style by choosing the options on the left hand side.

- The drop down menu next to Text alignment changes where the text is placed in a tab.

- Once you’ve done the changes you want to make, click Apply on the bottom.

- Click OK to close the window and see the changes.

- You can also change the tabs’ skin by going to the Tab skins tab at the top.

- Click the Download skin image file… in the Rendering of Tab Background and Text section.

- In the QT TabBar Image Browser, scroll and find an image you want to be the tab’s background.

- Double click it to save the file.
- This will open the file explorer. Select a location where to save the image.

- Going back to the Tab skins window, select Image file path underneath Close button on Tab.

- Click on the button with the three dots and search for the previously saved image.

- Find the image, click it, and then press Open.

- Click Apply then OK.

- You can now see the tab now has the image you downloaded and selected from the library.
3. Changing Tool Bar Design
- You can further change the Toolbar’s design by first going to the Toolbar tab in the QT TabBar Options.

- Click Toolbar background color to change its color.

- Click Choose color…
- Select a color, then click OK.

- Click Apply to change the color.

- You can change the background image by first clicking Toolbar background image.

- Click on the drop-down menu next to Image placement to change how the image will look on the tool bar.

- Click on the three dots above image placement.

- Click on the image you want to place in the tool bar, then click Open.

- Click Apply then OK to close the window to see the changes.

- It’s worth pointing out how to change the Menu’s apperance by going to the Menu tab.

- You can change the style of the File Explorer by clicking on the Menu style down drop list to change how it long.
- You can select the Windows 10 style or the Windows XP style, for example.

- The menu’s opacity can be changed by clicking the drop down menu and changing the amount.

- Click Apply then OK.

- As seen in this image, the Menu has taken on the Windows 10 style with its rigid box design.

Are there ways to enhance my Windows 11 experience?
There are lots of things you can do to streamline your Windows 11 experience. There’s a lot of neat tips and tricks that you can do like resizing the taskbar and learning new keyboard shortcuts. My favorite is pressing the Windows Key + A to bring up Quick Settings.
You should also learn how to fix your Windows 11 computer if it keeps freezing randomly. Limited system memory is a major factor behind many computer freeze as well as incompatibility with the GPU. Upgrading to Windows 11 may cause this issue if your old driver doesn’t mesh well with the new system.
Speaking of errors, DirectX issues can also appear on Windows 11 computers. DirectX is a library of APIs that are important for Windows computers to display video, audio, and video games.
For the most part, DirectX is updated automatically so there should never be any issues, but there’s always that odd instance where something just doesn’t work.
Read our disclosure page to find out how can you help Windows Report sustain the editorial team. Read more


Improve this guide


User forum
1 messages