How to Enable Scan to Computer on Windows 11 [7 Ways]
7 min. read
Updated on
Read our disclosure page to find out how can you help Windows Report sustain the editorial team. Read more
Key notes
- Scanning makes the storage of photos and other files more flexible and offers the option to access them anywhere. Your printer must have a scanner to use.
- Many users complain that their printer is unable to scan to the computer after upgrading to Windows 11. Altering the compatibility mode of the scanner may solve it.
- Some of our readers also claimed Microsoft tech support told them Windows 11 will not recognize all printers. Downloading the latest driver from the manufacturer’s platform may fix it.
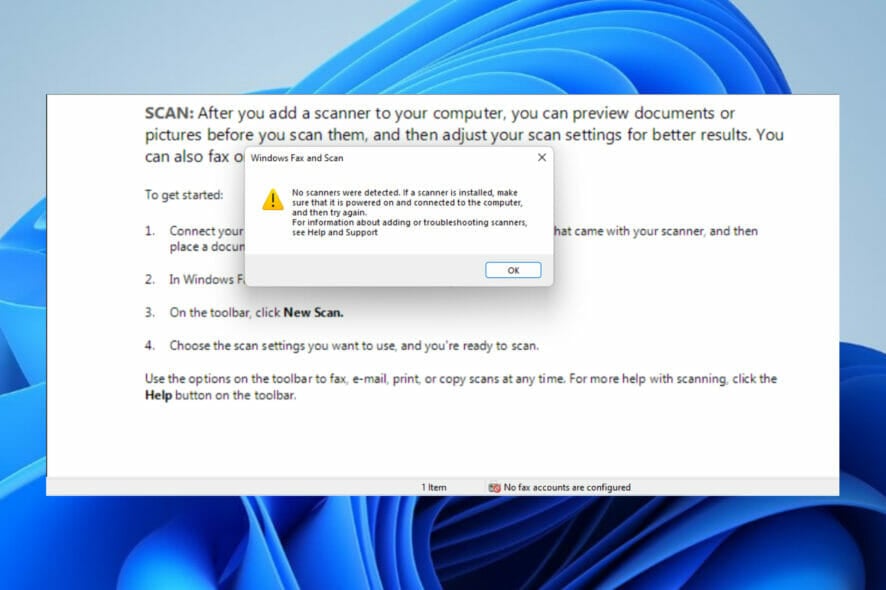
Are you in search of information on how to enable scan to a computer in Windows 11? Well, the OS is enabled to scan an image, document, and any other compatible files to your computer.
They can then be saved anywhere you prefer and probably uploaded to the cloud, hence, accessible from anywhere you want.
Dedicated software controls most scanners. They are made available by their manufacturers.
It is also possible to control them using an application provided by Microsoft itself or one of the best scanner apps for Windows 11. But then, users have complained that they experience some problems while trying to scan.
Why will my printer not scan to the computer?
Generally, the reason for Windows scanners not being detected can be broadly categorized into two: situations when the computer does not detect the printer at all, and instances when the printer is detected but scanning does not work.
These issues especially the latter can be caused by one of the following reasons:
- Faulty cable connection – Using a bad or incompatible cable would prevent a successful connection between a computer and the printer. This will inevitably hinder the scan from working.
- Error in wireless connection – The use of non-cable connections such as WiFi doesn’t guarantee there will be no error. Issues with the connection will automatically affect the ability to scan.
- Outdated printer driver – Whenever peripheral hardware like a printer is connected to a computer, a driver is responsible for smooth communication. Any problem with the driver will directly tamper with scanning.
- Insufficient memory on the system – If you have a low memory space on your computer, scanning may not be possible if the expected result would exceed the available storage.
- Disabled Windows Image Acquisition (WIA) Service – This is a special service on the Windows Operating System designed to support the optimal function of scanning. Disabling it will prevent the scan from effectively executing.
- Disabled Shell Hardware Detection Services – The ShellHWDetection manages Autoplay hardware events in Windows. This feature allows the computer to detect images and triggers needed applications to display them. It has to be enabled for the scan to work.
How do I enable scan to computer?
1. Setup the scanner
- Connect the printer to the computer using cable or WiFi.
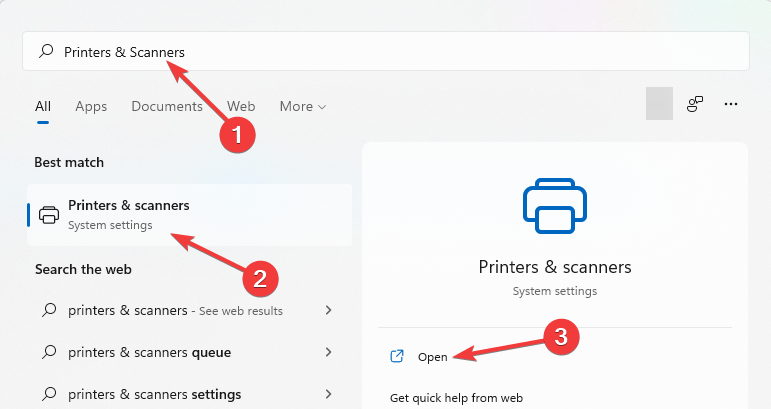
- Press the Windows key to open Windows Search.
- Type Printers & Scanners. Select Printers & scanners under the Best match result(s) and choose Open.
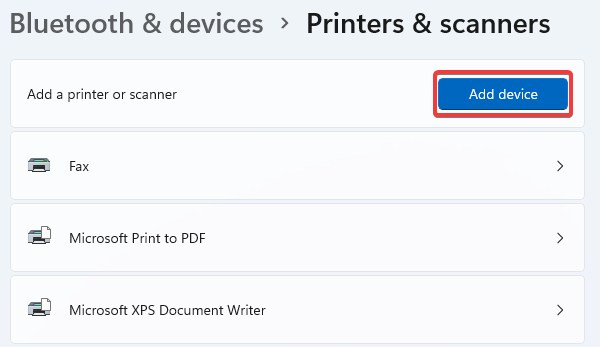
- Select Add device.
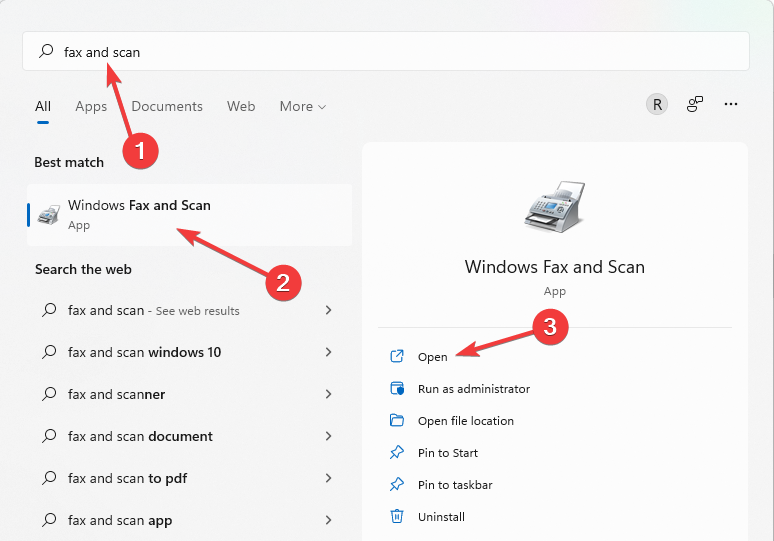
- After successfully adding the printer device, go back to Windows search by tapping the Windows key.
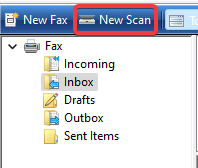
- Input Fax and Scan in the Search box. Select Windows Fax and Scan. Then click, Open.
- Choose New Scan.
- Put the document you want to scan in the printer scanner section. Select Preview to assess the final result and adjust if need be after which you can click Scan.
2. Check the wireless connection
Here are some of our recommendations:
- Make sure the WiFi, computer, and printer are all within range. If this is not the case, adjust the location and, if impossible, switch to an alternative by connecting using cable instead. You can check out wireless printers compatible with Windows.
- For the wireless connection to function, you might need to restart the WiFi.
- It is also recommended that you check if the printer is wireless compatible to enable scan to a computer.
3. Update printer drivers
- Right-click on the Windows logo icon in the Taskbar.
- Pick Device Manager.
- Check and click on the small drop-down arrow beside Printer.
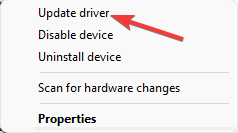
- Right-click on the connected printer and then select Update driver.
Instead of updating drivers manually, you can use another method to manage all your drivers more efficiently.
With a dedicated driver updater, you have full support to install or update old drivers on your system. Not only this, you can handle drivers’ errors and repair them right away.
The software will scan your Windows 11 PC for outdated driver files and detect them rapidly. Afterward, you can choose one driver or many others to start the update.
4. Reduce scan resolution
- Download Windows Scan from Microsoft Store.
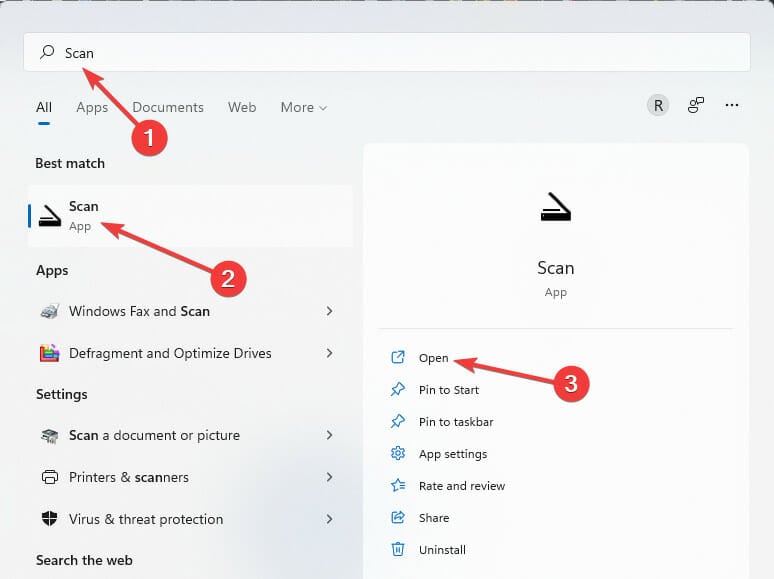
- Press the Windows key and type Scan in the Search box.
- Change File Type.
- Set Resolution to low. Then start Scan.
This method is recommended in case your PC is low on can device memory. It would also work for readers in search of solutions on how to enable scan to computer on Windows 10.
5. Activate Shell Hardware Detection Services
- Tap Windows Key + R simultaneously.
- Enter the command below and then press Shift + Enter.
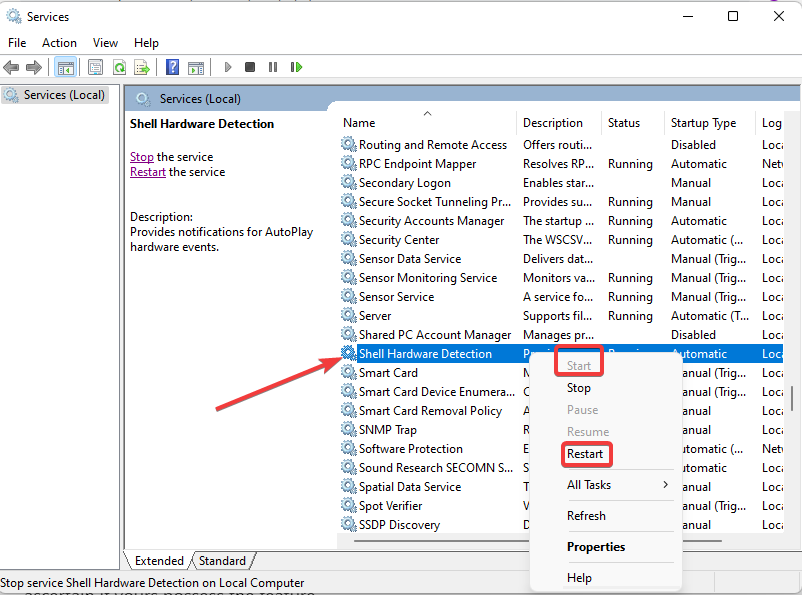
services.msc - Locate Shell Hardware Detection. Now, right-click on it and select Restart or Start.
6. Enable Windows Image Acquisition service
- Press Windows key + R to open Run.
- Type this command and press Enter:
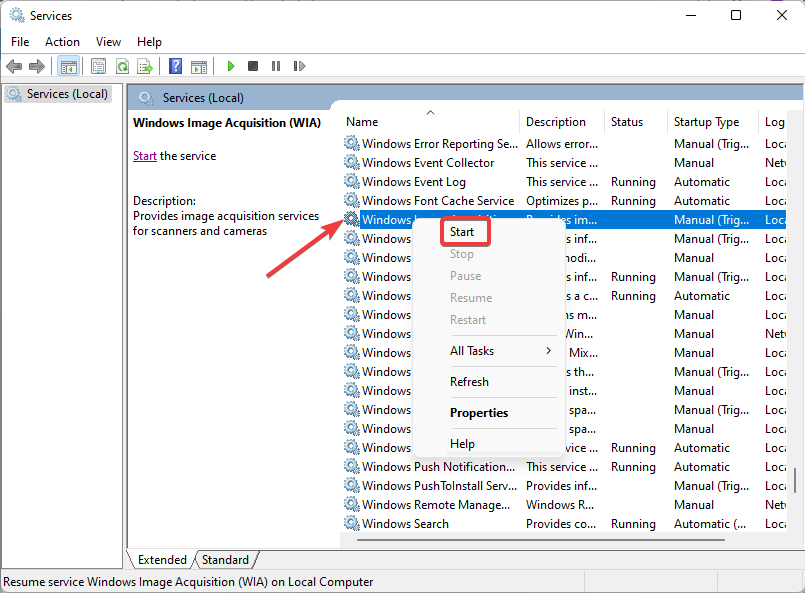
services.msc - Scroll to locate Windows Image Acquisition; the options are arranged in alphabetical order.
- When found, right-click on it and then choose Start.
Windows Image Acquisition (WIA) enables unhindered communication between graphic software on the computer and imaging hardware like scanners. The solution above can also work for readers looking for guides on how to scan to a computer in Windows 7.
7. Tweak Compatibility Mode
- Right-click on the printer/scanner icon on Home Screen.
- Choose Properties.
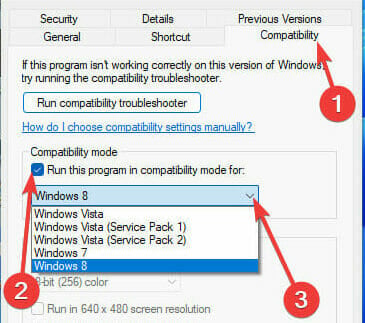
- Select Compatibility. Tick Run this program in compatibility mode for: then select the Windows version you prefer.
- Select Apply. Next, restart your system and retry scanning.
Why is my computer not detecting my scanner?
In the second section of this solution guide, we listed the common reasons why Windows may not enable scan to computer in Windows 11. Also, not all printers are designed with scanners, so, it is important to ascertain if yours possess the feature.
Users who have just upgraded their Windows 11 usually face hiccups with scanning. Sometimes, to fix this, you will need to go and download the official software for the scanner on the manufacturer’s website.
Another thing that could make your computer not detect the scanner is when the scanner software is not compatible with the PC.
What can I do if my Windows scanner is not detected?
1. Troubleshoot printer
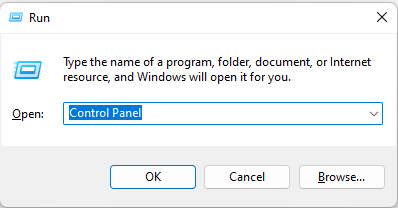
- Open Run by pressing Windows key + R.
- Type Control Panel and then press Enter.
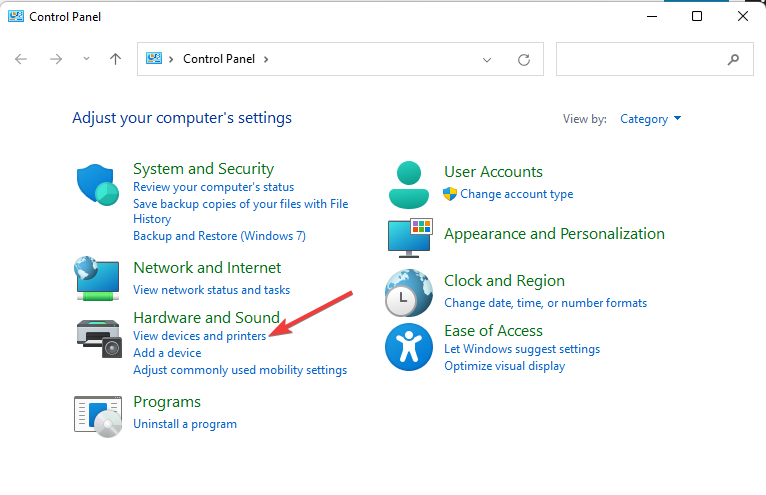
- Click View devices and printers.
- Right-click on the affected printer and then choose Troubleshoot.
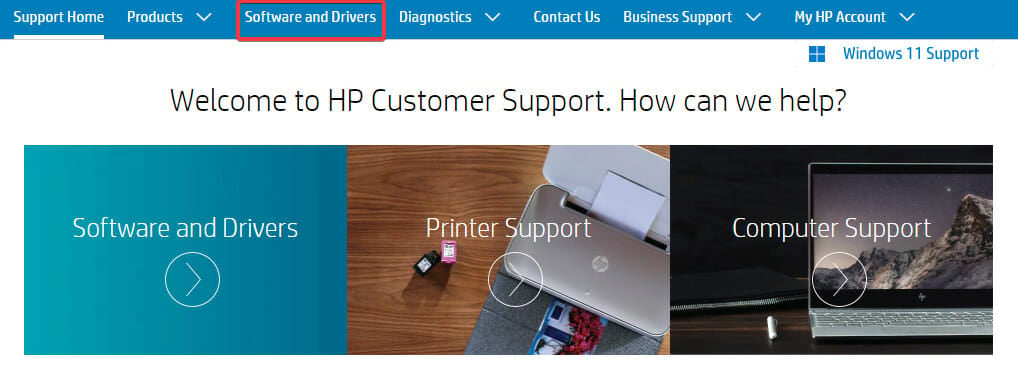
2. Download scanning software from the manufacturer
- Visit the printer manufacturer’s website.
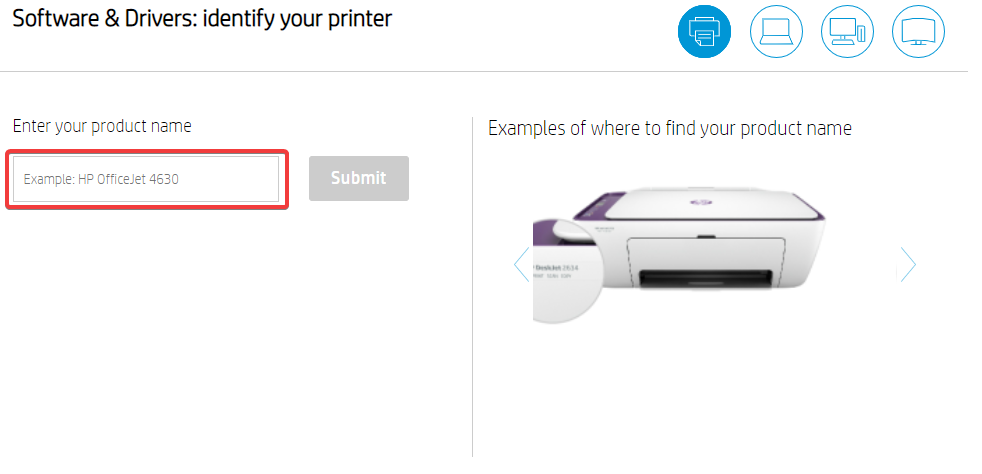
- Enter your product name to get the most compatible driver download link.
- Download and Install the software on the computer.
- Retry scanning.
Make sure that your VPN is disconnected when visiting your printer manufacturer’s official website to get the best recommendation for your need.
Meanwhile, there are lots of free scanning software tools for Windows 11 on the market today that work seamlessly with any computer with the required compatibility.
One of them is the Windows scan developed by Microsoft and available for download in the Microsoft Store.
If you are looking for alternatives that are both effective and free, we have a review on free scanning software for Windows 11/10 to help you decide which to choose.
What scanners are compatible with Windows 11?
Literally, all printers with scanners are expected to be compatible with Windows 11, but some of our readers have reported that after contacting Microsoft Support when they had issues, they were told the latest Windows OS version is not compatible with all printers.
The reason for this is many, but one specific one is that the manufacturer hasn’t updated their drivers to synergize with Windows 11. This is a move many big boys in the printing industry don’t hesitate to act upon.
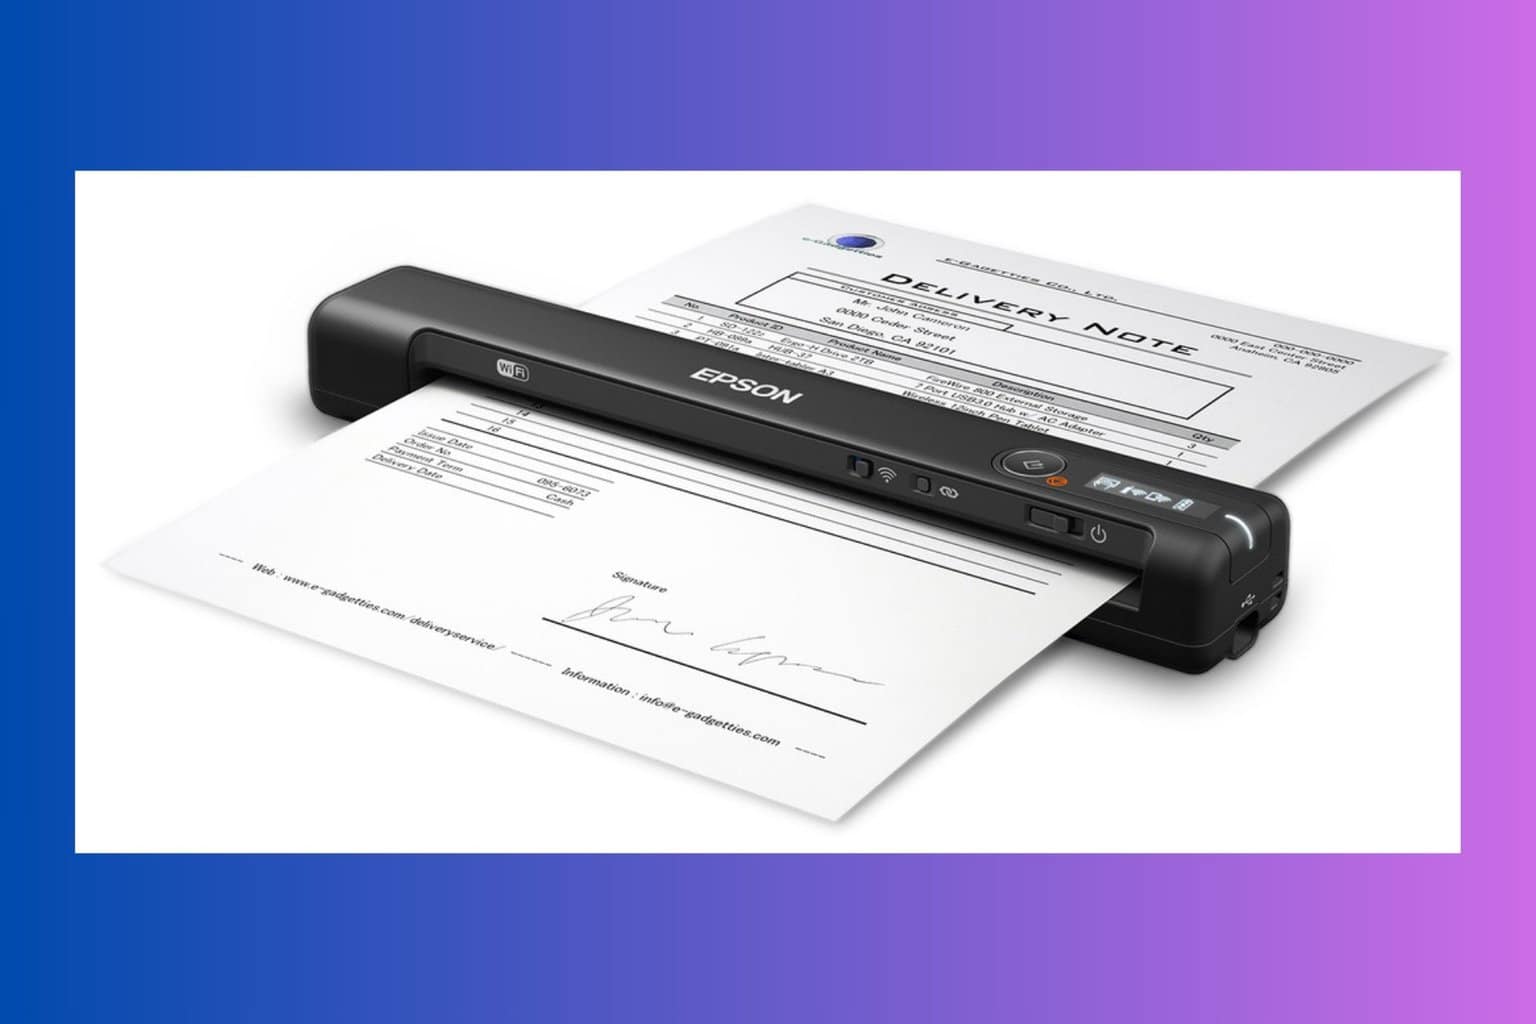
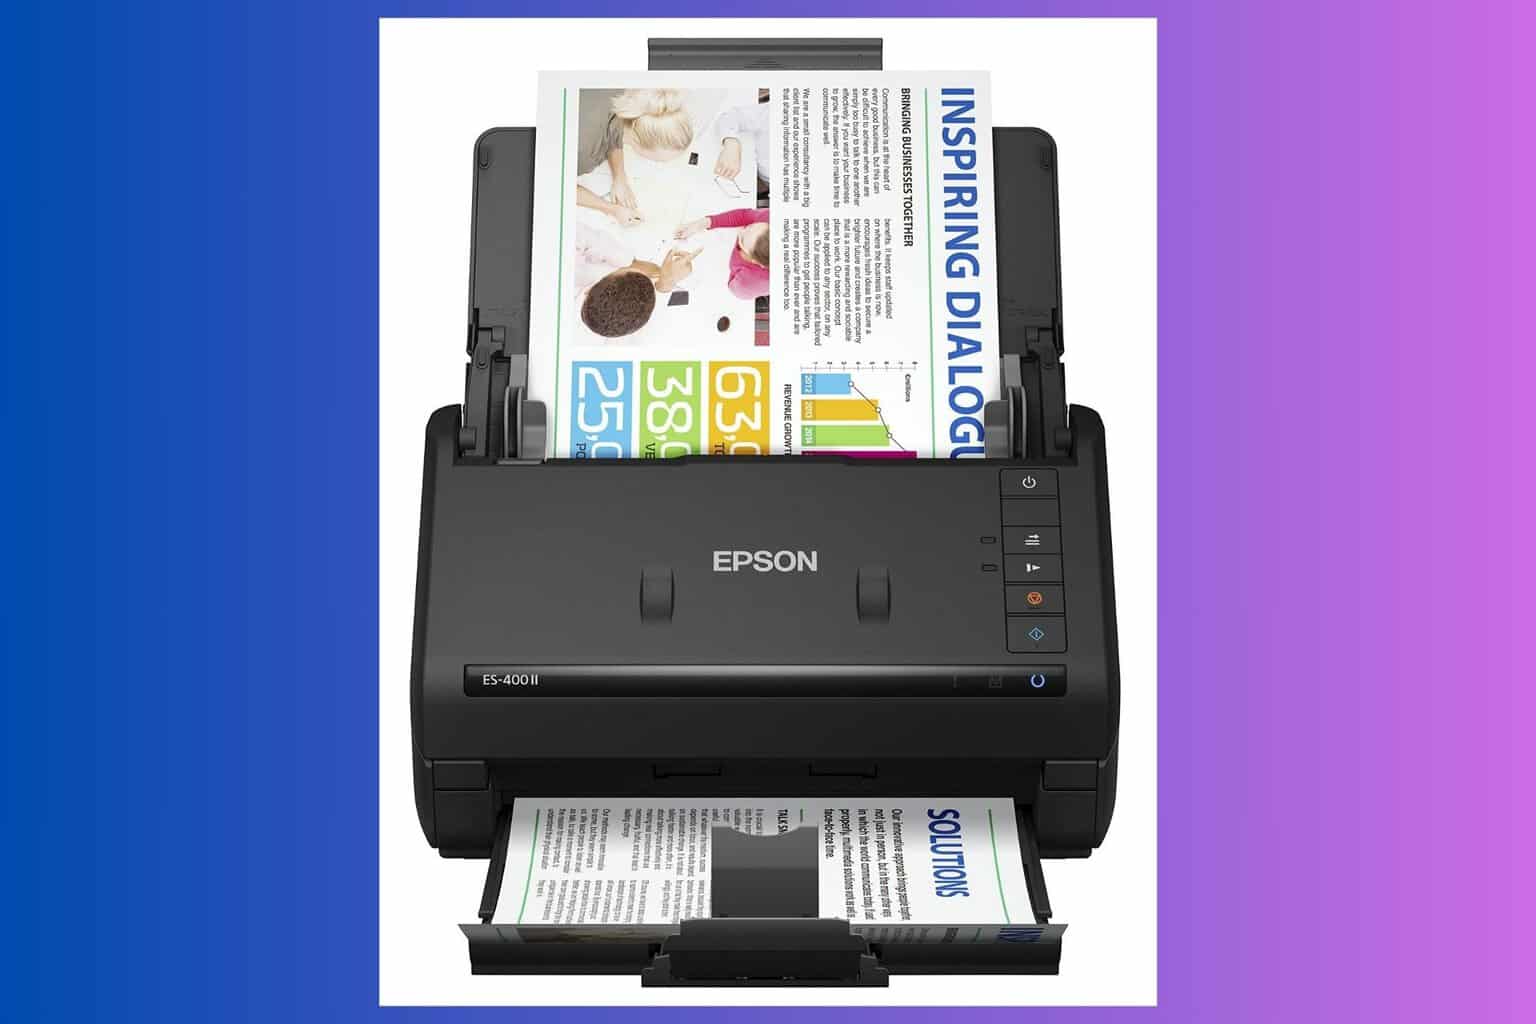
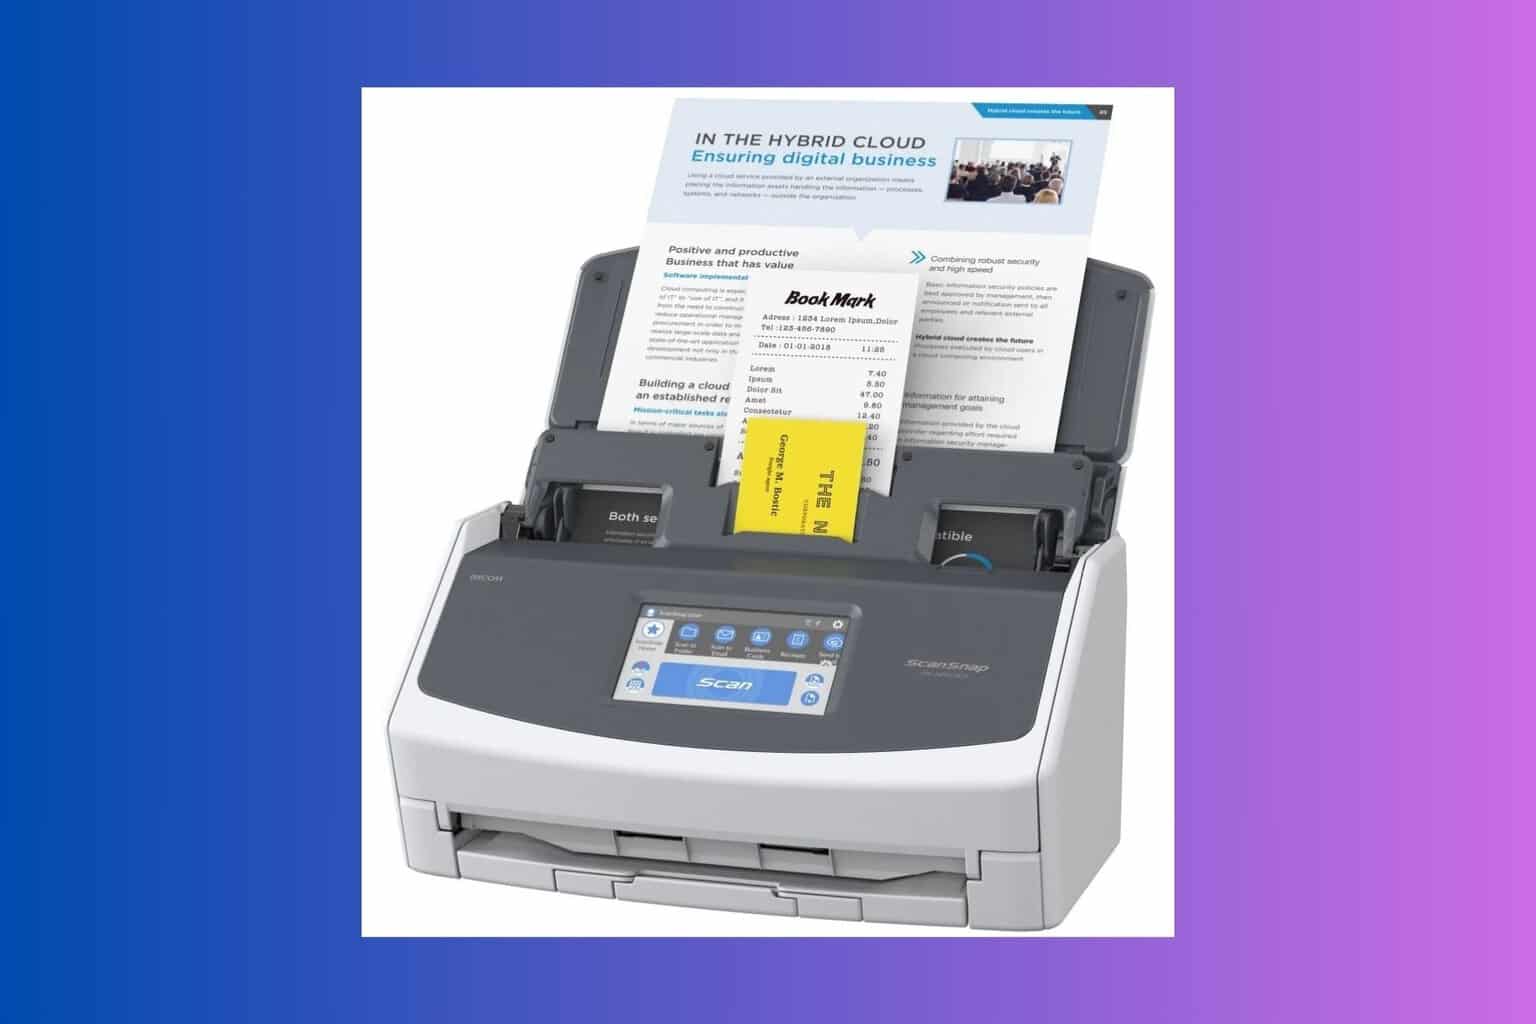
When searching for scanners that are compatible with Windows 11, check out our review of the best printers with feeder scanners to make an informed decision.
Experiencing any issue with scanning all because you updated Windows is something that could be frustrating. We hope any of the solutions discussed so far has helped you fix the problem. If not, also take a look at our article on what to do if the HP scanner is not working on Windows 11.
Let’s know how you were able to enable scan to a printer on Windows 11 after reading through this guide. Don’t hold back from sharing any other useful tips you discovered in the comments section below.





User forum
0 messages