How to Completely Flush & Reset DNS on Windows 11
Use the Command Prompt or the Run dialogue
5 min. read
Updated on
Read our disclosure page to find out how can you help Windows Report sustain the editorial team Read more
Key notes
- Clearing the DNS cache will help you fix multiple network-related issues.
- You can use the Command Prompt or the Windows PowerShell to clear the DNS cache.
- Also, you nay create a batch file to simply run it to clear the DNS cache.
Flushing the DNS cache helps you fix the various network issues that might trigger on your PC. While flushing the DNS is a nice process, you should know it to take advantage of it. In fact, there is not just one way, but 6 different ways to completely flush DNS in Windows 11.
Here, we will give you a complete explanation of how to flush DNS in Windows 11. We will list the various ways to flush the DNS cache in Windows 11. Let us get right into it.
What does DNS flush & reset do to your PC?
Before we go ahead with the guide on how to flush the DNS cache in Windows 11, you should first understand what the DNS flushing or resetting would do to your PC.
DNS, or Domain Name System, is the index of all public websites and their IP addresses. Windows stores a local copy of these indexes to speed up the loading of these websites in the form of a DNS cache.
If the DNS cache gets corrupted, you will face a slow network connection and other network-related problems. In such a case, flushing or resetting the DNS cache would help fix the problem.
Well, if you happen to be facing slow internet connection in your Windows 11 PC, then you should check out our guide that will help you fix it in no time.
How can I completely flush the DNS cache in Windows 11?
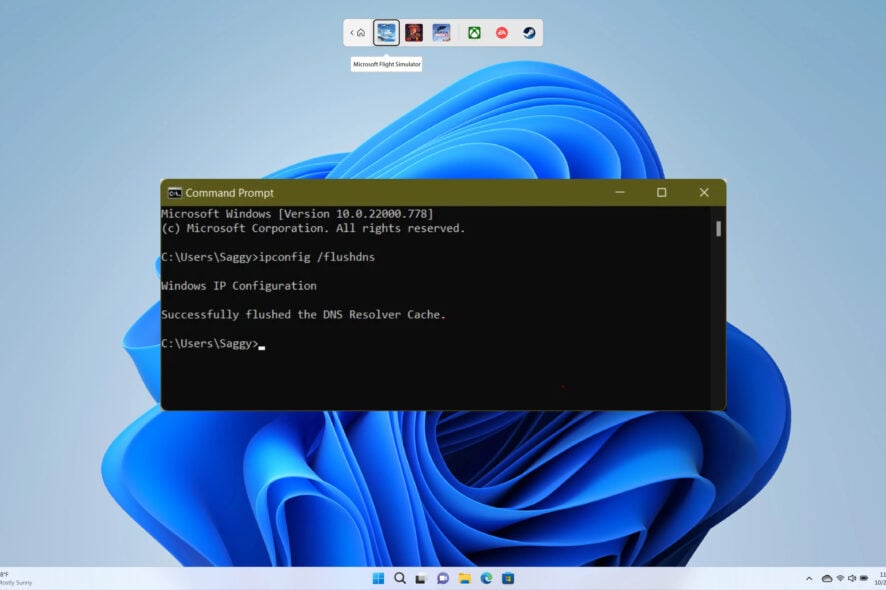
1. Use CMD
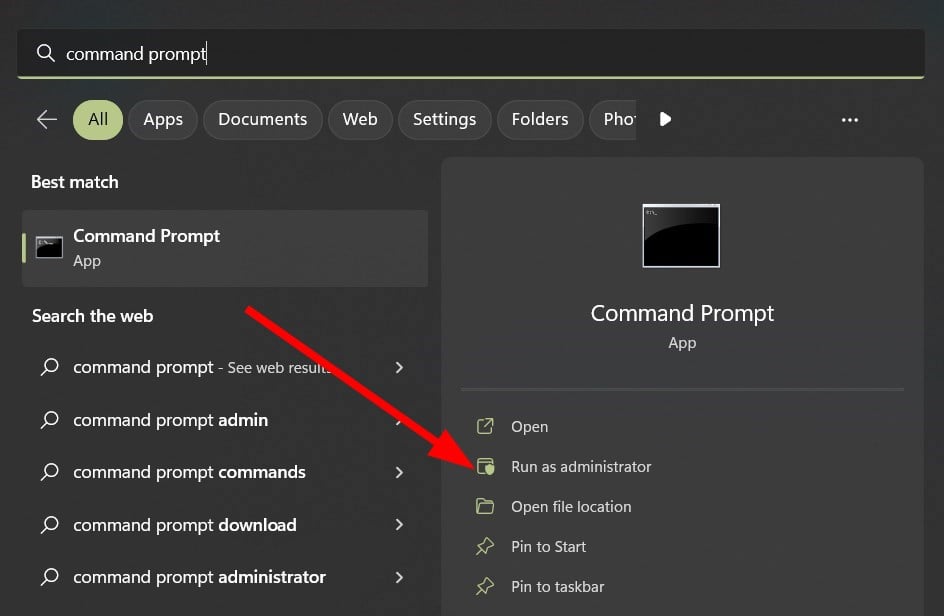
- Press the Win key to open the Start menu.
- Open the command prompt as an admin.
- Type the below command and press Enter.
ipconfig /flushdns - You will get a confirmation message that the DNS cache has been flushed.
2. Use PowerShell
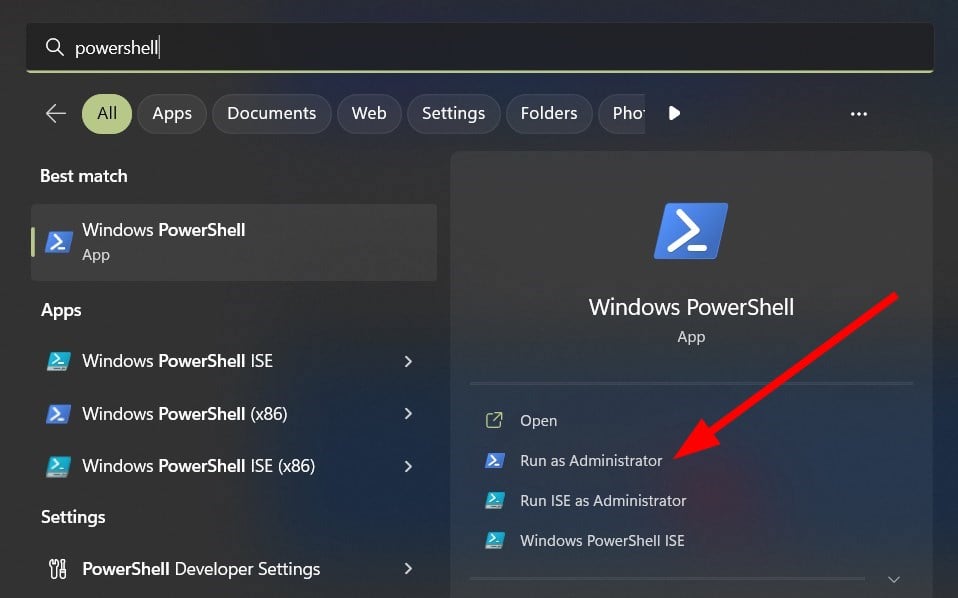
- Press the Win key to open the Start menu.
- Open PowerShell as an admin.
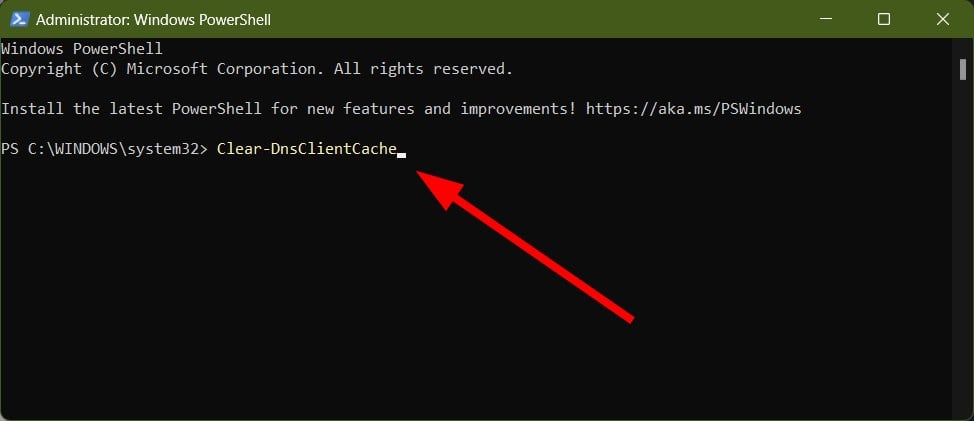
- Type the below command and press Enter.
Clear-DnsClientCache - Restart your PC.
We have a guide that will help you fix the problems related to Windows PowerShell not working or opening. Our guide lists 5 of the most effective ways to fix the issue.
3. Use Run dialogue
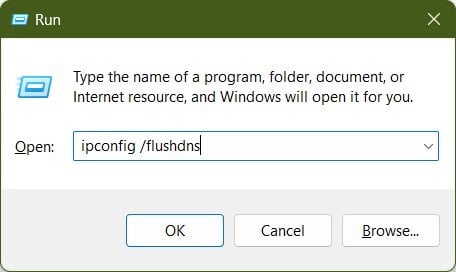
- Press the Win + R keys to open the Run dialogue.
- Type ipconfig /flushdns and press Enter.
- In a split second, the command will execute.
- Restart your PC.
In the Run dialogue, you must use the same command as in the Command Prompt.
4. Create a Batch file
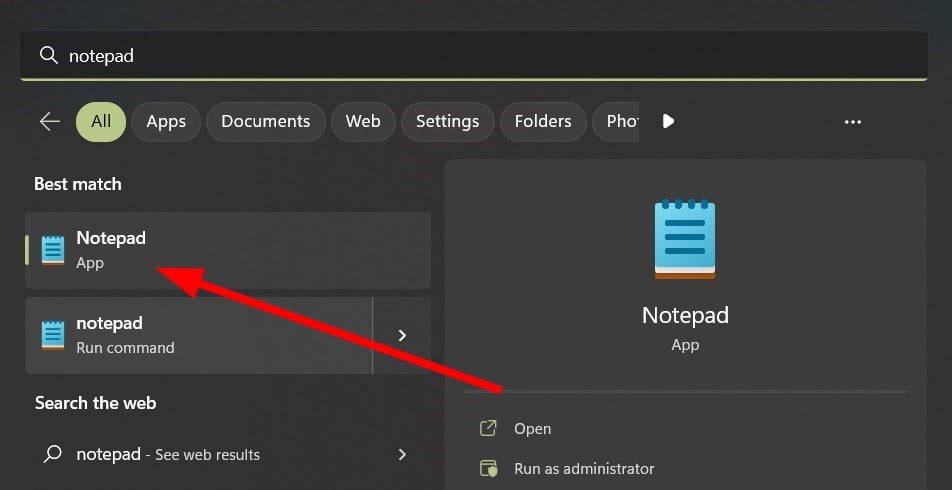
- Press the Win key to open the Start menu.
- Open Notepad.
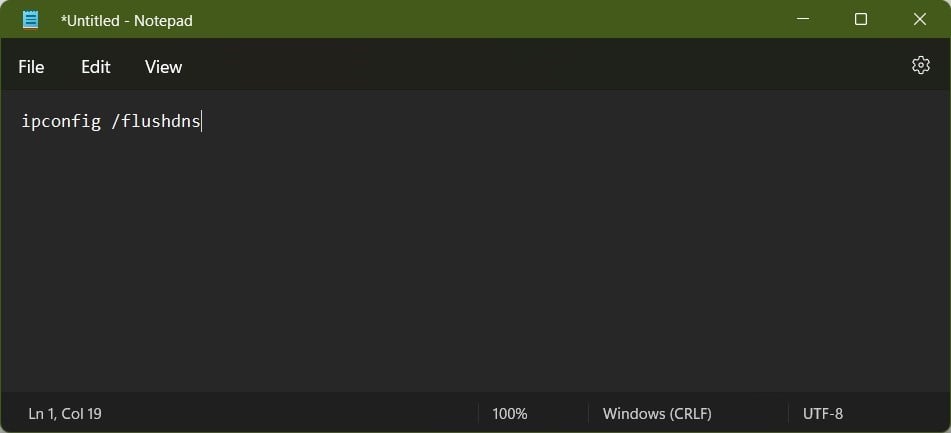
- Type ipconfig /flushdns in the notepad.
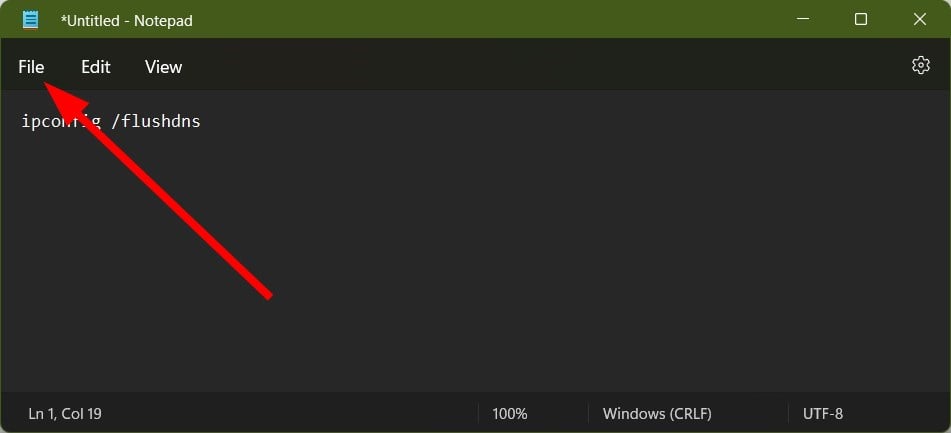
- Click on File.
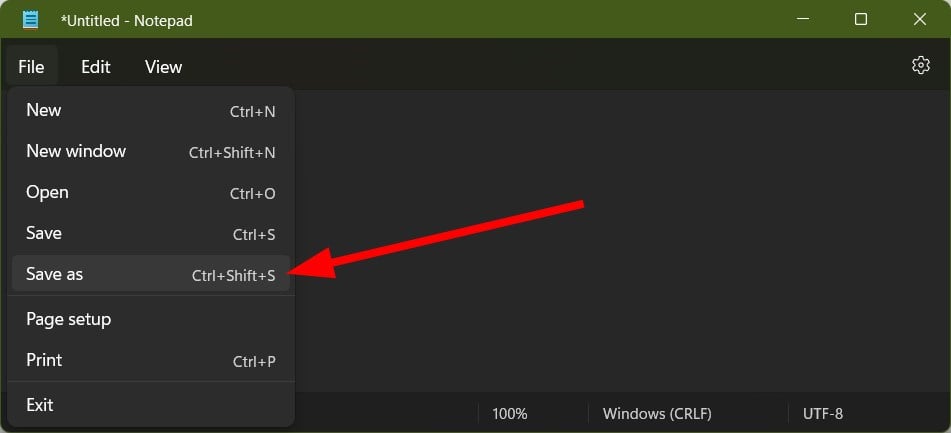
- Select Save as.
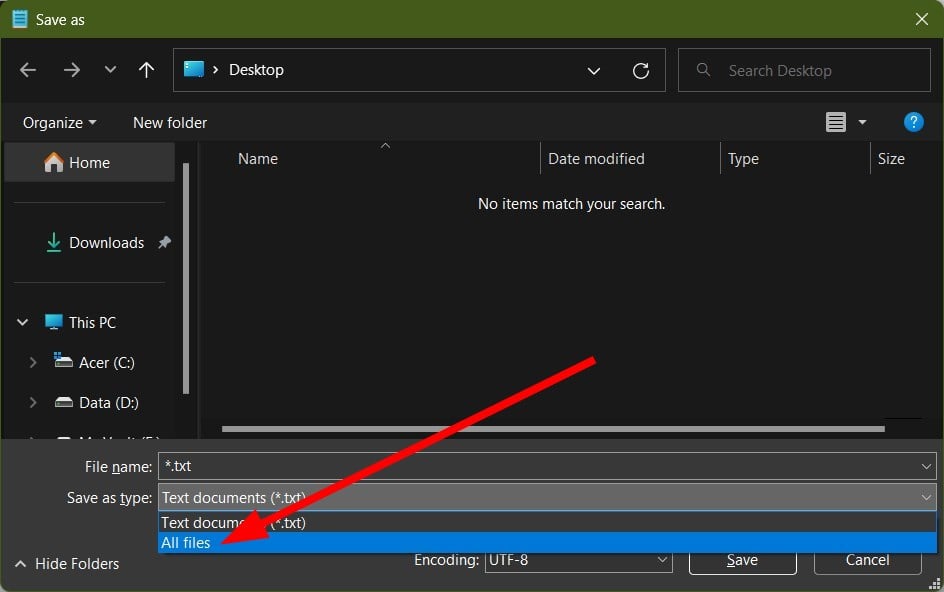
- In the Save as type drop-down, select All files.
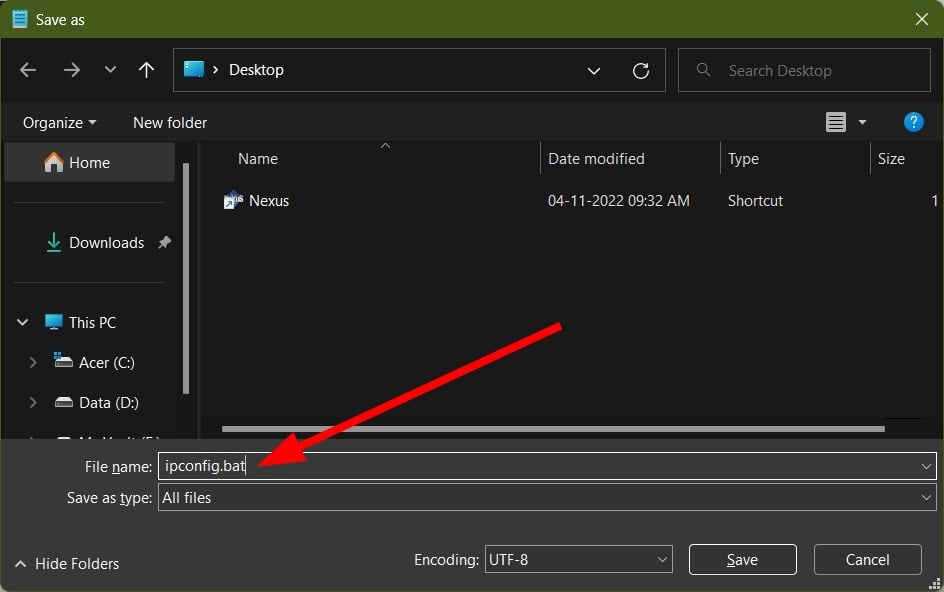
- Give the batch file a name and keep the file extension as .bat.
- Click on Save.
- To clear the DNS cache, simply run the Batch file.
Creating a batch file may look like a bit-long process, but it could come in handy if you do not want to clear the DNS cache that often. If you need to do it, you can simply run the batch file by double-clicking on it, and voila! The DNS cache will be cleared.
5. Reset Winsock settings
- Press the Win key to open the Start menu.
- Open the command prompt as an admin.
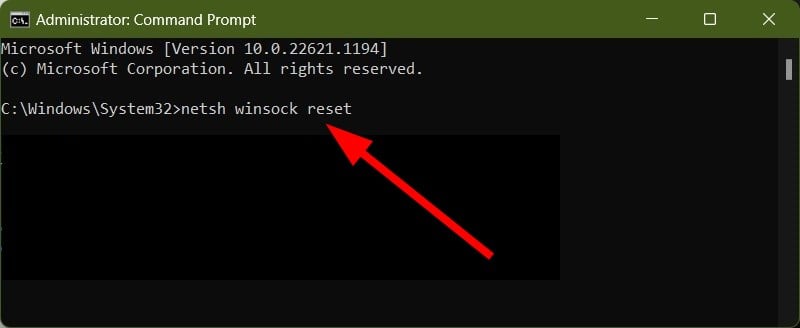
- Type the below command and press Enter.
netsh winsock reset - You will get a message for its successful completion.
- Restart your PC to complete the process.
If the DNS cache methods mentioned above do not work, you should not get frustrated. Because you can easily clear the Winsock settings. Winsock facilitates communication between Windows network software and network services.
When you clear Winsock, it clears or flushes the DNS cache, which is what we wanted.
6. Clear DNS cache automatically
- Open the Start menu by pressing the Win key.
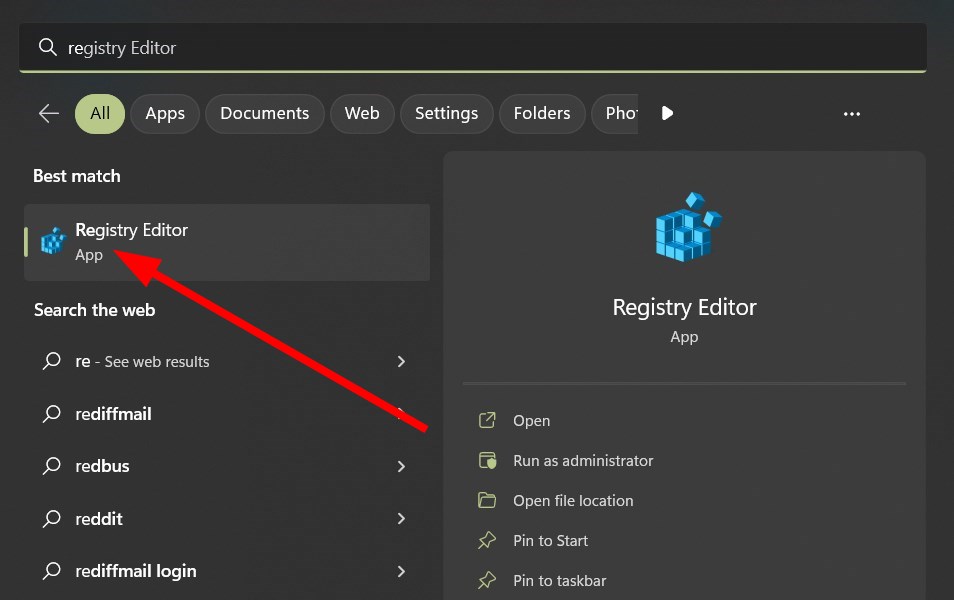
- Open registry editor.
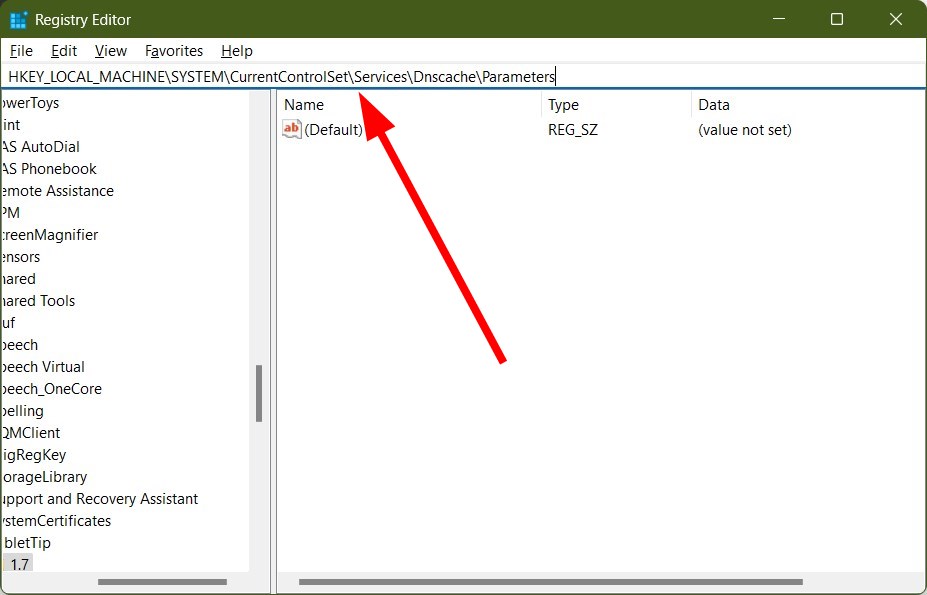
- Navigate to the below-mentioned path.
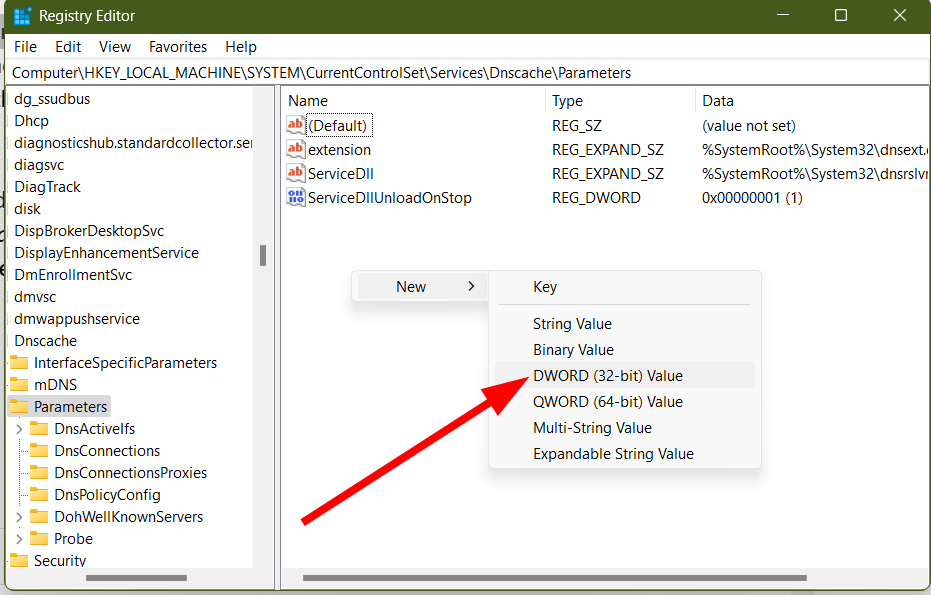
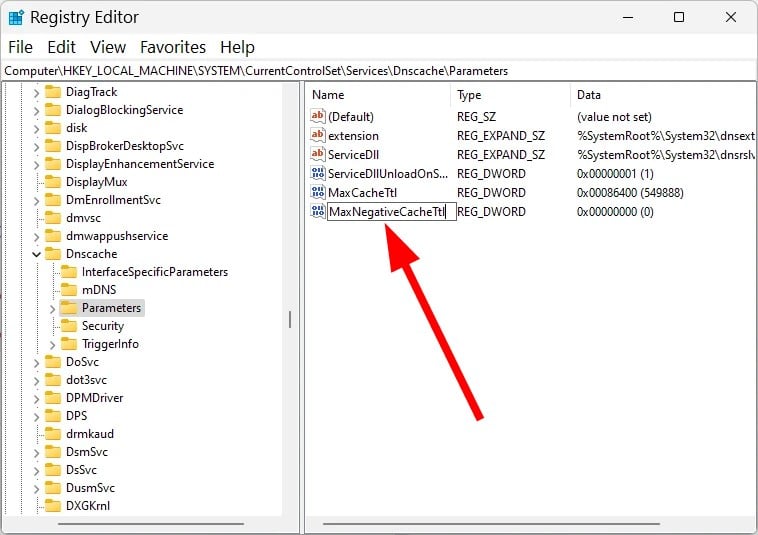
HKEY_LOCAL_MACHINE\SYSTEM\CurrentControlSet\Services\Dnscache\Parameters - Right-click on the empty space on the right and select New, then click DWORD (32-bit) Value.
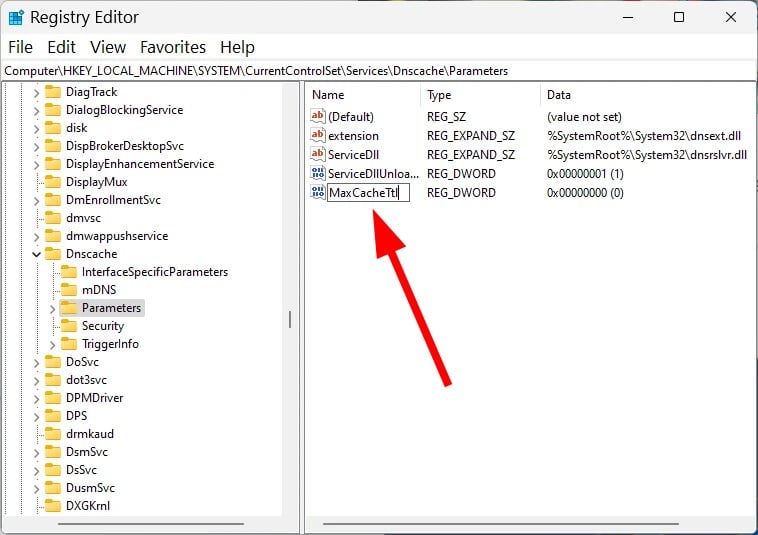
- Name the newly created value as MaxCacheTtl.
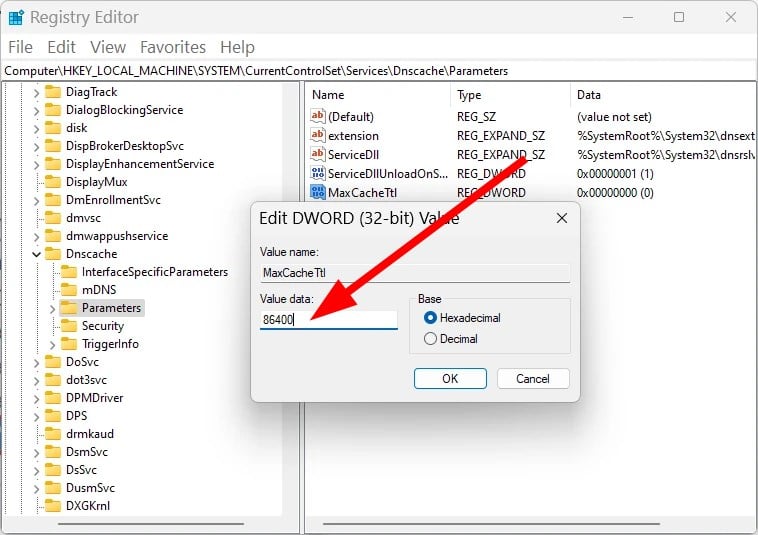
- In the Value data field, enter 86400.
- Click OK.
- Right-click on the empty space on the right side.
- Select New and then select DWORD (32-bit) Value.
- Name the newly created value as MaxNegativeCacheTtl.
- In the Value data field, type 5.
- Click OK.
- Close registry editor.
- Restart your PC.
When you create the registry as mentioned above, then you are making sure that the DNS cache will reset automatically after 86400 seconds or 24 hours. This way, you do not need to flush the DNS cache by running any command or anything.
That is it from us in this guide. We have a guide that will help you fix temporary files not deleting automatically problem.
You can also check out the method we have explained that will help you quickly clear the computer cache in Windows 11.
Also, you can check out our guide that helps you flush the DNS cache without any admin rights. Here you can get information on what to do if the DNS server cannot be reached.
If you are getting DNS Probe Finished NXdomain in Windows 10 and 11, we have a guide that will help you quickly resolve the problem.
Feel free to let us know in the comment below how did you flush the DNS cache on your Windows 11 PC.

