How to manage, cancel, or modify your Office 365 Subscription
![]() 7 min. read
7 min. read
![]() Published on
Published on
Share this article
Read our disclosure page to find out how can you help Windows Report sustain the editorial team. Read more

Before the days of online subscriptions, managing your software was easy. You purchased it once, and you’re good for life, or at least until you decided to upgrade. Now, with Office 365, you can either purchase a yearly or monthly subscription, depending on your needs. But, do you know where you can go to manage it all if you decide you no longer want a subscription?
In this guide, we’ll give you a quick look at how you can take care of all things related to your Office 365 subscription.
Managing Office 365 with a Microsoft Account
If you’re using Office 365 with your Microsoft Account, of purchased Office 365 through Microsoft or a code through a retailer, you’ll need to manage your Office account from the Microsoft Account page. Simply log in and visit the page here. You’ll then want to choose Services & Subscriptions from the list running along the top of the page.
Next, you’ll need to search through the list and find your Office 365 Subscription associated with your account. Once you find it, there are a few things you can do from here, as we describe below.
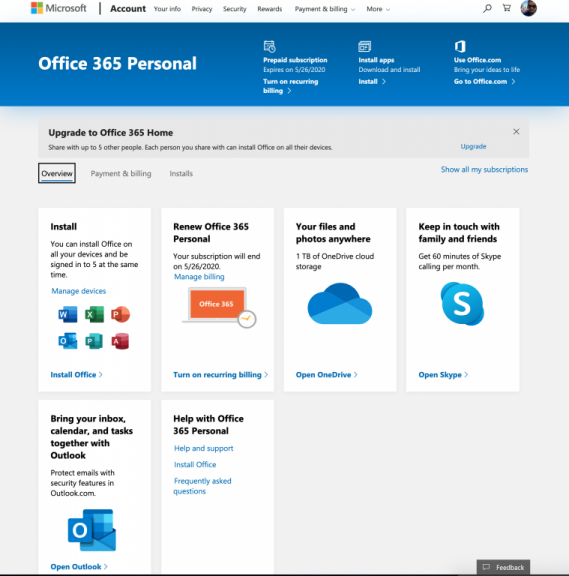
- Click on the Overview tab to get a quick look at some common tasks you can accomplish. These include Installing Office, reviewing your subscription, opening OneDrive, or Outlook. You’ll also see the help section here, where you can go to contact support.
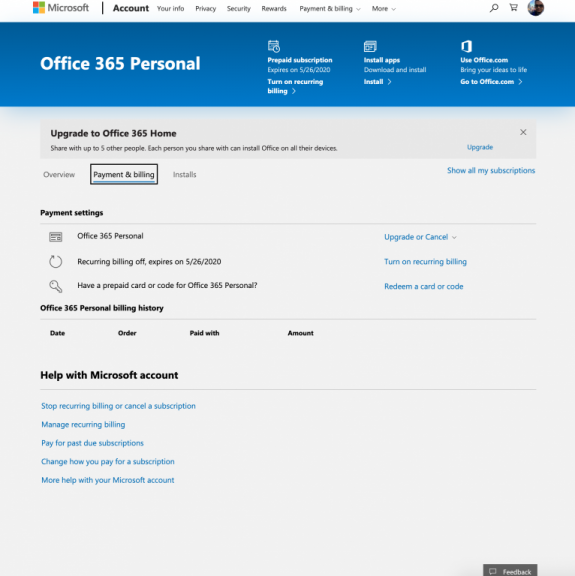
- Click the Payment and billing tab to see your subscription option. From this page, you can upgrade or cancel your Office 365 subscription, turn on recurring billing, or redeem an Office 365 card or code.
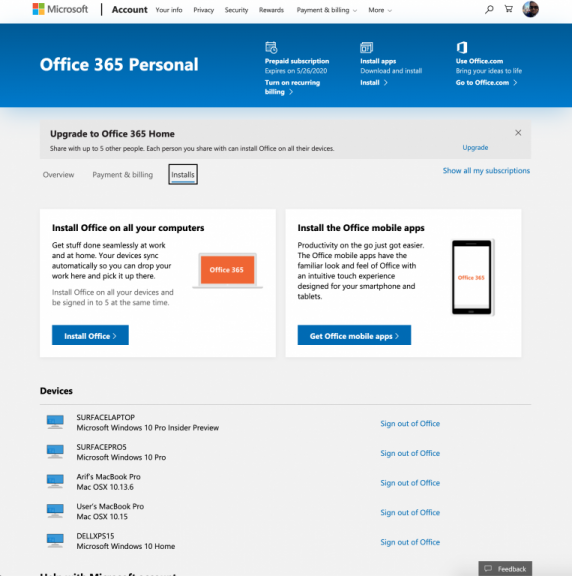
- Click the Installs tab to manage your Office 365 installs. From here you can download the installer for new PCs, or remove and sign out of Office on PCS you no longer are using.
If you’re still unsure of how to navigate your way around this page or manage your Office 365 subscription, Microsoft is still here to help. You can find links to help articles in the Help with Microsoft Account section at the bottom of the overview page. Some common topics covered there include how to stop recurring billing, pay for subscriptions, and more.
Managing Office 365 with a work or school account
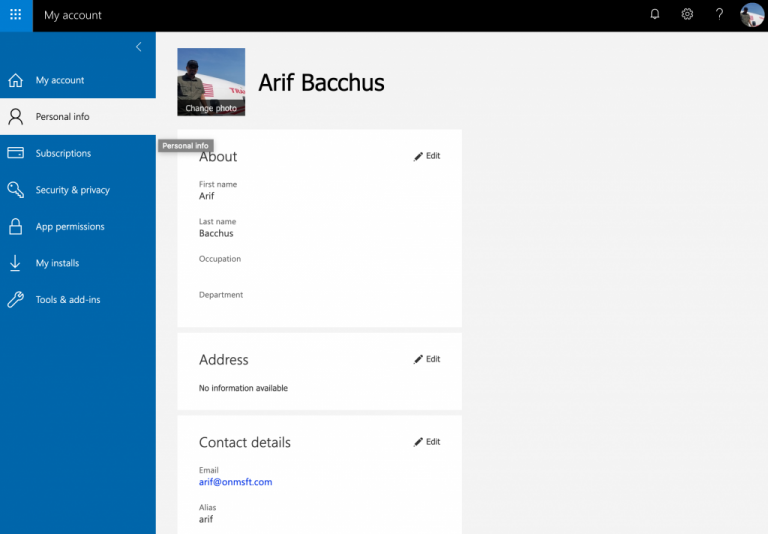
Not everyone wants to pay for Office 365, and if you’re using Office 365 for free with a school or work account, managing the subscription is a bit different. You’ll need to go to the My Account page for your organization. Once you’re there, there are some common tasks that you can accomplish.
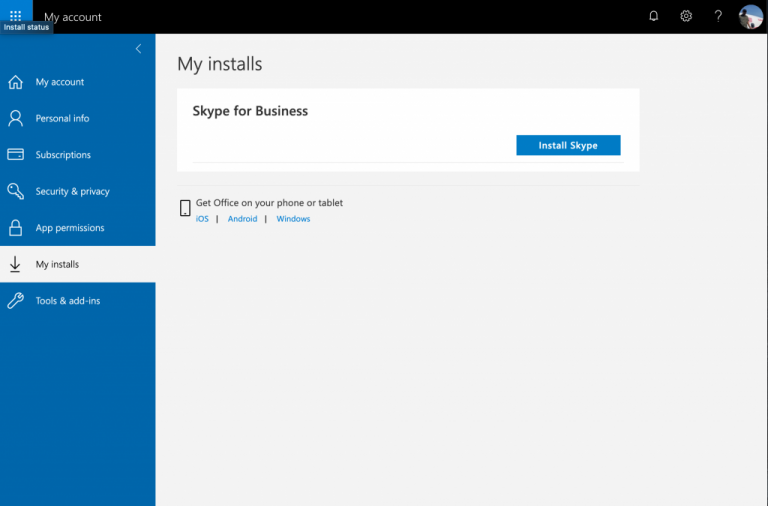
- If your subscription allows it, click on Manage Installs to install office 365, or deactivate and remove devices from your list.
- Click Personal info to edit your personal information tied to your Office 365 account.
- Click Subscriptions to see any apps or services that your Office 365 plans include.
- Click Security & Privacy to change passwords or contact preferences.
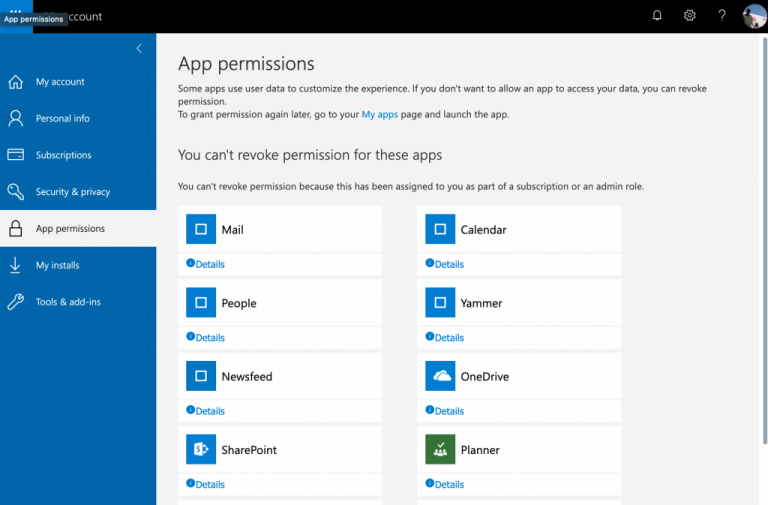
- Click App permissions to manage the permissions of your Office 365 apps.
- Click My Installs to manage your Office 365 apps.


Final tidbits
In the event that you’re confused, and don’t remember your email address associated with your Office account, or if its a work, school, or personal account, don’t worry, You can always open up any of your installed Office applications to see your username and check the account tied to Office 365.
On Windows, you can do this by heading into a new Office file, and click the File menu. You can then click to the bottom where it says Account. From there, you’ll see your email under User Information. You’ll also be able to click Manage Account on the right side of the screen, which will redirect you back to the main Microsoft Account page, or the My Account page, depending on which type of account is in use.
But, if all else fails, you can also feel free to check out Microsoft’s support page for more information.


User forum
0 messages