How to Register a DLL: 3 Ways to Quickly do it
The fastest way to do that is with the command line
3 min. read
Updated on
Read our disclosure page to find out how can you help Windows Report sustain the editorial team. Read more
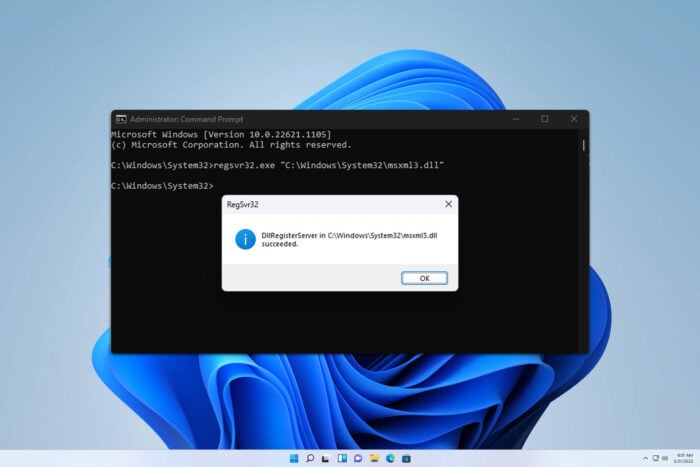
It’s often recommended to force register a corrupted DLL file when you replace it with a fresh one. Learn how to register a DLL on Windows 10 or Windows 11 PCs by following our simple steps!
How do I register a DLL file?
1. Using the Command Prompt
- Click on the Start menu and type Command. Right-click on the Command Prompt tool and select Run as administrator.
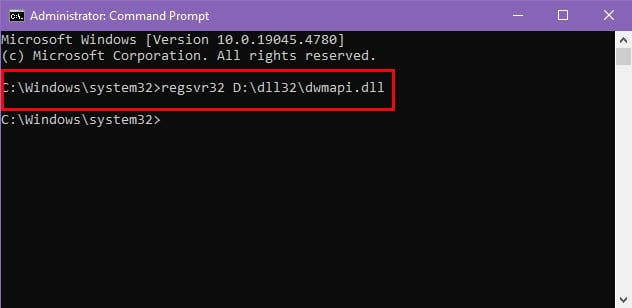
- Type in this command:
regsvr32 D:\dll32\dwmapi.dll - Replace the path shown above with the actual location of the DLL file on your system.
- Hit Enter to execute.
- The dialog box will appear informing you whether the process was successful.
There are a few other commands to register a DLL file for special situations.
When you want to register a 32-bit DLL file on a 64-bit PC, use the following syntax in the CMD:
C:\Windows\SysWOW64\regsvr32 D:\dll32\dwmapi.dllIf the DLLs you’re trying to install are .NET DLL files, use this command:
regasm D:\dll32\dwmapi.dllIn most cases, you’ll require an admin account to register a DLL file on a Windows PC.
However, if you’re not an admin user and would like to register a DLL file that allows per-user registration, you can use the following script in CMD:
regsvr32 /n /i:user D:\dll32\dwmapi.dll2. Using a PowerShell script
- Type PowerShell in the Start menu and click on the Run as administrator button below the app card on the right.
- Into the terminal, type in the following script:
Start-Process "regsvr32" -ArgumentList "/s D:\dll32\dwmapi.dll" -Verb RunAs - Replace the following with the path to the DLL file:
D:\dll32\dwmapi.dll - Hit Enter to execute the PowerShell script.
3. Using the drag and drop method
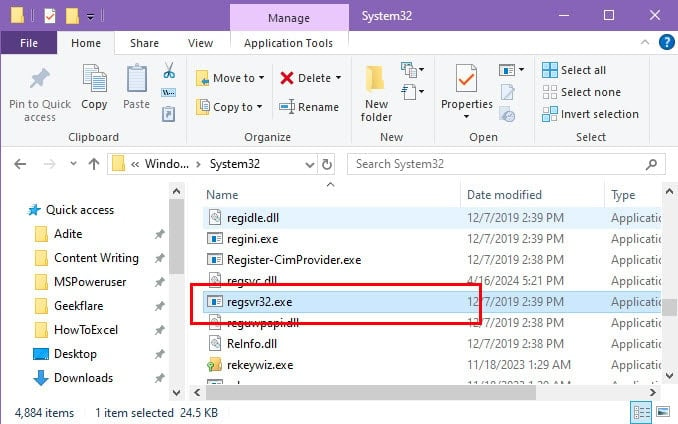
- Navigate to the location of the regsvr32.exe file in Windows > System32.
- Minimize the window for later.
- Now, go to the location where you saved the DLL file.
- Click on the DLL file and drag it onto the regsvr32.exe file.
- You should now see a dialog box confirming the selected DLL file has been loaded successfully.
- If you’re registering a 32-bit DLL file on a 64-bit PC, use the regsvr32.exe file in the following location:
C:\Windows\SysWOW64
While you’re here, you can also go through the missing DLL files in Windows 11 if you face any DLL file errors. If you’re on an older version, we also have a guide on how to fix missing DLL files in Windows 10.
Were you able to register your DLL file using any of the methods outlined in this guide? Do you know of a better method to achieve the same task much faster in easy steps? Do share your feedback and reply in the comment box at the end.





User forum
0 messages