How to Easily Update Visual Studio to the Latest Version
Update Visual Studio simply by clicking the update notification
3 min. read
Updated on
Read our disclosure page to find out how can you help Windows Report sustain the editorial team Read more
Key notes
- If you want to update Visual Studio, you can do that by clicking the update notification in the software.
- In case you miss the notification, you can always check for updates manually.
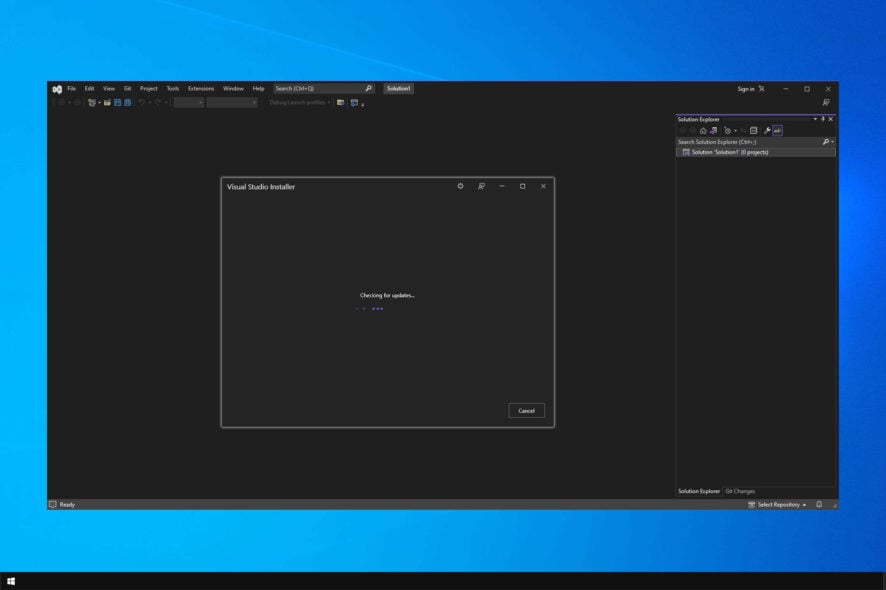
If you’re a developer, you’re probably familiar with Visual Studio. Keeping the software up to date is important, especially if you want to get the latest features, and many are wondering how to update Visual Studio on their PC.
This is incredibly easy to do with Visual Studio, and the software will usually inform you if a pending update needs to be installed.
If you’re using this code writing software, join us while we take a closer look and learn how to keep Visual Studio software up to date properly.
How often does Visual Studio update?
There are two types of updates for Visual Studio:
- Minor updates – These are released every three months and bring new features, bug fixes, and more.
- Servicing updates – These updates are released to fix critical issues as soon as they are discovered.
If you’re on a Preview channel, you’ll get minor updates every month, but keep in mind that some updates might not be fully stable.
How do I update Visual Studio?
1. Manually check for updates
- Open Visual Studio.
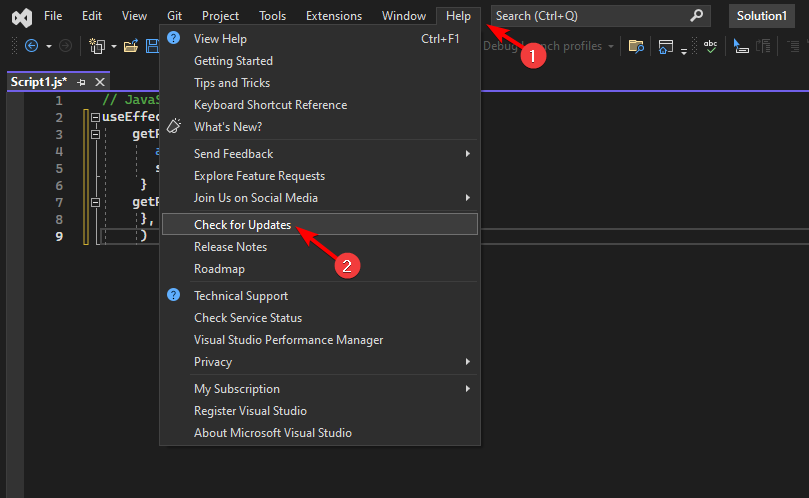
- When it opens, go to Help and select Check for Updates.
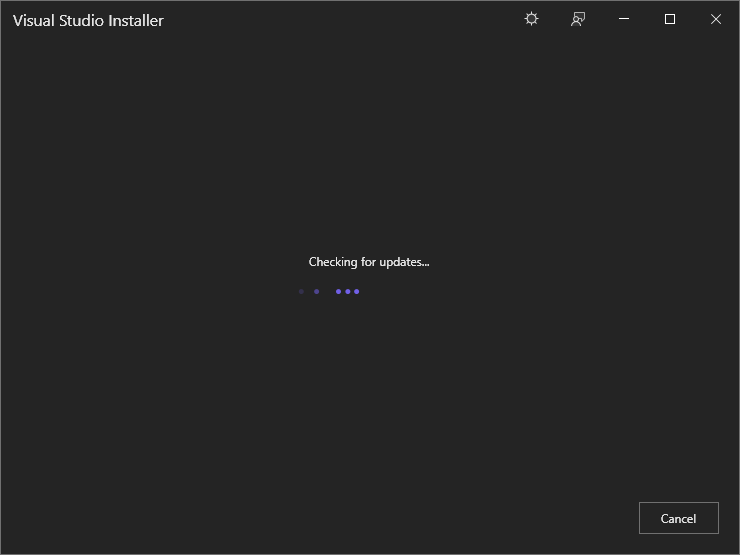
- The software will now check for available updates.
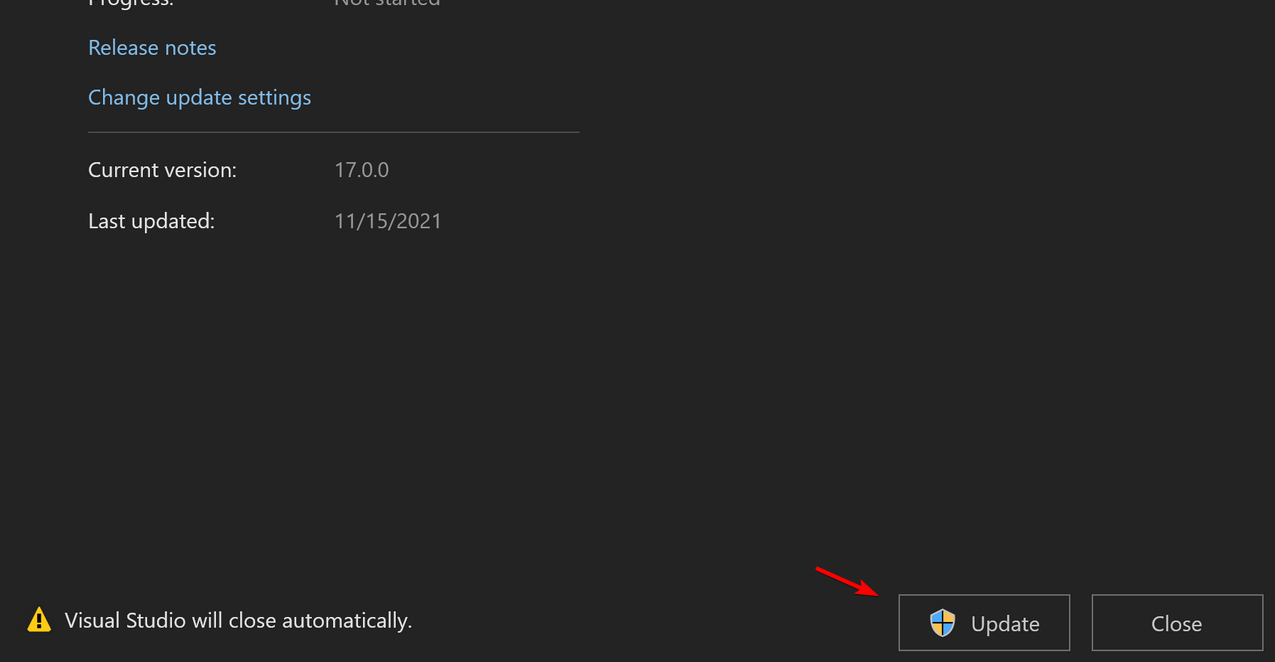
- If updates are available, click the Update button to download them.
This is the simplest way of checking for updates, so be sure to give it a try.
2. Use the notification
- Start Visual Studio.
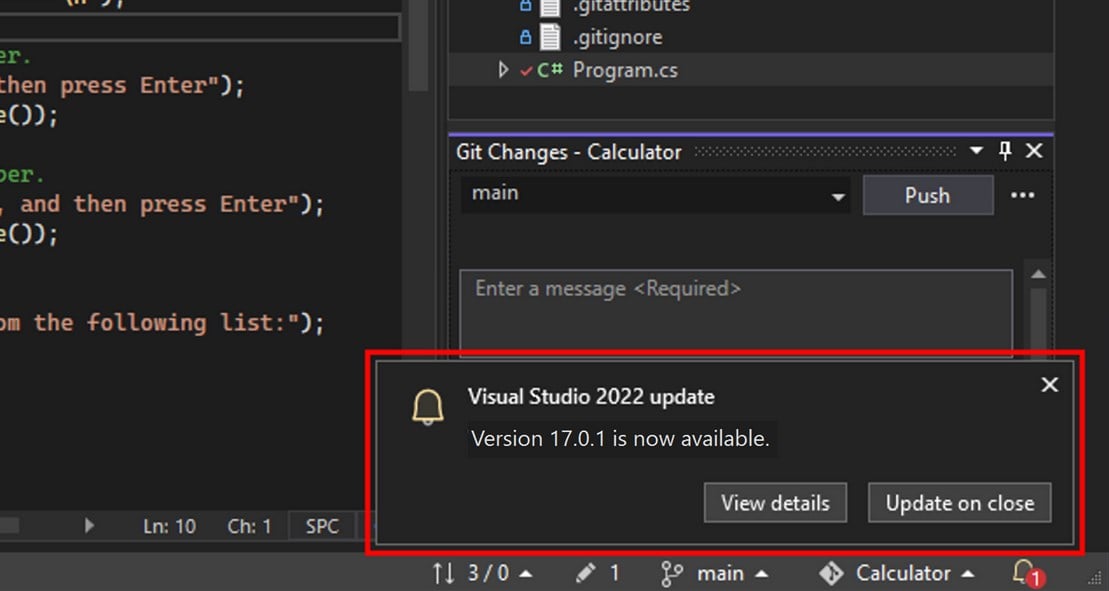
- A notification will appear in the bottom right corner. Select Update on close and close the software to install the update.
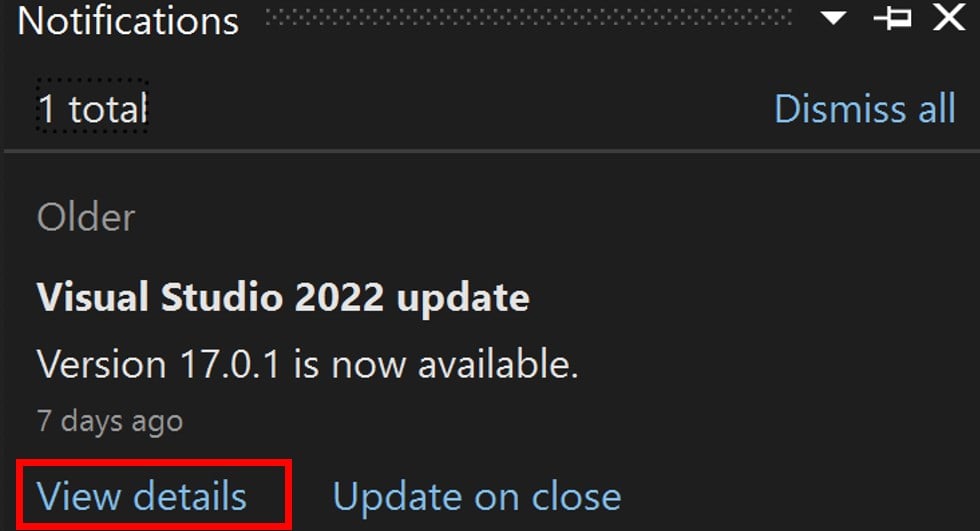
- If you miss the notification, click the bell icon in the bottom right corner.
- Now choose Update on close and restart the software. You can also select View details to view what’s in the update and manually install it.
Visual Studio will inform you if an update is available via the notification, so you won’t miss an update.
3. Use the Visual Studio installer
- Make sure that Visual Studio is closed.
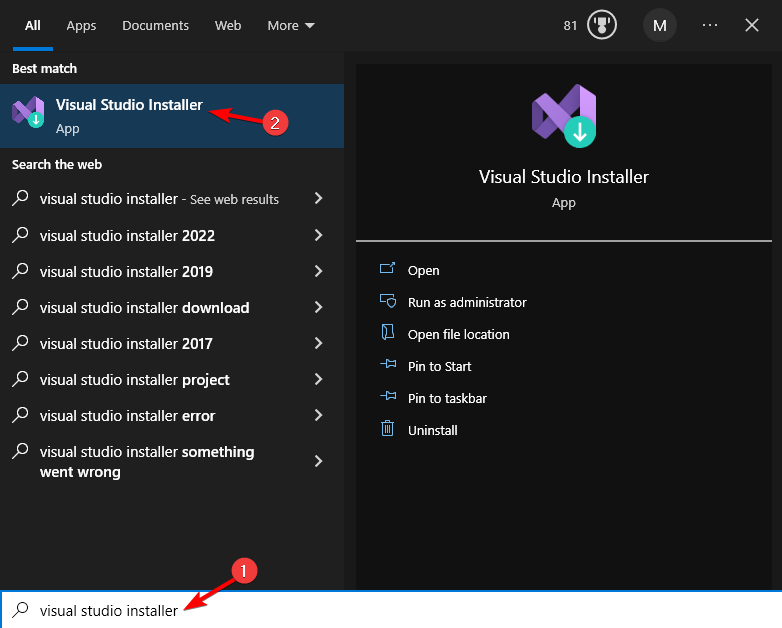
- Press Windows key + S and search for the visual studio installer. Select Visual Studio Installer from the list of results.
- If you see the Update button available, click it.
- Follow the instructions on the screen to complete the process.
As you can see, updating Visual Studio is simple and easy and can be done in a matter of seconds.
If you’re having issues updating the software, Windows Firewall may be blocking Visual Studio, but that can be easily fixed.
What method do you use to update Visual Studio? Let us know in the comments section below.

User forum
0 messages