How to use the PowerToys Fancy Zones utility to make you more efficient on Windows 10
4 min. read
Published on
Read our disclosure page to find out how can you help Windows Report sustain the editorial team. Read more

PowerToys has a lot of great utilities to help fix your workflow quickly. Interestingly, Windows 10 already comes with a built-in Snap Assist feature that lets you quickly snap the windows on your desktop so you can see all your windows at once.
Snap Assist is helpful when you are using a traditional monitor, but if you are using a dual monitor or ultrawide monitor setup, you want to have more options for displaying windows on your Windows 10 desktop.
PowerToys Fancy Zones
Here’s where another PowerToys utility, Fancy Zones, comes to the rescue! Fancy Zones is a window manager utility for arranging and snapping windows on your desktop. By using Fancy Zones, you will save time and improve your workflow by choosing a default template layout for your windows or by creating a custom layout that helps you work more efficiently.
Here’s what you need to do to get started.
1. Download and install PowerToys from the GitHub website.
2. Enable Fancy Zones
3. Choose Launch the layout editor
As you can see in PowerToys settings, you can change the keyboard shortcut from Windows key + ‘
Layout editor
Once you launch the layout editor, you can choose one of the default layout templates or choose to create a new layout. The default layouts include No layout, Focus, Columns, Grid, and Priority Grid. Each default layout shows how the windows will appear in each designated layout.
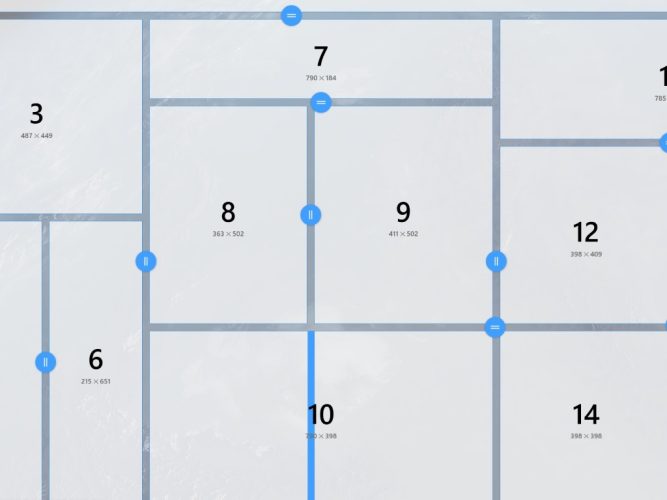
The number displayed at the top of the screen indicates how many monitors Windows 10 detects. None of the default layout options are helpful to me, so I am going to create a new layout. Once you click Create new layout, you will be asked how you want your windows to be displayed, either in a Grid layout or Canvas layout.
While you may not need as many windows as shown, it is good to know that the option is available. If you want to add vertical splits on windows, you can do so my holding down Shift while you use your mouse to click to create more windows. If you want to merge and delete windows, simply click and drag your mouse over the zones you want to merge and/or delete. The process is really simple.
Once you are finished configuring your the layout of your windows, click Save and apply.
Congratulations, You have saved your first custom layout. Now, if you want to edit anything about your layout, you can use the keyboard shortcut Windows key + ‘ at any time to launch the layout editor. From the launch editor, you can click the pencil to edit any of of the layouts you have made.
As you can see, you can change the name of your layout, change the spacing, distance to adjacent zones, and change the shortcut to bring up specific custom layouts on the fly. Once you are finished making changes, you can click Save when you are done.
Other options
In PowerToys Settings, under Fancy Zones, you will see more options, including Zone behavior and Window behavior. There are more Fancy Zones customization options, including the ability to change the color of Fancy Zones and more. The best advice I can give is to explore Fancy Zones on your own and see what works best for you. If you find that Fancy Zones is something you will use and want a more deep-dive into the settings and what they do, Microsoft provides a more in-depth explanation of all the settings here.
Would you use the Powertoys Fancy Zones utility on Windows 10? Let us know in the comments.


User forum
0 messages