How to Download and Install the HP Laserjet Pro M404dn Driver
A dedicated tool will significantly simplify the process
4 min. read
Published on
Read our disclosure page to find out how can you help Windows Report sustain the editorial team. Read more
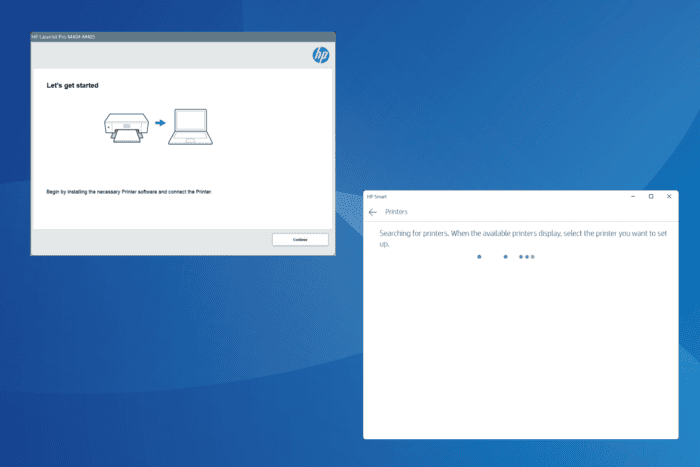
For your HP Laserjet Pro M404dn printer to work properly when connected to the PC, you must download and install the latest drivers. And while it may seem complex for first-timers, the driver update/install process doesn’t take more than a few minutes!
For most of you, it shouldn’t even come down to that. Windows automatically installs the best available driver as soon as a device is connected or plugged in. Although, it doesn’t always deliver the best performance and is often outdated. That’s why experts recommend manually installing the latest drivers for printers.
How can I install the HP Laserjet Pro M404dn driver?
1. Download from HP’s official website
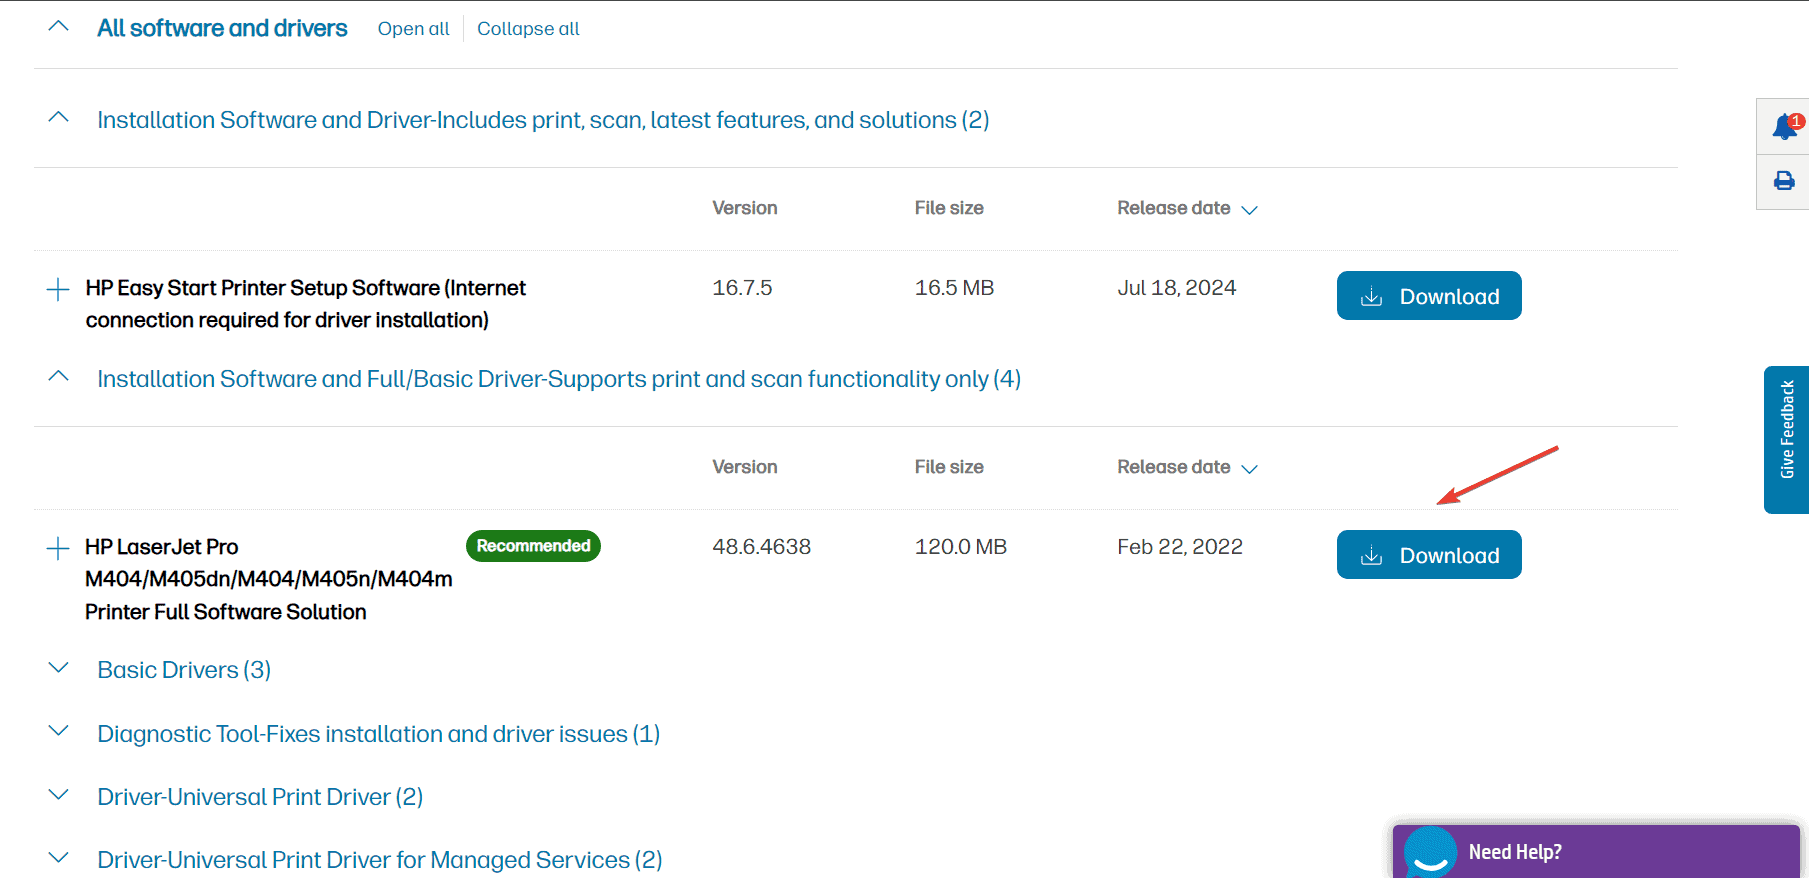
- Go to HP’s official website, and click the Download button next to HP LaserJet Pro M404/M405dn/M404/M405n/M404m Printer Full Software Solution under All software and drivers.
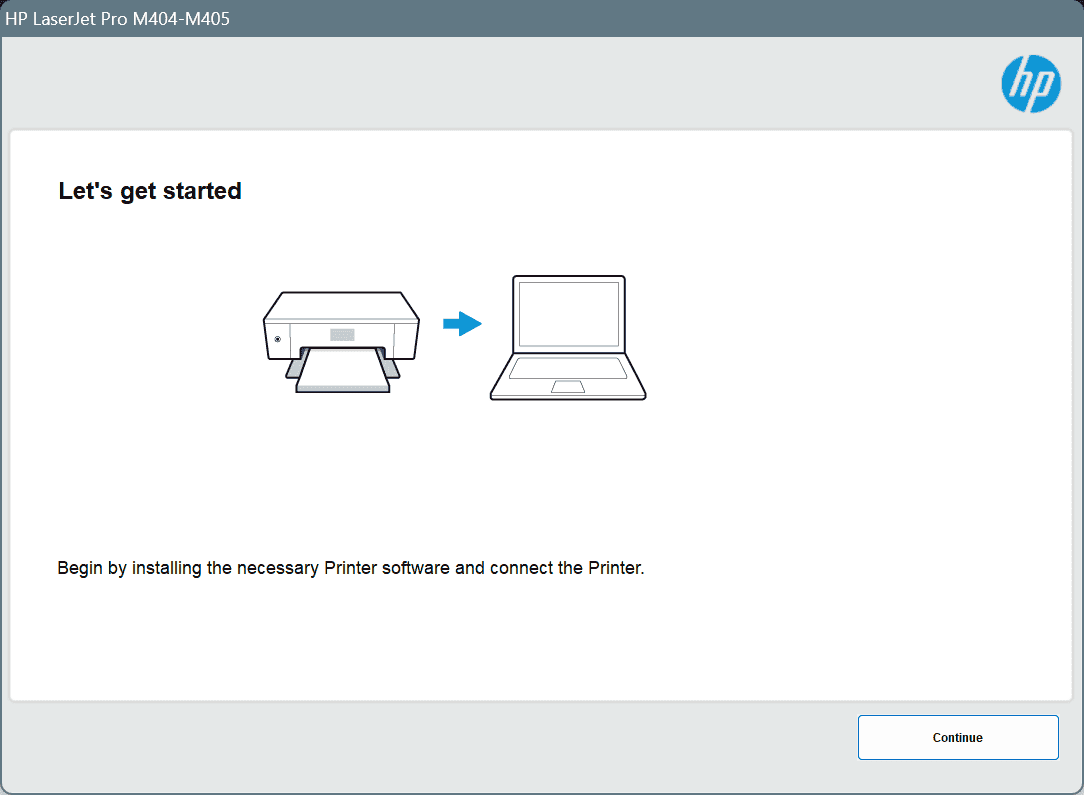
- Connect the HP Laserjet Pro M404dn printer, then run the downloaded .exe driver setup file and follow the on-screen instructions to complete the installation.
While installing the HP Laserjet Pro M404dn driver, you may be asked to install supplementary software solutions. Although many recommend against installing anything other than the drivers, you can verify whether the additional utilities serve any purpose and proceed accordingly!
2. Use the HP Smart app
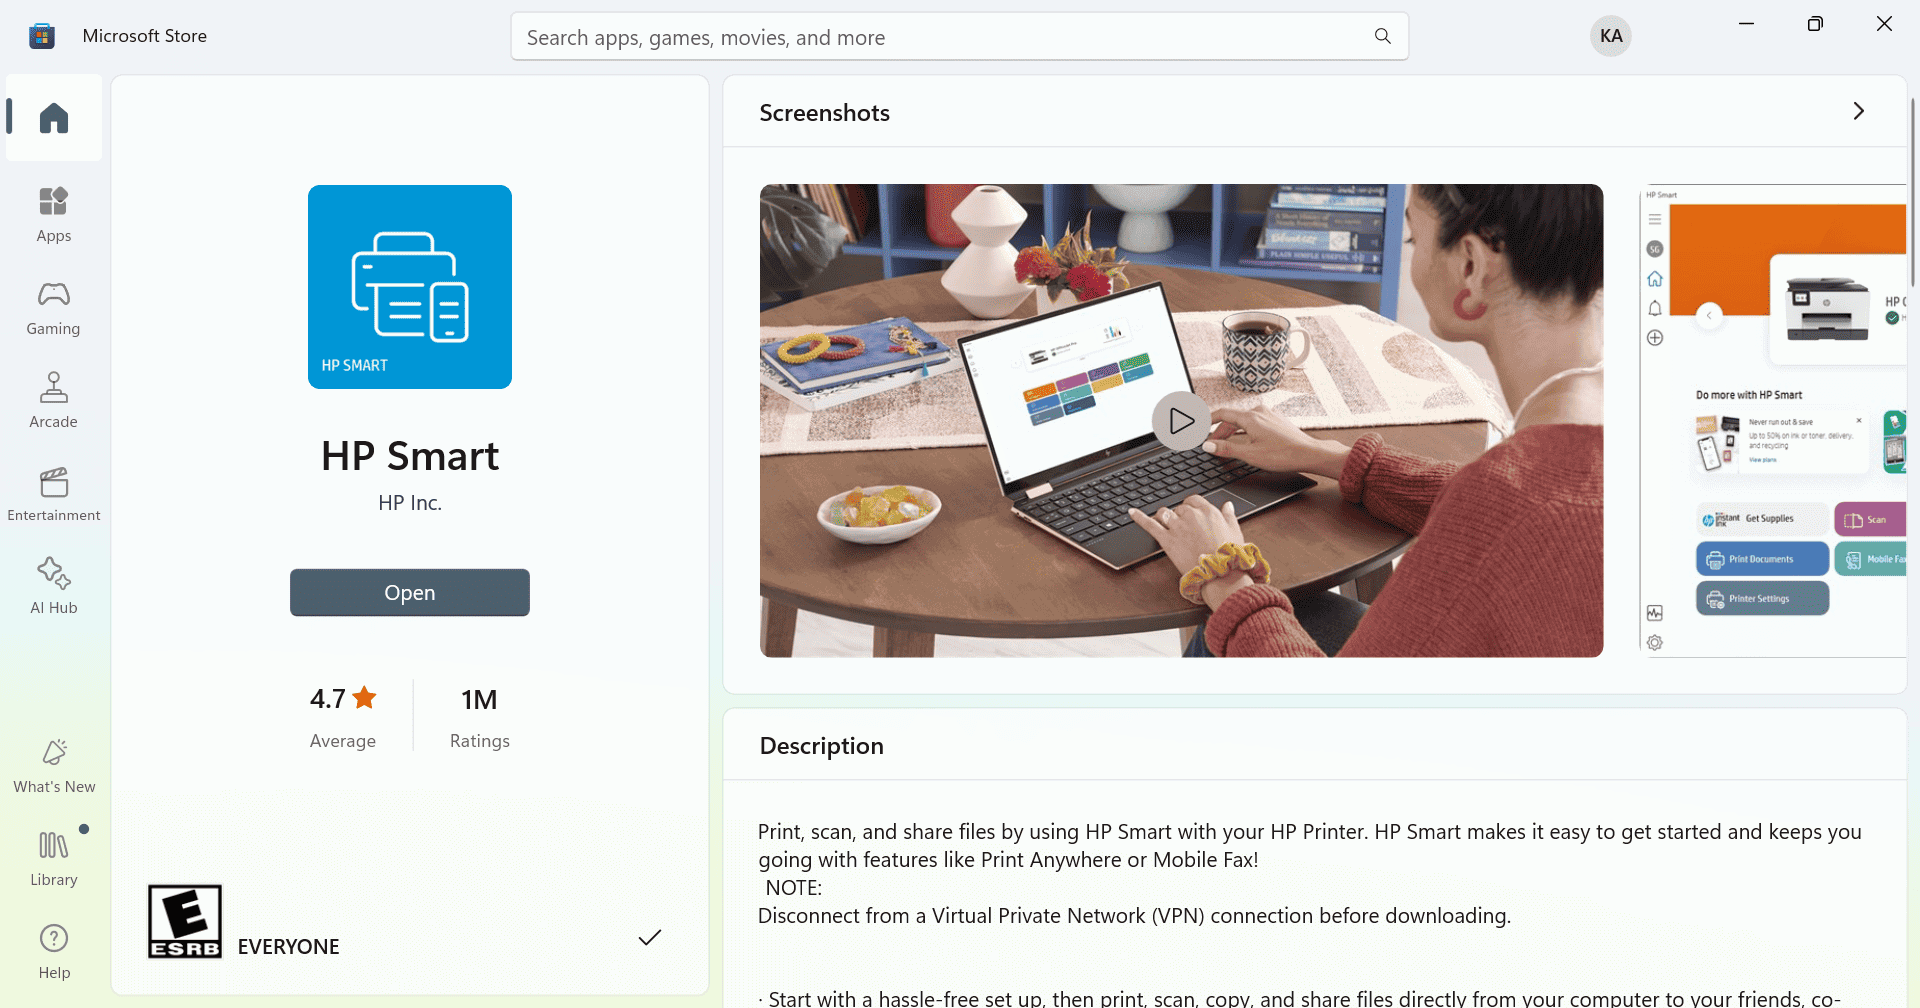
- Download the HP Smart app from the Microsoft Store.
- Once done, run the app and complete the initial setup.
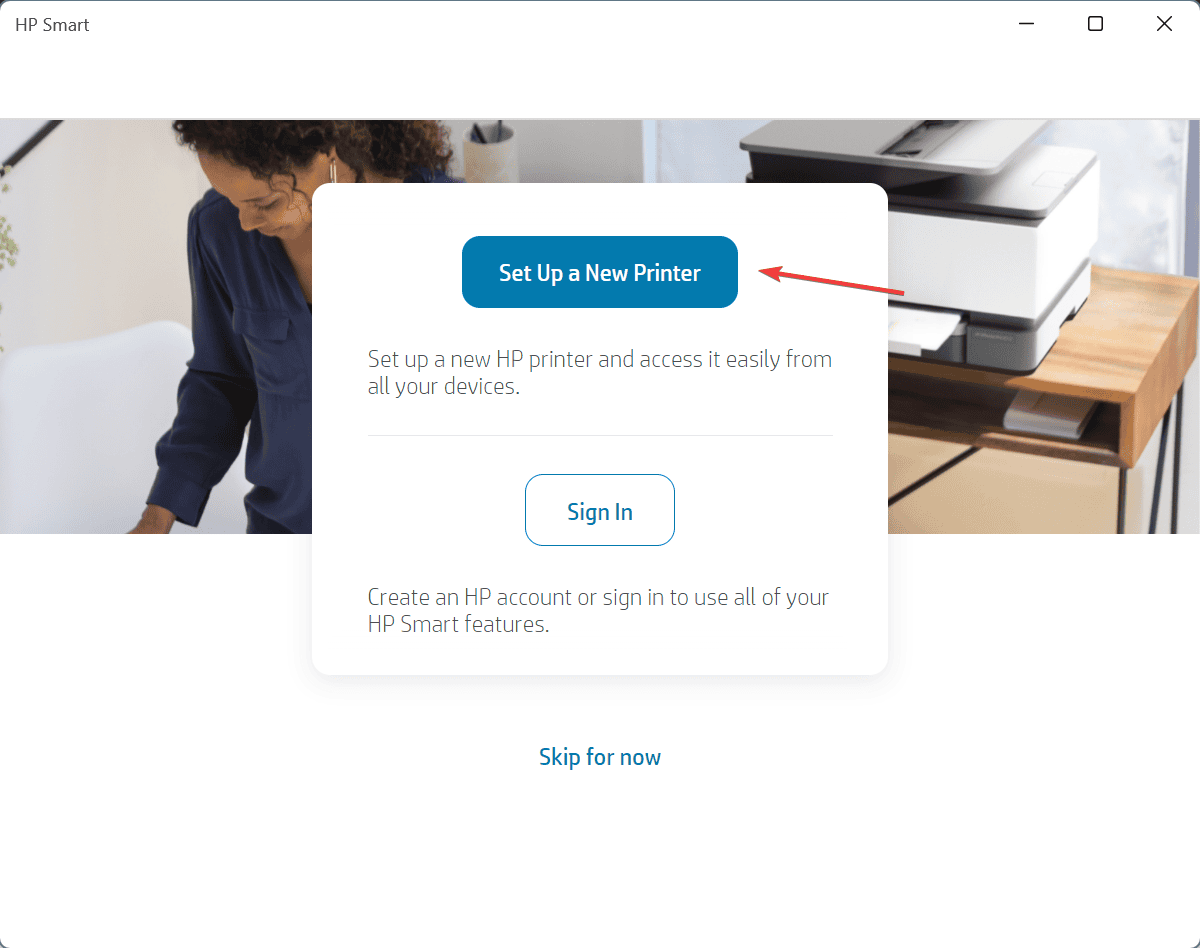
- Click on Set Up a New Printer.
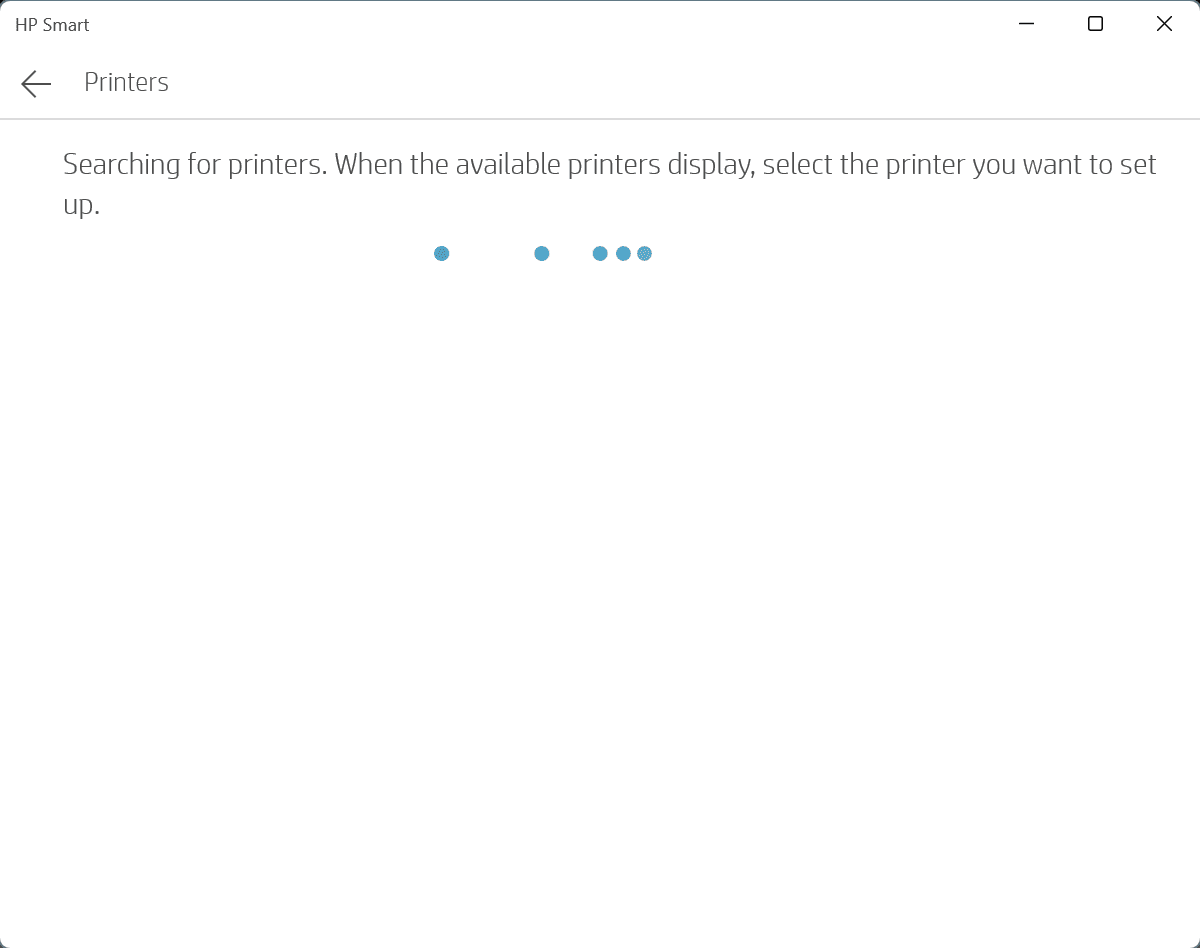
- Now, wait for the HP Smart app to detect your HP Laserjet Pro M404dn printer, and then follow the on-screen instructions to download and install the driver for it.
The HP Smart app is an easy way to download and install the HP Laserjet Pro M404dn printer drivers for both 64-bit Windows 10 and 11. Besides, it provides a wide array of other user-oriented features, in addition to streamlining common, everyday printing tasks.
3. Manually install a driver available on the PC
- Download the HP Laserjet Pro M404dn driver from the official website.
- Press Windows + X to open the Power User menu, and select Device Manager from the list of options.
- Expand the Printers entry, right-click on the HP Laserjet Pro M404dn device, and select Update driver.
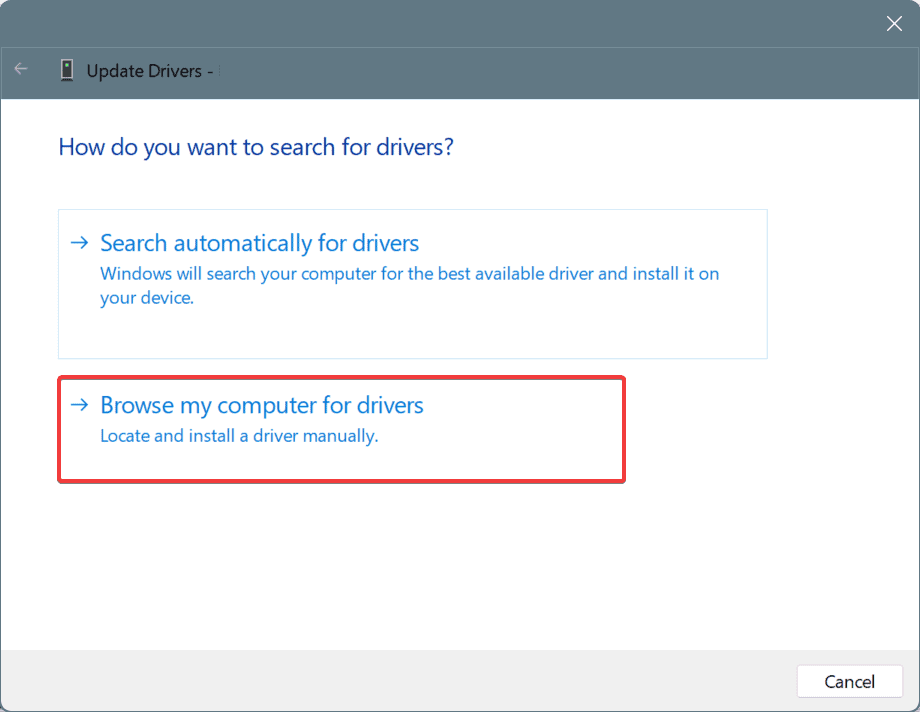
- Click on Browse my computer for drivers.
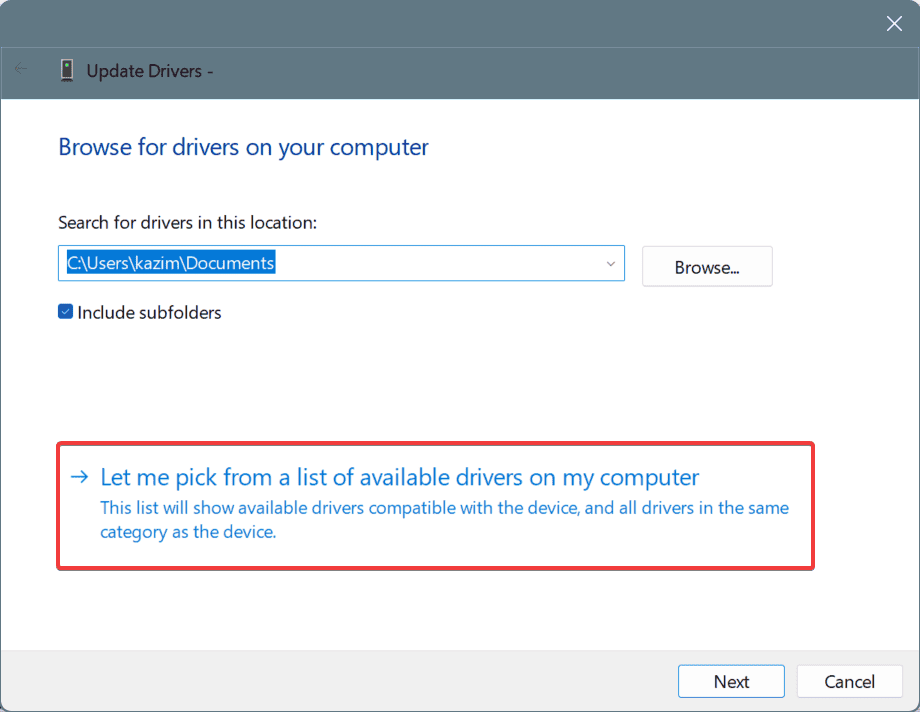
- Now, select the Let me pick from a list of available drivers on my computer option.
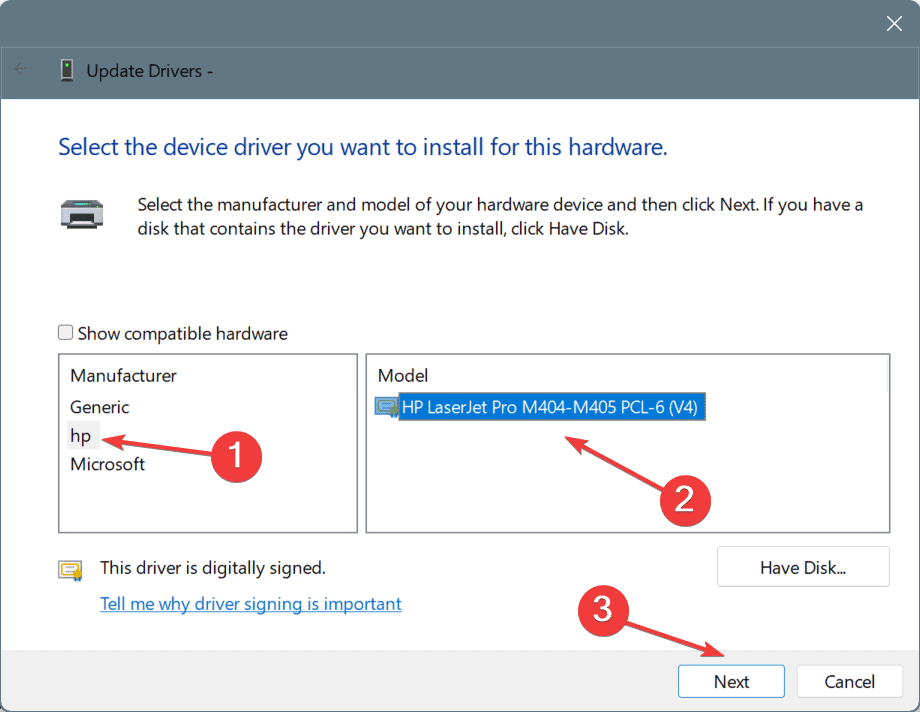
- Now, choose HP from the Manufacturer column, select the driver software from the right, and click Next.
- Click Yes in the confirmation prompt.
- Finally, reboot the PC for the changes to fully come into effect.
While manually installing the driver for HP Laserjet Pro M404dn, you will have to be careful. Installing an incompatible driver will render the printer non-functional altogether, and you will have to repeat the entire process. To avoid these issues, experts recommend a simpler solution explained next!
4. Use an effective driver update utility
If you want to streamline the update process and install the latest driver version for each device automatically, a top-rated driver update utility is the best option!
It will detect the connected devices, including the HP Laserjet Pro M404dn printer, fetch the latest drivers, and install them, all within a matter of minutes.
As you can see, installing or updating the printer drivers in Windows is simple as long as you have a basic understanding of the OS. So, from now on, you should always have the latest HP Laserjet Pro M404dn driver installed on the Windows PC!
Before you leave, discover more ways to download and install HP printer drivers in Windows.
For any queries or to share which method worked best for you, drop a comment below.

User forum
0 messages