Download & Install Java on Windows 11 With These 5 Simple Steps
The easiest way to install Java
2 min. read
Updated on
Read our disclosure page to find out how can you help Windows Report sustain the editorial team Read more
Despite the number of applications appearing every so often, Java remains one of the most-used and essential programming languages. And that’s why you need to install Java in Windows 11 to run applications flawlessly.
You can also install Java on Linux and macOS platforms. The only difference will be the packages/files for each platform. But, let’s focus on JDK install for Windows 11 64-bit.
Does Windows 11 work with Java?
Yes, Windows 11 supports Java, and you will need JRE (Java Runtime Environment) to run many applications.
Java SE 16.01 and the version released later are compatible with Windows 11. However, there might be issues for those released earlier, so we recommend you stick to the latest version.
How can I install Java on Windows 11?
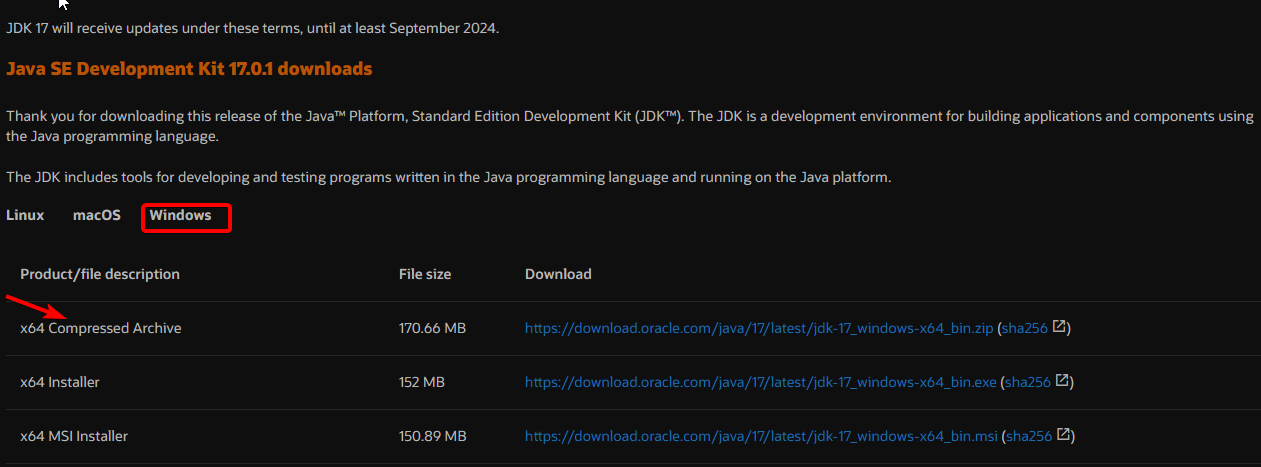
- Open any browser, navigate to the Java download page for Windows, and locate and download the installer.
- Once the download is complete, launch the setup and click Yes in the UAC prompt.
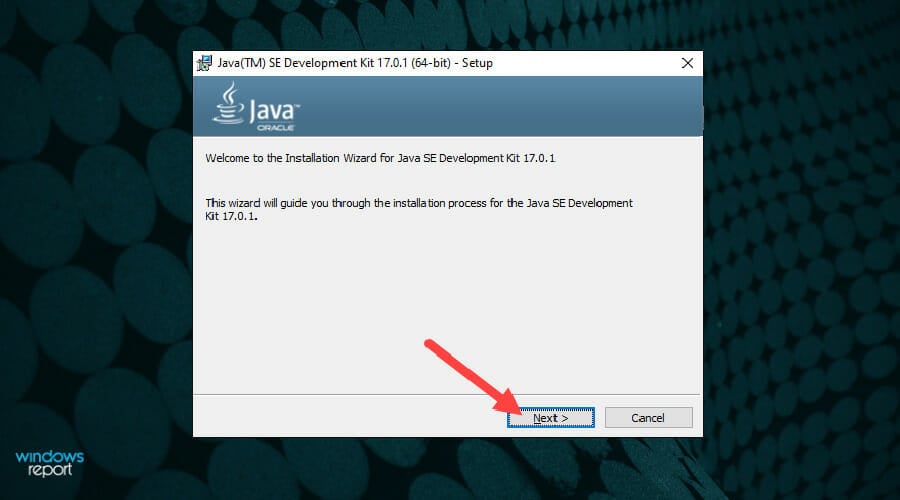
- The Java installation wizard will appear on your screen. Click Next to proceed.
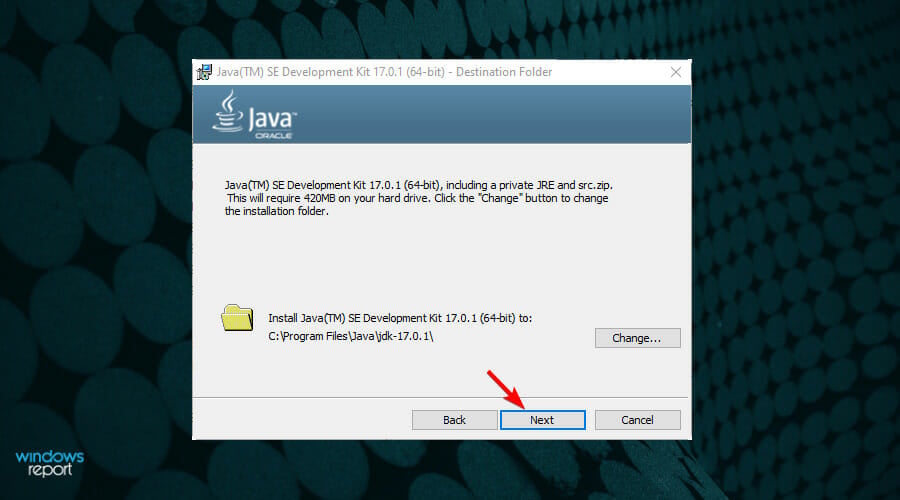
- The next screen will ask you to confirm the installation folder. Click on Next to proceed.
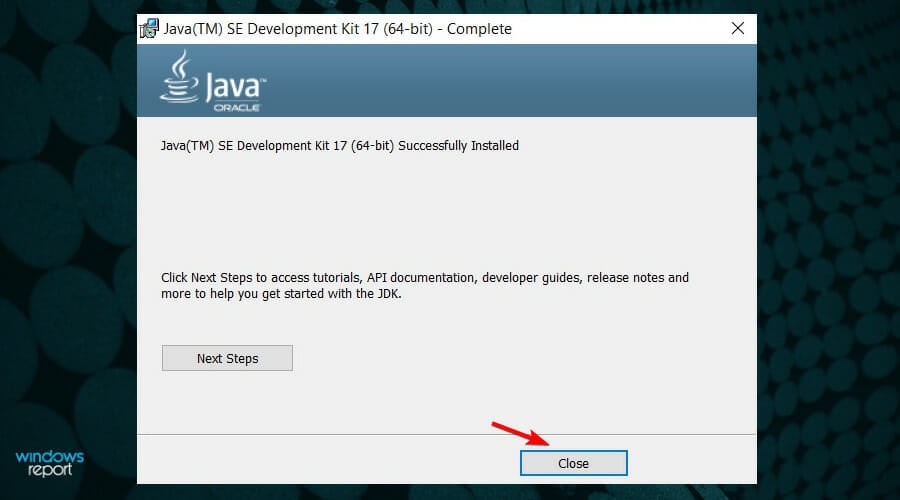
- Once installation is complete, click on Close.
Java is now successfully installed on your device. To confirm the same, you can run the following command in Command Prompt: java - -version
Is Java 11 still supported?
Java 11 remains one of the most significant releases, with most applications relying on it. The version also features LTS (Long Term Support).
Though more recent versions offer new and advanced features, some users stick with Java 11 since more applications were developed using it. But it’s a personal choice.
Summary
That’s it! You know now that the install process for Java JRE 11 and other versions in Windows is pretty effortless and shouldn’t take more than a few minutes.
Also, find out what to do if JAR files are not opening in Windows.
If you have encountered any other errors while downloading Java, feel free to comment below.
User forum
0 messages