How to Install MSIXBundles on Windows 10 & 11
Learn how to quickly install MSIXBundle files on your PC
3 min. read
Updated on
Read our disclosure page to find out how can you help Windows Report sustain the editorial team Read more
Key notes
- MSIXBundle file can contain packages of different versions of the installer.
- It makes the deployment of packages of multiple versions much easier.
- You can use the official App Installer app from the Microsoft Store to install such files.
Using Msixbundle, Appx, or AppxPackage, you can easily install or sideload third-party apps on your Windows 10 or 11 PC. This could come in handy for apps that aren’t available on the Microsoft Store.
Also, you can use Msixbundle, Appx, or AppxPackage to install apps from outside in case the Microsoft Store throws up errors or the server is not responding. In this guide, we will show you how to install Msixbundle on Windows 10 and 11.
What are MSIXBundles?
MSIXBundle is Microsoft’s own package format that allows for safer and more reliable deployment of multiple MSIX packages, each of which can support different architecture.
This means that the MSIXBundle can contain packages for both the x86 installer version and the x64 version of the installer.
It would mean better and easier distribution of MSIX Bundle for applications for each architecture. Also, by using the MSIXBundle you have to simply upload that MSIX Bundle to your distribution location, and the app installer will take care of the rest.
How to Install MSIXBundle on Windows 10 and 11?
1. On Windows 10
1.1. Use the App Installer
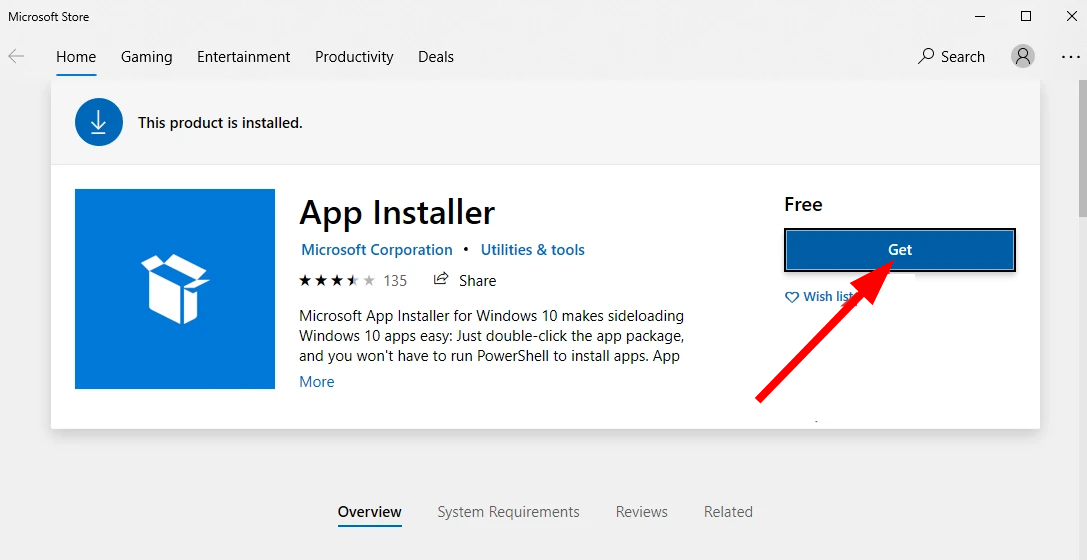
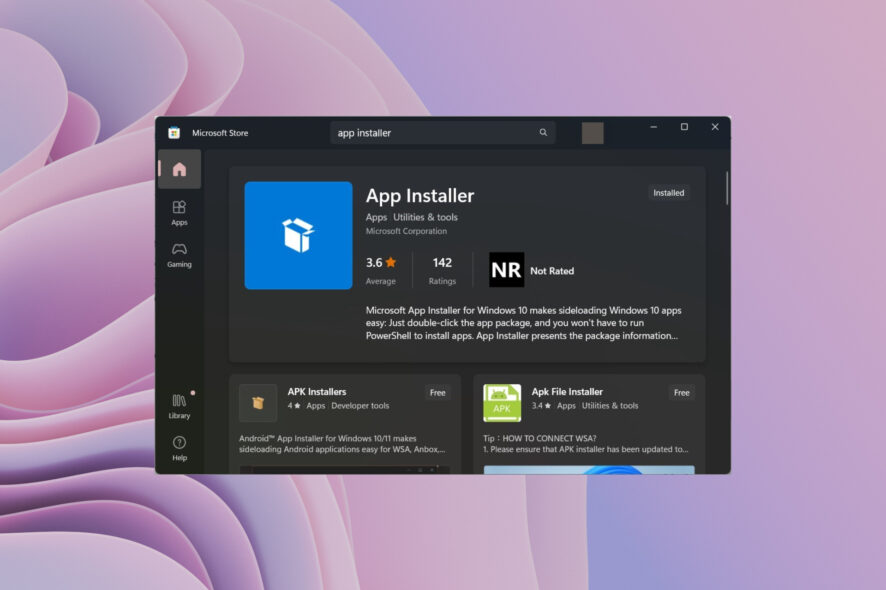
- Open the Microsoft Store on your PC.
- In the search bar, type App Installer.
- Install the App Installer.
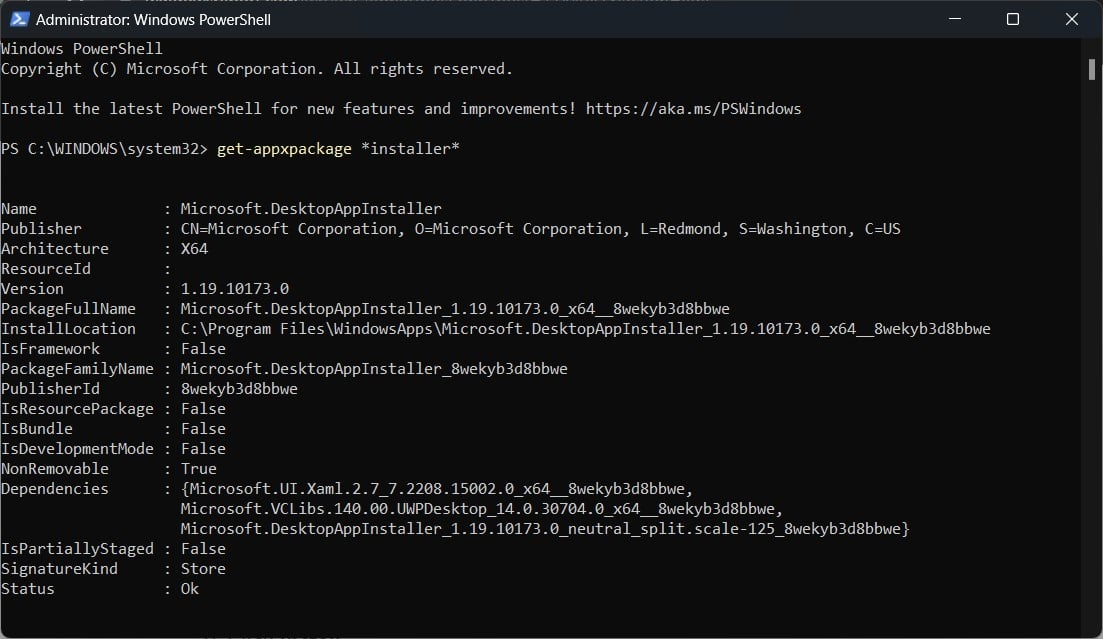
- You will find the App Installer as Microsoft.DesktopAppInstaller, when you run the Appx-Package in PowerShell.
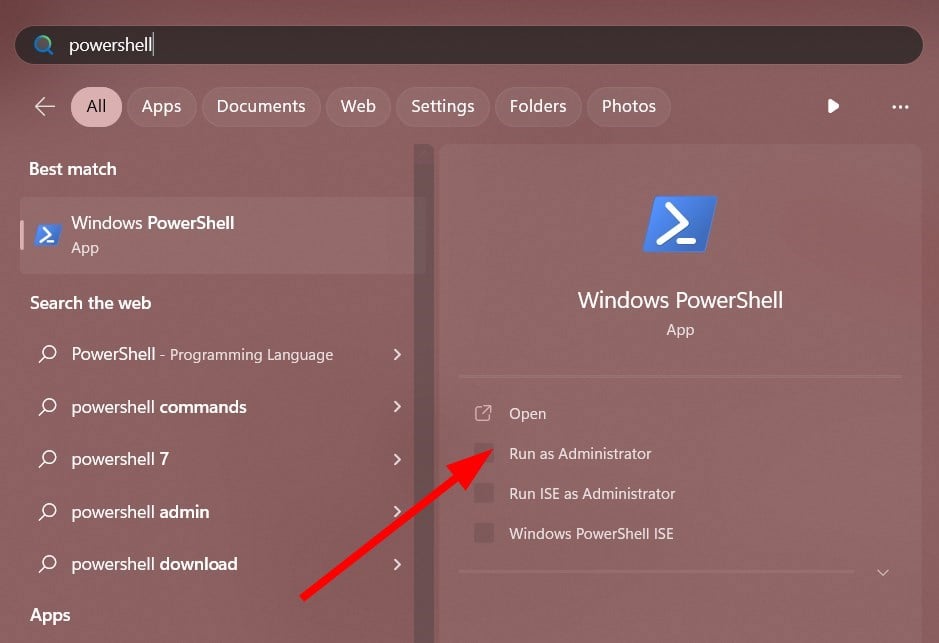
- To verify this, open the Start menu by pressing the Win key.
- Open Windows PowerShell as an admin.
- Type the below command and press Enter.
get-appxpackage *installer* - Open the MSIXBundle file, you will see the App Installer prompt.
- Click Install.
Using the Microsoft App Installer to install the MSIXBundle file will not only save you the hassle of running commands. It is pretty straightforward and easy to use.
1.2. Use PowerShell
- Open the Start menu by pressing the Win key.
- Open Windows PowerShell as an admin.
- Type the below command and press Enter.
Appx-Package -Path "X:PathtoFile.Appx"(For example Add-AppxPackage -Path “D:AppxMicrosoft.VCLibs.140.00_14.0.30704.0_x86__8wekyb3d8bbwe.Appx”)
2. On Windows 11
2.1. Using App Installer
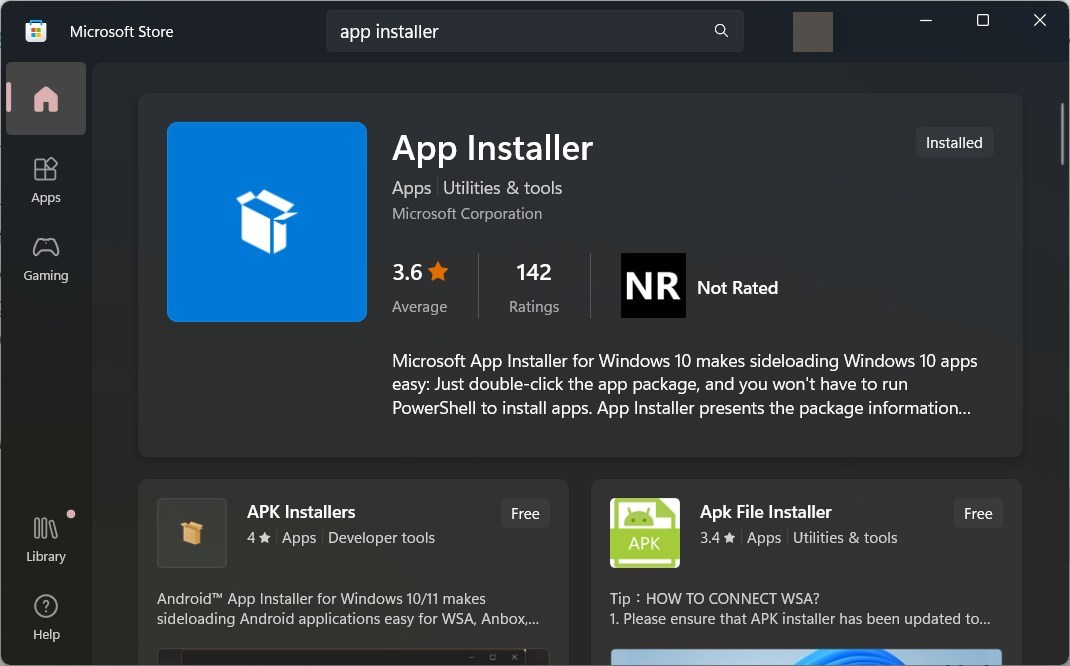
- Open the Microsoft Store on your PC.
- In the search bar, type App Installer.
- Install the App Installer.
- You will find the App Installer as Microsoft.DesktopAppInstaller, when you run the Appx-Package in PowerShell.
- Type the below command and press Enter.
get-appxpackage *installer* - Open the MSIXBundle file, you will see the App Installer prompt.
- Click Install.
2.2. Use PowerShell
- Open the Start menu by pressing the Win key.
- Open Windows PowerShell as an admin.
- Type the below command and press Enter.
Appx-Package -Path "X:PathtoFile.Appx"(For example Add-AppxPackage -Path “D:AppxMicrosoft.VCLibs.140.00_14.0.30704.0_x86__8wekyb3d8bbwe.Appx”)
That is it from us in this guide. Here, we have properly explained all the steps you can follow on your Windows 10 or 11 PC to install MSIXBundle files.
Several users have reported that they are getting an error message The app package is not supported for installation error. If you are also experiencing this problem, you should refer to our guide and fix the problem.
Moreover, if you are getting the This Installation Package Could not be Opened error then you can check out the solutions mentioned in our guide to fixing the problem.
In case you have any questions, feel free to comment below.

