Install WordPress on Windows 11 in 2 Simple Steps
6 min. read
Updated on
Read our disclosure page to find out how can you help Windows Report sustain the editorial team. Read more
Key notes
- Installing WordPress on Windows 11 can be a great idea if you want to manage all your resources locally.
- There is also a dedicated web app that allows you to access your website without using a browser.
- You can install WordPress by using WSL or with the help of a dedicated app with an embedded Linux server.
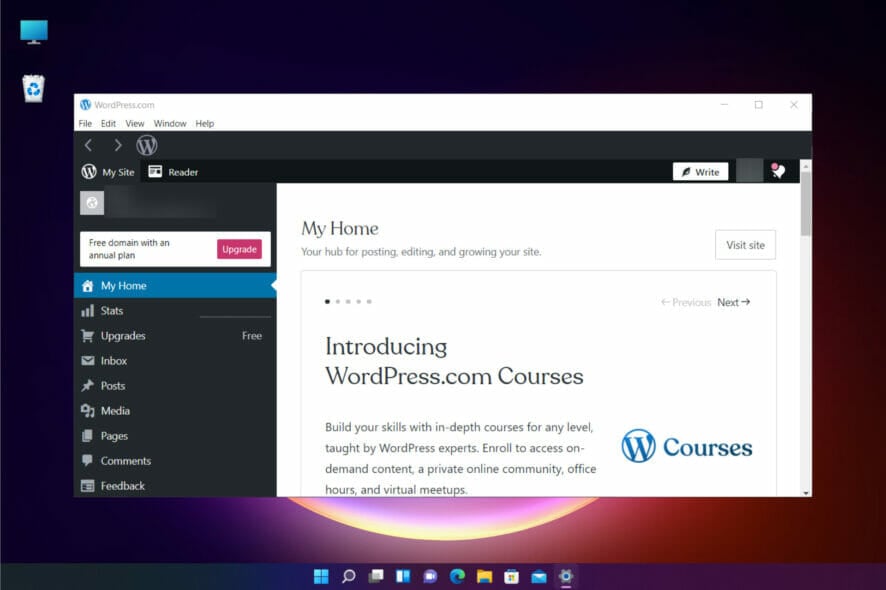
If you have a WordPress website, you have the choice of hosting it on your own PC or server.
At least when you’re starting it can be an advantage because you can test a lot of modifications a lot faster and you may have full control over what’s happening.
However, the majority of website owners host their WordPress blogs on a web server because it’s a lot more accessible and you don’t need to allocate any resources from their side.
If you’ve made up your mind and want to install WordPress locally on your Windows 11 computer, this article will show you how to configure your PC to act as its own web server for hosting your blog.
How can I manage my WordPress blog with a web app?
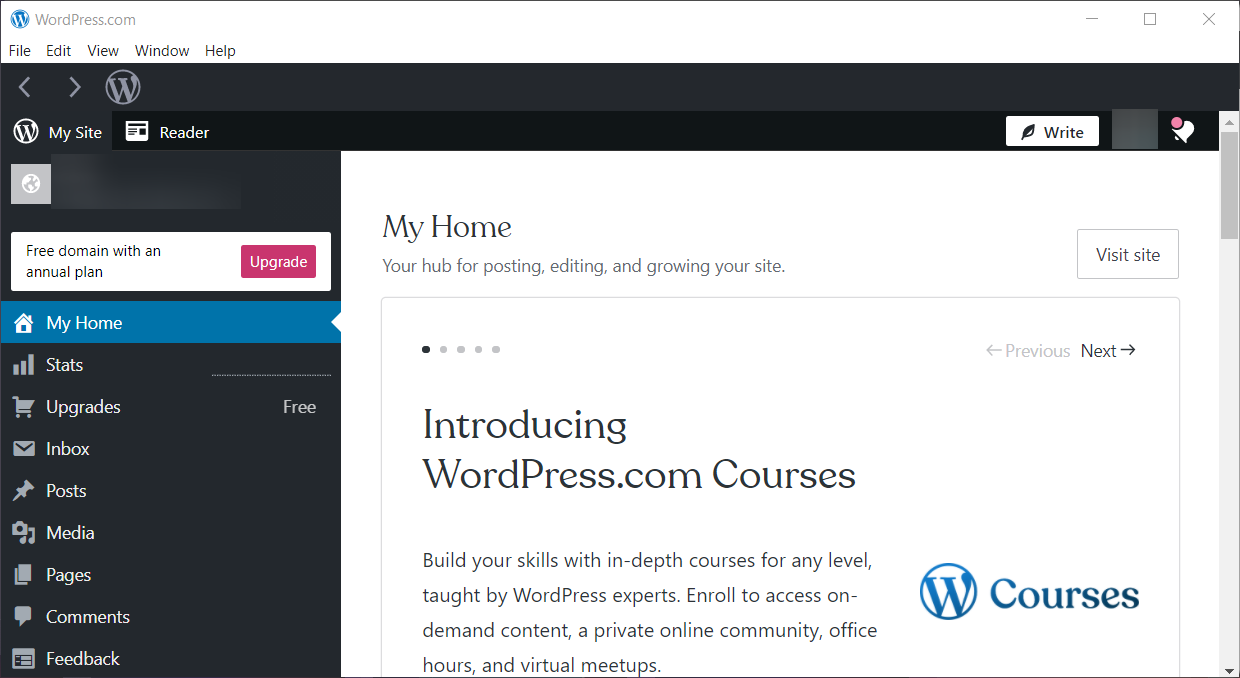
First, we have a hybrid solution, to host your WordPress blog on a web server and manage it with a web app on your PC so you can control the interface without opening a browser.
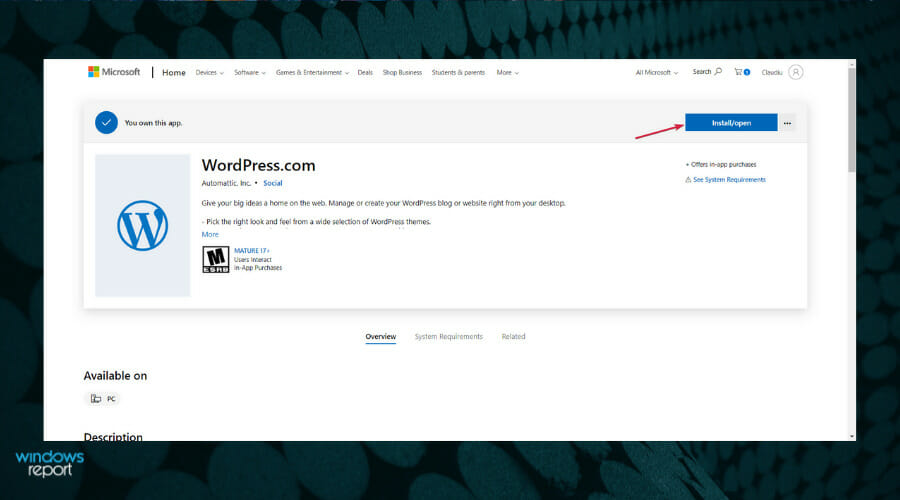
- Go to Microsoft Store and download the WordPress app.
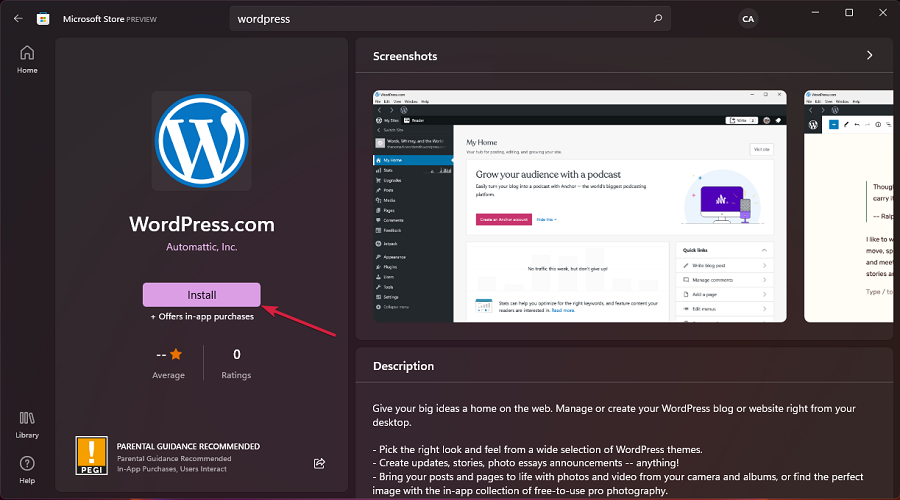
- You will be redirected to the Microsoft Store app so click on the Install button.
- After it is downloaded and installed hit the Open button.
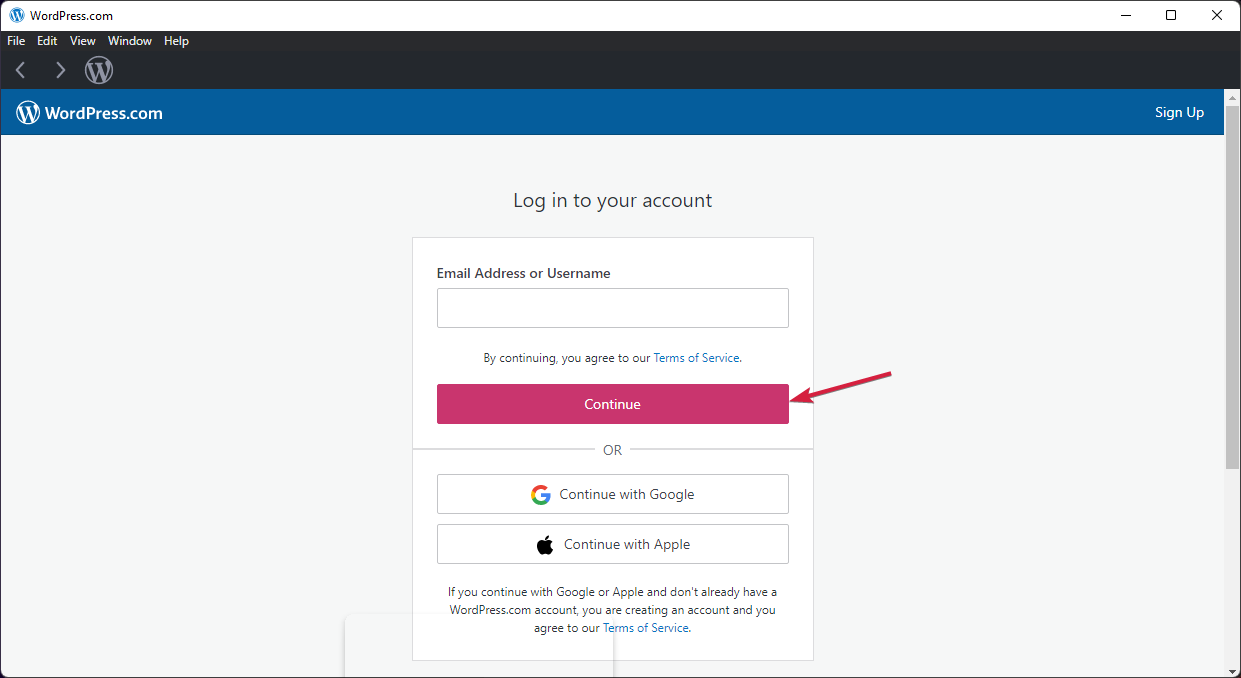
- Now you only need to enter your credentials to log into your WordPress account and click the Continue button.
- Once you log in, you will see the dashboard exactly as you would open it on a browser but it’s available locally, on your PC.
This is a compromise because you don’t actually host your blog on the PC but you can access your website faster and without using a browser.
How can I install WordPress on Windows 11?
1. Install WordPress on Windows 11 WSL
 NOTE
NOTE
1.1 Install WSL on Windows 11
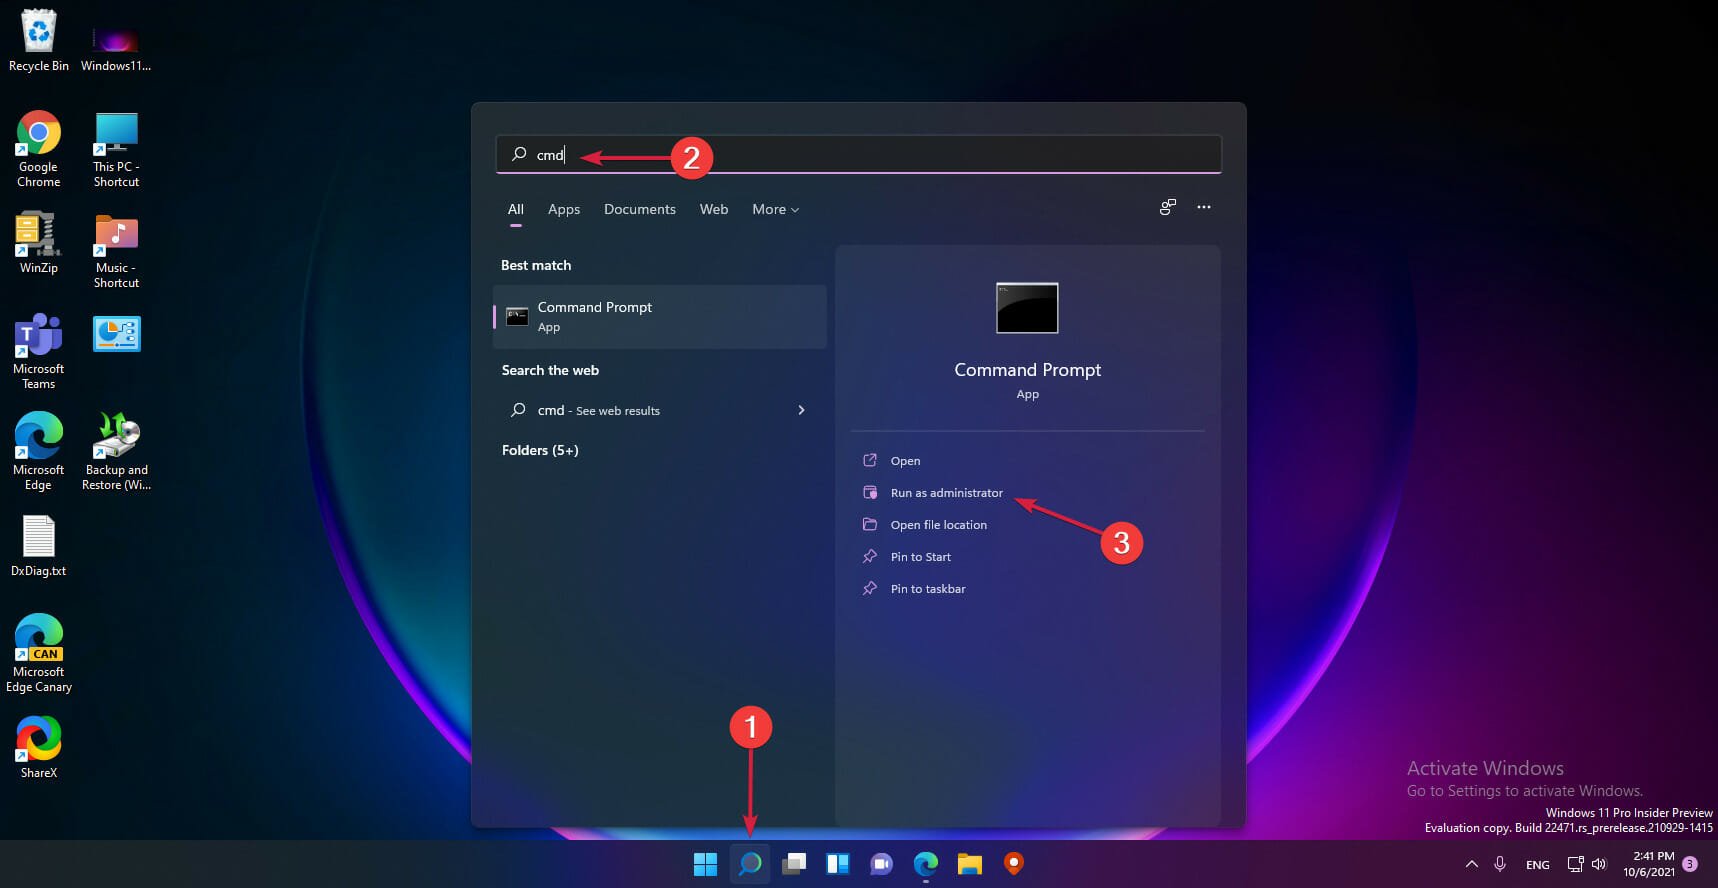
- Click on the magnifying glass from the taskbar, type cmd and select Run as administrator.
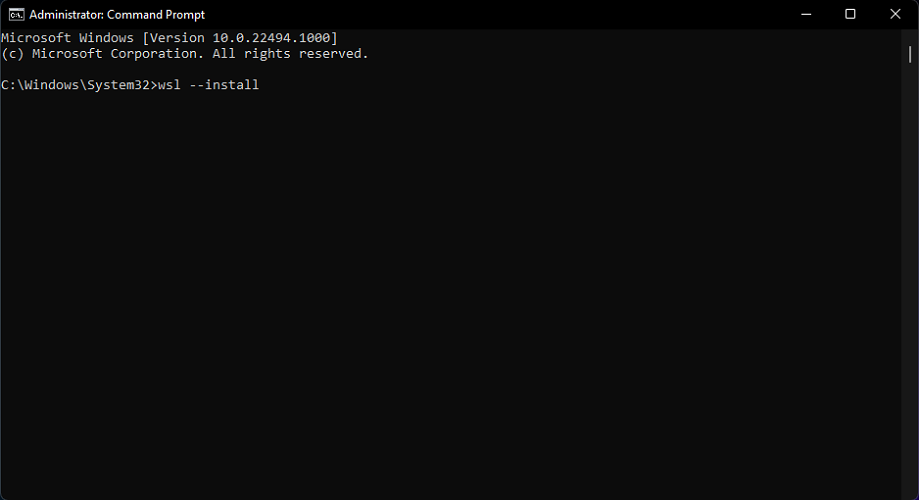
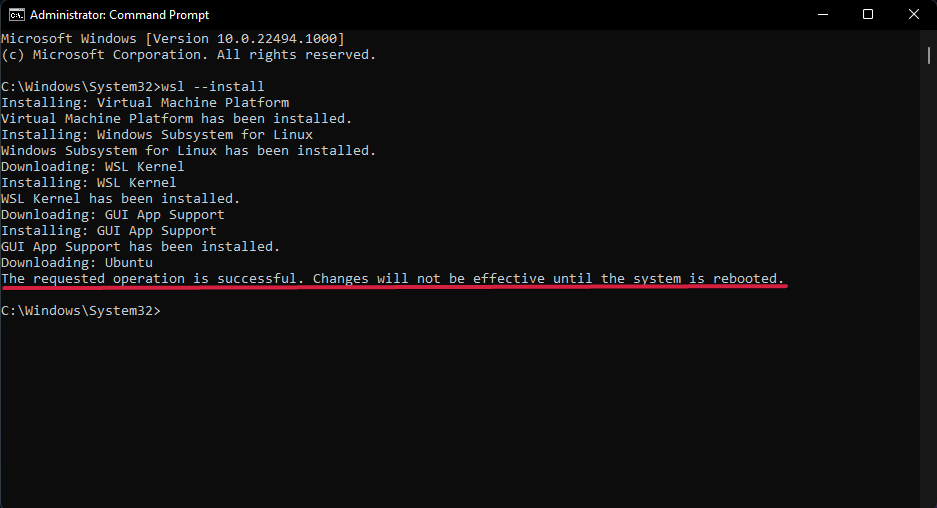
- Type or paste the following command and press Enter:
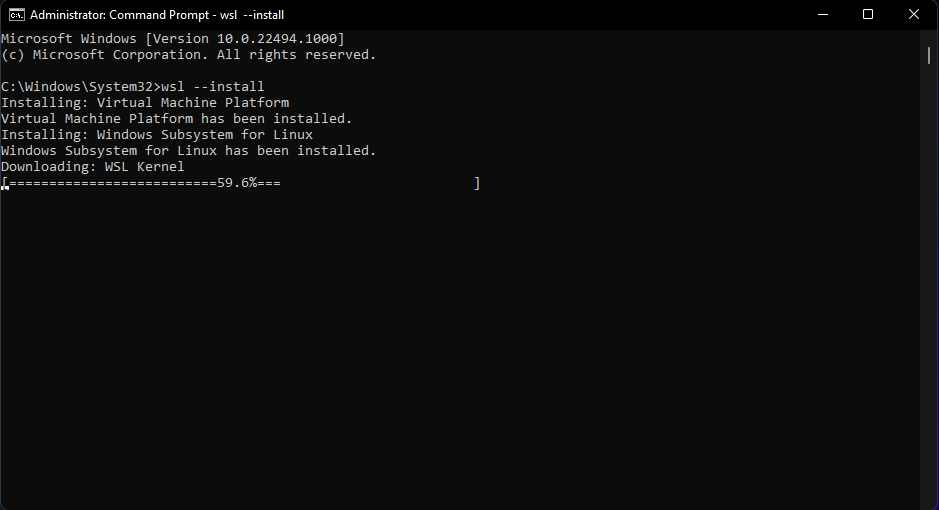
wsl --install - The process will take a little bit of time so wait patiently untill the Windows Subsystem for Linux installs.
- After all the components have been installed, you will get the message that the process completed successfully and you will need to restart your system for the changes to take effect.
- After the restart, installation will resume and Ubuntu will be installed.
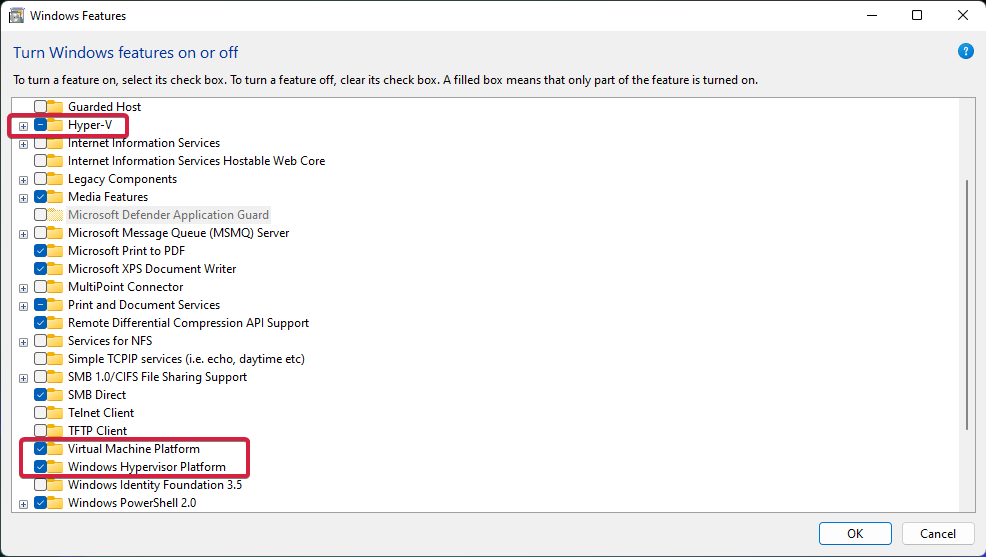
- If you get the WSL Register Distribution Failed With Error: 0x80370102 message, you will need to enable the CPU virtualization settings from BIOS and enable Hyper-V, Virtual Machine Platform and Windows Hypervisor Platform from Windows Features.
Installing WSL is the first step from the process and it will also install Ubuntu but you can get other distros if you don’t like this one.
You can also update WSL by entering the following line in a Command Prompt administrative window: wsl --update
1.2 Install the Nginx HTTP Server
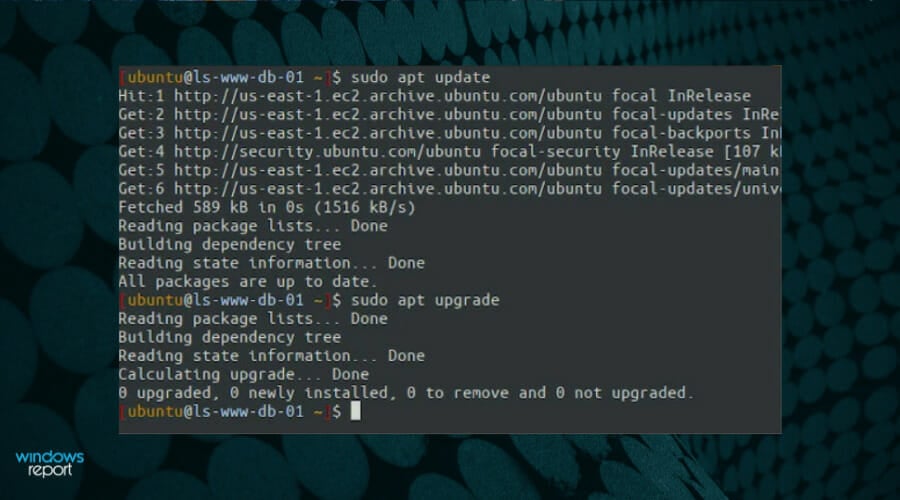
- Open Ubuntu and enter the following commannd to install Nginx:
- To test the server, open a browser and enter the following address:
http://localhost - If you can see the image as shown in our screenshot above, you’re on the right track.
For WordPress to function properly it still needs a web server, and Nginx is an opensource service that is very efficient and popular but you can use others if you so desire.
1.3 Install a database server
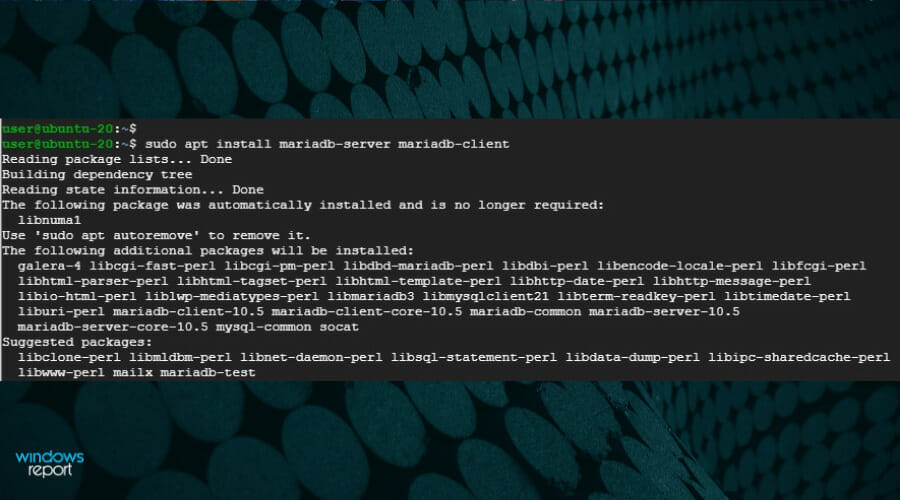
- Open Ubuntu, enter the following command and press Enter to execute it:
sudo apt install mariadb-server mariadb-client - Now type the following command in Ubuntu to install MySQL:
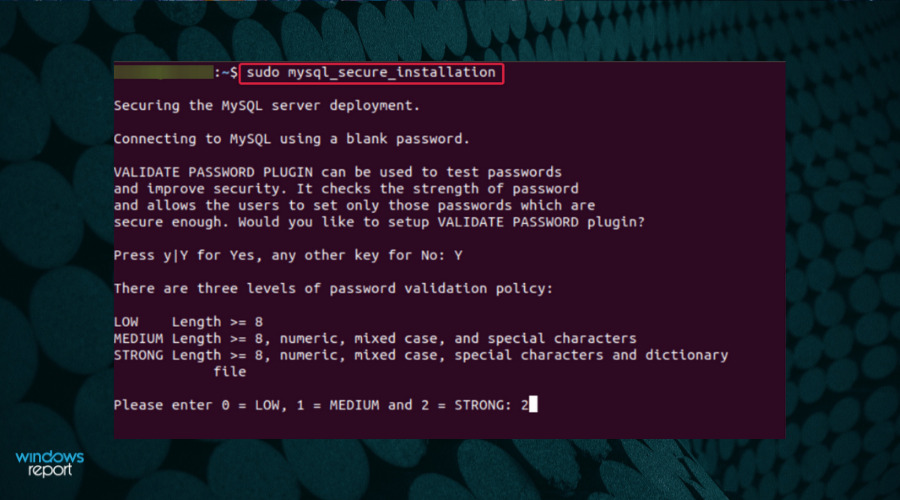
sudo mysql_secure_installation - You will be prompted with some questions so enter the following answers:
- Enter current password for root (enter for none): Press Enter
- Set root password? [Y/n]: Y
- New password: Type a password
- Re-enter new password: Repeat the password you just entered
- Remove anonymous users? [Y/n]: Y
- Disallow root login remotely? [Y/n]: Y
- Remove test database and access to it? [Y/n]: Y
- Reload privilege tables now? [Y/n]: Y
You also need a database to store the WordPress information and that’s why you need a MariaDB server and MySQL but as you can see, the installation is pretty straightforward.
1.4 Install PHP and its components
- Open Ubuntu and enter the following command to install PHP:
sudo apt install php-fpm php-common php-mysql php-gmp php-curl php-intl php-mbstring php-xmlrpc php-gd php-xml php-cli php-zip - This will install PHP version 7.4.
1.5 Get WordPress
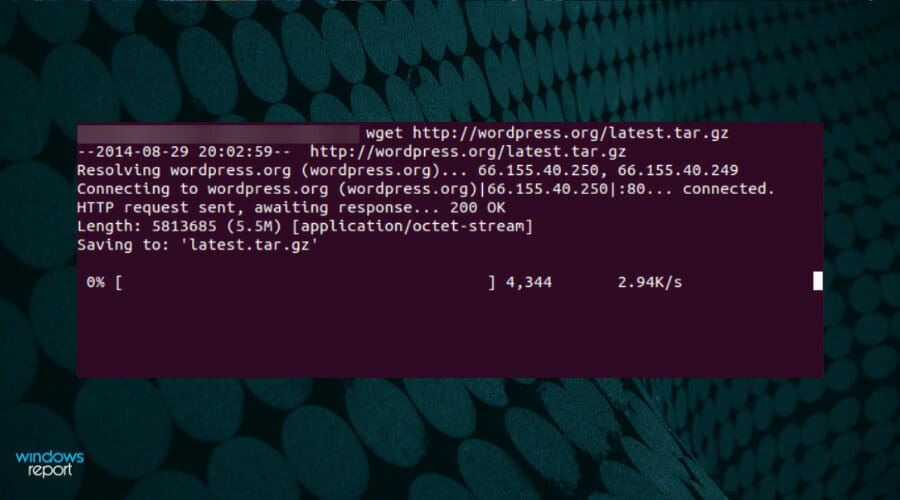
- Type the following commands in Ubuntu to get the latest version of WordPress:
- To get the www-data to own the WordPress directory type the following commands:
sudo chown -R www-data:www-data /var/www/wordpress/
sudo chmod -R 755 /var/www/wordpress/
1.6 Start WordPress
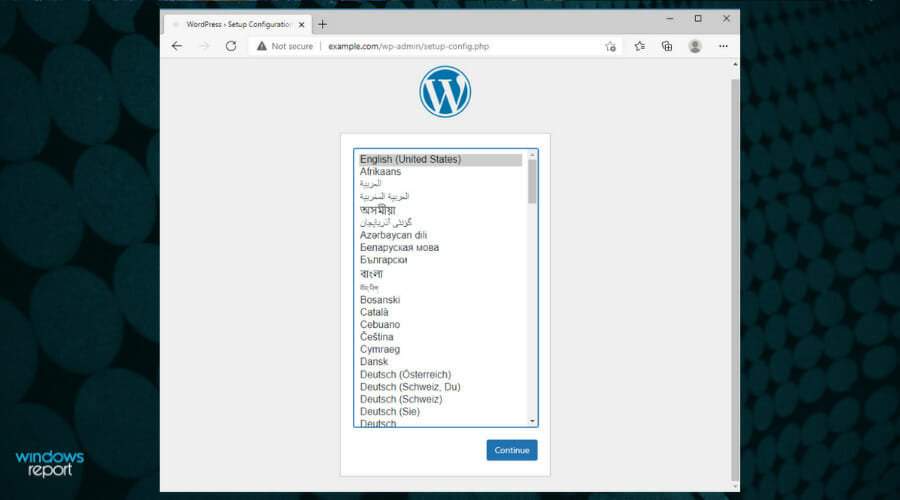
- After you configure the Nginx VirtualHost, start a browser and enter the server’s hostname. For us it’s http://example.com.
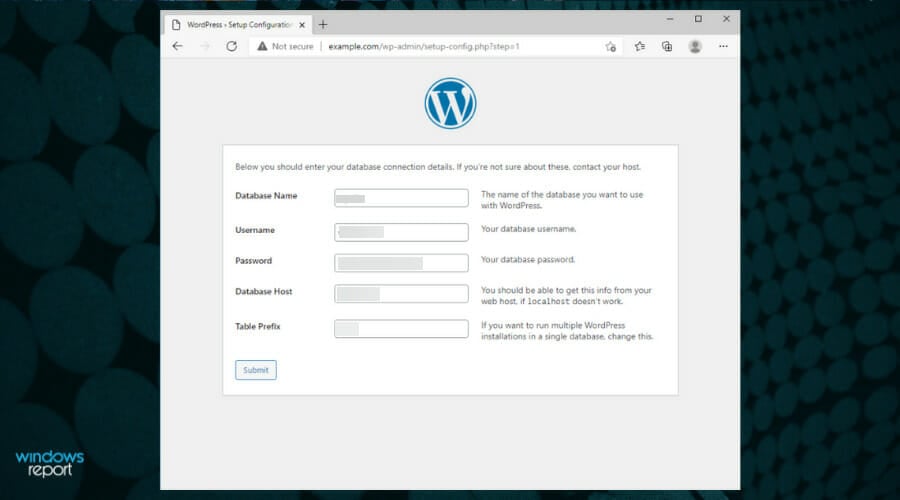
- Continue the WordPress setup process by completing all the necessary data.
- Login to your WordPress account and start managing your website.
2. Use InstantWP
- Download and install InstantWP for Windows.
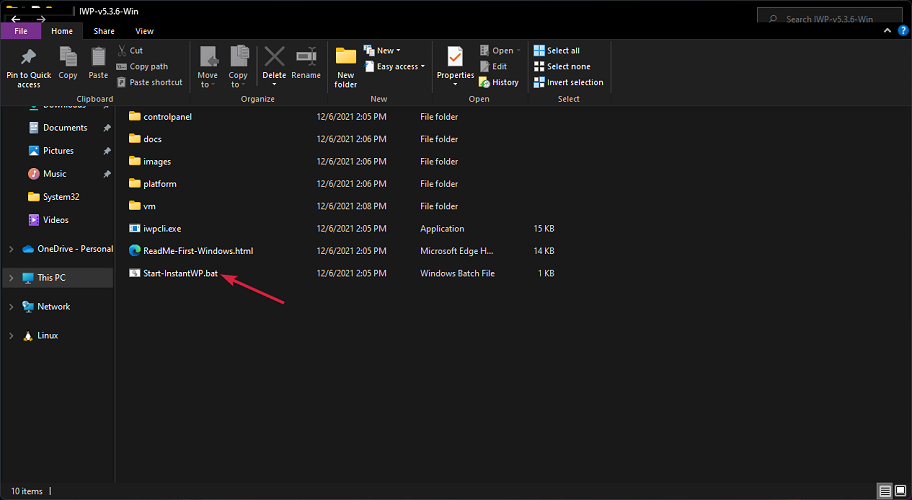
- You will receive an archieve file. Unpach it in a folder on your PC, then run the Start-InstantWP.bat file.
- Click on Allow access if you receive a prompt about Firewall.
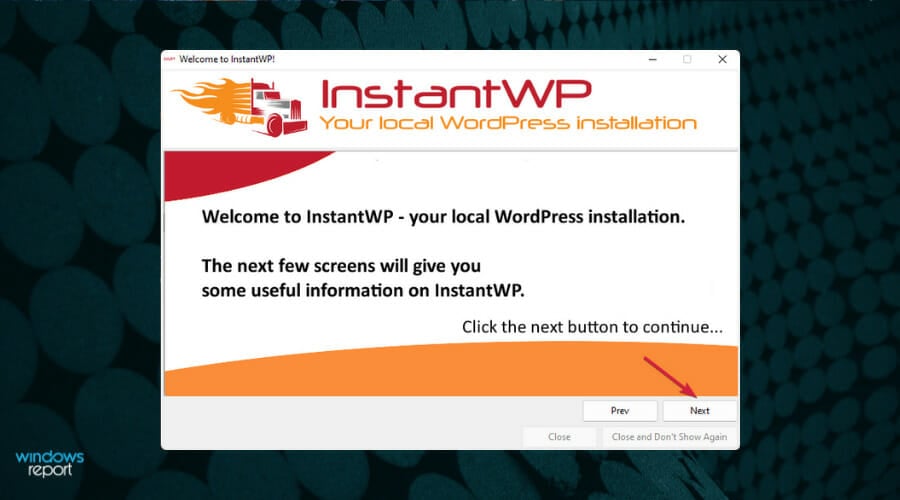
- Continue with the installation by clicking the Next button.
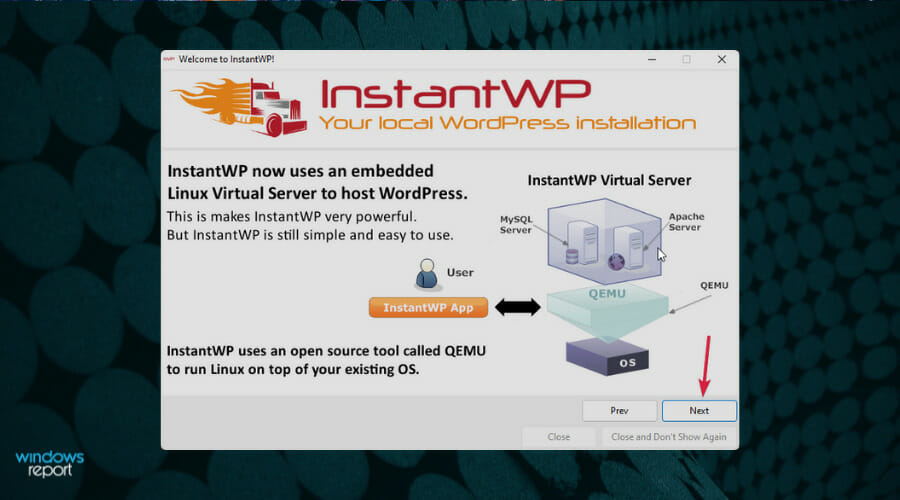
- You will be prompted with a message telling you that InstantWP comes with an embeded Linux Virtual Server. Click Next to continue.
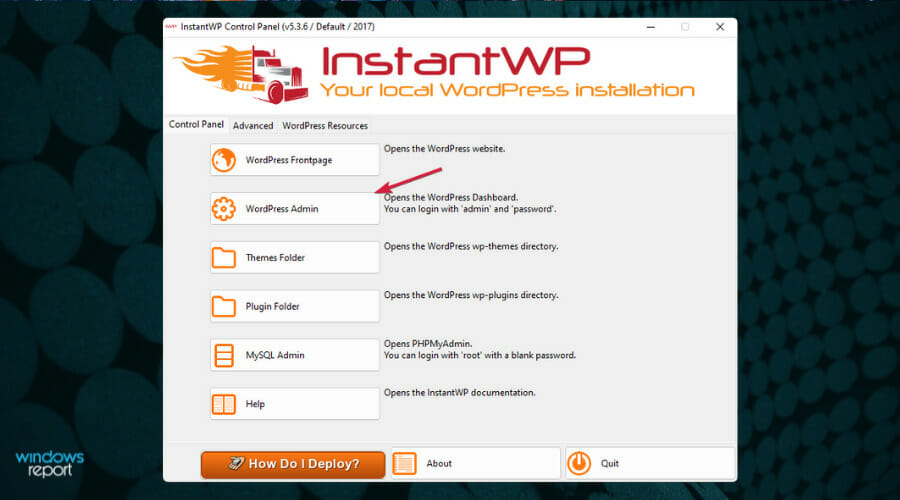
- In the end, the InstantWP app will start. Click on the WordPress Admin button.
- This will open a browser window where you login to your WordPress server.
As you can see, it’s a lot easier to work with a dedicated app but the downside is that you will need to pay for the app to use all its features.
How to get good webhosting for WordPress?
We have presented a way to manage your blog with a web app, how to install WordPress on Windows 11 manually and with a dedicated app.
However, we would still suggest getting web hosting and externalizing this to professionals. If you’re looking for a good platform, we recommend WP Engine.
You won’t have to worry about uptime ever again and it comes with very good security features. If you’re just starting your blog, you can use the Personal plan which is very affordable.
But if you’re running a business, try the Professional or business plans that will offer a lot of advanced features to accelerate your website’s growth.
You can also read about how to install WordPress on Windows 10 because all the solutions there work on the new OS.
For any questions or suggestions, the comments section below is ready to take your messages.





User forum
0 messages