How to update BIOS on Lenovo [Safe guide]
4 min. read
Updated on
Read our disclosure page to find out how can you help Windows Report sustain the editorial team Read more
Key notes
- Updating Lenovo BIOS bring new feature and functions, support for new-gen hardware and bug fixes.
- In order to start the BIOS update process on a Lenovo device, you can use an executable file downloaded on your HDD.
- Another easy way to start the BIOS update process is by using the Lenovo System Update application.
- Lenovo Vantage also offers a useful process that can update your Basic Input/Output System.

BIOS ( Basic Input Output System), is a small piece of code contained on a chip on your system board. BIOS works like a bridge between your system hardware and the operating system during the boot process.
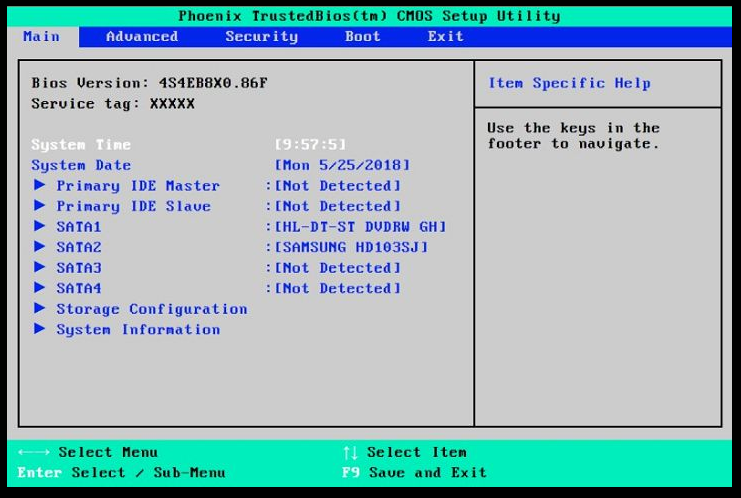
Similar to other laptops, Lenovo laptops also come equipped with BIOS that allows you to change boot process order and different hardware settings.
Updating your motherboard’s BIOS can help in many ways. The update can bring new features and functionalities, support new CPUs, fix bugs, and refresh a corrupted UEFI environment.
This article explores a few ways to update BIOS on Lenovo laptops and desktops with ease.
How do I update BIOS on Lenovo laptops and desktops?
1. Update BIOS through Windows executable file
- Open your Internet browser and go to Lenovo Support.
- Type your product name, serial number, or machine type into the search box and then select your computer model from the drop-down list. Make sure that you have chosen the correct system.
- Open the Drivers and software tab to bring up a list of drivers available for your system.
- Click the drop-down menu labeled Operating System and select your OS.
- Click the Components drop-down menu and select the BIOS/UEFI from the list. It will display a list of BIOS files available for download.
- Click the Download button beside the more recent update and download BIOS to your computer.
- Right-click on the downloaded BIOS file and select Run as Administrator.
- When self-extracting windows appear, click the Install button.
- Click the Flash BIOS button. Make sure you have connected to a reliable power source.
- Click the OK button and the BIOS flashing program will run automatically.
Note: When the BIOS is successfully updated, the system will reboot automatically.
Updating Lenovo BIOS running Windows 10 using the executable file is easy.
However, at times this method can fail. You can check out alternative ways to update BIOS in the next set of steps.
2. Update BIOS using Lenovo System Update
Note: make sure to run a Windows update and install the pending updates before running System Update on a Lenovo system.
- Launch your web browser and go to the Lenovo Support page.
- Type your product name or serial number and select your system from the drop-down list.
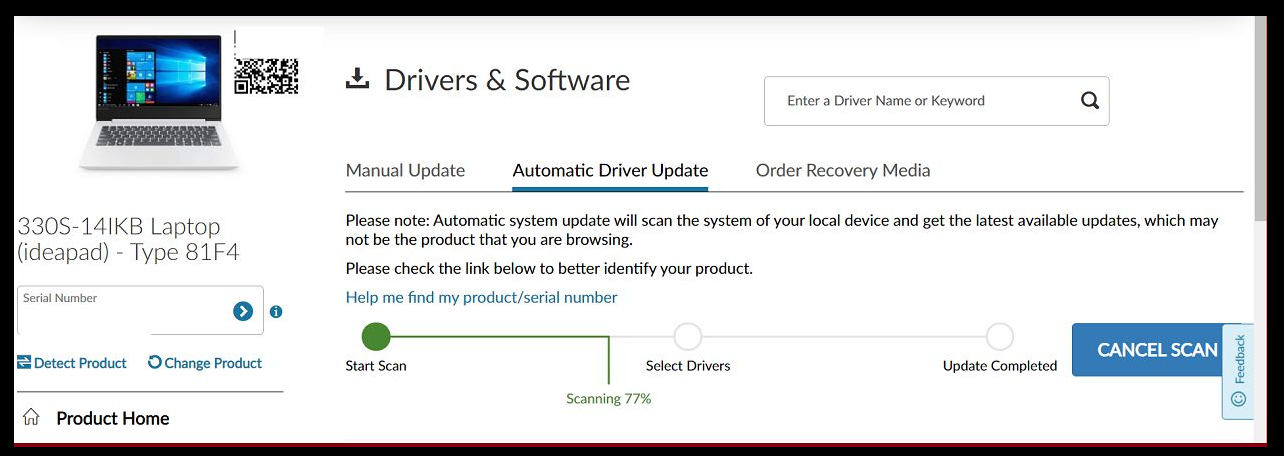
- Click the Drivers and Software tab from the left pane. This will display the list of update available for your system.
- Scroll down and locate System Update.
- Click the down arrow icon to download System Update.
- Run the System update installer and follow the instructions during install until the update is fully installed.
- Once the installation process is over, you can delete the System Update file safely.
3. Update BIOS through Lenovo Vantage
- Launch the Lenovo Vantage app on your system. If you don’t have the app installed, download it from the Lenovo website here.
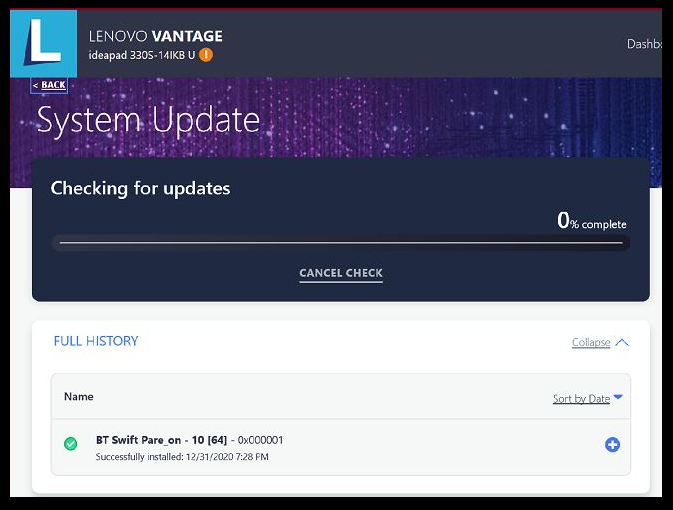
- Under the Device option, click on the System Update option. If you don’t see the option, toggle the menu button, and select System Update.
- Click the Check for Update button to see any pending updates available for your system.
- Once the scan is complete, scroll down and locate the BIOS update.
- Press the Install Selected Updates button.
- Click OK to reboot the computer and install the update.
- Lenovo Vantage will download the update and initiate the installation process.
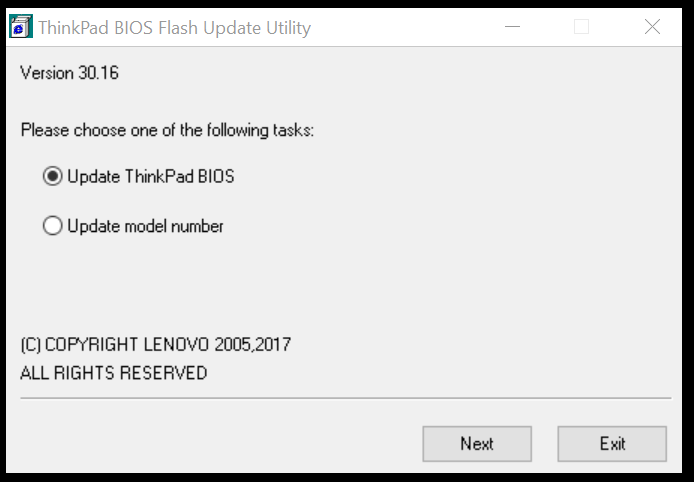
- Select the update BIOS option on the Flash Update Utility.
- Once done, you will be prompted to reboot the computer. Click on Reboot and then follow on-screen instructions.
The Lenovo Vantage is a handy tool. Apart from allowing you to download and install a system update, the app helps you get most of your device.
You can also tweak battery optimization, fast charge, always charge from USB and check your system’s health using the app.
Is it safe to Update BIOS?
There are some risks involved in updating the BIOS and requires the user to take extra precaution when updating the BIOS.
System manufacturers offer dedicated tools to update system BIOS. Make sure to use the recommended tool to update your BIOS.
In most cases, you may not need to update your BIOS regularly. However, in case some system functionalities stop working, you can use the methods listed in this article to update your BIOS.
There you have it—three ways to update BIOS on your Lenovo laptop and desktop.
Whether you want to update Lenovo BIOS for Linux or Windows, it is important to do it right. Make sure to follow the steps in this article carefully to update your Lenovo BIOS for laptops and desktops.

