How to Find & Change Microsoft Teams Recording Location
The recordings for Teams channel meeting are stored in SharePoint
Whether you want to save the lecture to take notes after or revise important points a client has provided for a new project, recording a Teams meeting can be helpful.
In this guide, we will talk about how to find and change the Microsoft Teams recording location so that you can efficiently manage & access the recorded content whenever you want.
Table of contents
Where are recordings from Microsoft Teams stored?
1. For the Teams channel meetings
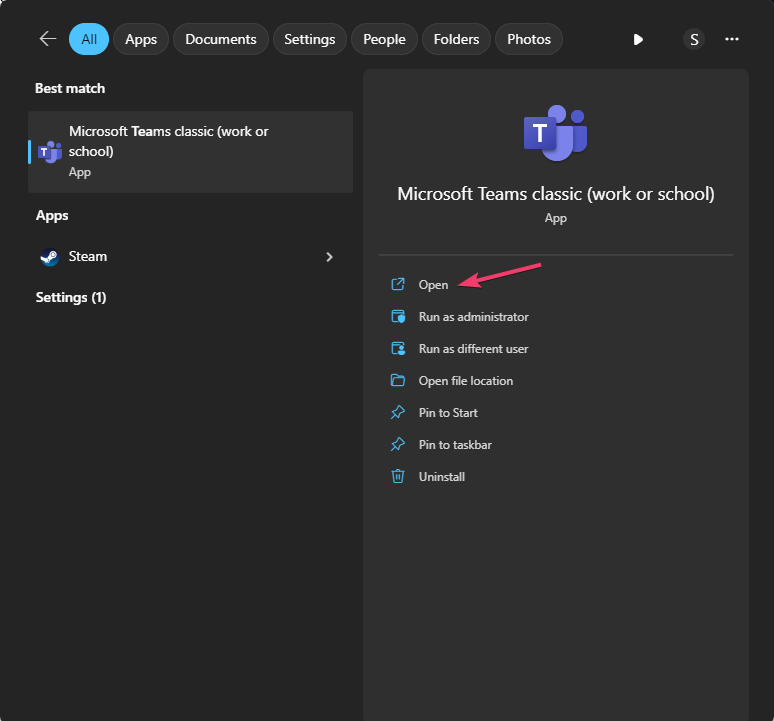
- Press the Windows key, type teams, and click Open.
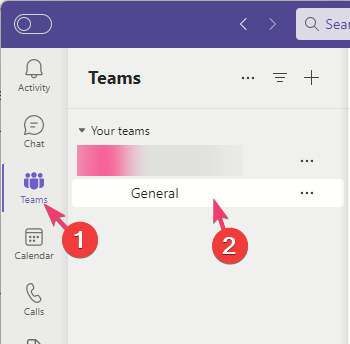
- Click Teams from the left pane and select the channel.
- Click the Files tab from the top menu in the meeting chat feed.
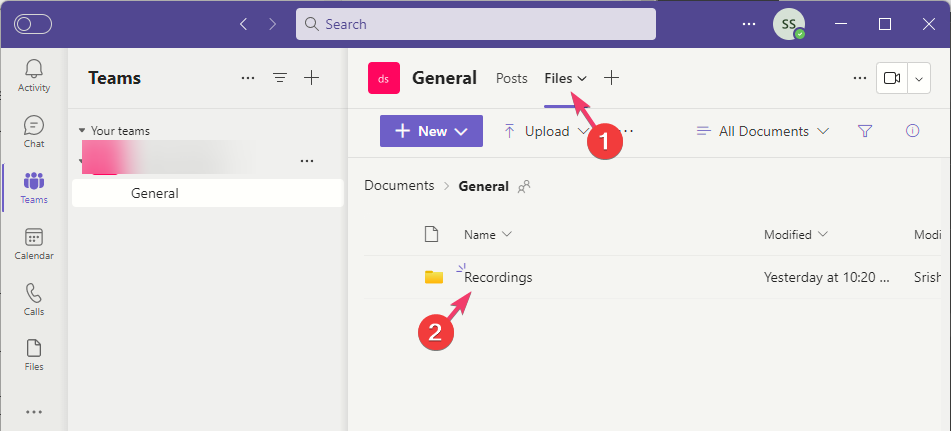
- You will get the Recordings folder, then double-click it to open the Teams meeting recordings list.
Now that you know where Teams Meetings are recorded, you can easily access and view them.
2. For the Non-channel meetings
- Log in to your OneDrive account.
- Locate the Recordings folder, double-click it to open it, and you will find all the recordings of the meetings for which you initiated the recording.
Remember, for the non-channel meeting, only the meeting organizer can access the recording as it is stored in their OneDrive Recordings folder. However, all team members can access the recording from the Files tab for the Team channel meetings.
If you cannot find the recording files in the SharePoint folder, you need to rearrange the files correctly. To know more, read this guide.
How do I change the location of Microsoft Teams recordings?
Now that you know where Teams meetings are recorded, let’s see if you can change the default location. While the answer is no, you can move recordings from SharePoint or OneDrive if needed.
1. For the Teams channel meetings
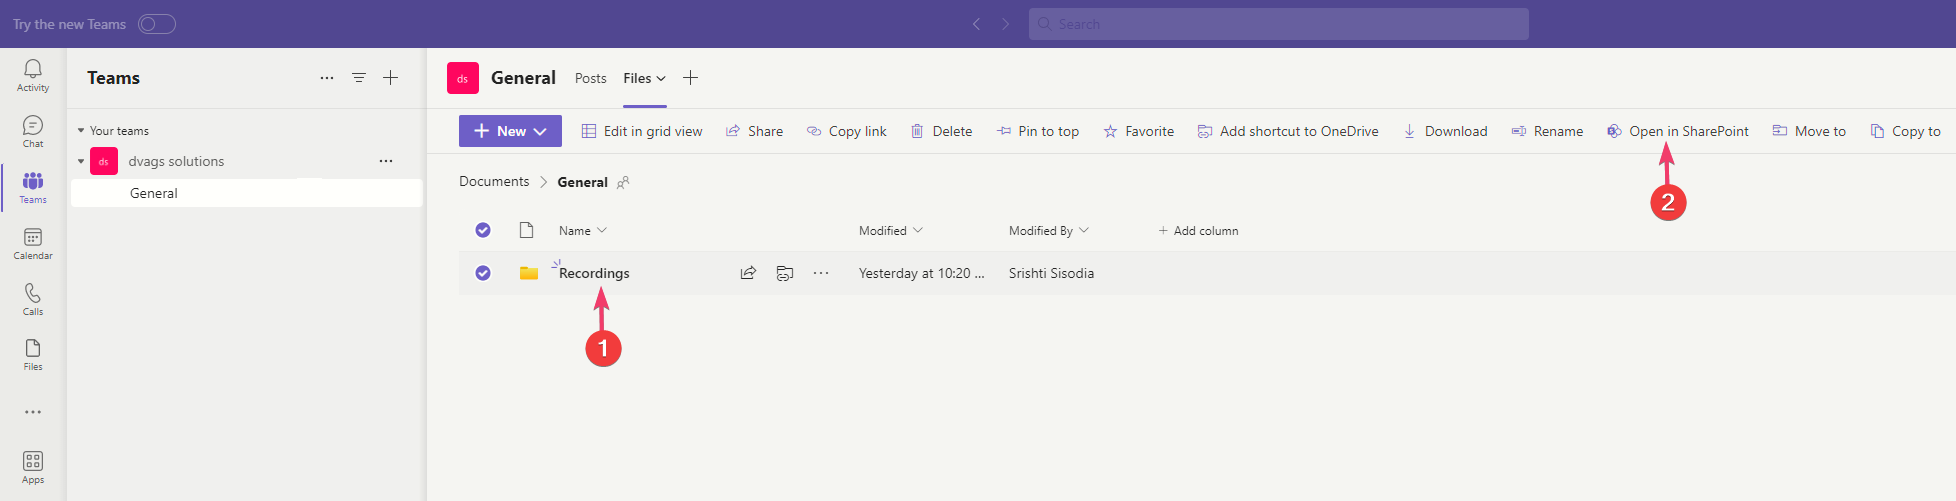
- Go to Teams, select the channel, and then click the Files tab from the top menu in the meeting chat feed.

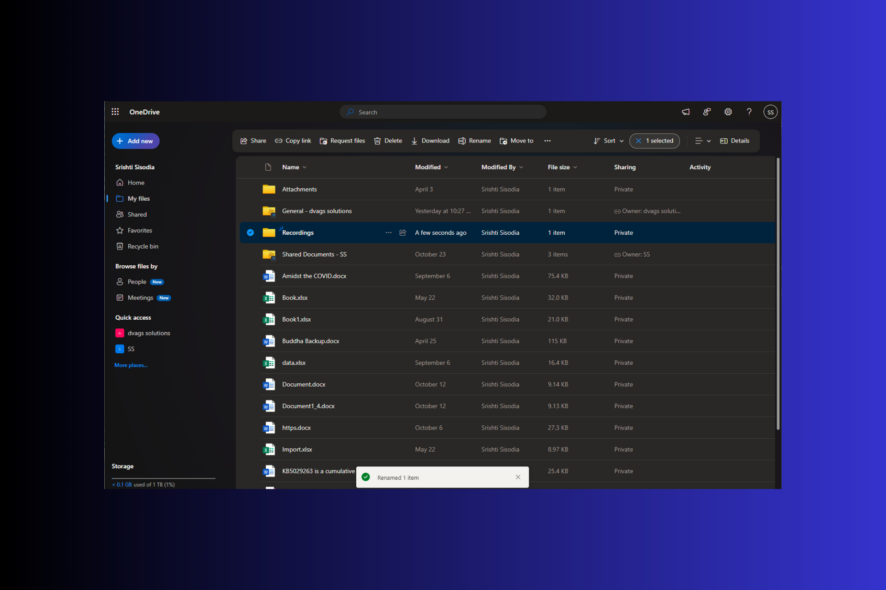
- Select the recording, then click Open in SharePoint.
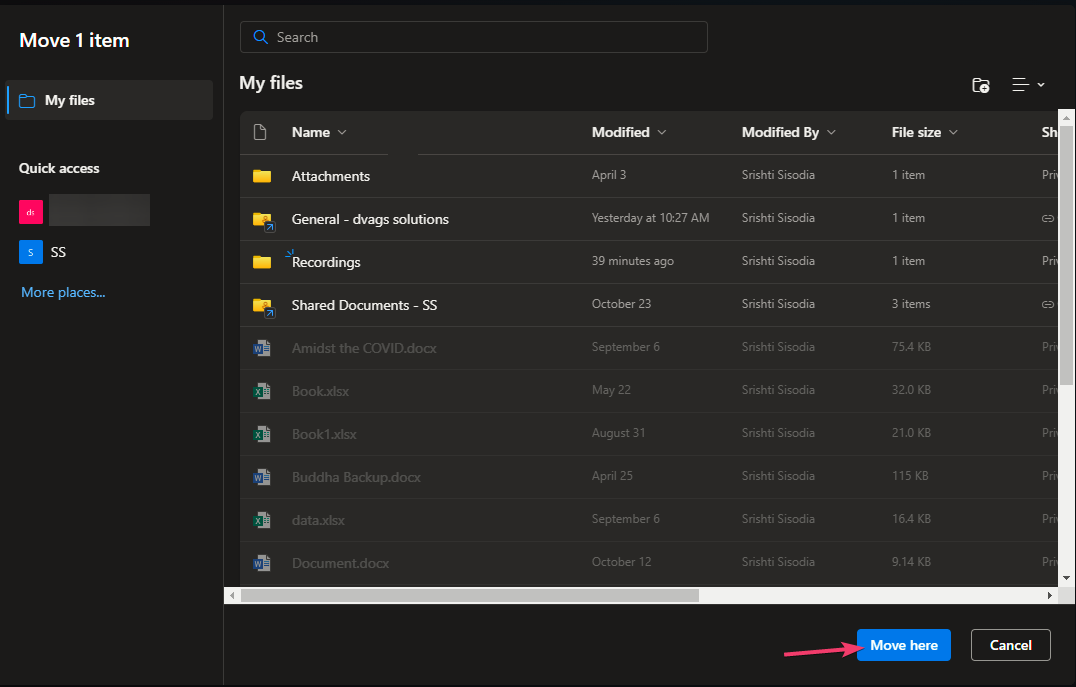
- Locate the recording, click the three dots next to it, and select Move to.
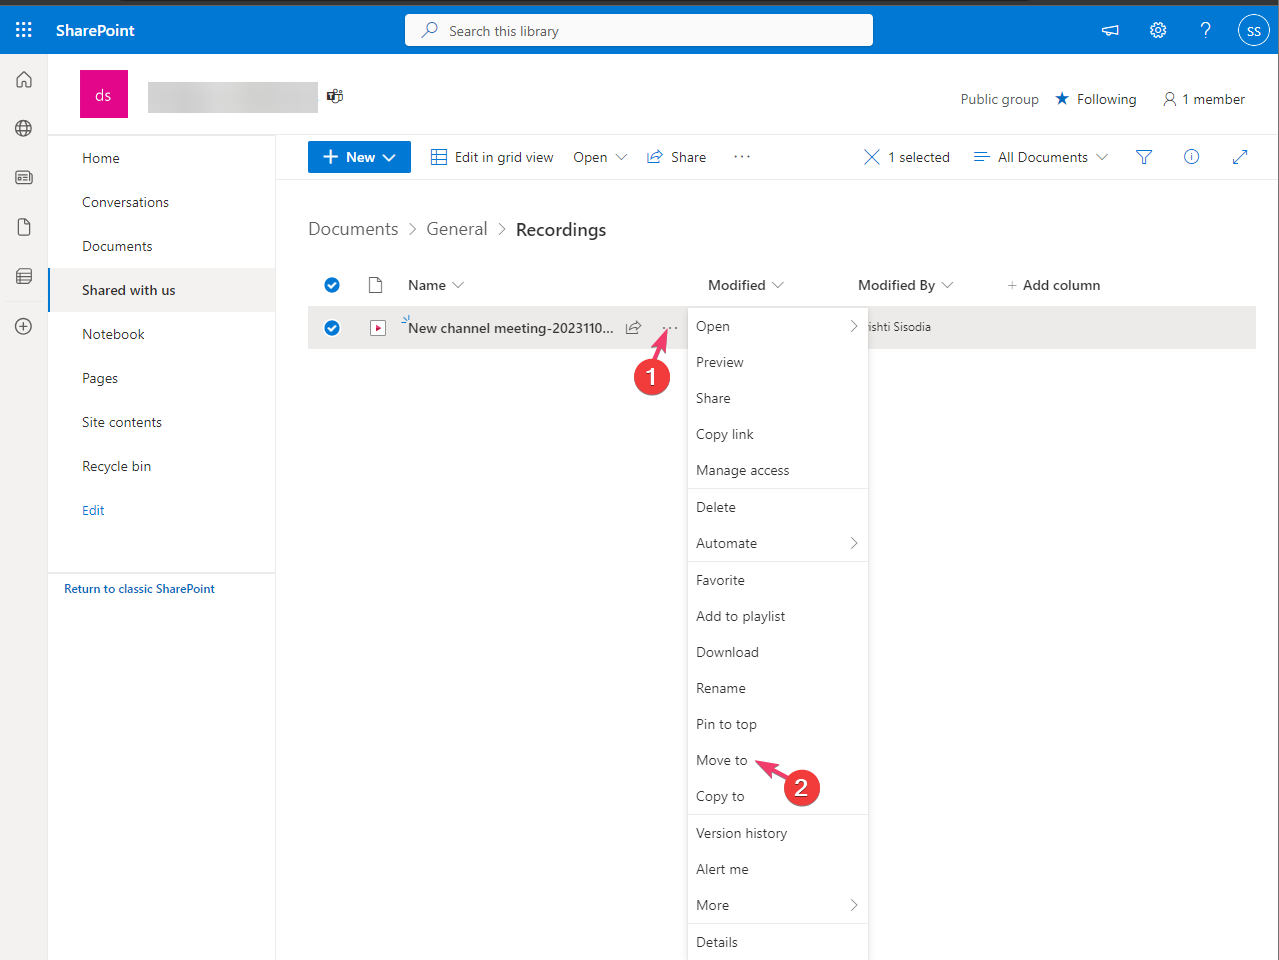
- Navigate to the location and click Move here.

2. For the Non-channel meetings
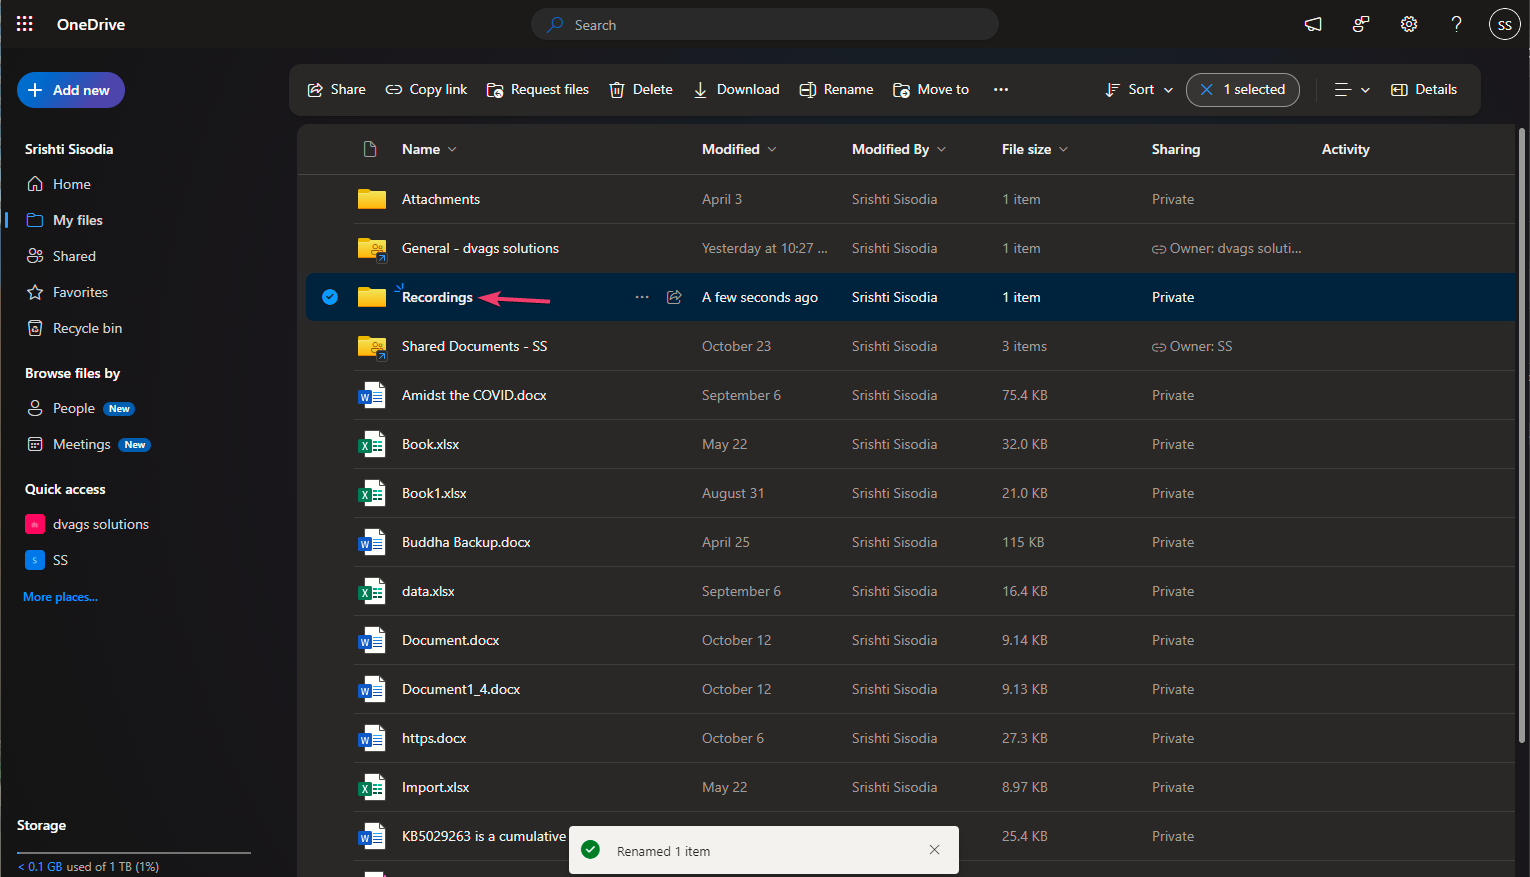
- Locate the recording in OneDrive, click the three dots next to it, and select Move to.
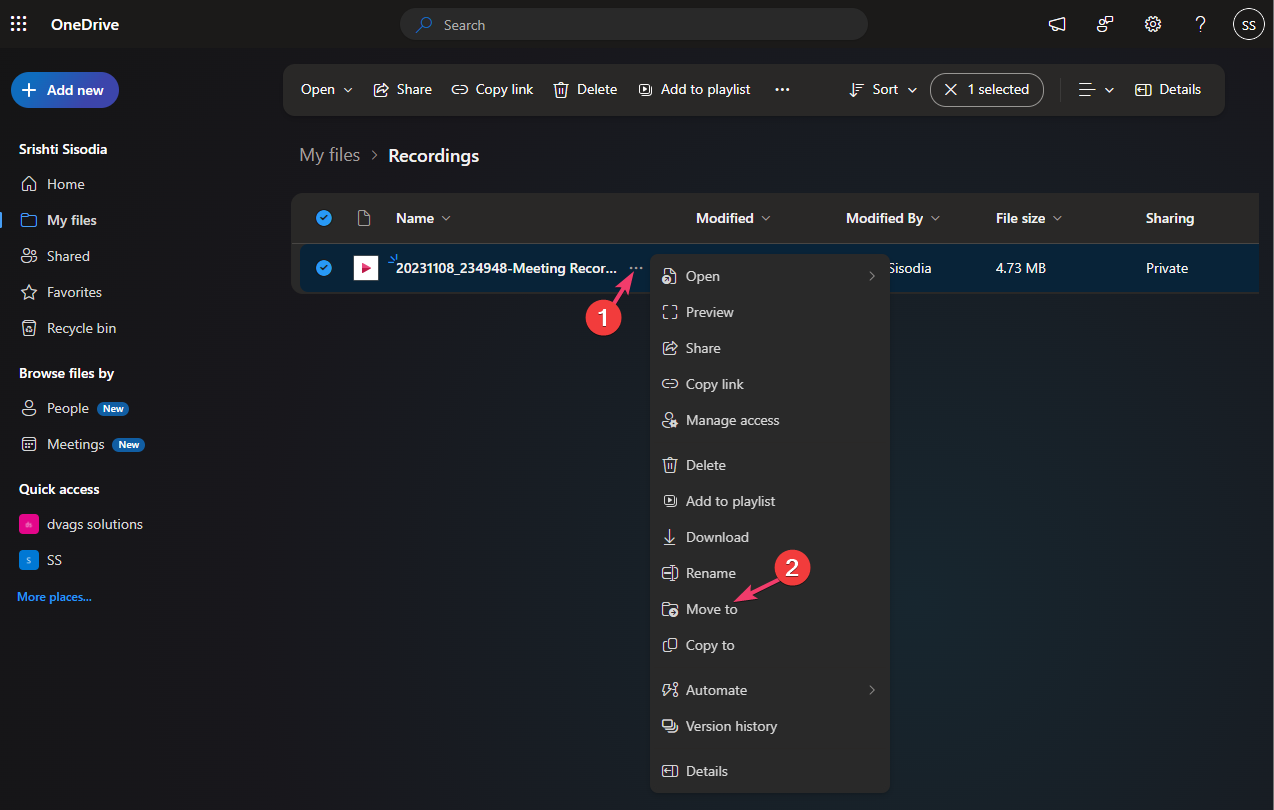
- Now, choose the folder or other location to move the recordings and click Move here.
Since the Microsoft Teams meeting recordings have an expiration date, so if you want to save them longer, download them on your Windows 11 computer or move them to another location on the drive itself.
Why can’t I find my Teams recording?
- The meeting recording has passed its expiration time of 120 days or the limit set by your organization.
- The recording was not initiated appropriately.
- You had unstable internet connectivity during the meeting, causing the issue.
- The default storage location is full, or the Microsoft Teams app is outdated.
Tips for Optimizing and Enhancing Your Meeting Recordings with Microsoft Teams
- Before the meeting is initiated, inform all the participants that the session will be recorded to ensure everyone gives consent and engages in discussions for a productive session.
- Preview your video before turning on the camera to ensure it appears how you want while recording.
- Use Reactions, like Raise hand (indicating that you want to speak up) or Applause/Heart to show how you feel about a topic.
- Select a video layout for the meeting; on the meeting controls, choose More options, and choose from Gallery, Large gallery, or Together mode.
- Spotlight the main speaker video to ensure everyone sees them on their screen; right-click the speaker video, and select Spotlight>Spotlight to confirm the choice.
- Use breakout rooms for focused conversations; in the Teams app, select Breakout rooms>Select number of rooms you need> Assign participants> Create rooms>Start rooms.
FAQs
Teams meeting recordings are saved to OneDrive for non-channel meetings and to SharePoint for channel meetings.
For non-channel meetings, recordings are stored in the meeting organizer’s OneDrive under the Recordings folder.
Channel meeting recordings are saved in the channel’s SharePoint site inside the Recordings folder.
Yes. A link to the recording automatically appears in the meeting chat or channel conversation after the session ends.
Yes. Administrators can configure policies to adjust where recordings are stored based on organizational needs.
Now you know where Teams meetings are recorded, but remember that as of 2021, the recordings are no longer stored in Microsoft Stream but are found in SharePoint (Channel meetings) or OneDrive(other meetings).
Also, you can’t change the default location of recordings but can move them to a different location for future use and recover the storage on the drive.
Before you go, check our guide on how to properly record Teams meeting on your PC. Keep in mind that if you delete your recordings, you can easily restore Microsoft Teams recordings, so you don’t have to worry about losing them.
If you are on limited data and have to attend Teams meetings now and then, you must limit your data usage to ensure you stay within the data limit.
If you have any questions or suggestions about the subject, feel free to mention them in the comments section below.
Read our disclosure page to find out how can you help Windows Report sustain the editorial team. Read more


Improve this guide


User forum
0 messages