Automatically Adjust Selected Columns to Fit Text [How to]
Adjust layout settings in Microsoft Word to fix this issue
Key notes
- Adjust your table layout settings in Word if you want to adjust columns to fit text in Word.
- Changing the spacing can often help with this issue, so be sure to give it a try.
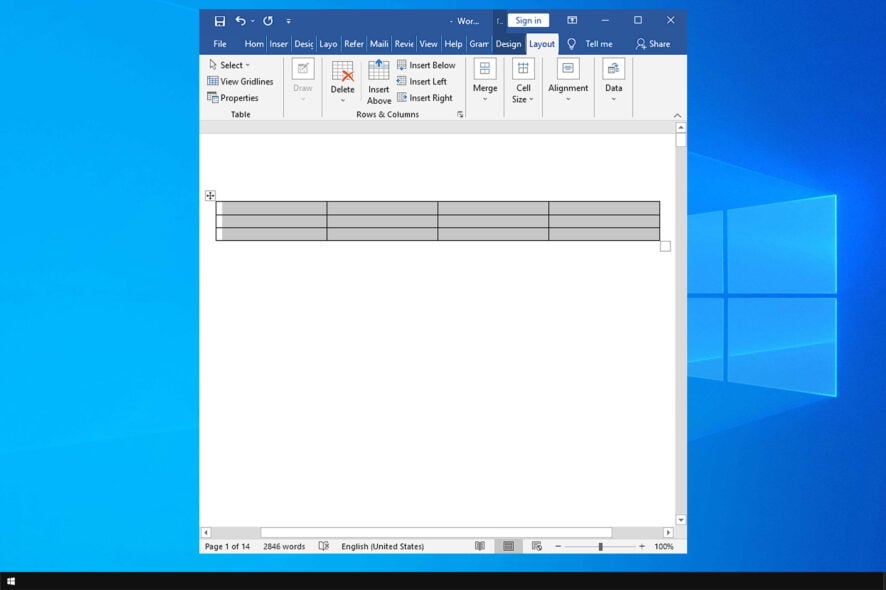
While using the table function in Microsoft Word application you may have noticed that Word will automatically adjust the columns of the selected table to fit the text.
These features are useful, but they can interfere with some users. In the past, we wrote how to remove paragraph symbol, so be sure to check it out.
Today we’re going to focus on the adjustment issue and show you how to fix it.
Where is the AutoFit command in Word?
AutoFit command is located in the Layout panel in Microsoft Word. Keep in mind that in order for this feature to show up, first you need to create and select a table.
How do I turn off AutoFit in the table?
1. Turn Off AutoFit
- Launch Microsoft Word and open any document with a table in it.
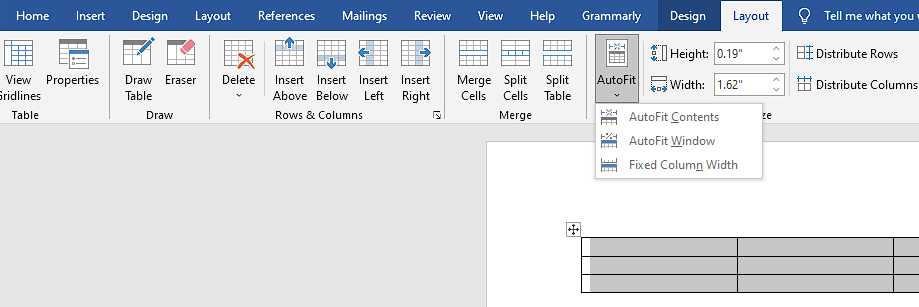
- Open the Layout tab and select your table.
Note: There are two Layout tabs, you need to select the one under Table Tools section (on the right-hand side).
- In the Cell Size group, click on AutoFit and select “Fixed Column Width“.
- That should turn off AutoFit and set your table to a Fixed Column Width.
- Now try to create a new table and check if the issue persists.
After doing that, Word won’t automatically adjust the selected tables columns to fit the text.
2. Add or change the space inside the table
- If you want to manage the Space Inside and between the table cells, here is how to do it.
- Click on your Table.
- Go to the Layout tab, and in the Alignment group, click on Cell Margins.
- Next, click on the Table Options dialog box.
- Now do one of the following.
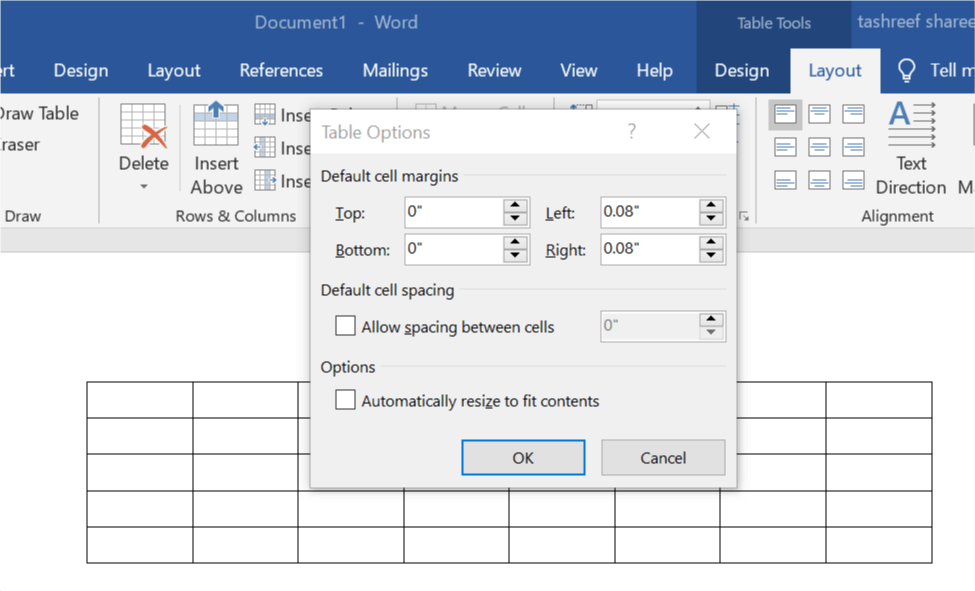
- Under Default Cell Margins, enter the measurement you want to add adjust for top, bottom, right and left margins.
- Under Default Cell Spacing, Check the “Allow Spacing Between Cells” box and enter the measurement as your per your requirement.
- Click OK to apply the changes.
That’s it. The first method should help you to when Word automatically adjust the selected tables columns to fit the text.
To learn more about Word, we have a great guide on how to disable protected view in Word, so you might want to check it out.
Did you find a different way to fix this issue? If so, let us know in the comments below.
Read our disclosure page to find out how can you help Windows Report sustain the editorial team. Read more


Improve this guide


User forum
0 messages