Vertical Text in Microsoft Word: 4 Ways to Add it
This can be done by using a vertical Text Box
2 min. read
Updated on
Read our disclosure page to find out how can you help Windows Report sustain the editorial team. Read more
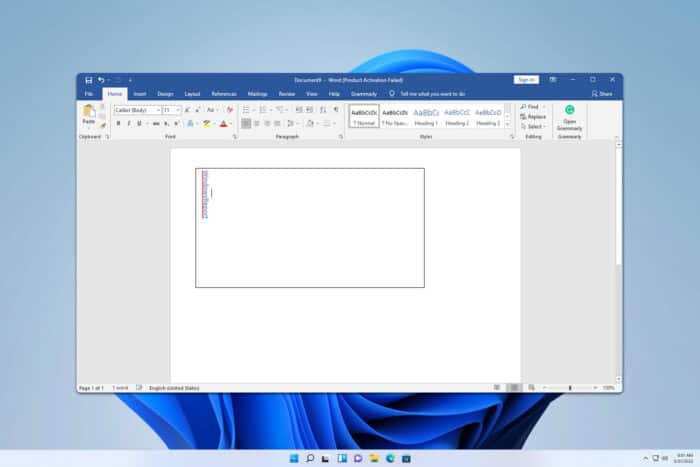
Sometimes you need to add vertical text in Microsoft Word, and if you don’t know how to do that, this guide will show you a couple of methods that you can use.
How do I put text vertically in Microsoft Word?
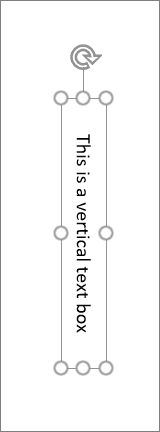
1. Insert vertical Text Box
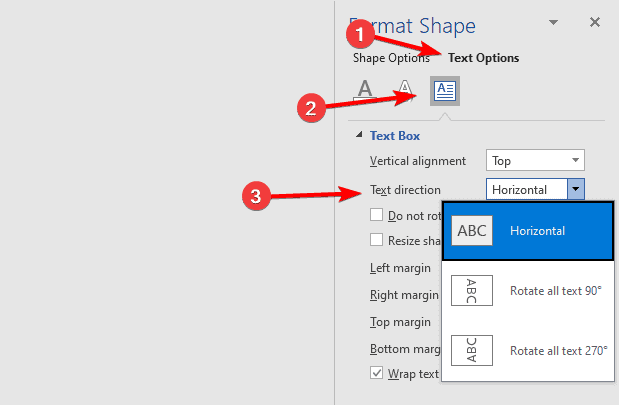
2. Change the text direction of a Text Box
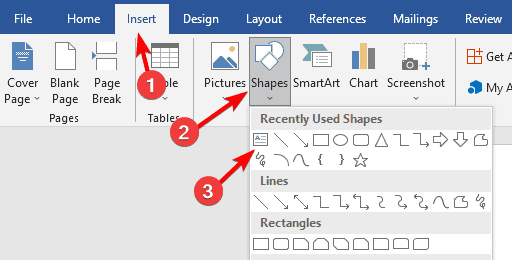
- Go to the Insert tab. Expand Shapes and choose Text Box.
- Select the size of your text box and place it in the document.
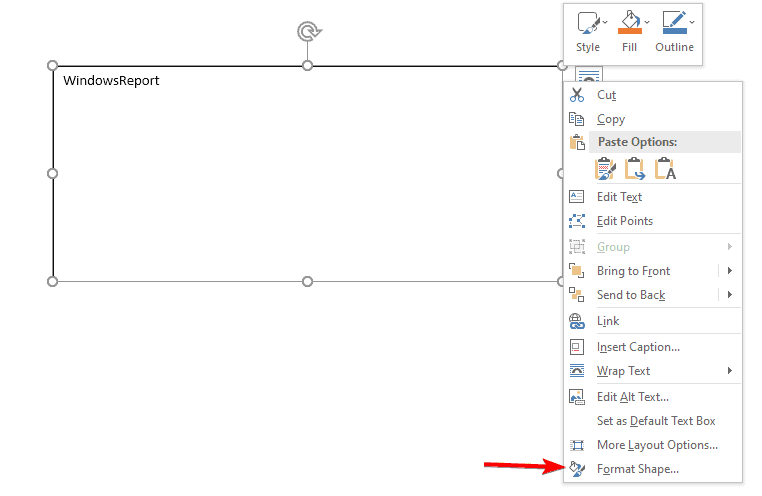
- Right-click the edge of the text box and choose Format Shape from the menu.
- Go to Text Options and then choose the Layout & Properties icon. Lastly, configure Text direction as you wish.
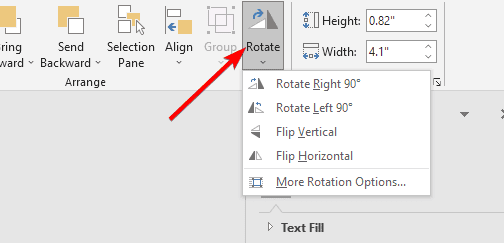
3. Rotate the horizontal text box
- Create a horizontal text box.
- Double-click the text box.
- In the toolbar, expand Rotate and select the desired option.
- Alternatively, select the text box and click and move the rotate icon.
If you choose to rotate text in Microsoft Word you can easily have your text at any angle, so don’t hesitate to try this feature out.
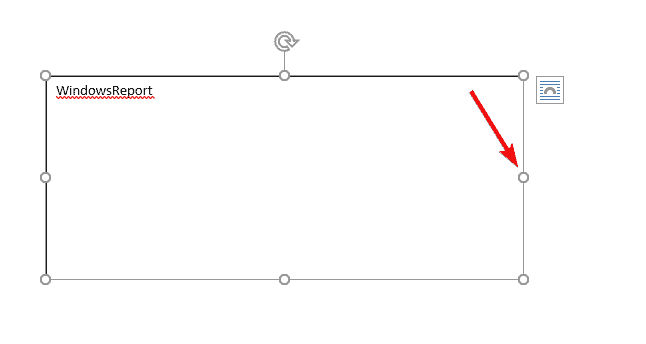
4. Resize the text box
- Create a new text box.
- Click the right resize circle and drag it to the left.
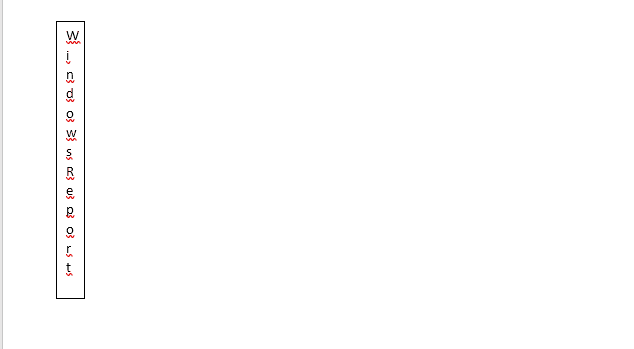
- Your text will now be vertical.
How do I rotate the text direction in Word?
You can rotate the text direction from the Format Shape settings. We explained the procedure in Solution 2.
As you can see, it’s pretty easy to use vertical text orientation in MS Word, and you can easily add vertical text by using the correct Text Box.
To learn more about Word we have guides on how to insert code block in Word and how to type exponents in Word.
You can also remove highlights in Word, and we have a separate guide that shows you how to do that.



User forum
0 messages