MSI Afterburner Not Working on Windows 11? Fix it in 7 Steps
Give a try to these quick methods now
Key notes
- Several users in the recent past have reported that MSI Afterburner is not working in Windows 11, either on a particular game, a few, or all of them.
- To fix this, you can try disabling the Steam and NVIDIA overlay, providing administrative privilege to the program, amongst other methods listed below.
- Also, find out how to download MSI Afterburner in Windows 11.
MSI Afterburner is an overclocking tool that works with most graphic cards. Along with that, you can also use it to monitor the system’s performance. However several users have reported that MSI Afterburner is not working in Windows 11.
This could be due to several reasons, and we have discussed them in the following sections. However, when this situation arises, it prevents you from altering or monitoring the performance while playing a game.
As expected, this poses a major challenge to gamers. This is why we have dedicated this guide to help you understand the issue, and walk you through the most effective fixes for the MSI Afterburner not working in Windows 11 problem.
Why is MSI Afterburner not working in Windows 11?
While it works seamlessly for most users, those who cannot get it up and running generally have misconfigured settings, NVIDIA or Steam overlay, problems with the compatibility, amongst other issues.
Also, several users have reported that using an outdated version of MSI Afterburner caused the issue in their case, which is easily fixable. Also, issues with the driver are found to affect its functioning.
Now that you understand the underlying causes fairly, it’s time we head to the fixes. Execute them in the listed sequence to quickly and effectively troubleshoot the error.
What can I do if MSI Afterburner isn’t working in Windows 11?
1. Disable Steam overlay
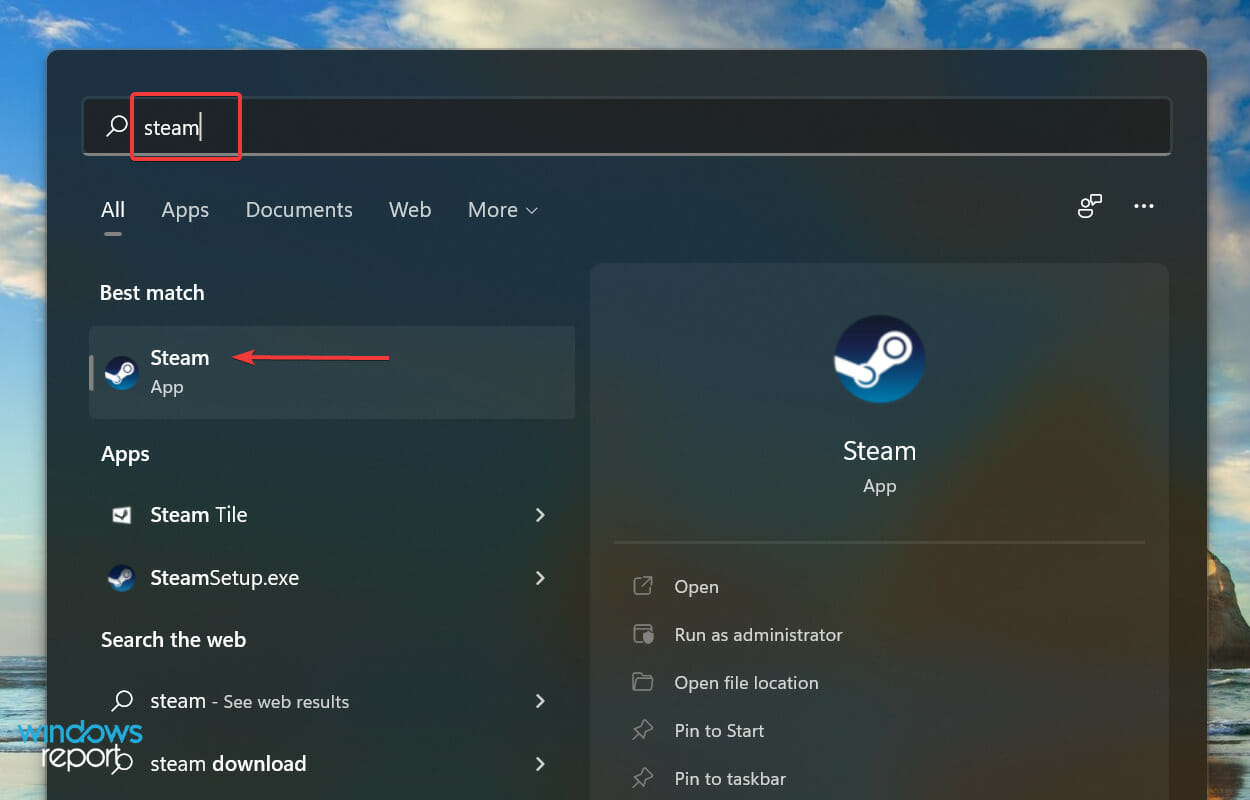
- Press Windows + S to launch the Search menu, enter Steam in the text field at the top, and click on the relevant search result that appears.
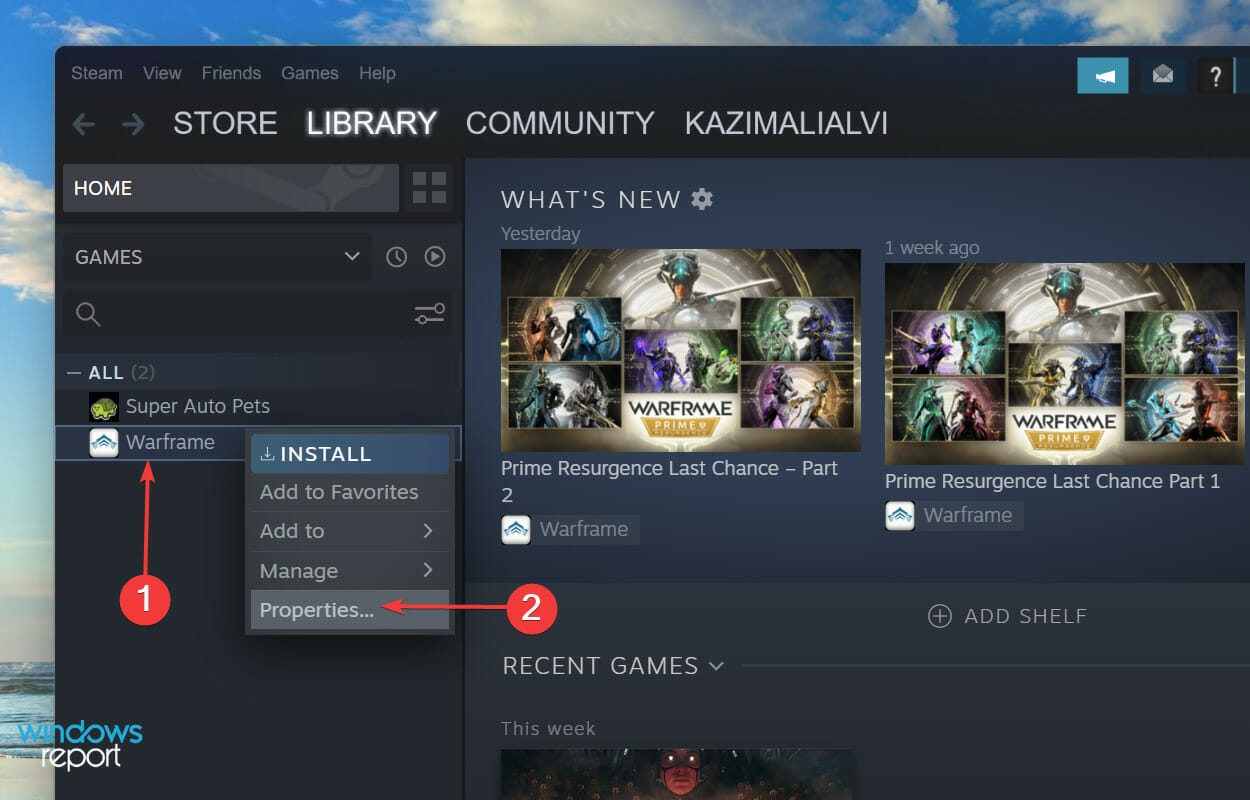
- Now, right-click on the game you are facing trouble with and select Properties from the context menu.
- Untick the checkbox for Enable the Steam Overlay while in-game.


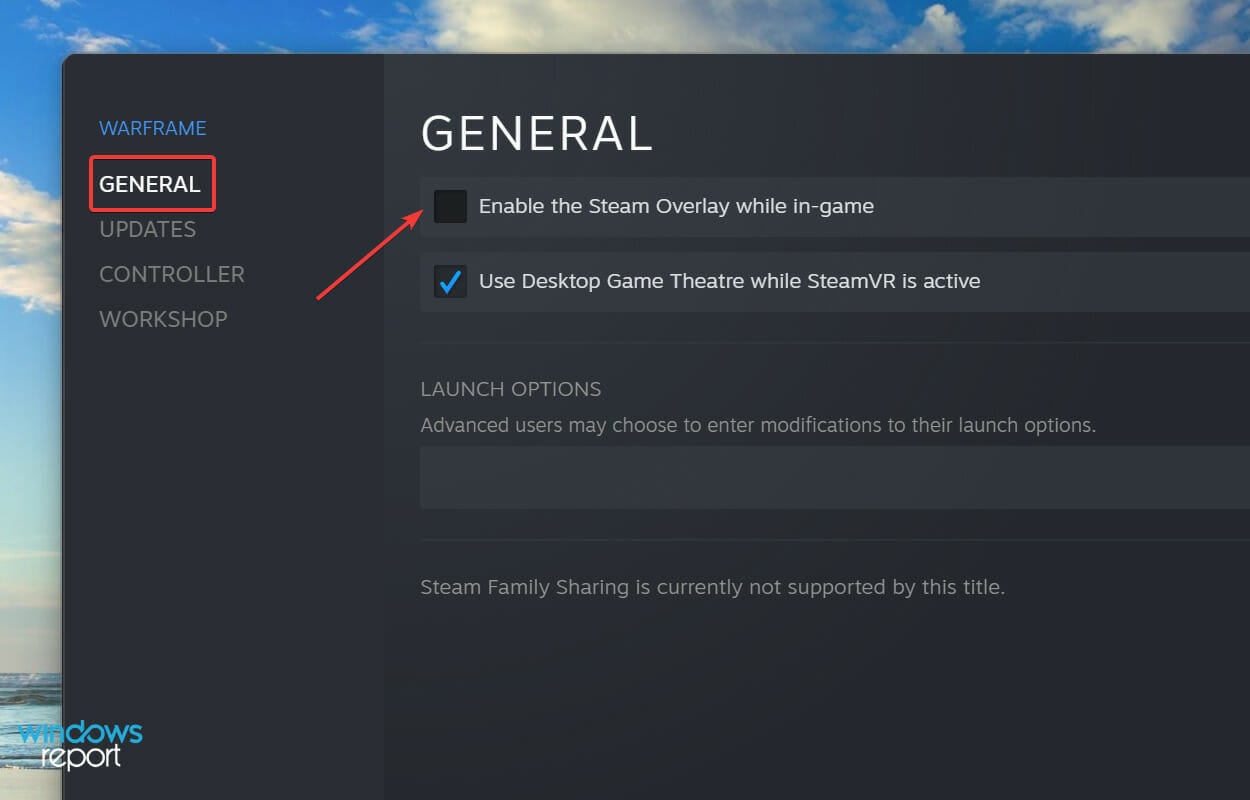
Overlay of any program may affect the working of MSI Afterburner in Windows 11, and Steam is commonly found to be the culprit. Therefore it’s recommended that you disable the overlay and check if that fixes the issue. If not, head to the next method.
2. Disable NVIDIA overlay
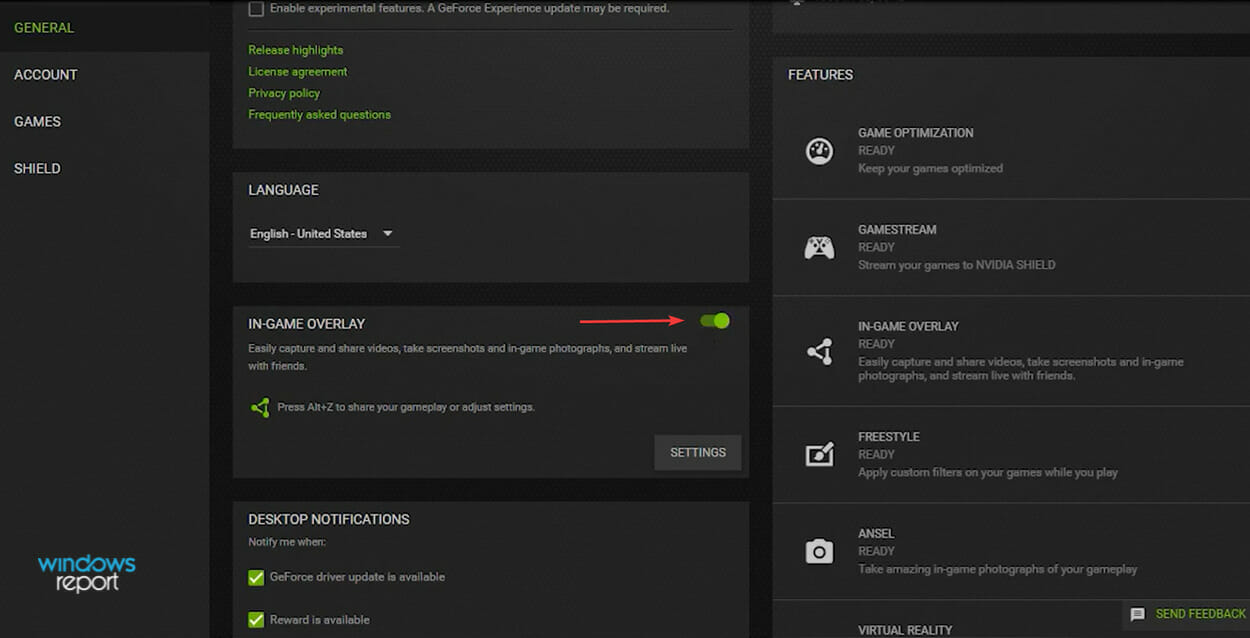
- Launch the NVIDIA GEFORCE EXPERIENCE panel, and click on the Settings (gear) icon near the top-right corner.

- Next, disable the toggle for IN-GAME OVERLAY.


3. Run MSI Afterburner with administrative priveleges
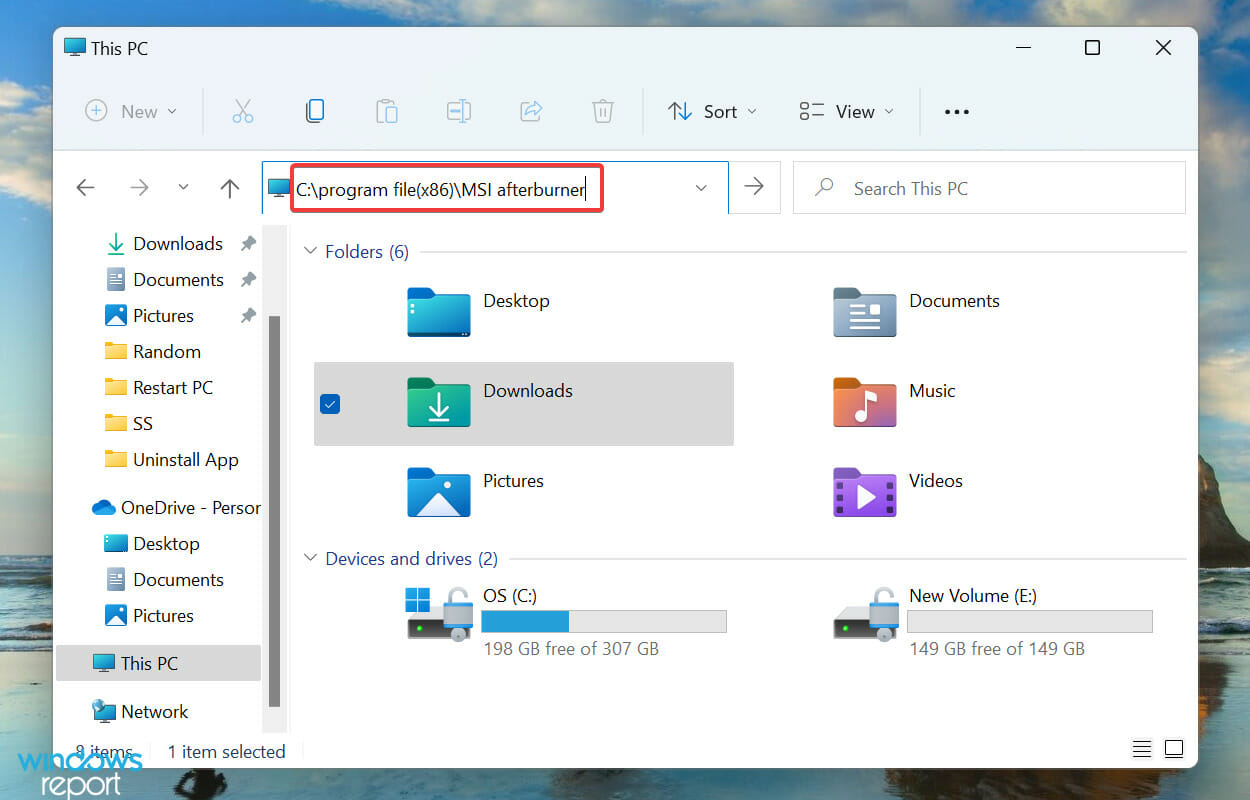
- Press Windows + E to launch the File Explorer, paste the following path in the address bar at the top, and hit Enter:
C:\Program Files (x86)\MSI Afterburner
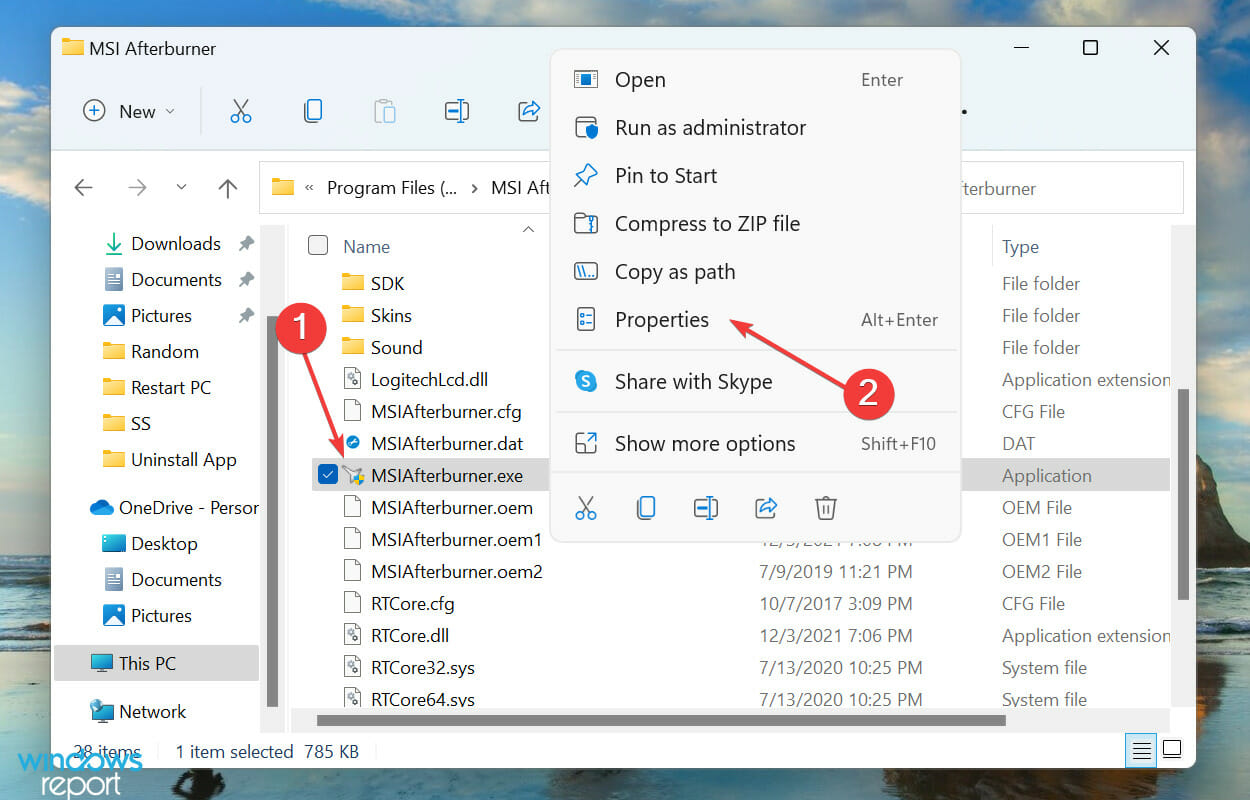
- Next, right-click on the MSIAfterburner.exe file, and select Properties from the context menu. Alternatively, you can select the file and hit Alt + Enter.

- Navigate to the Compatibility tab in the Properties window.
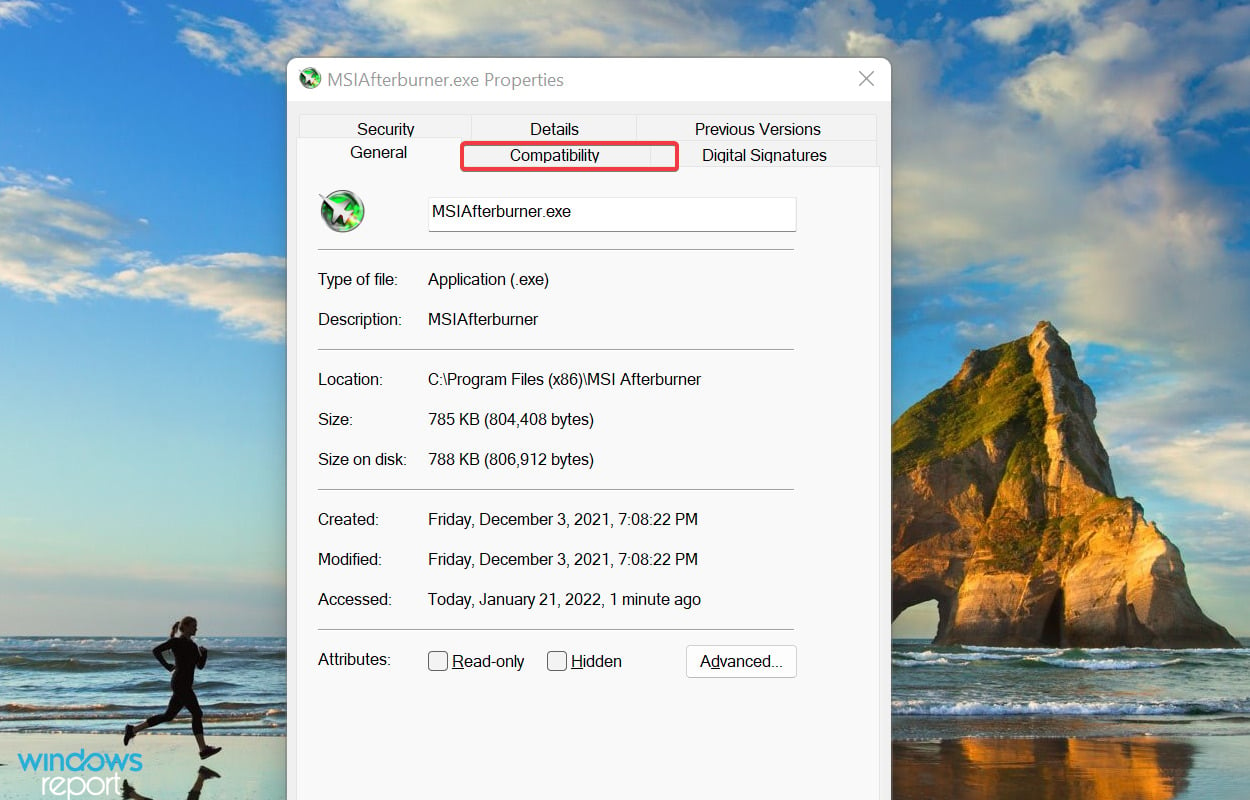
- Now, tick the checkbox for Run this program as an administrator, and click on OK at the bottom to save the changes and close the window.


If the MSI Afterburner lacks the permissions to run with administrative privileges, you may encounter problems while using it when playing games, as is the case with other apps as well.
4. Manually select detection level to high in RivaTuner
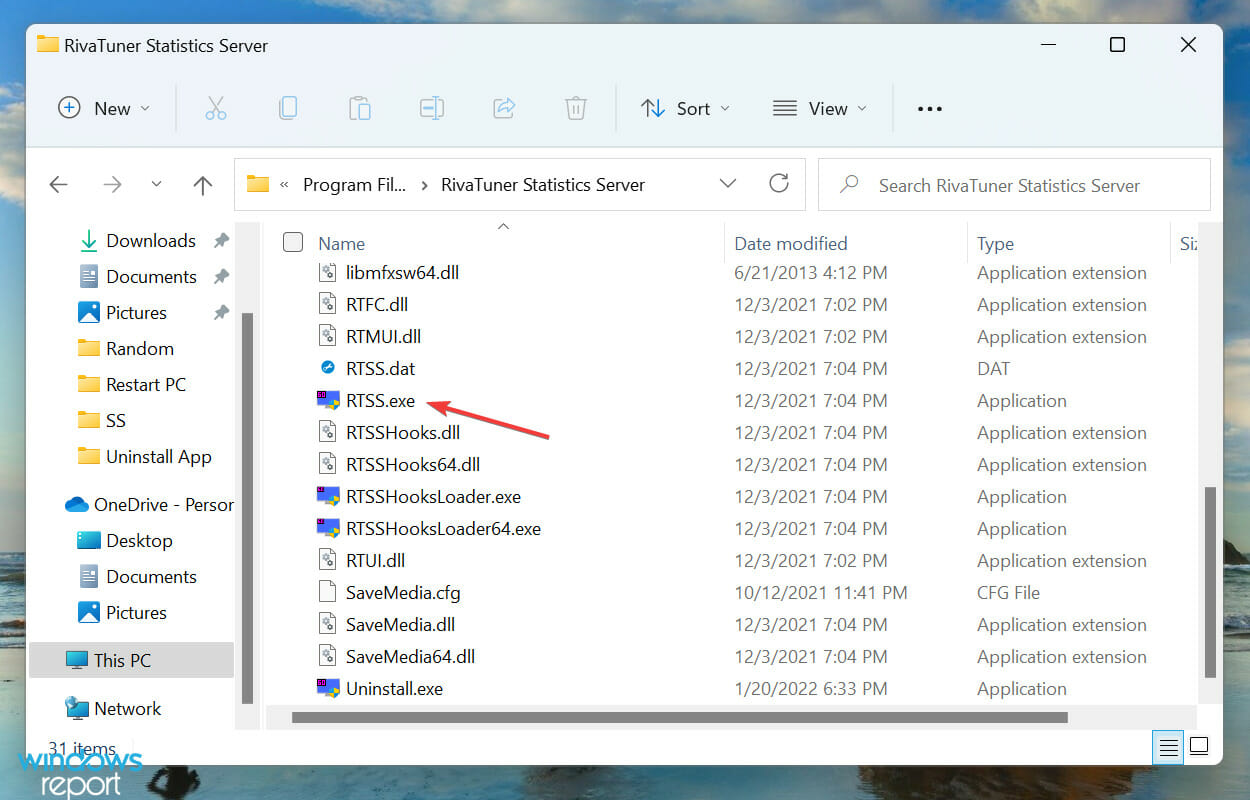
- Press Windows + E to launch the File Explorer, paste the following path in the address bar at the top, and hit Enter to navigate to it:
C:\Program Files (x86)\RivaTuner Statistics Server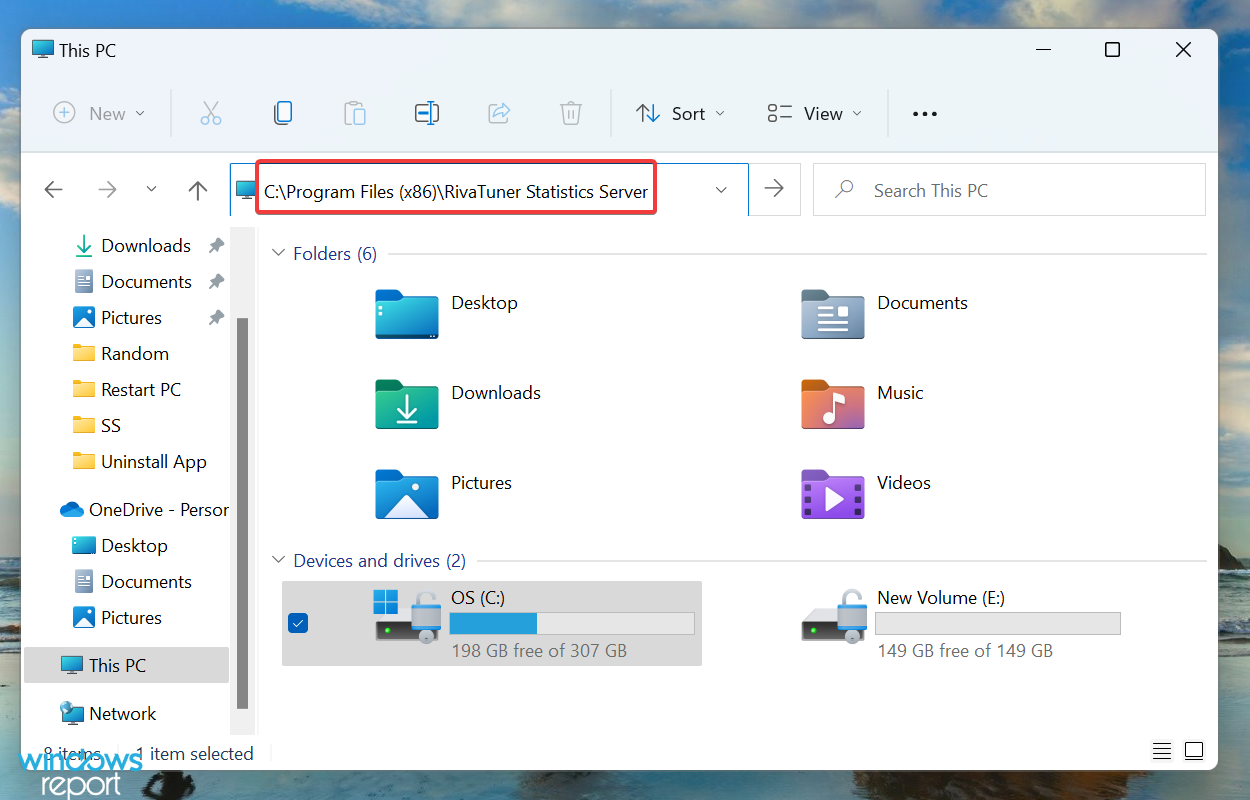
- Double-click on the RTSS.exe file to launch the RivaTuner tool.
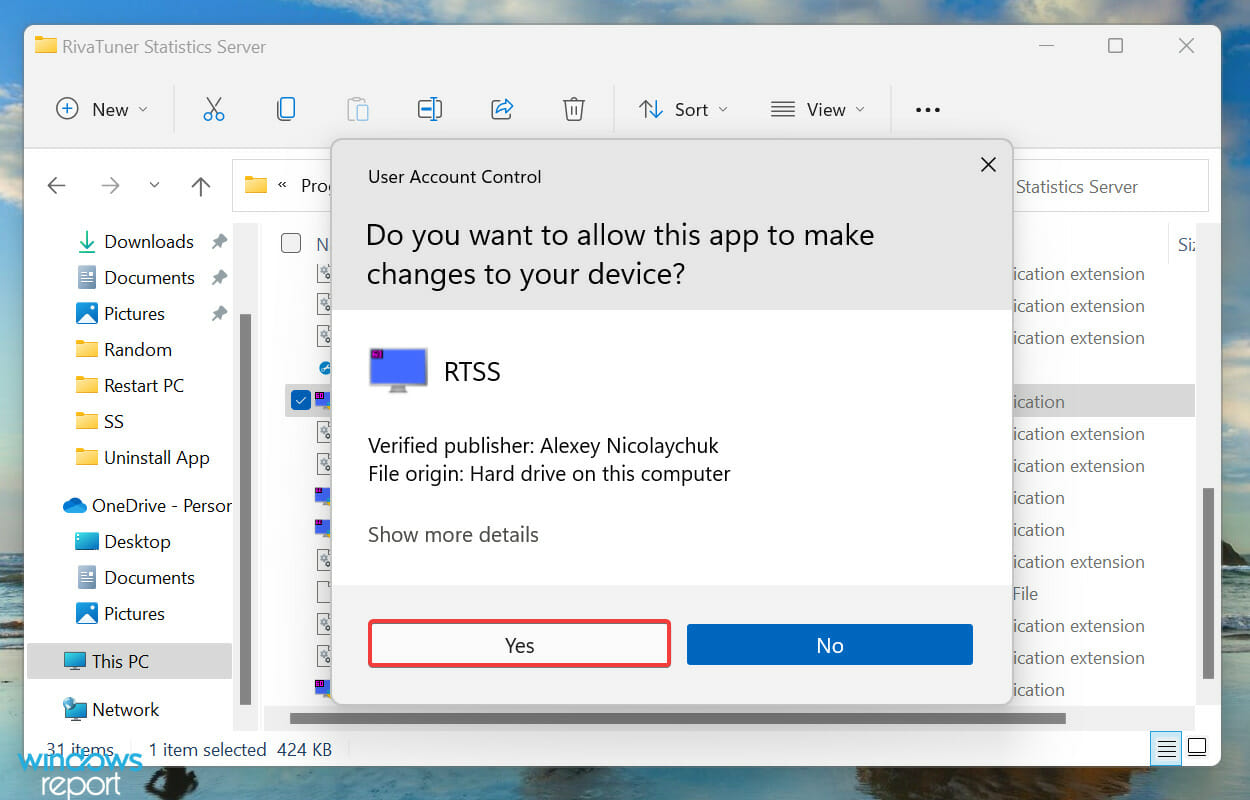
- Click Yes on the UAC (User Account Control) prompt that pops up.
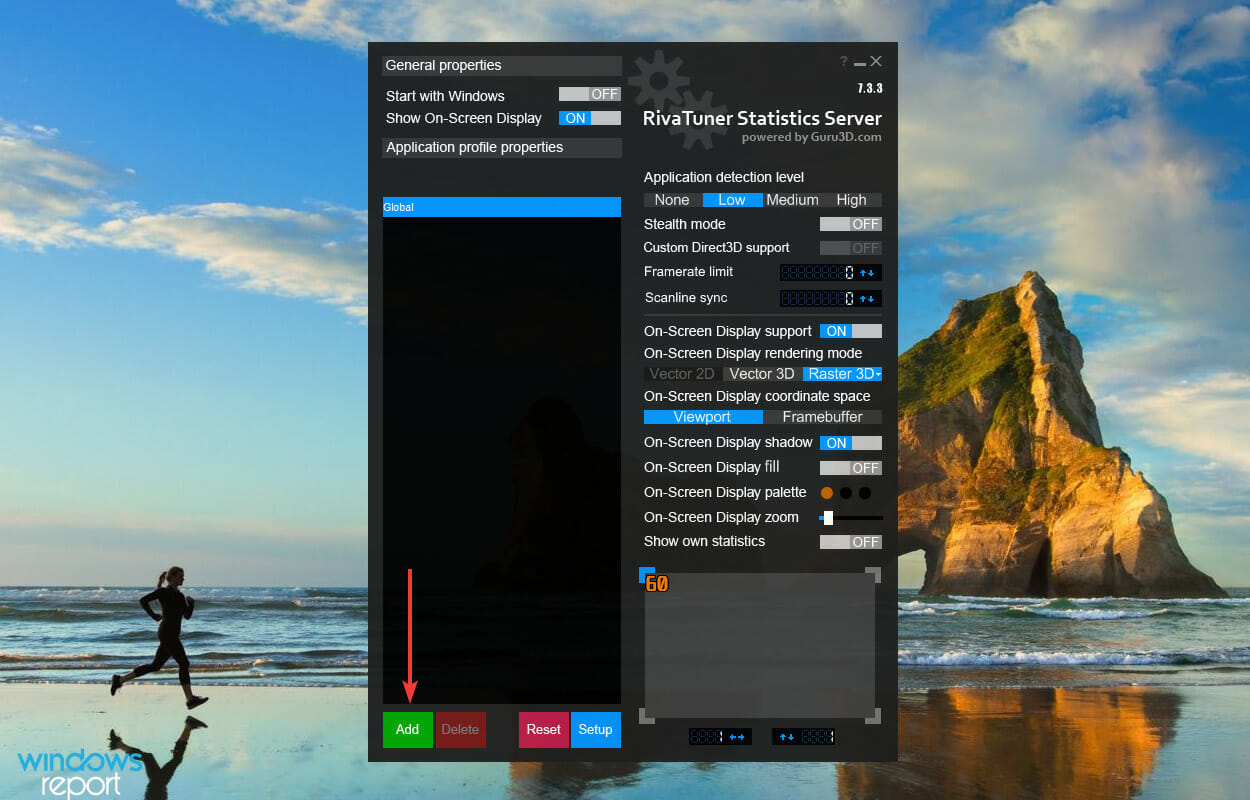
- Next, click on the Add button at the bottom.

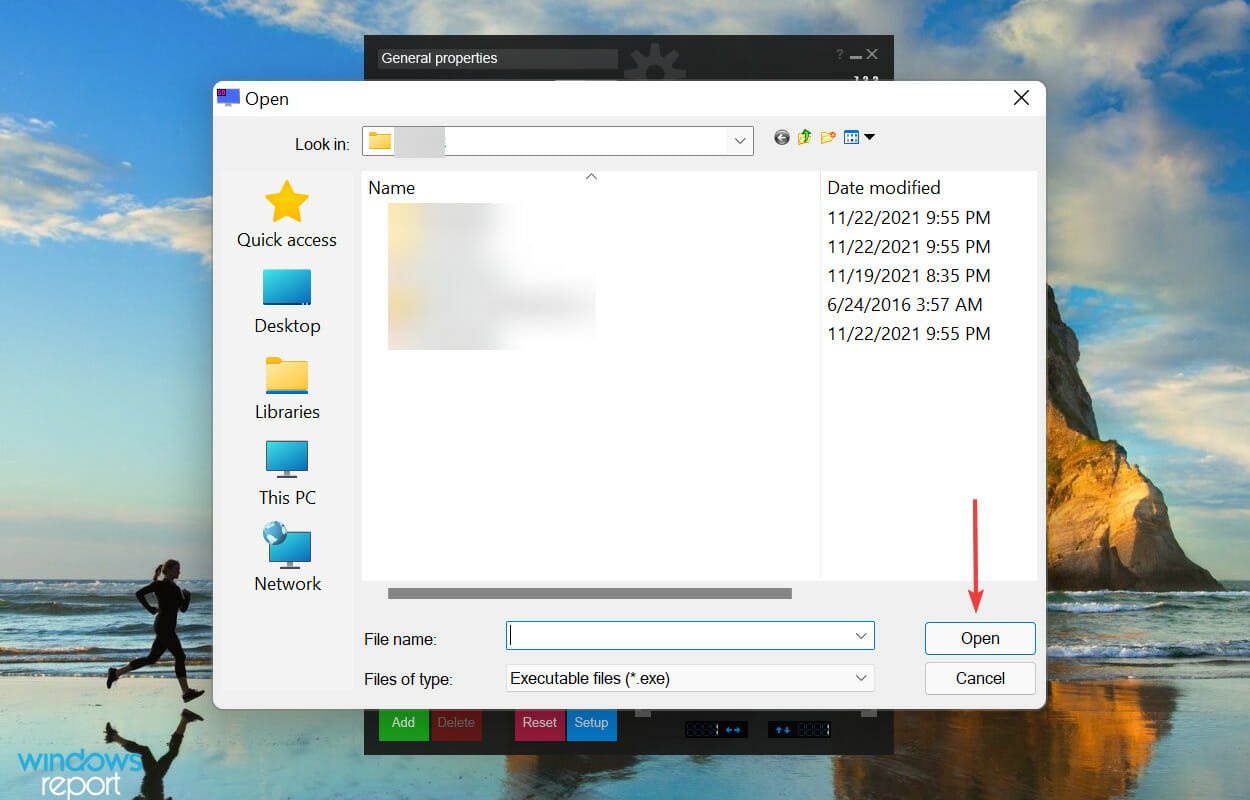
- Navigate to the location where the game is saved, select its executable (.exe) file, and click on Open.

- Now, select High under Application detection level.
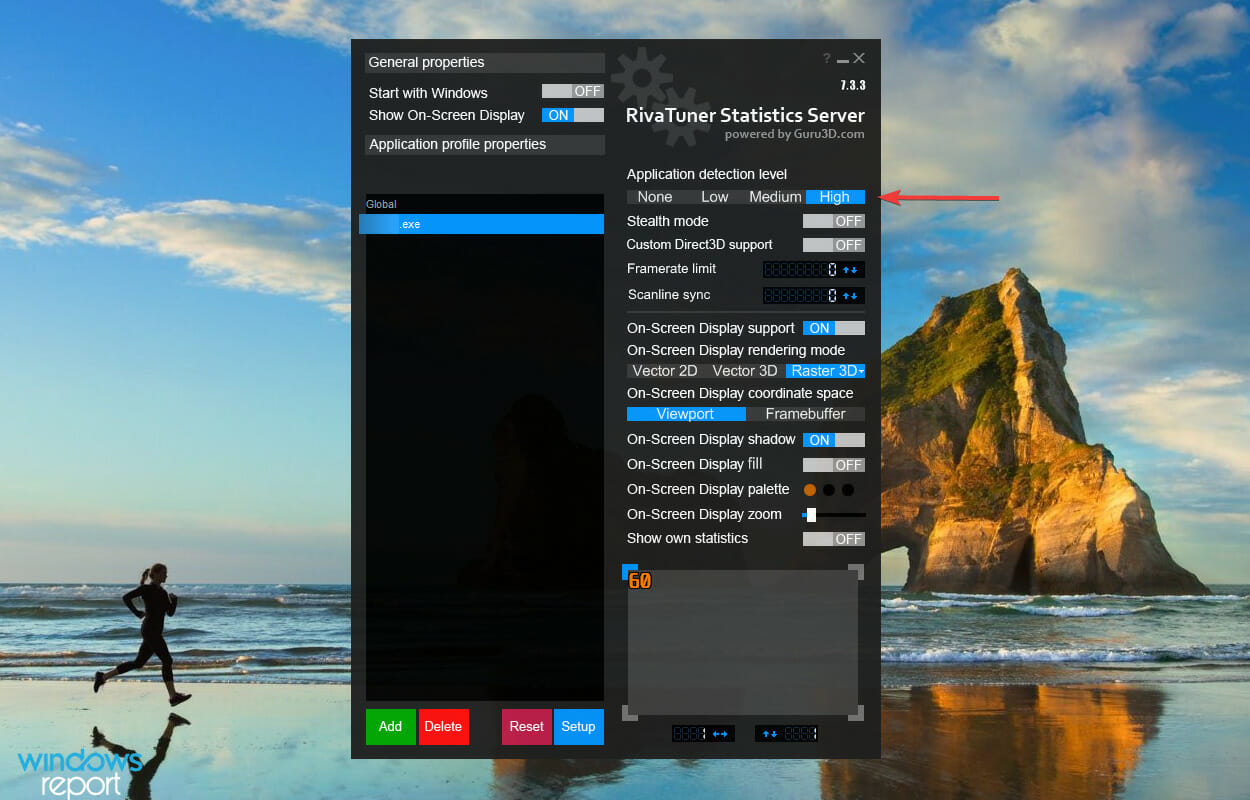


The RivaTuner Statistics Server is a tool bundled with MSI Afterburner that helps monitor hardware and overclock the graphics card.
If MSI Afterburner is not working in Windows 11 on a specific game or a bunch of them while it works on the others, changing the application detection level to high in RivaTuner might help.
In case this resolves the issue, apply the same changes to all the games you are facing trouble with.
5. Run MSI Afterburner in compatibility mode
- Press Windows + E to launch the File Explorer, type/paste the following path in the address bar at the top, and then hit Enter:
C:\Program Files (x86)\MSI Afterburner
- Right-click on the MSIAfterburner.exe file and select Properties from the context menu.

- Now, navigate to the Compatability tab from the top.

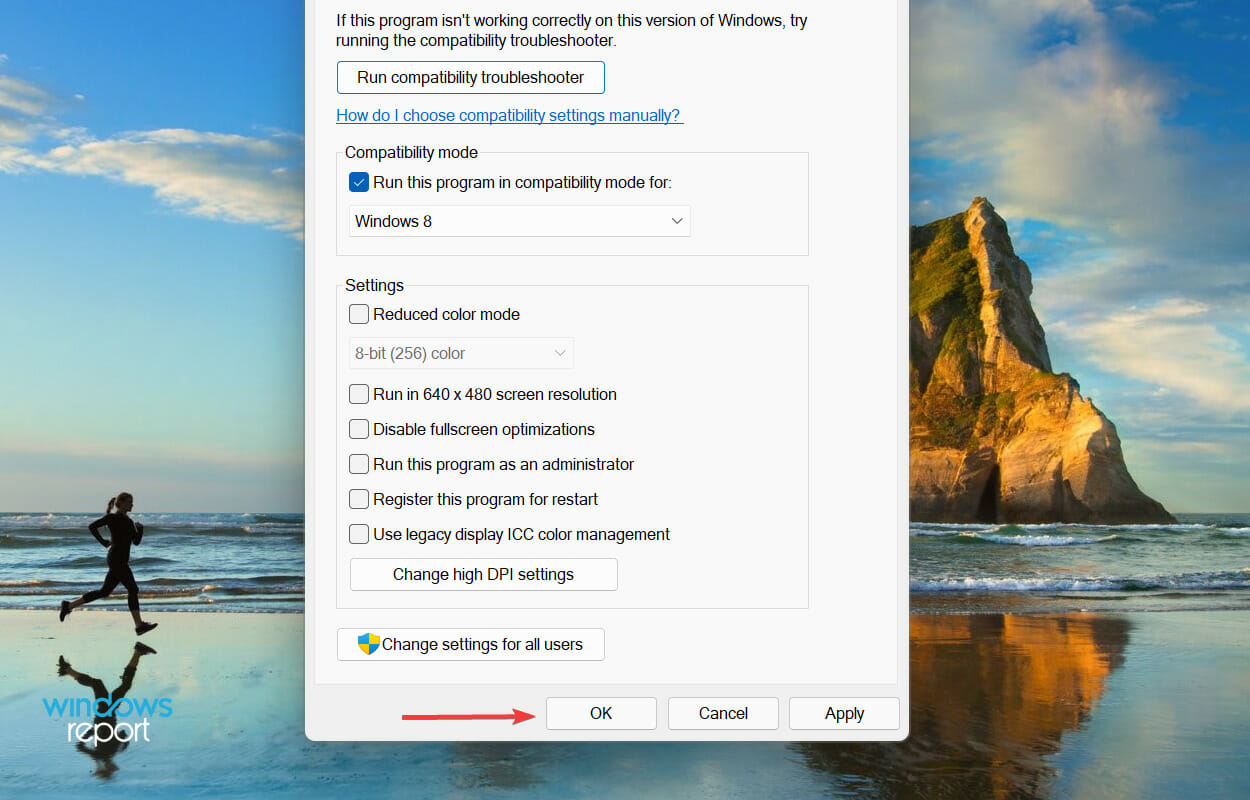
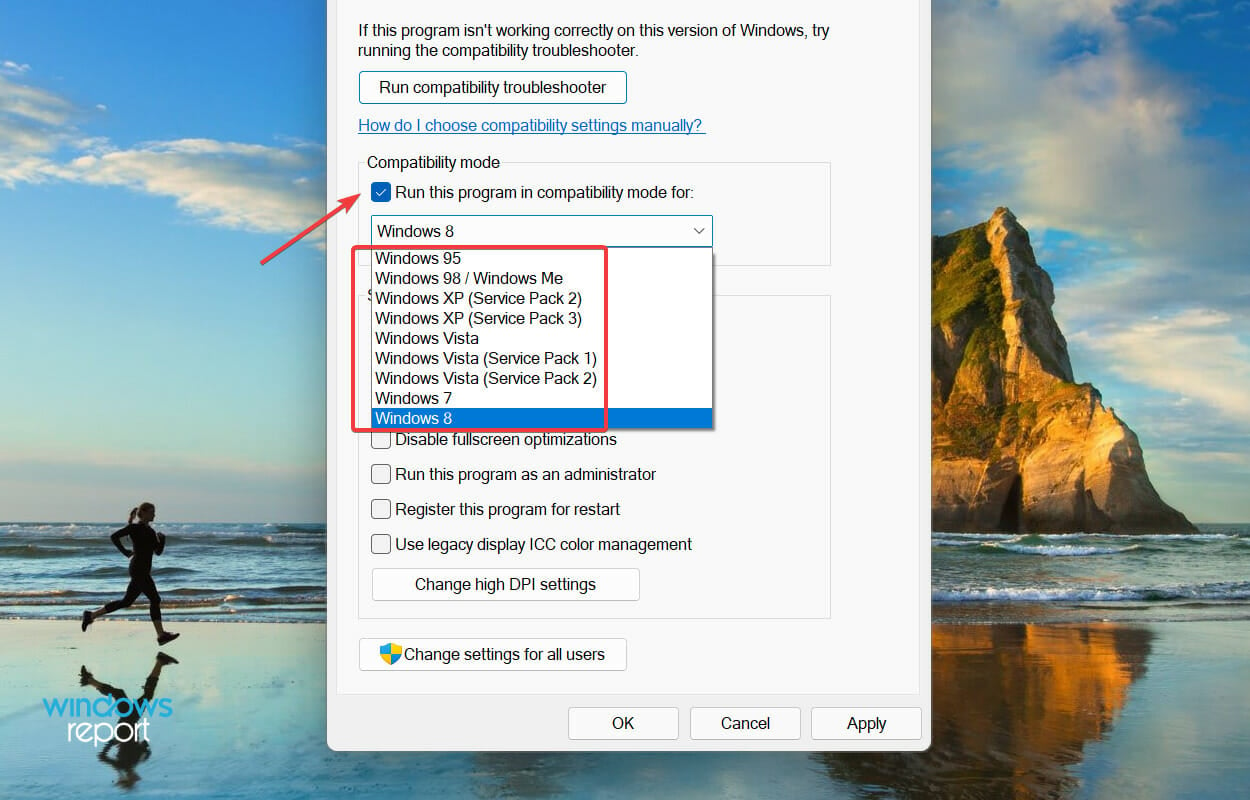
- Tick the checkbox for Run this program in compatibility mode for and select each option one at a time from the dropdown menu under it, until the error is fixed.

- Finally, click on OK at the bottom to save the changes and close the Properties window.


If the methods listed above have not worked, you may try running MSI Afterburner in compatibility mode with an older version of the OS. This has been found to fix the problem for a lot of users.
6. Disable the integrated graphics card
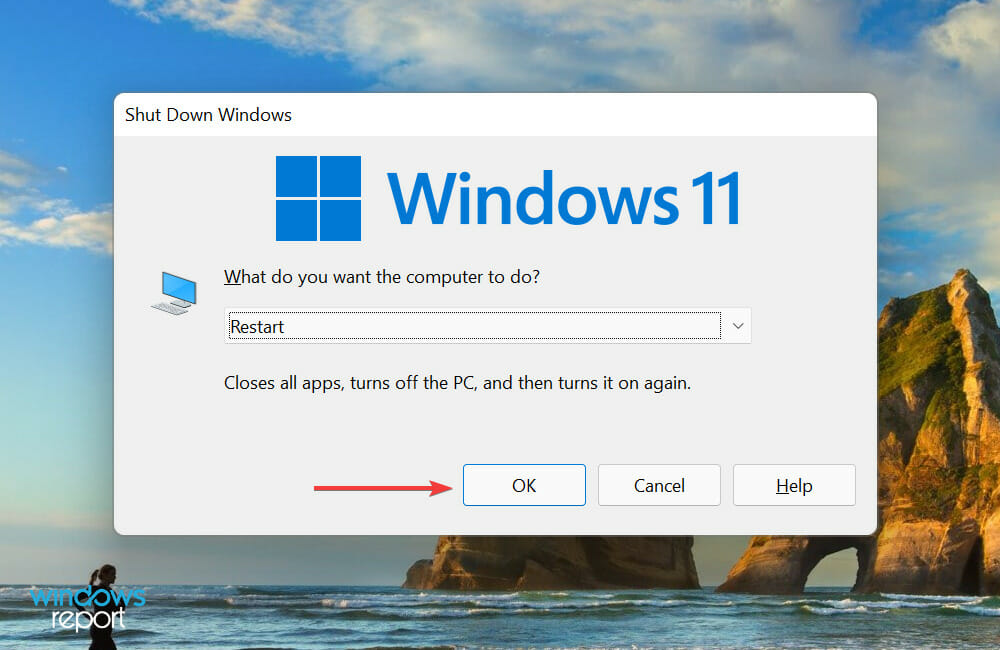
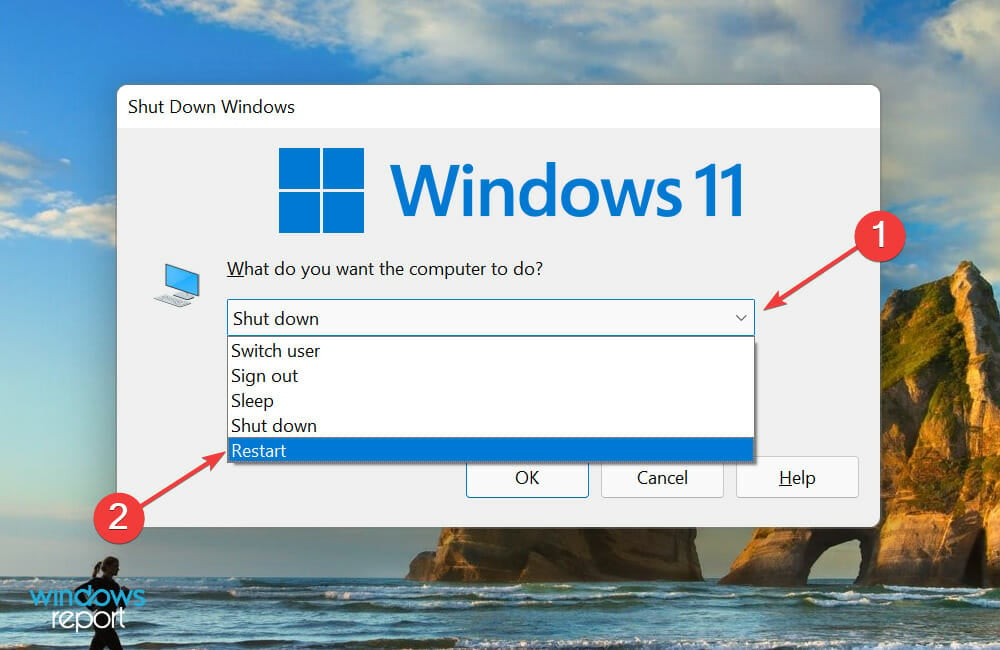
- Press Alt + F4 to and select Restart from the dropdown menu in the Shut Down Windows box.

- Click on OK to restart the computer.
- As soon as you see the manufacturer’s name on the screen, hit the F12 or Del key (or other relevant key for your system) to enter the BIOS. Since you will have just a few seconds here, hit the key multiple times to be on the safe side.
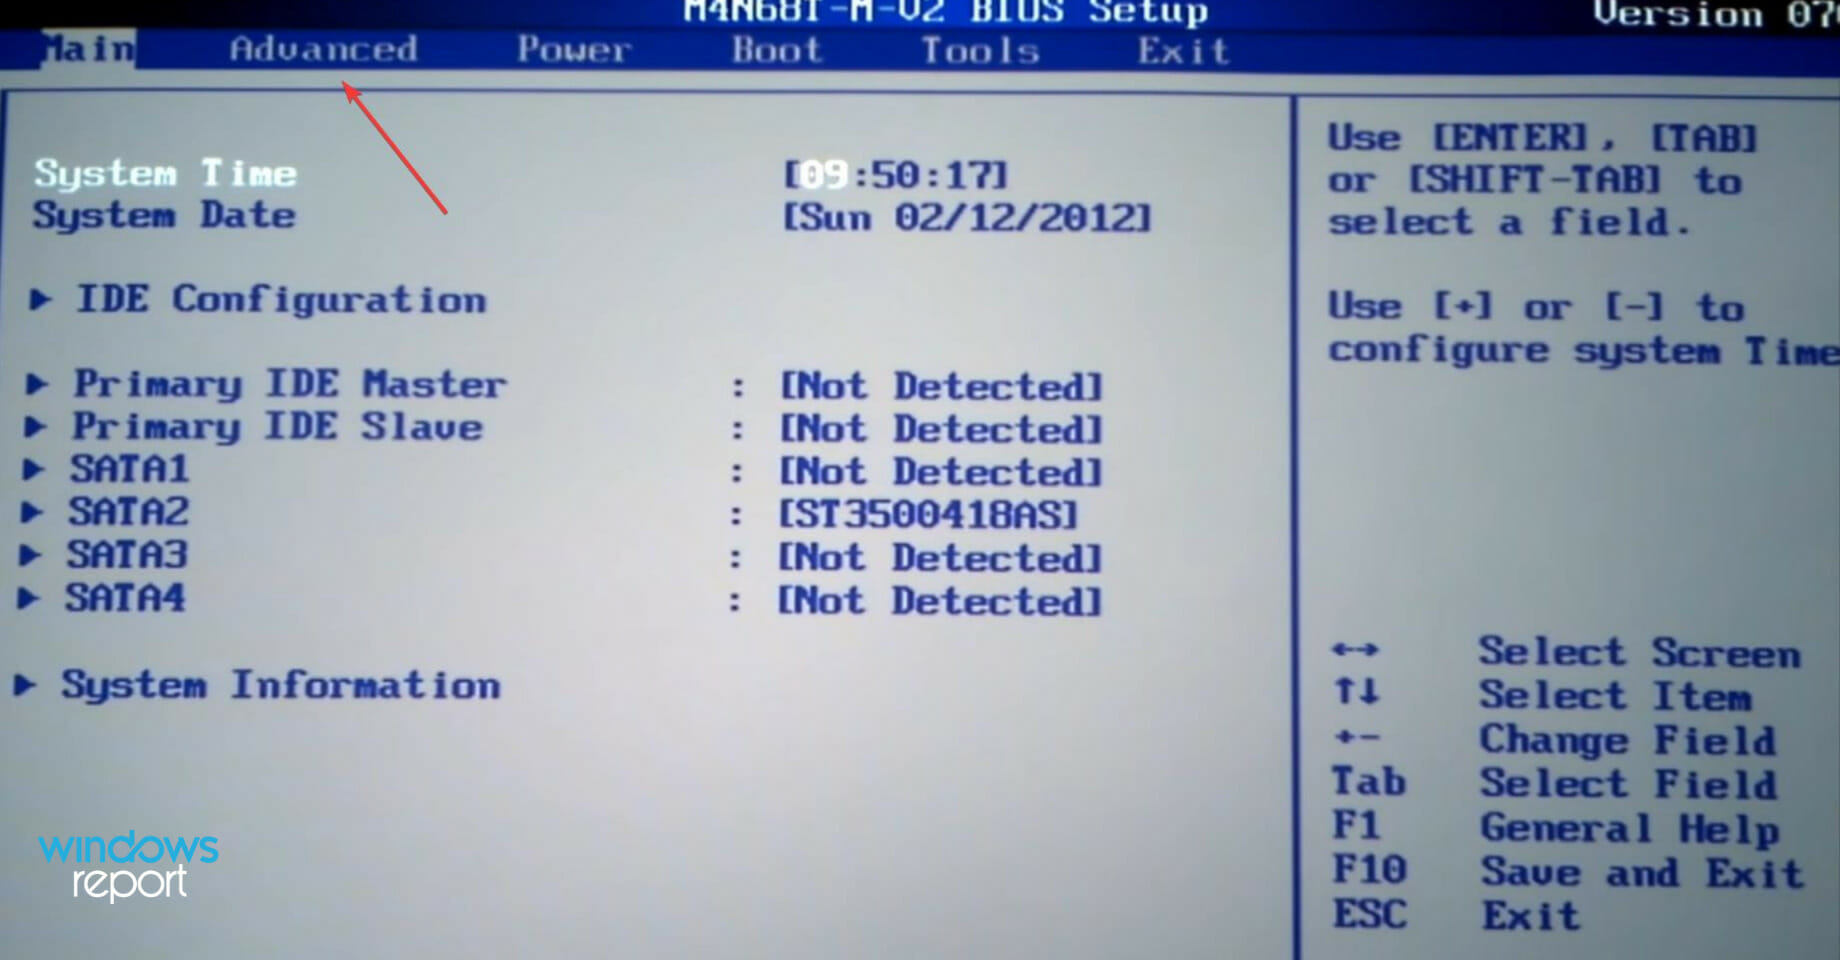
- Once in the system BIOS, navigate to the Advanced tab from the top.
- Click on Chipset from the options listed here.

- Next, click on SouthBridge Configuration.
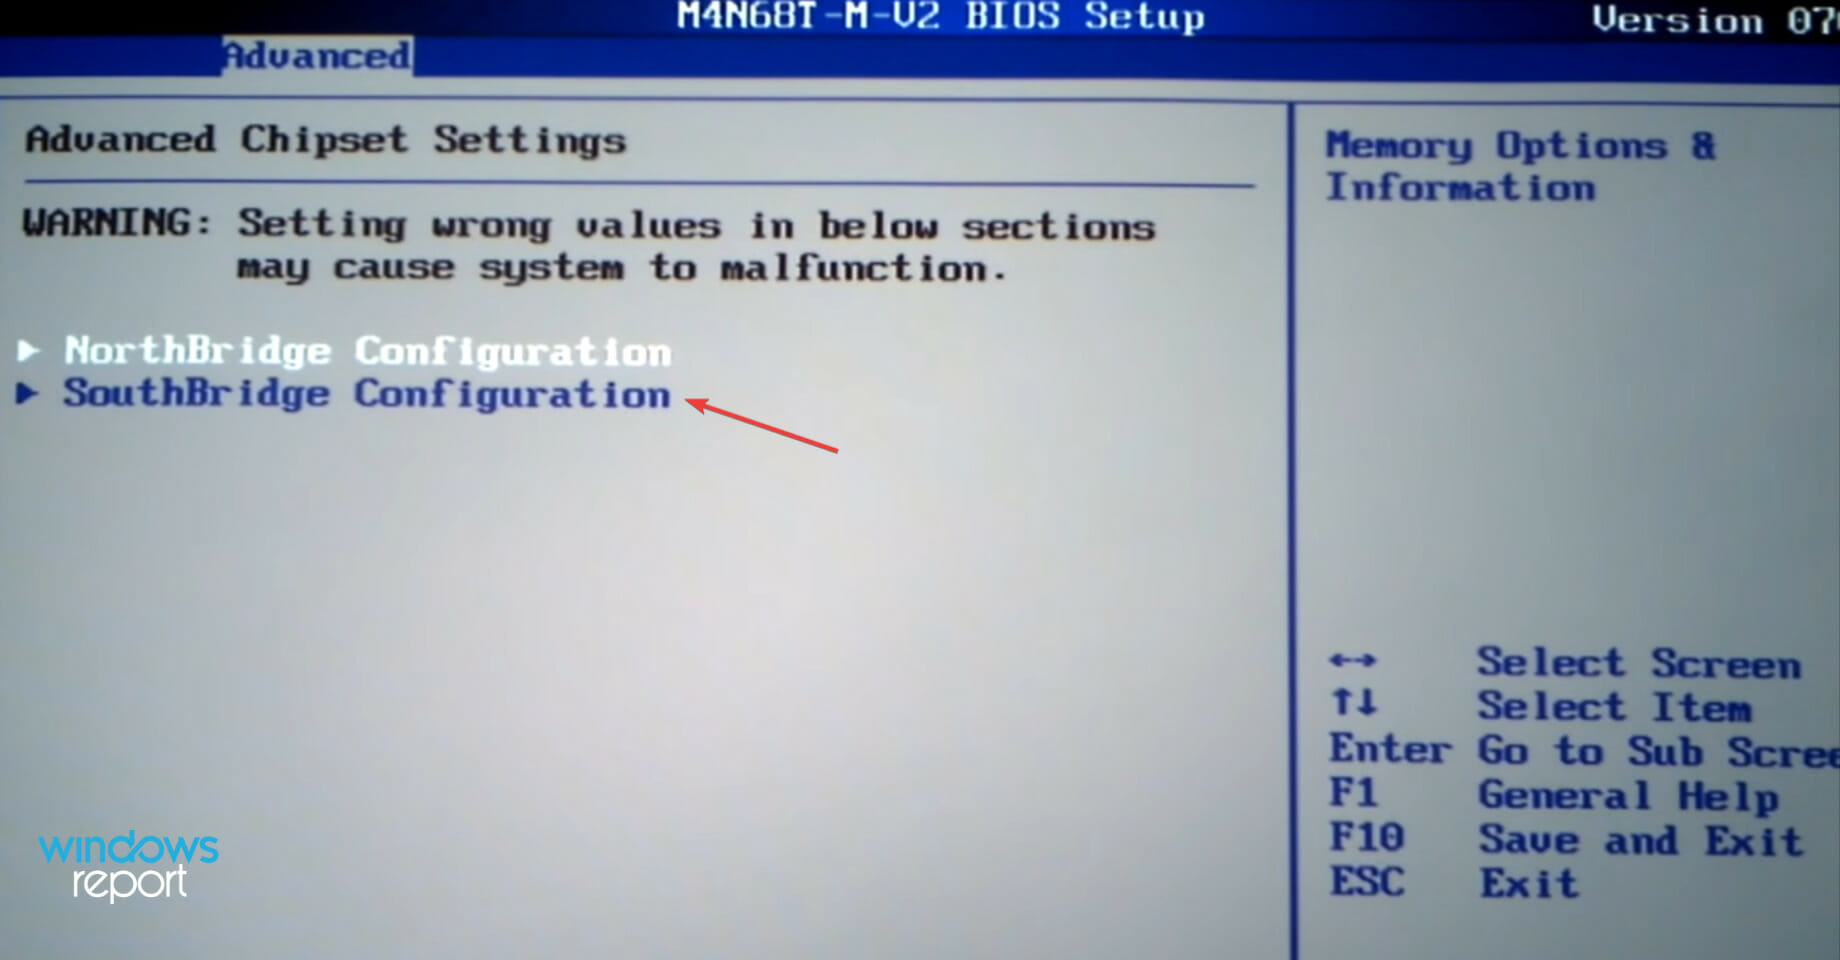
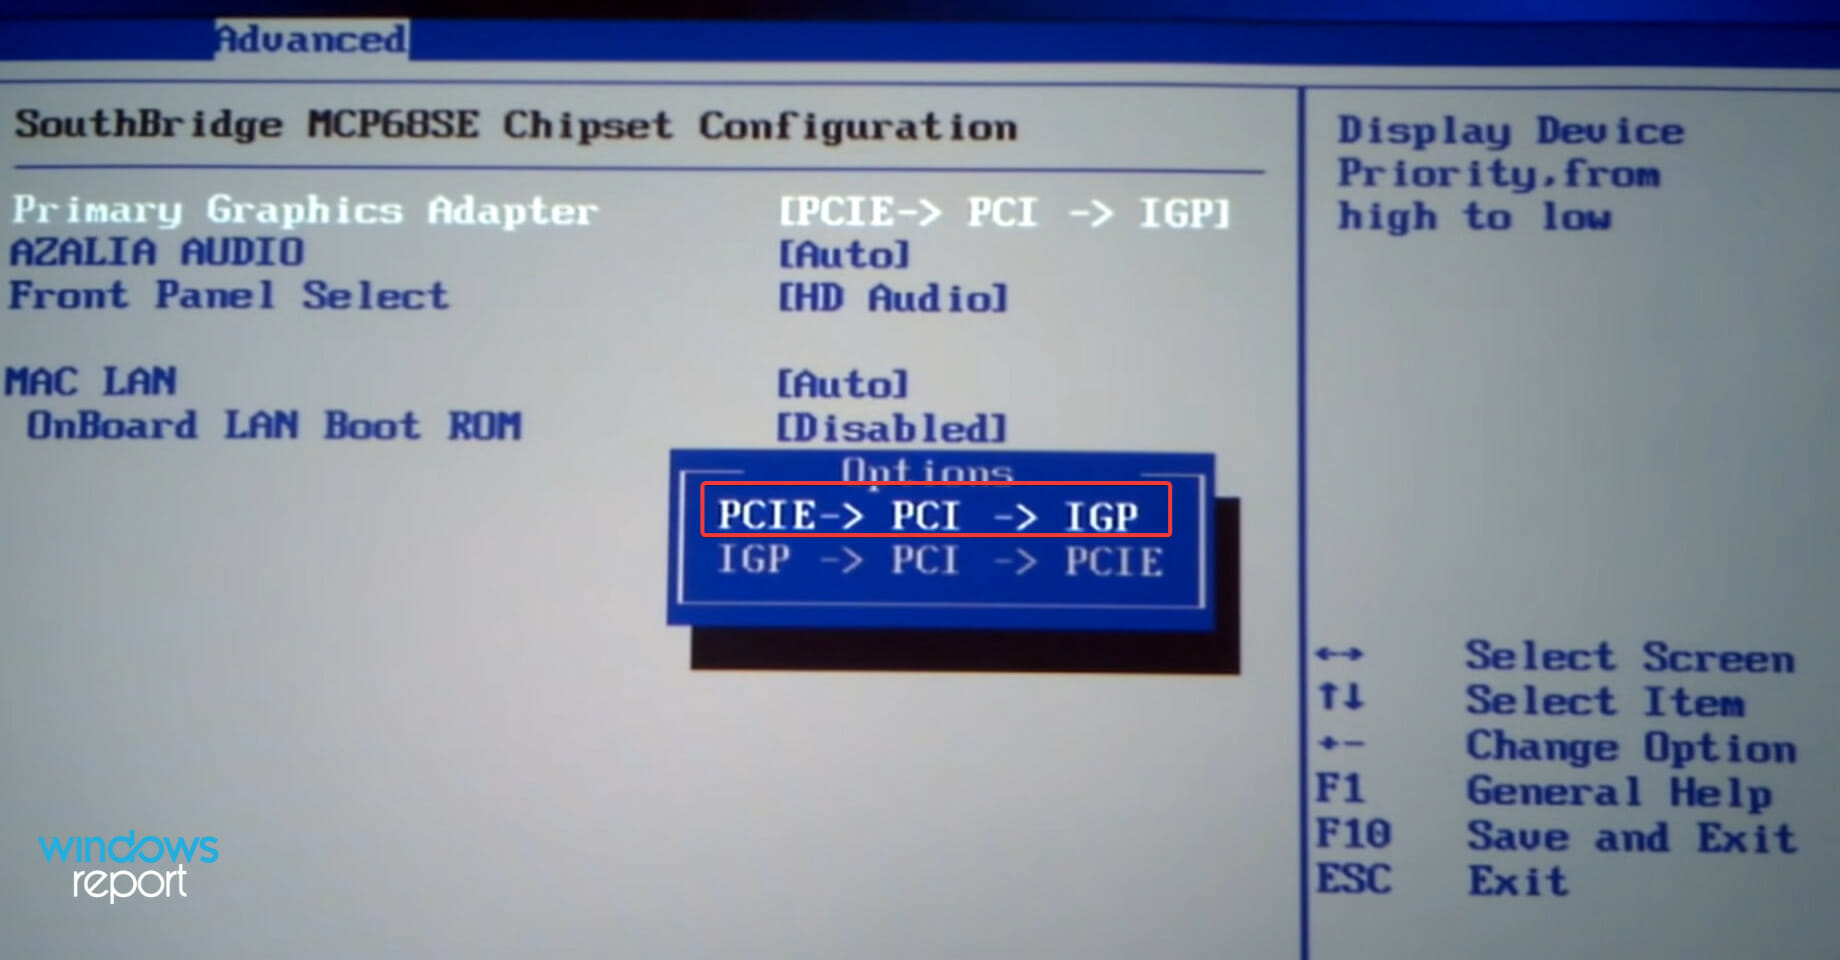
- Select the Primary Graphics Adapter option.
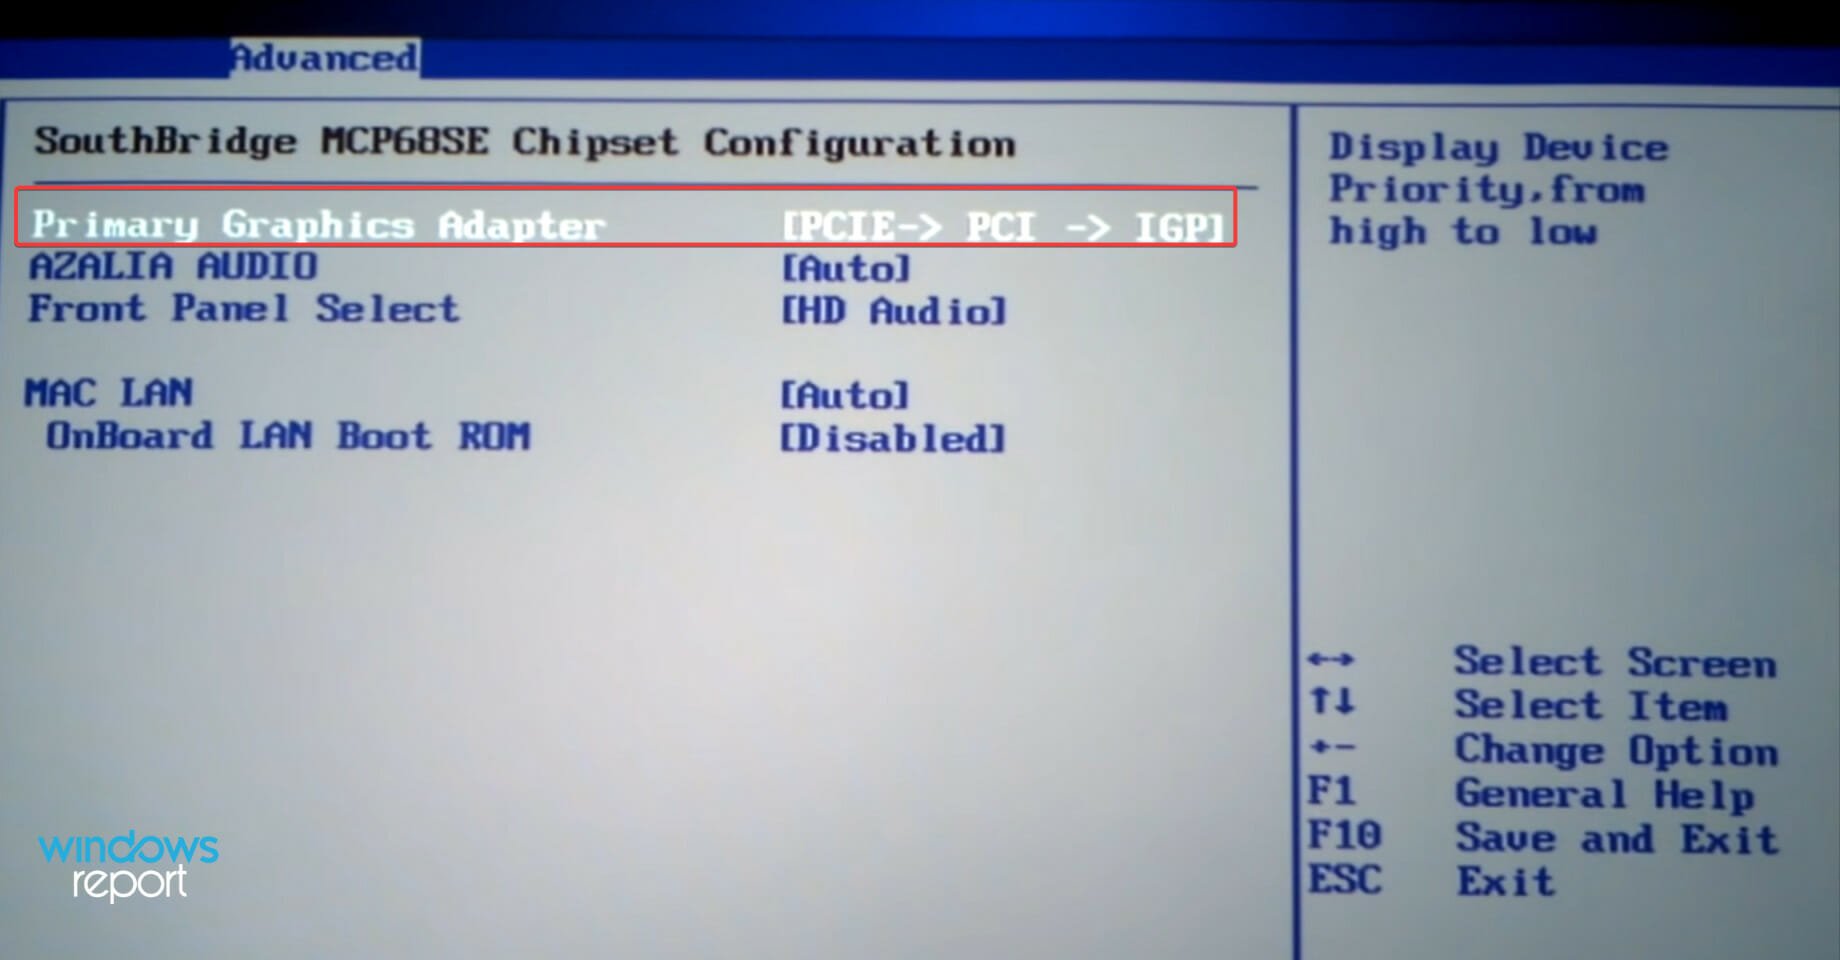
- In the box that pops up, make sure you select the option that has PCIE listed first and the IGP (Integrated Graphics Processor) at the last.
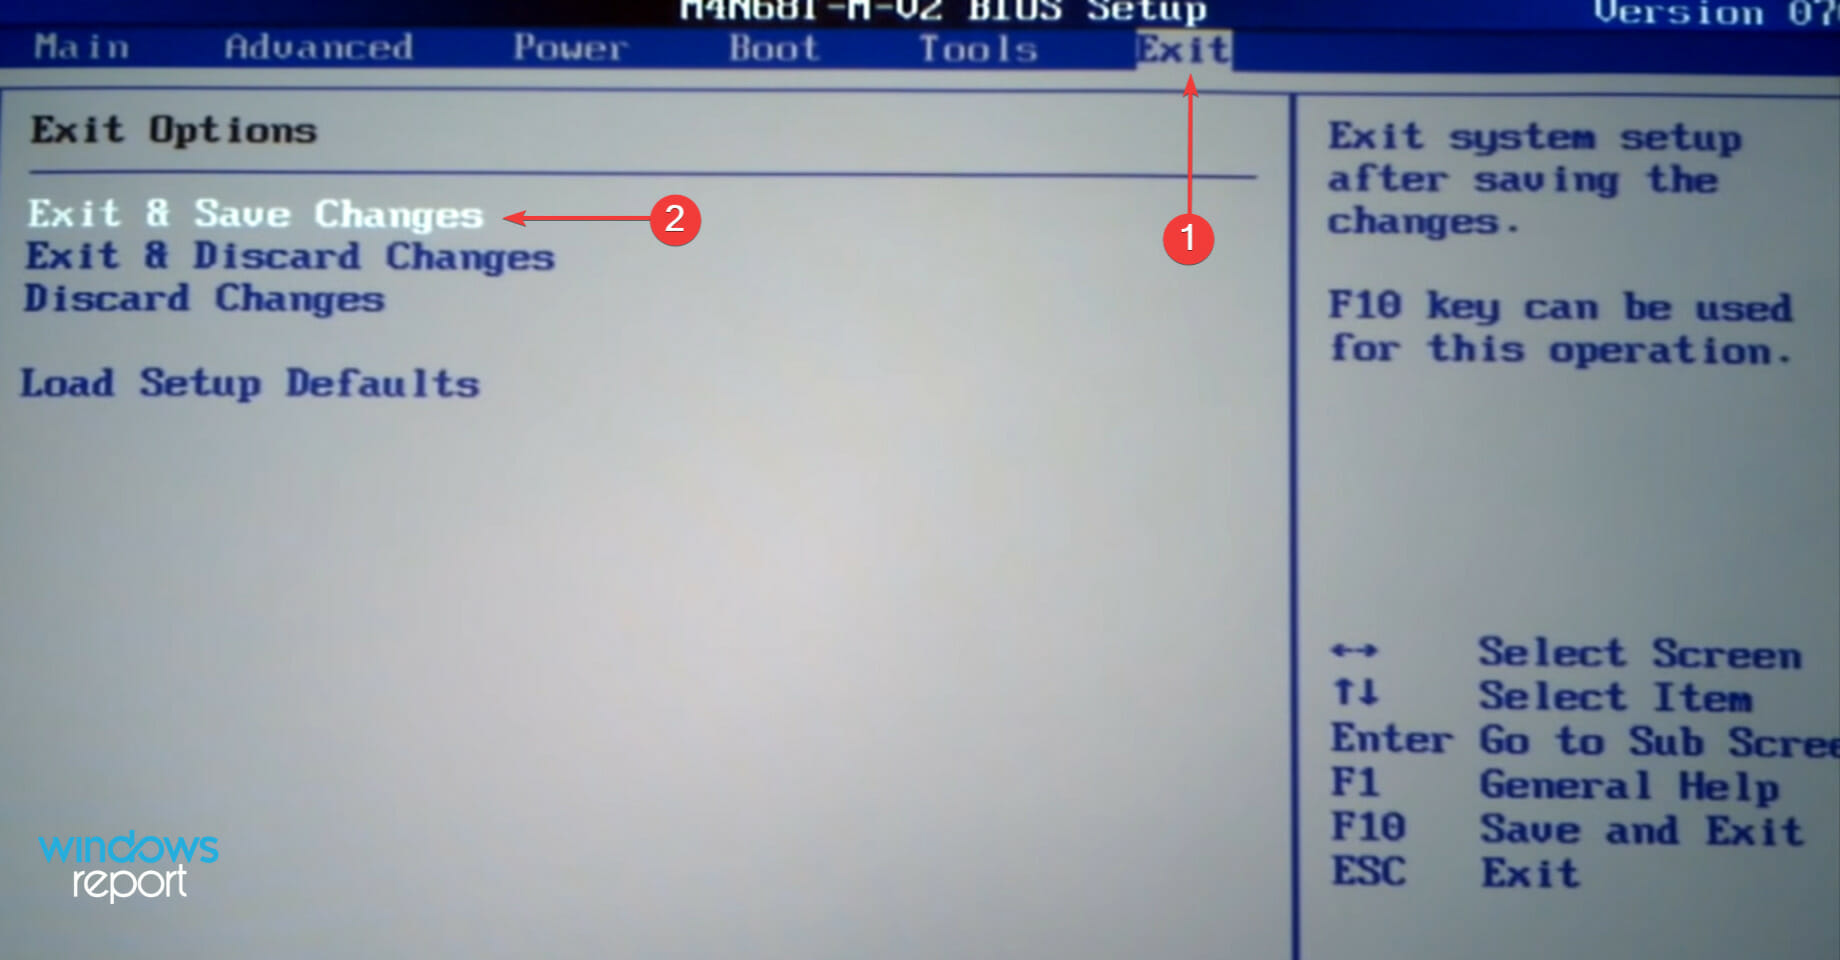
- After making the changes, navigate to the Exit tab, and click on Exit & Save Changes.


If you have both the external and integrated graphics card enabled, there are chances of MSI Afterburner not working in Windows 11. In which case, it’s best that you disable the integrated graphics card.
The method to do it will differ for every computer since the BIOS interface is different. But, the steps listed above should provide you with a basic understanding of the process.
Also, it’s recommended that you do not make any other changes to the BIOS unless you are fully aware of its effects, since it could prove detrimental to the functioning of the computer.
7. Reinstall the MSI Afterburner app
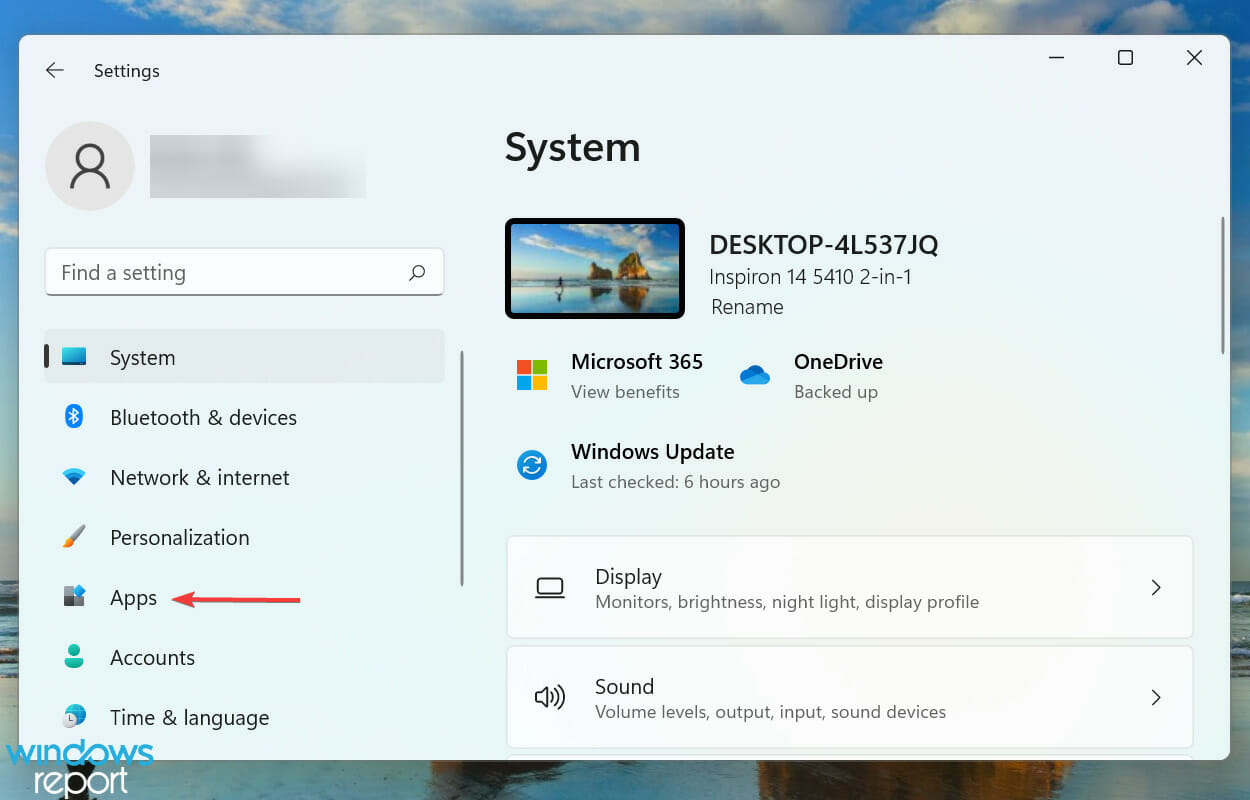
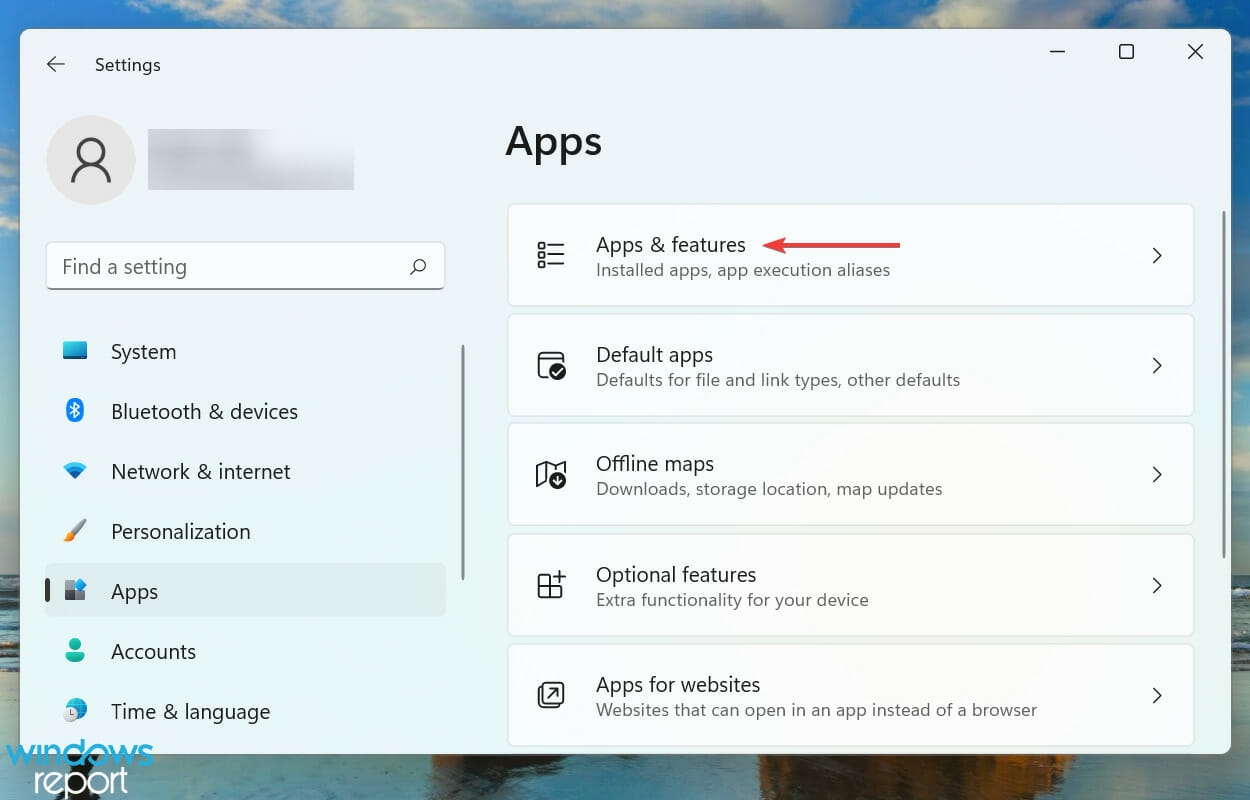
- Press Windows + I to launch Settings, and select Apps from the tabs listed in the navigation pane on the left.
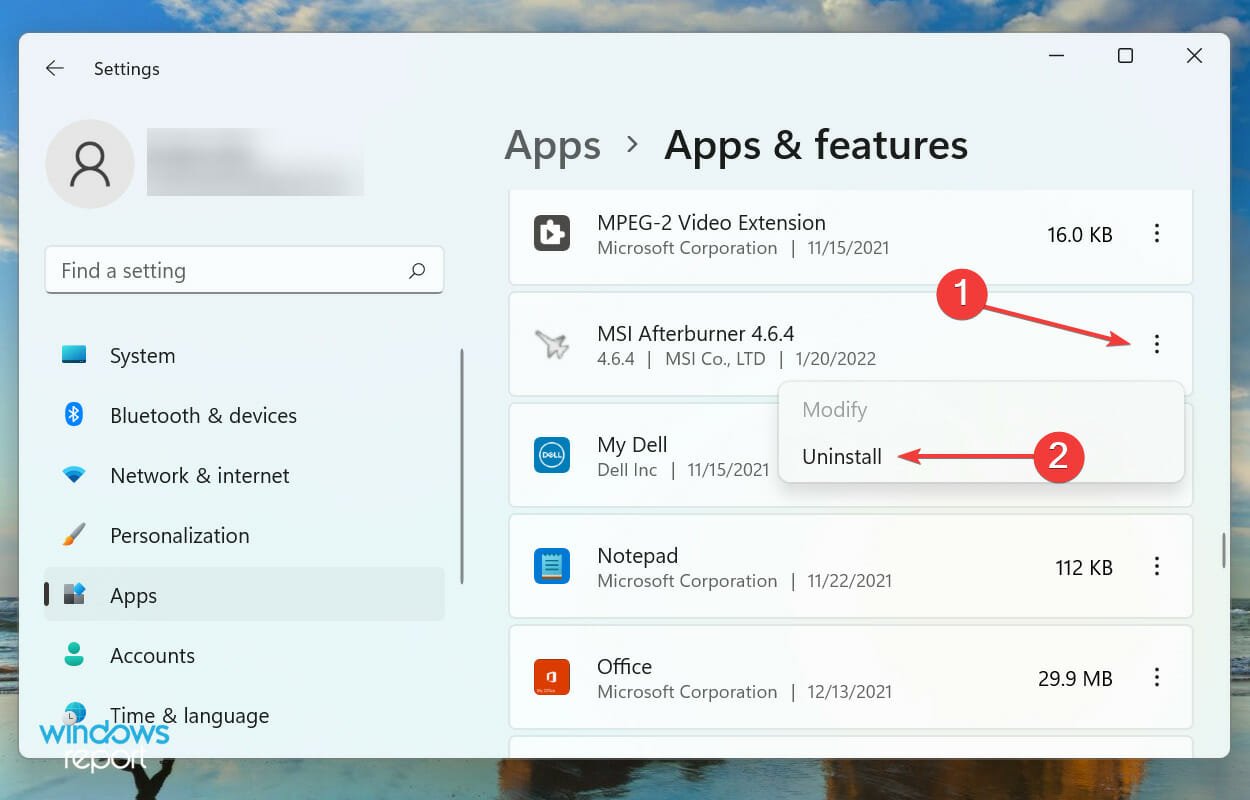
- Click on Apps & features on the right.

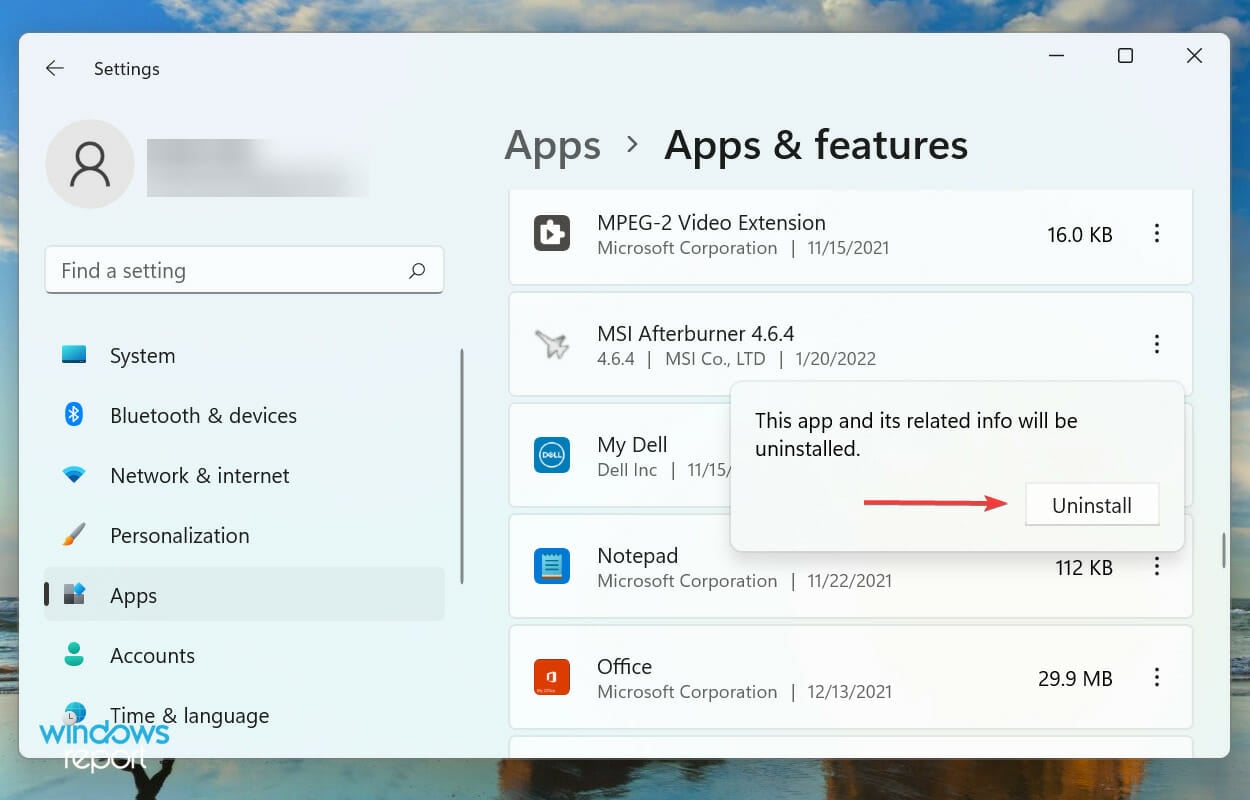
- Now, locate the MSI Afterburner app, click on the ellipsis next to it, and select Uninstall from the menu that appears.
- Again, click Uninstall in the prompt that pops up.


In many cases, it is a problem with the MSI Afterburner app itself that prevents it from working in Windows 11. Also, if you are using an outdated version of the app, there’s a possibility of encountering similar issues.
In this case, a simple fix would be to uninstall MSI Afterburner and then install the latest version of it. If you are not sure how to do the latter part, check the next section to find out.
How can I download MSI Afterburner in Windows 11?
If you have been planning to get your hands on this amazing tool but are unsure about the download process and its functioning, check our guide that details every aspect of MSI Afterburner along with the steps to download it.
The file will most likely be compressed (Zip format), and you will have to extract it before proceeding to the installation. Once done with these steps, MSI Afterburner is ready for use, and you can both monitor and overclock the GPU.
These are all ways to fix issues preventing MSI Afterburner from working in Windows 11. In most cases, you wouldn’t have to execute them all, since the problem would be fixed within the first few methods.
Some users also faced Failed to start scanning in OC scanner, a few quick changes will do the trick!
In case you are unable to control the fan speed using MSI afterburner, learn how to resolve the issue.
Tell us which fix worked along with your experience of MSI Afterburner in the comments section below.
Read our disclosure page to find out how can you help Windows Report sustain the editorial team. Read more


Improve this guide


User forum
0 messages