Fix: MSI Dragon Center This System is Not Supported
Get your system back in the game with a BIOS update

The MSI Dragon Center is a great tool for optimizing your device’s performance but it cannot do its job when a this system is not supported error message appears.
When you get the this system is not supported error message on your MSI Dragon Center, it implies there’s a conflict between your device’s hardware and the software. The software fails to recognise your hardware because of an outdated BIOS, a recent change in hardware or even a change in region.
If you’ve recently upgraded your motherboard, it may no longer be compatible with MSI Dragon Center because the serial number probably got reset. It is also possible that the hardware is from a different region with different configurations that are not supported by MSI.
However, for good measure, ensure your device falls under the eligible devices list before you download MSI Dragon Center.
How do I fix the MSI Dragon Center this system is not supported error message?
1. Update all drivers
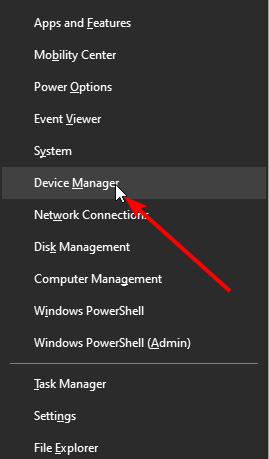
- Press the Windows + X key and select Device Manager.
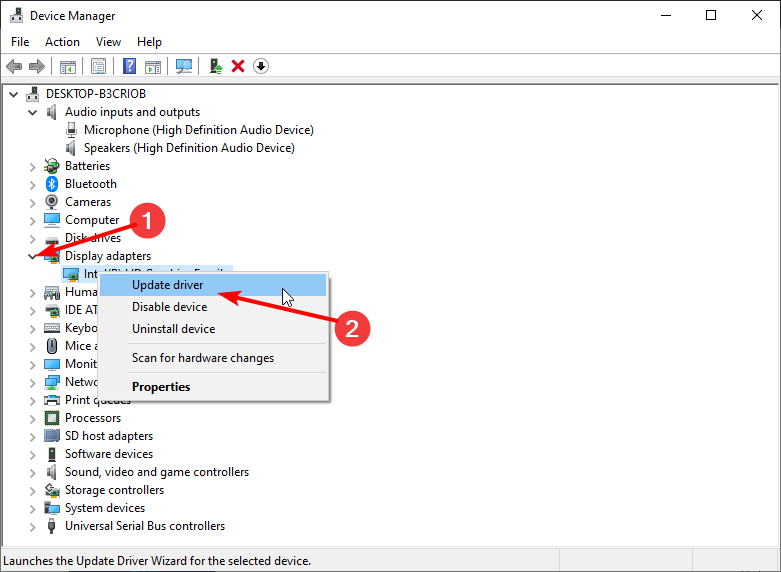
- Click the arrowhead before each driver.
- Right-click on the drivers displayed and select Update driver.
- Choose the Search automatically for drivers option.
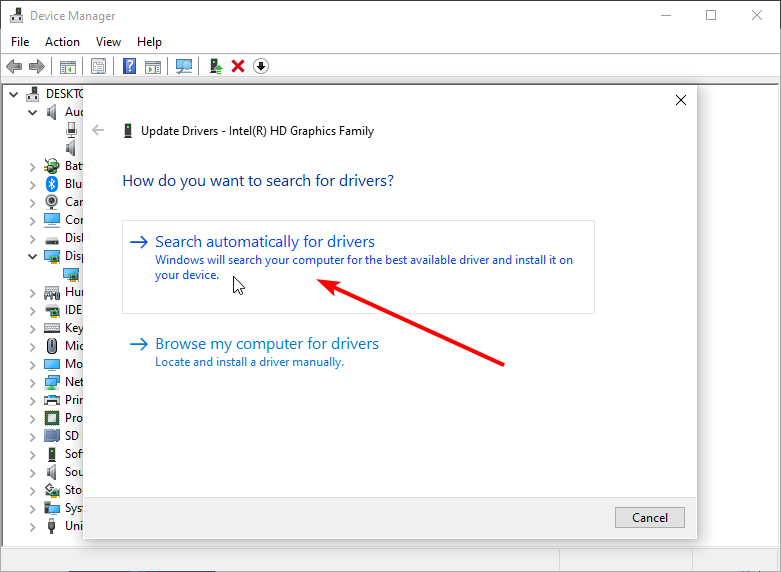
- This will display the latest driver available. Follow the simple on-screen instructions to complete the process.
2. Reinstall the MSI Dragon Center
2.1 Reinstall from MSI Center
- Press Windows + R to launch the Run command, enter appwiz.cpl in the text field, and click OK.

- Select the MSI Dragon Center entry, and click on Uninstall at the top.

- Follow the on-screen instructions to complete the process. Similarly, uninstall the MSI SDK file.
- Press Windows + E to open File Explorer, paste the following path in the address bar, and hit Enter:
C:\Program Files (x86)\MSI
- Click on the View menu, hover the cursor over Show, and select Hidden items.

- If any files appear, press Ctrl + A to select them, and then hit the Delete key.
- Next, use one of the uninstaller programs to remove all software remnants.
- Navigate to your browser, go to the MSI Dragon Center’s official website, and click on the Download Now button to get the MSI Dragon Center offline package.

- Once completed, right-click on the downloaded file (Zip format), and select Extract all.

- Click on Browse if you want to change the location, tick the checkbox for Show extracted files when complete, and then click Extract.

- Double-click on the Dragon Center folder.

- Launch the setup for it.

- Click Yes in the UAC prompt.

- Select the installation language, and click OK.

- Click on Install and wait for the process to complete.

Your processor may be newer hence supported from the MSI Center instead of the MSI DRagon Center which supports all 10th gen and older processors.
2.2 Reinstall from the Microsoft Store
- Press Windows + S, type Microsoft Store and then click on the relevant search result.

- Search for MSI Center, and click on the Get button for the software.

- Wait for it to finish installing, and you should now be able to run MSI Center.
Should you run into any other issues of MSI Center not installing, check out our detailed article on how to address it.
3. Update the BIOS using a USB flash drive
3.1 Format the USB drive to FAT32
 NOTE
NOTE
- Plug in the USB to your PC then hit Win + E to open the File Explorer.
- Right-click on the USB drive and select Format.

- Choose FAT32 from the File system dropdown.

- Click on the Start button.
3.2 Download the MSI BIOS update file
- Find your laptop’s model name, which is usually written on the lower right side of the computer where you rest your palm.
- Visit the official MSI website to download the latest BIOS version.
- Enter your laptop’s model number in the search field and hit the magnifying glass icon.

- Hit the Download button for your laptop’s model.

3.3 Update the MSI BIOS
- Paste the downloaded BIOS file to the USB drive that you have formatted to FAT32.
- Insert the USB drive on the computer on which you wish to update the MSI BIOS and restart your PC.
- When the PC is booting up, hit the Del key to enter the BIOS menu.
- Use the Arrow keys to navigate to the Advanced page.

- Use the Volume keys to move to the UEFI BIOS Update option and press Enter key.

- Again, select the UEFI BIOS Update option and hit Enter key.

- Select the location of the BIOS file, which in our case is the USB drive and press Enter.

- Select the BIOS update file from the USB drive and press Enter to select it.

- Choose Yes if a prompt appears.

- Select OK to restart your computer to begin the update process.

- After the PC boots up, it will load to the BIOS update page, here you have to select Proceed with flash update option.

- Once the update completes press OK when the Flash update completed. Press any key to reset the system prompt appears.

In case you upgraded your motherboard, you can edit the serial number to read as the original one so that MSI Dragon Center can recognize the hardware.
Another risky but effective workaround is to roll back to a previous version. The MSI Center doesn’t provide these older versions so you’ll have to download from third parties.
 NOTE
NOTE
Once downloaded, turn off your internet connection, reboot your device then switch off the Always Update option. Now you can go ahead and run the installation.
If none of the above solutions are successful and you’re not feeling confident about the other risky workarounds, get in touch with MSI support. Explain your issue in detail and include your device’s specs and any recent hardware changes.
While MSI Dragon Center is a great optimization tool, it does have its shortcomings like Gaming Mode not working or the fan control not working so keep your options open.
This isn’t the only issue you can encounter, and many reported that MSI Dragon Center Keeps pinning to Taskbar as well as that MSI Dragon Center is not updating, but we covered those in different guides.
If you have any other solutions that worked for you but not mentioned here, feel free to let us know in the comment section below.
Read our disclosure page to find out how can you help Windows Report sustain the editorial team. Read more


Improve this guide


User forum
0 messages