What is Musallat.exe & How to Quickly Get Rid of It
To handle this troublesome issue, just uninstall the malicious apps
2 min. read
Updated on
Read our disclosure page to find out how can you help Windows Report sustain the editorial team Read more
Key notes
- Scanning your device with an appropriate antivirus will eliminate the virus.
- Omitting conflicting software has proven to be quite effective when solving this issue.
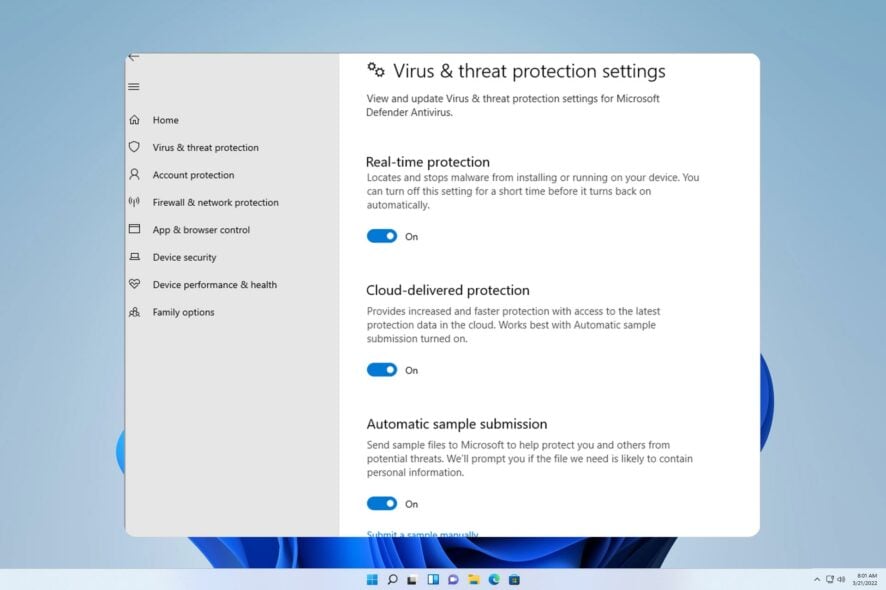
The MusaLLaT.exe file is classified as a Trojan virus, malicious software that can carry out numerous harmful activities on a compromised computer.
These nefarious deeds can range from stealing confidential data to deploying other types of malware and even granting unauthorized access and control of the targeted system to cyber criminals.
In our previous guide, we explored how to remove filerepmalware. Presently, we face a comparable predicament again.
Nevertheless, before tackling the problem at hand, it is imperative first to recognize its root cause.
What is Musallat.exe?
The MusaLLaT.exe file has been identified as a noxious program commonly employed by Trojan malware to execute an array of malicious activities.
If you don’t delete this file, your computer may be at risk of remote access and various other security threats.
How can I get rid of musallat.exe?
1. Uninstall malicious software
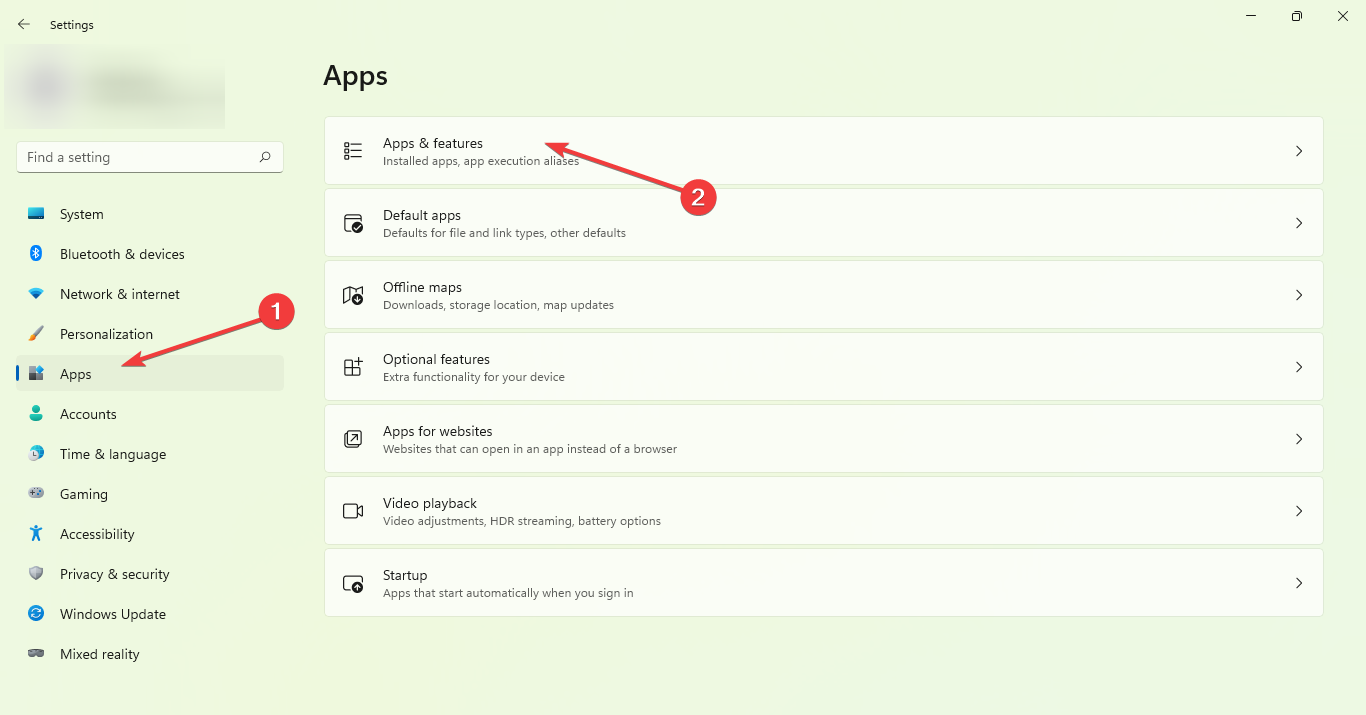
- On your home screen, click on the Start icon and select Settings.
- Now select Apps and next choose Apps & Features.
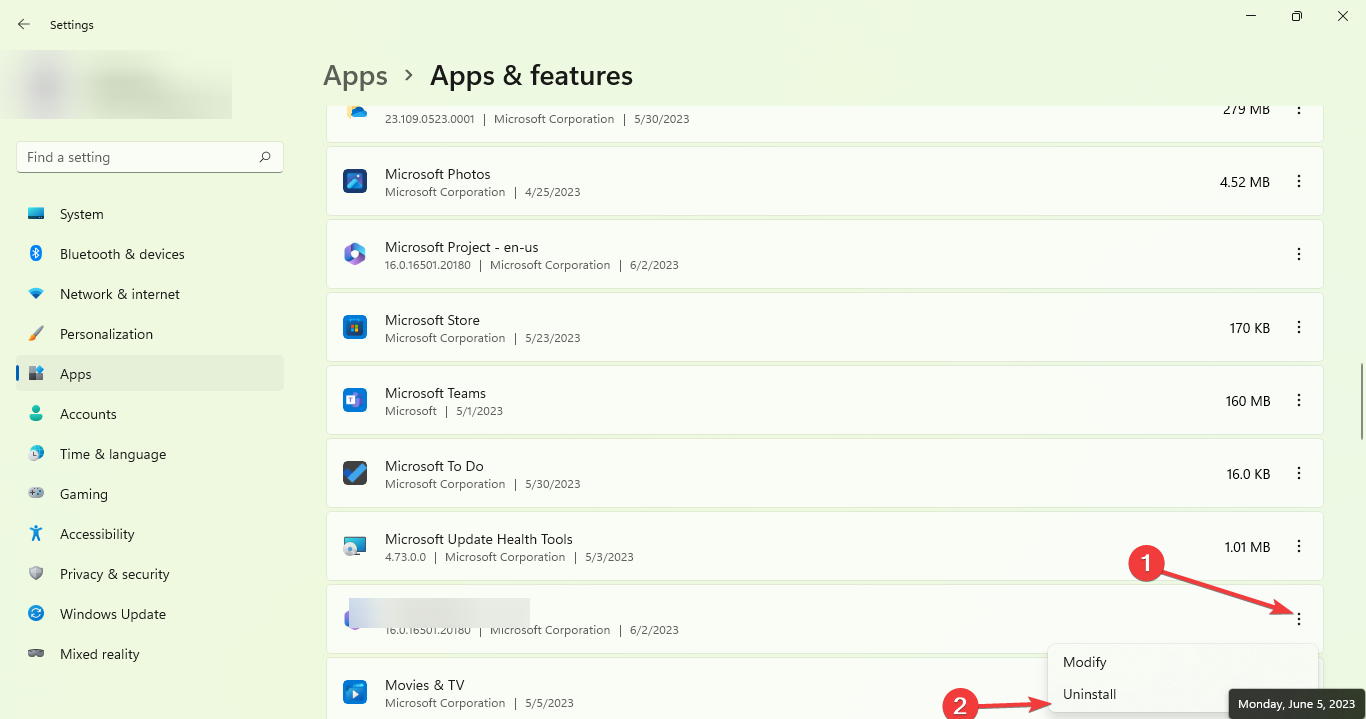
- Locate the malicious apps under the Apps list at the far right, click on the three dots and Uninstall them.
- Lastly, reboot your system.
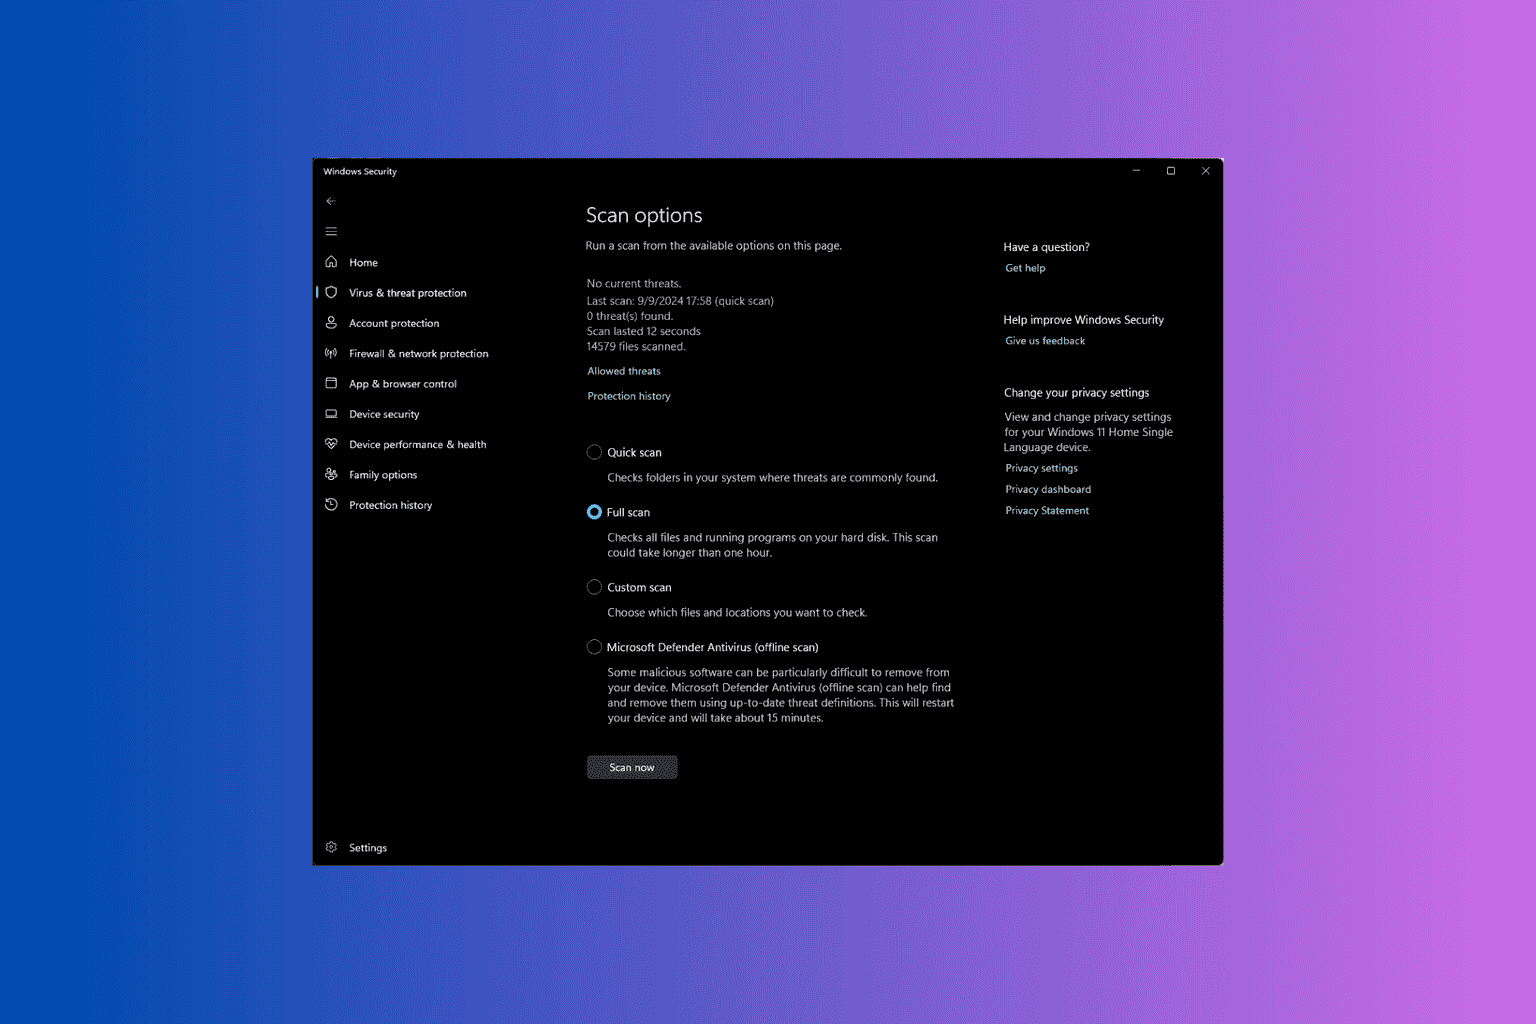
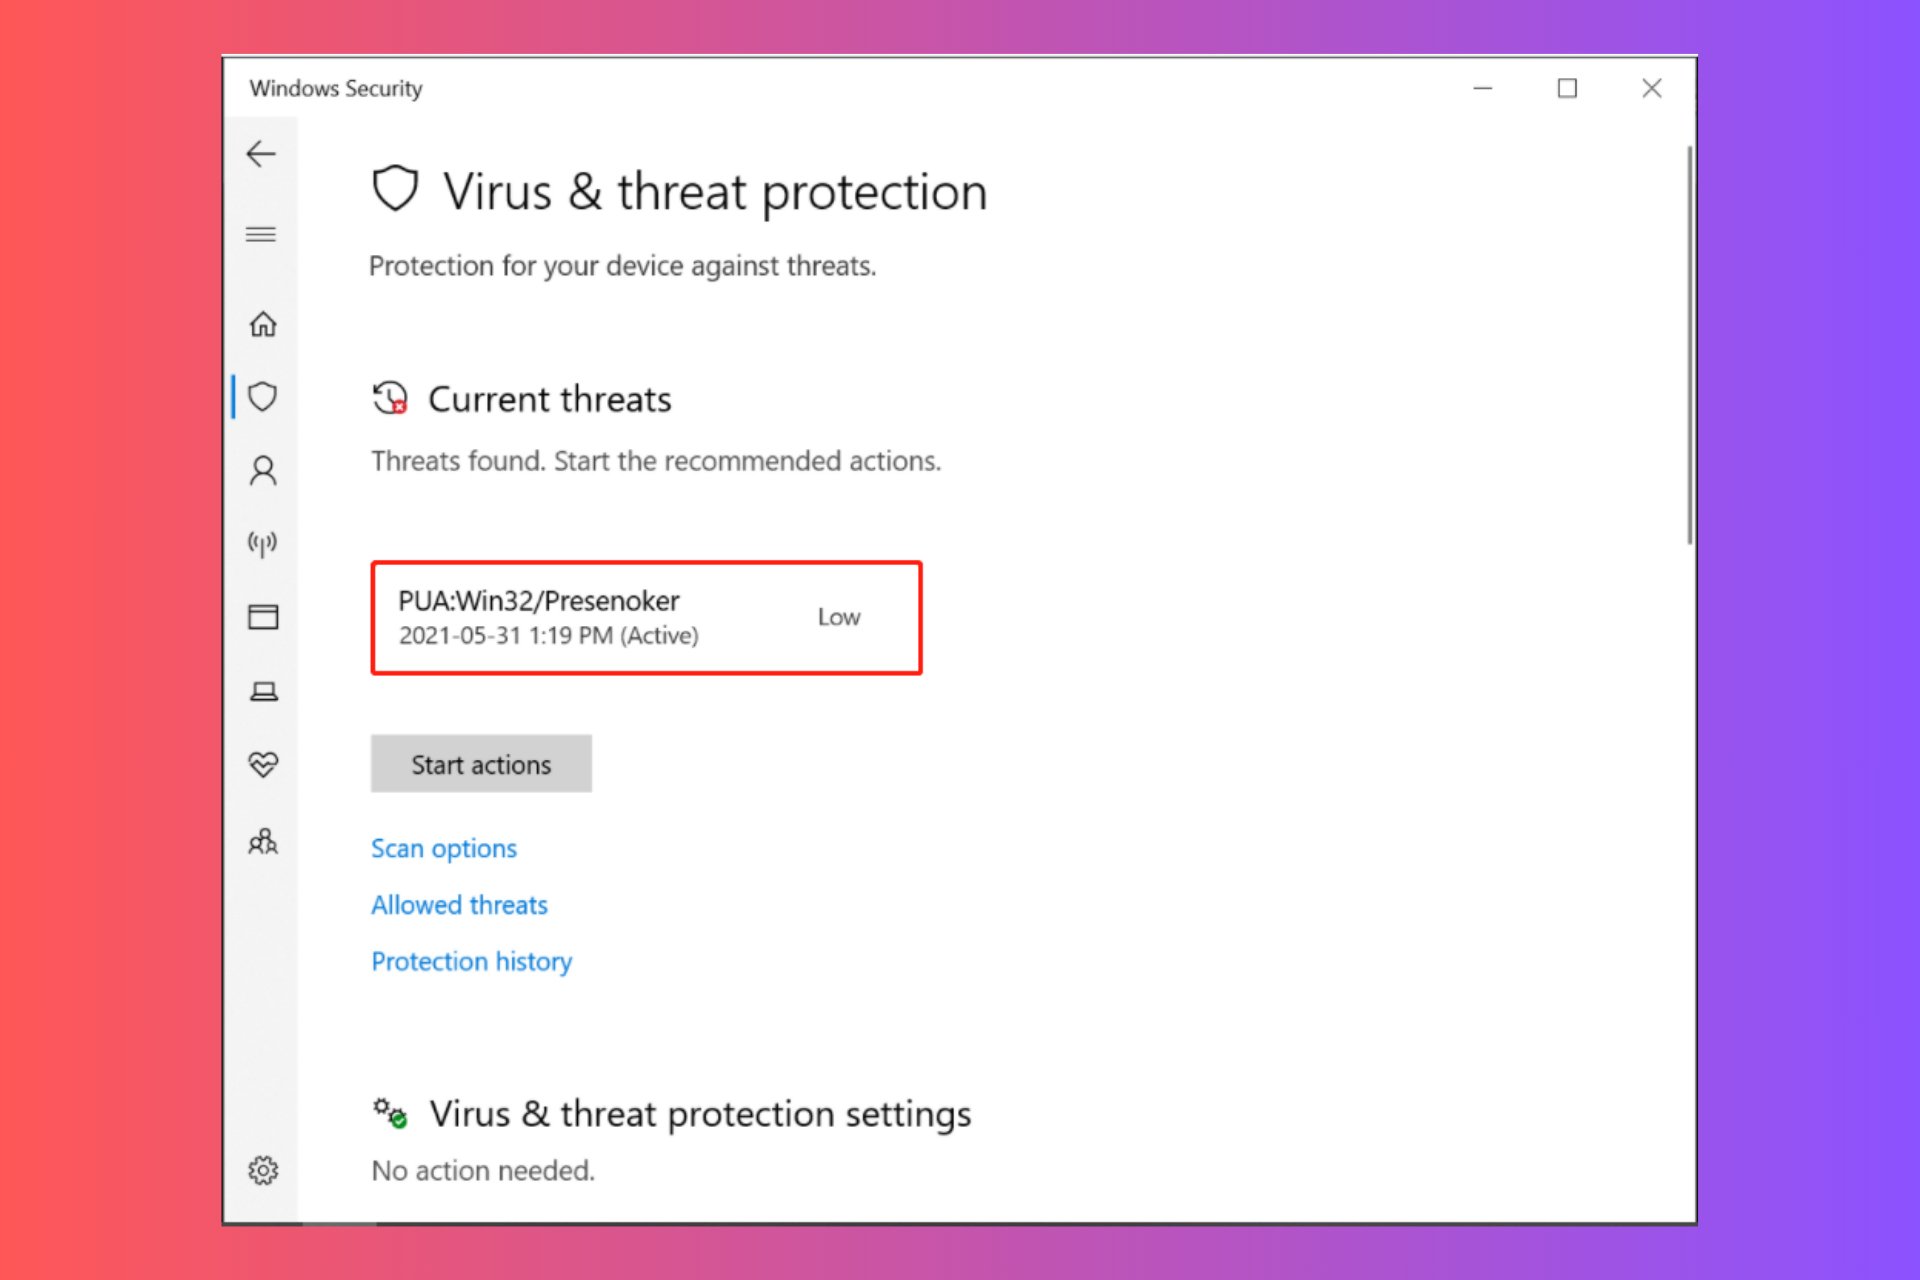
2. Scan your PC with Windows Defender
- Select Start on your home screen and click on Settings.
- Now click on Privacy & Security, then select Windows Security.
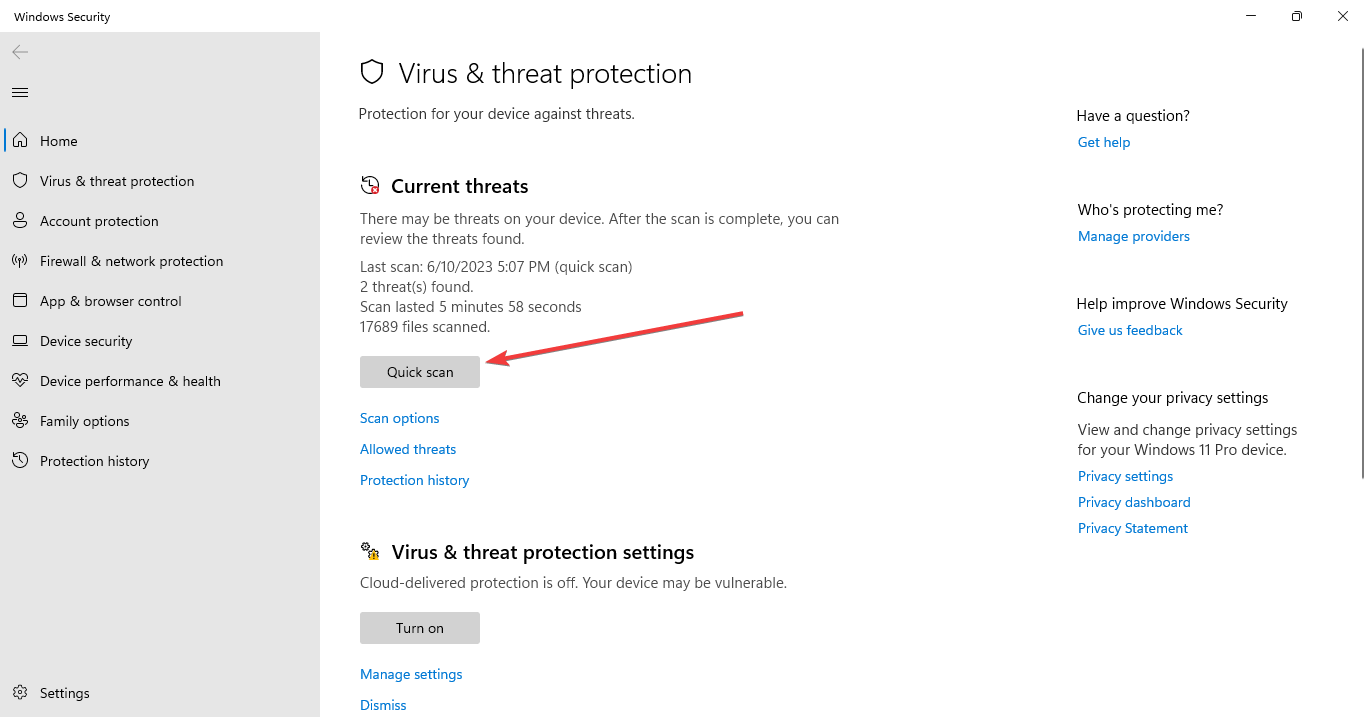
- Next click Virus & threat protection.
- Lastly, click on Quick scan to perform a scan on your PC.
We trust that our comprehensive manual has been of great help in addressing your worries. It’s quite apparent that tackling this problem is not as overwhelming as one might think at first glance.
If you face any further complications, we recommend referring to our extensive handbook on how to get rid of DismHost.exe. This guide presents similar remedies to tackle your problem.
We highly appreciate your contribution regarding this matter and are keenly interested in knowing your viewpoint. Feel free to leave a comment below and express your feedback with us.


User forum
0 messages