How to Fix The OOBEEULA Error on Windows 11?
First, restart your PC in winRE
Key notes
- To fix the OOBEEULA error on your Windows 11, click Try again to reset the PC, use the Sysprep tool, or run SFC & DISM scans.
- Keep reading to learn the detailed steps.
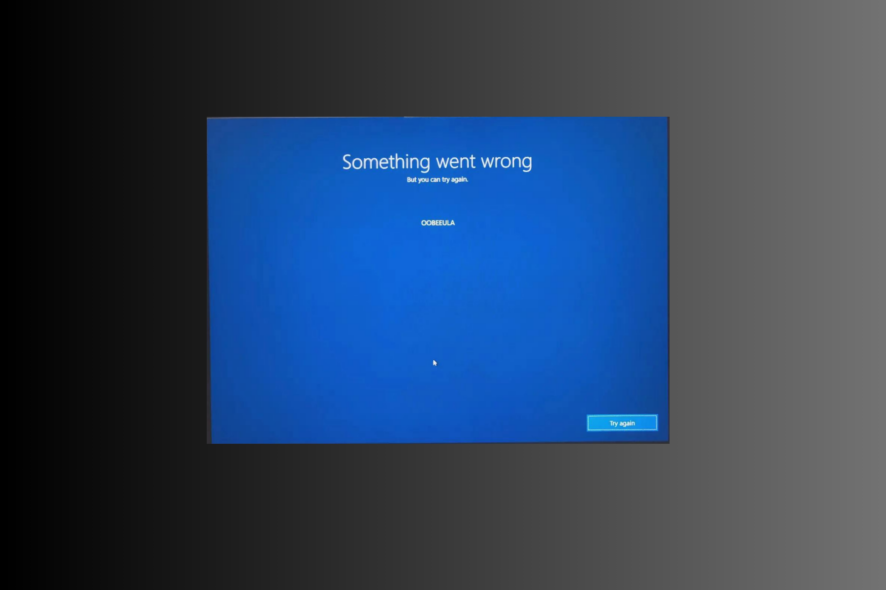
If you are stuck with Something went wrong but you can try again OOBEEULA error while resetting your Windows computer, then this guide can help!
What causes the OOBEEULA error? It could occur if the Out Of Box Experience End User License Agreement files are missing or if Windows can’t display it to you.
How can I fix the OOBEEULA error on Windows 11?
1. Use the Cloud Download option instead
If you are stuck at the OOBEEULA error screen, you need to restart your computer in Windows Recovery Environment (winRE); for that, follow these steps:
- Press & hold the Power button for 10 seconds to turn off your device.
- Now press the Power button again to restart your device. Once you see the device manufacturer’s logo, press & hold the Power button for 10 seconds to turn it off again.
- Follow Steps 1 and 2 twice, and when your system restarts for the third time, let it boot up, and you will be in the Windows Recovery Environment.
Once you are in winRE, follow these steps to reset your PC:
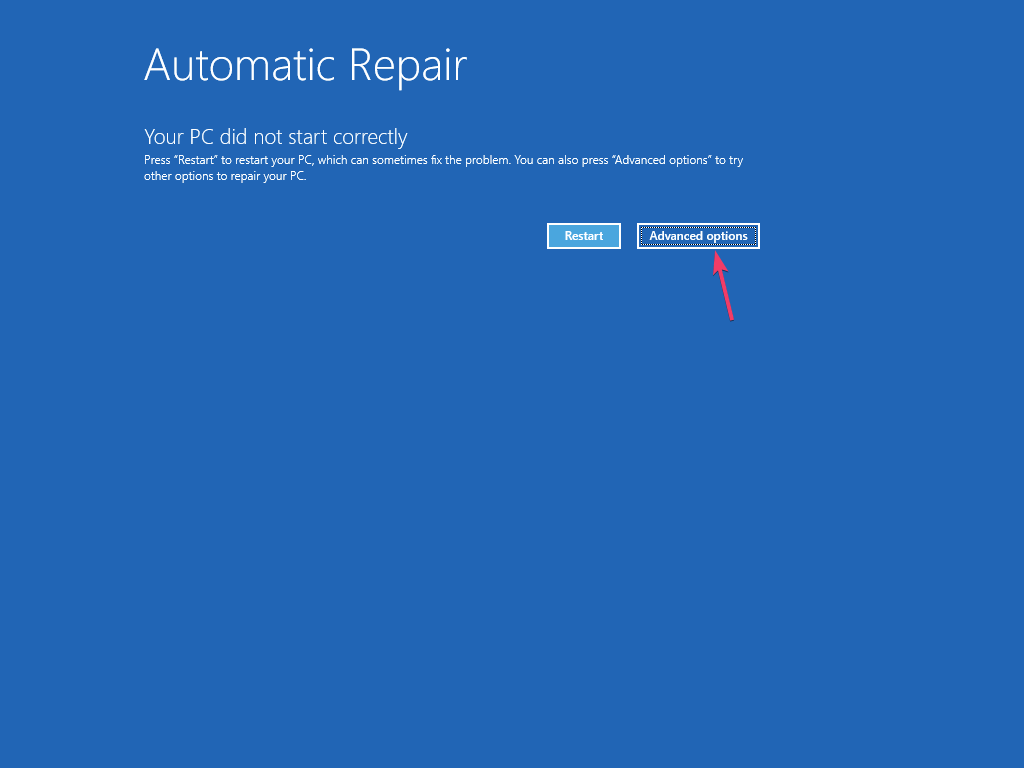
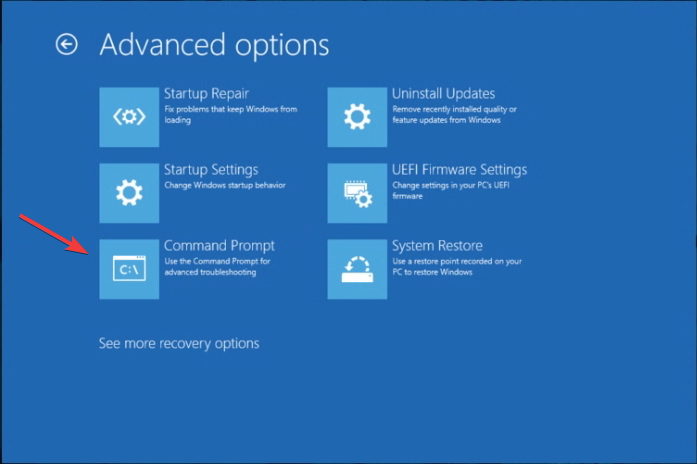
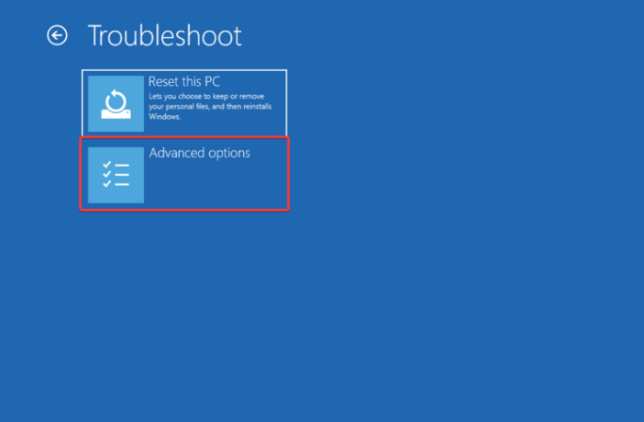
- On the Automatic Repair screen, select the Advanced options button.
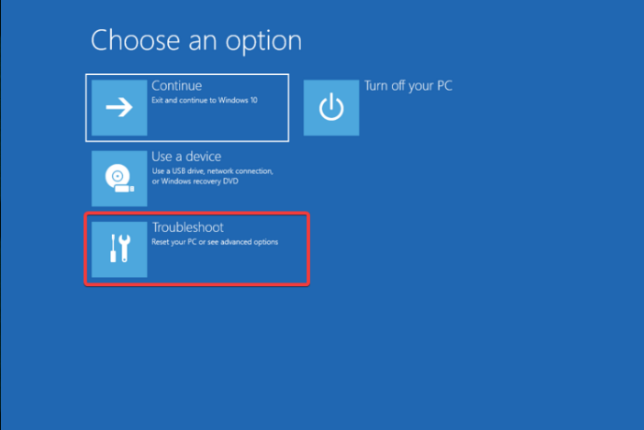
- Select Troubleshoot from the Choose an option screen.
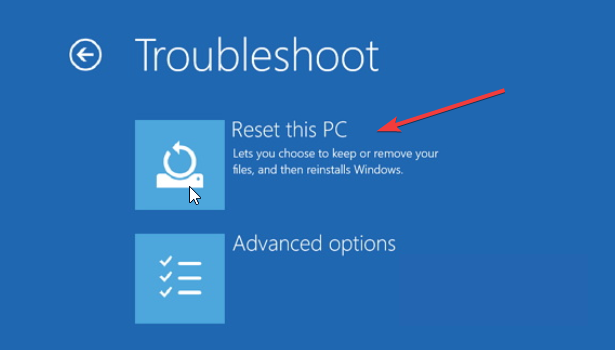
- On the Troubleshoot screen, select the Reset this PC option.
- Select the appropriate option from Keep my files or Remove everything.
- On the next screen, choose Cloud Download.
- Follow the onscreen instructions, then click Reset to initiate the process.
2. Run SFC & DISM scans
- Restart your computer in winRE using the steps from Solution 1.
- On the Automatic Repair screen, select the Advanced options button.
- Click Troubleshoot.
- On the Troubleshoot screen, choose Advanced options.
- Select Command Prompt from the next page.
- On the Command Prompt window, type the following command and hit Enter:
sfc /scannow - Once the command is executed, copy & paste the following command and press Enter:
Dism /Online /Cleanup-Image /RestoreHealth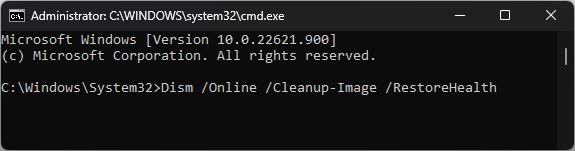
- Wait for the command to complete, then close the window, choose Continue, and reboot your computer.
Repairing the system files can also help you fix the Oobesettings error on Windows 11; read this guide to learn more on the topic.
Scanning and repairing system files can be simplified by using specialized repair software. With a very intuitive interface and easy-to-follow process, you can scan, identify, and replace any broken system files with fresh genuine ones.
3. Edit a registry entry
- Reboot your PC in winRE using the steps from Solution 1.
- Click the Advanced options button on the Automatic Repair screen.
- Select Troubleshoot, then choose Advanced options from the following page.
- Choose Command Prompt.
- Type the following command to open Registry Editor and press Enter:
regedit.exe - Navigate to this path:
Computer\HKEY_LOCAL_MACHINE\SOFTWARE\Microsoft\Windows\CurrentVersion\Setup\OOBE - Right-click in the empty space on the right pane, and choose New, then select DWORD (32-bit) Value.

- Name it SetupDisplayedEula.
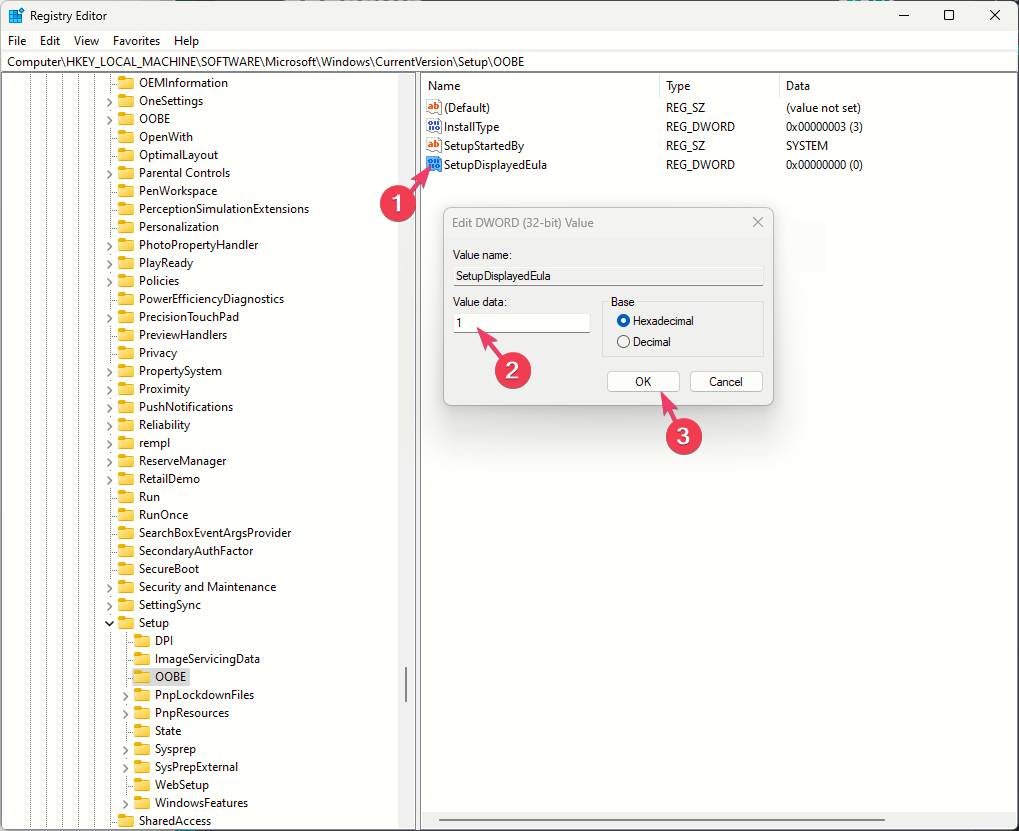
- Double-click it and set the Value data to 1, then click OK.
- Next, create another DWORD and name it UnattendCreatedUser.
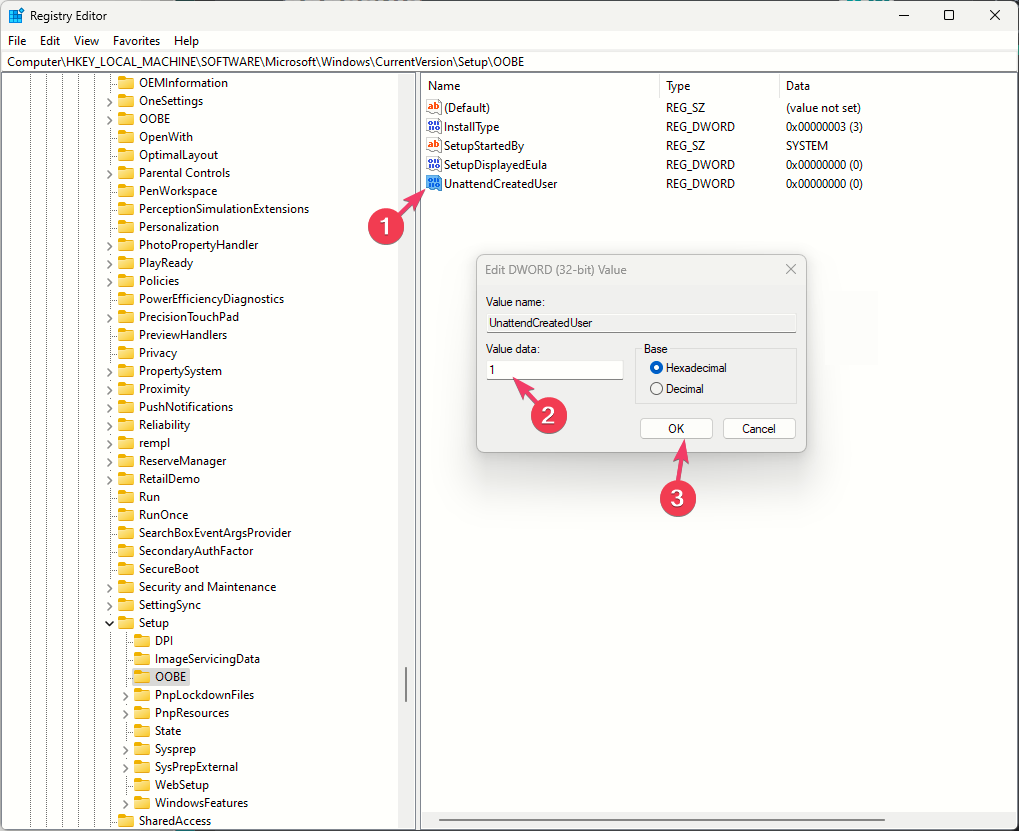
- Double-click it and set the Value data to 1, then click OK.
- Reboot your computer.
4. Reload the OOBE screen using the System Preparation (Sysprep) tool
- Restart your computer in winRE using the steps from Solution 1.
- Click the Advanced options button on the Automatic Repair screen.
- Select Troubleshoot, then choose Advanced options from the next page.
- Choose Command Prompt from the Advanced options screen.
- Copy & paste the following command and press Enter:
%windir%\System32\Sysprep\sysprep.exe /oobe /reboot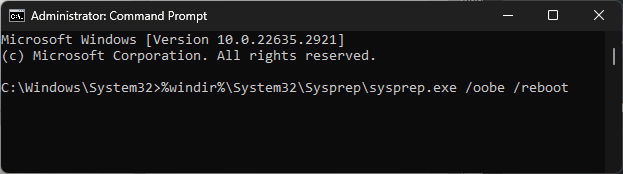
Your computer will restart and take you to the Out-of-Box-Experience screen, then follow the on-screen instructions to complete the process.
The Sysprep tool can help you fix the Windows keeps booting into the OOBE issue; to learn more about the issue; read this guide.
5. Create a temp account using Command Prompt
- Reboot your PC in winRE using the steps from Solution 1.
- Click the Advanced options button on the Automatic Repair screen.
- Select Troubleshoot.
- Click Advanced options.
- Choose Command Prompt from the Advanced options screen.
- Type the following command after replacing username and password with the preferred username and password and hit Enter:
net user /add [username] [password] - Copy & paste the following command to give administrator rights to your temporary account after replacing the username with the username of the new account, then press Enter:
net localgroup administrators [username] /add - Close the window, and press Continue to restart your computer.
- Now login using the new user account.
Remember, this is a workaround to access your computer if the issue is only with the profile you were using earlier.
To conclude, if you are stuck with the OOBEEULA error, the best way to fix it is to try to reset your computer again.
You can also try to run the SFC & DISM scans to repair the damaged system files or add the registry entry to make the problem go away.
However, if nothing worked for you, you might need to reinstall your Windows OS again to fix the problem completely.
In case you have questions or suggestions about the OOBEEULA error, feel free to mention them in the comments section below.
Read our disclosure page to find out how can you help Windows Report sustain the editorial team. Read more


Improve this guide


User forum
0 messages