How to Customize The Quick Access Toolbar in Outlook
Follow these quick steps to customize Outlook's Quick Access toolbar
4 min. read
Updated on
Read our disclosure page to find out how can you help Windows Report sustain the editorial team. Read more
Key notes
- There are many customizable options for the Quick Access toolbar.
- Users can import and export customized Quick Access toolbar to unify the toolbar across every Microsoft Office app.
- You may add or remove commands from the Quick Access toolbar.

Outlook is an email client for sending and receiving emails, managing personal information, managing calendar events, etc. However, working on Microsoft Outlook can be easier by customizing the Outlook Quick Access toolbar.
Also, keeping the folder pane expanded in Outlook will help you access it easily and improve your productivity.
What does the Quick Access toolbar do in Microsoft Outlook?
Many users attest that the Quick Access toolbar is one of the best features. Microsoft Office apps. The Microsoft Quick Access toolbar is a menu usually found at the top-right or left corner of the Microsoft Outlook app.
Furthermore, the idea of the Quick Access toolbar depicts what the name suggests. It provides convenience and easy access to users, allowing them to use their most needed and commonly used features in Outlook.
Likewise, it contains features such as Undo, Save, New, Sort ascending and descending, etc., which are available at users’ reach. In short, the Quick Access toolbar contains the necessary commands for working with Microsoft Office apps.
Moreover, users can import and export the Quick Access toolbar settings from one Microsoft Office app to another for uniformity.
How can I customize Outlook’s Quick Access toolbar?
1. Add or remove commands to the Quick Access toolbar on Outlook
- Launch Microsoft Outlook on your PC.
- Click the drop arrow button, then select Customize Quick Access Toolbar from the drop-down.
- Select a command to add to the Quick Access toolbar.
- If you can’t find the command you want to add, click the More Commands button at the bottom of the drop-down menu.
- Select the command you want to add, click Add between the two panes, then click OK.
- However, click the Remove button if you want to remove commands from the Customize Quick Access Toolbar.
Adding or removing commands from the Quick Access toolbar allows you to select the commands that are to be in the Outlook toolbar.
You can check our guide on how to fix Outlook disconnected error on Windows 11 if you run into it during the process.
2. Remove a button from the Quick Access toolbar
- Launch the Outlook app.
- Find and right-click on the button you want to remove and select the Remove from Quick Access Toolbar option from the drop-down.
The command will be deleted from the Quick Access Toolbar on Outlook, as in other Microsoft Office apps.
3. Change the Quick Access toolbar location on Outlook
- While on Outlook, click the drop-down button and select Customize Quick Access Toolbar.
- Select the Show Below the Ribbon option from the drop-down menu to move the Quick Access toolbar beneath the Ribbon.
- Select the Show Above the Ribbon option to move the Quick Access toolbar to the top of the Ribbon.
Changing Outlook’s Quick Access toolbar location lets you decide where it is best suited for your activities.
Looking for a way to add a custom priority field to your Outlook tasks or events, read this guide to know the steps.
4. Customize the order of the commands on Outlook
- Launch Microsoft Outlook.
- Right-click the Ribbon, then click on Customize the Quick Access Toolbar from the drop-down menu.
- Select the command you want to move and click the arrow-up or down to change the position within the Quick Access toolbar.
Customizing the order of commands on Outlook’s toolbar allows you to set a priority hierarchy for the commands you use most.
5. Import/Export a customized Quick Access toolbar
- Launch Outlook.
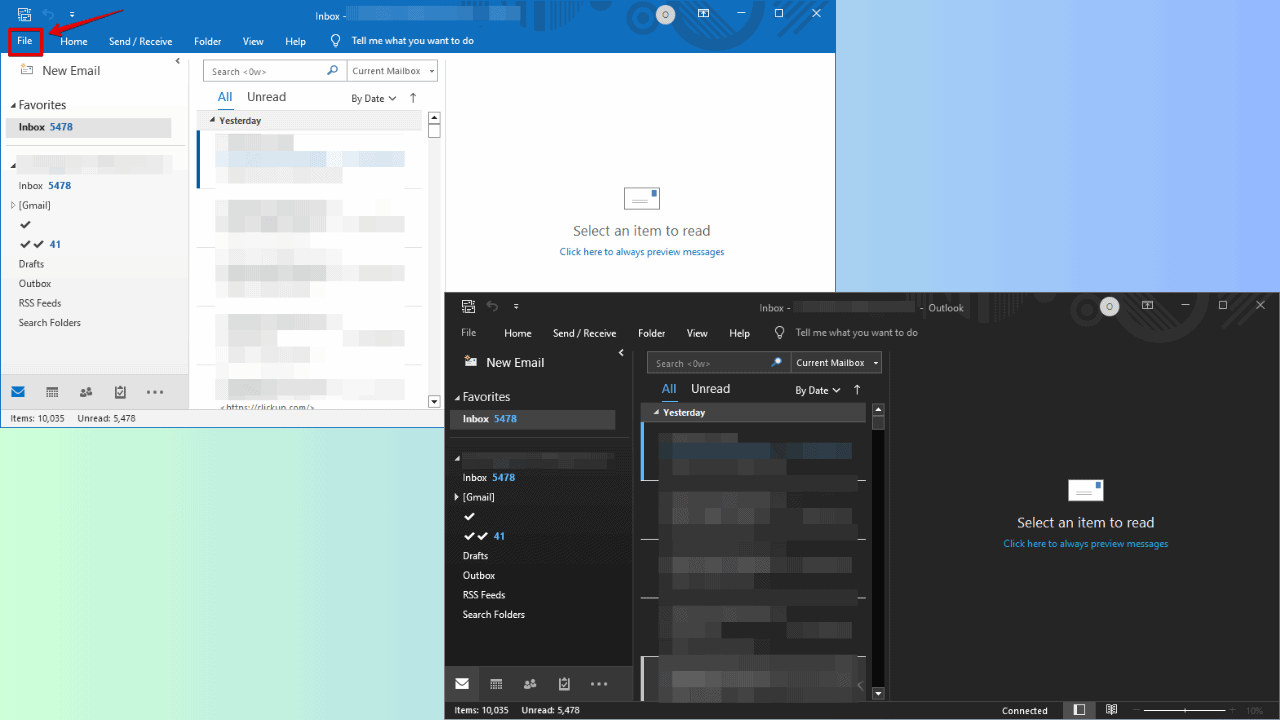
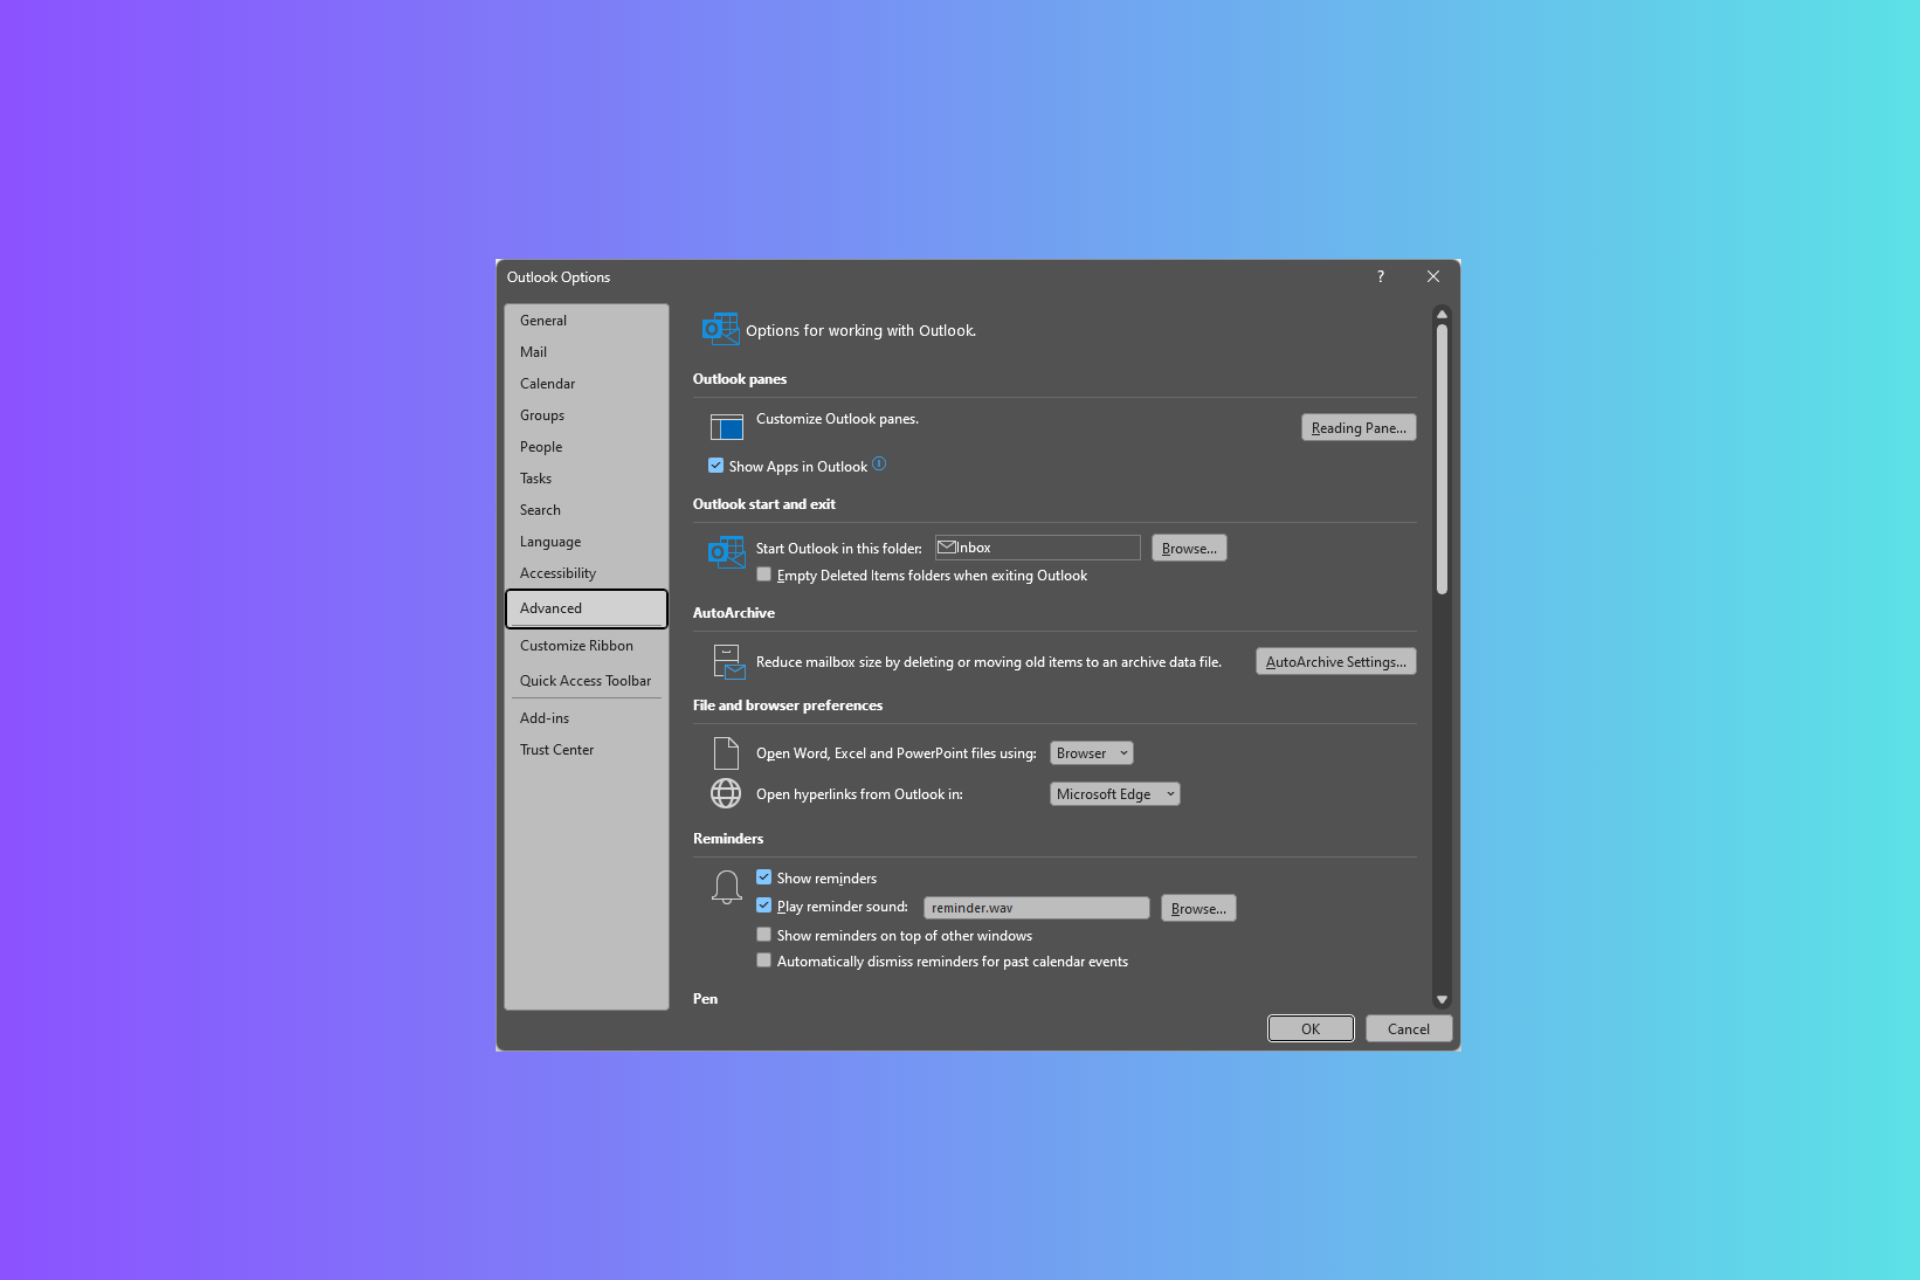
- Click on File, select Options, then click the Quick Access toolbar.
- Select the Import/Export option, then click on Import all customizations or Export all customizations.
Importing or exporting a customized Quick Access toolbar allows you to have the same settings across your Microsoft Office apps.
Elsewhere if the top ribbon in Outlook is missing, we know how to get it back.
Conclusively, we recommend you read our article on the Outlooks distribution list not expanding and some fixes. Also, our readers may be interested in how to search for keywords on Outlook.
If you have more queries, please tell us in the comments section. Also, if you have any suggestions, we’d like to hear from you also.



User forum
0 messages