Password Protect a Zip File in Windows 10 & 11 [How To]
5 min. read
Updated on
Read our disclosure page to find out how can you help Windows Report sustain the editorial team. Read more
Key notes
- Windows 10 does not provide native encryption for ZIP files, but you still need to secure them.
- We offer you the best third-party tools to password protect your zipped files with military-grade encryption.
- You can also find the right steps to set a password for an already compressed file.

Keeping your personal files protected all the time is extremely important.
Setting up passwords for certain files, folders, or zip packages is recommended, especially if there are other persons who have access to your Windows 10 device.
Also, if you share files between different computers, or use a network that’s not properly secured, the best is to set individual passwords for your most important files.
That’s why we want to show you the best security solutions that can be used to password protect zip files in Windows 10.
For regular files and folders, you can use built-in Windows 10 features and set individual encrypted passwords.
Unfortunately, when discussing ZIP files, it’s more complicated to find the right security alternatives – no, you cannot set passwords for protecting zip files in Windows 10 by default.
Thus, third-party solutions must be applied instead. And since there are different tools available on the web, it’s indicated to choose wisely.
How to add a password to a zip file on Windows 10?
1. Use WinZip
- Download now WinZip (free).
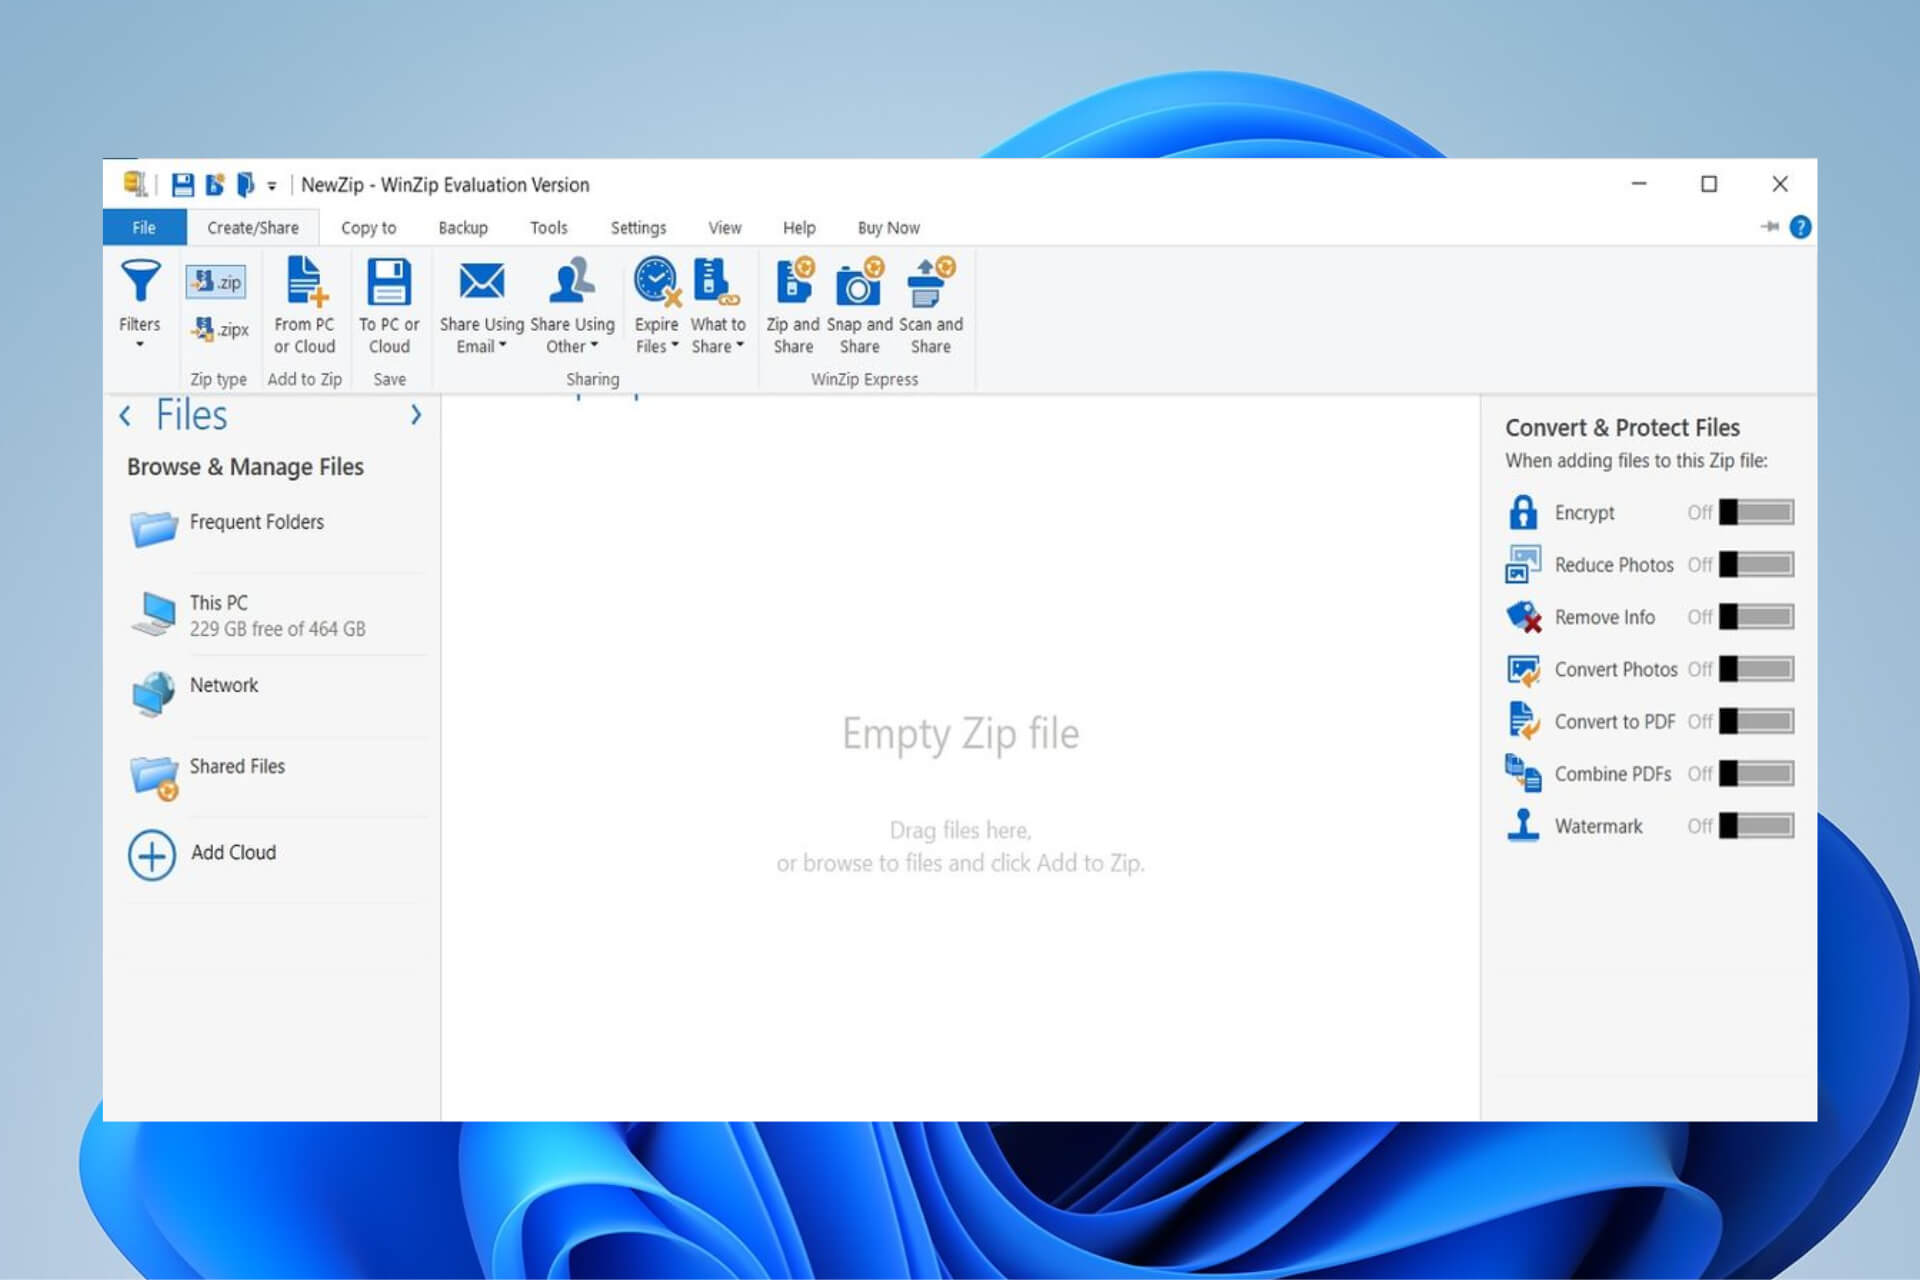
- Once installed, open it, and click Create/Share on the top options’ pane, so it opens the main Actions menu.
- Do not forget to activate the Encrypt option in the right Actions menu.
- Drag a file from the navigator menu on the right into the NewZip.zip center space.
- When a file is dragged, if you enabled the Encrypt function the set your password window will appear.
- After setting your password, you also will need to set the encryption setting, and you’re done!
- Now you have a military-grade encrypted, password-protected ZIP file.
WinZip is a tool that has been downloaded over 1 billion times, which means that it has great features. And it has, indeed.
Here you can find a quick guide on how to password protect a file that you want to zip using WinZip.

WinZip
The world’s best compression software is there to help you protect your ZIP files.2. Use WinRAR
- Of course, start by downloading the WinRAR client.
- Follow on-screen prompts and install this program – just click on the executable WinRAR file.
- Next, choose the file which you want to compress and secure.
- Right-click on this file and, from the list that will be displayed, choose Add to archive….
- From the window that will be displayed, under the General tab, enter a name for the future zip file, choose the Archive format (click on ZIP), and, before selecting OK for confirming your changes, click on Set password.
- When prompted, enter your passwords and re-enter it for confirmation.
- Apply the changes and that’s it.
WinRAR is maybe the most popular tool used in the Windows 10 system. Of course, WinRAR can help you easily compress files and folders into one compressed file.
Additionally, WinRAR can also be used for setting up a password for the compressed file. Thus, in our situation, we can use this free-distributed app for securing our zip files.
Now, if you want to set a password for an already compressed file, follow these steps:
- Open WinRAR and click on Tools.
- Then, select Convert archives from the Tools options.
- From Convert archives, under Archive types, keep the zip option checked.
- Choose the location where you want to place the protected zip, and then click on the Compression… button.
- The Set default compression options window will be displayed.
- Under the General tab, click on Set password… and enter your password.
- Complete the validation process and save your work.
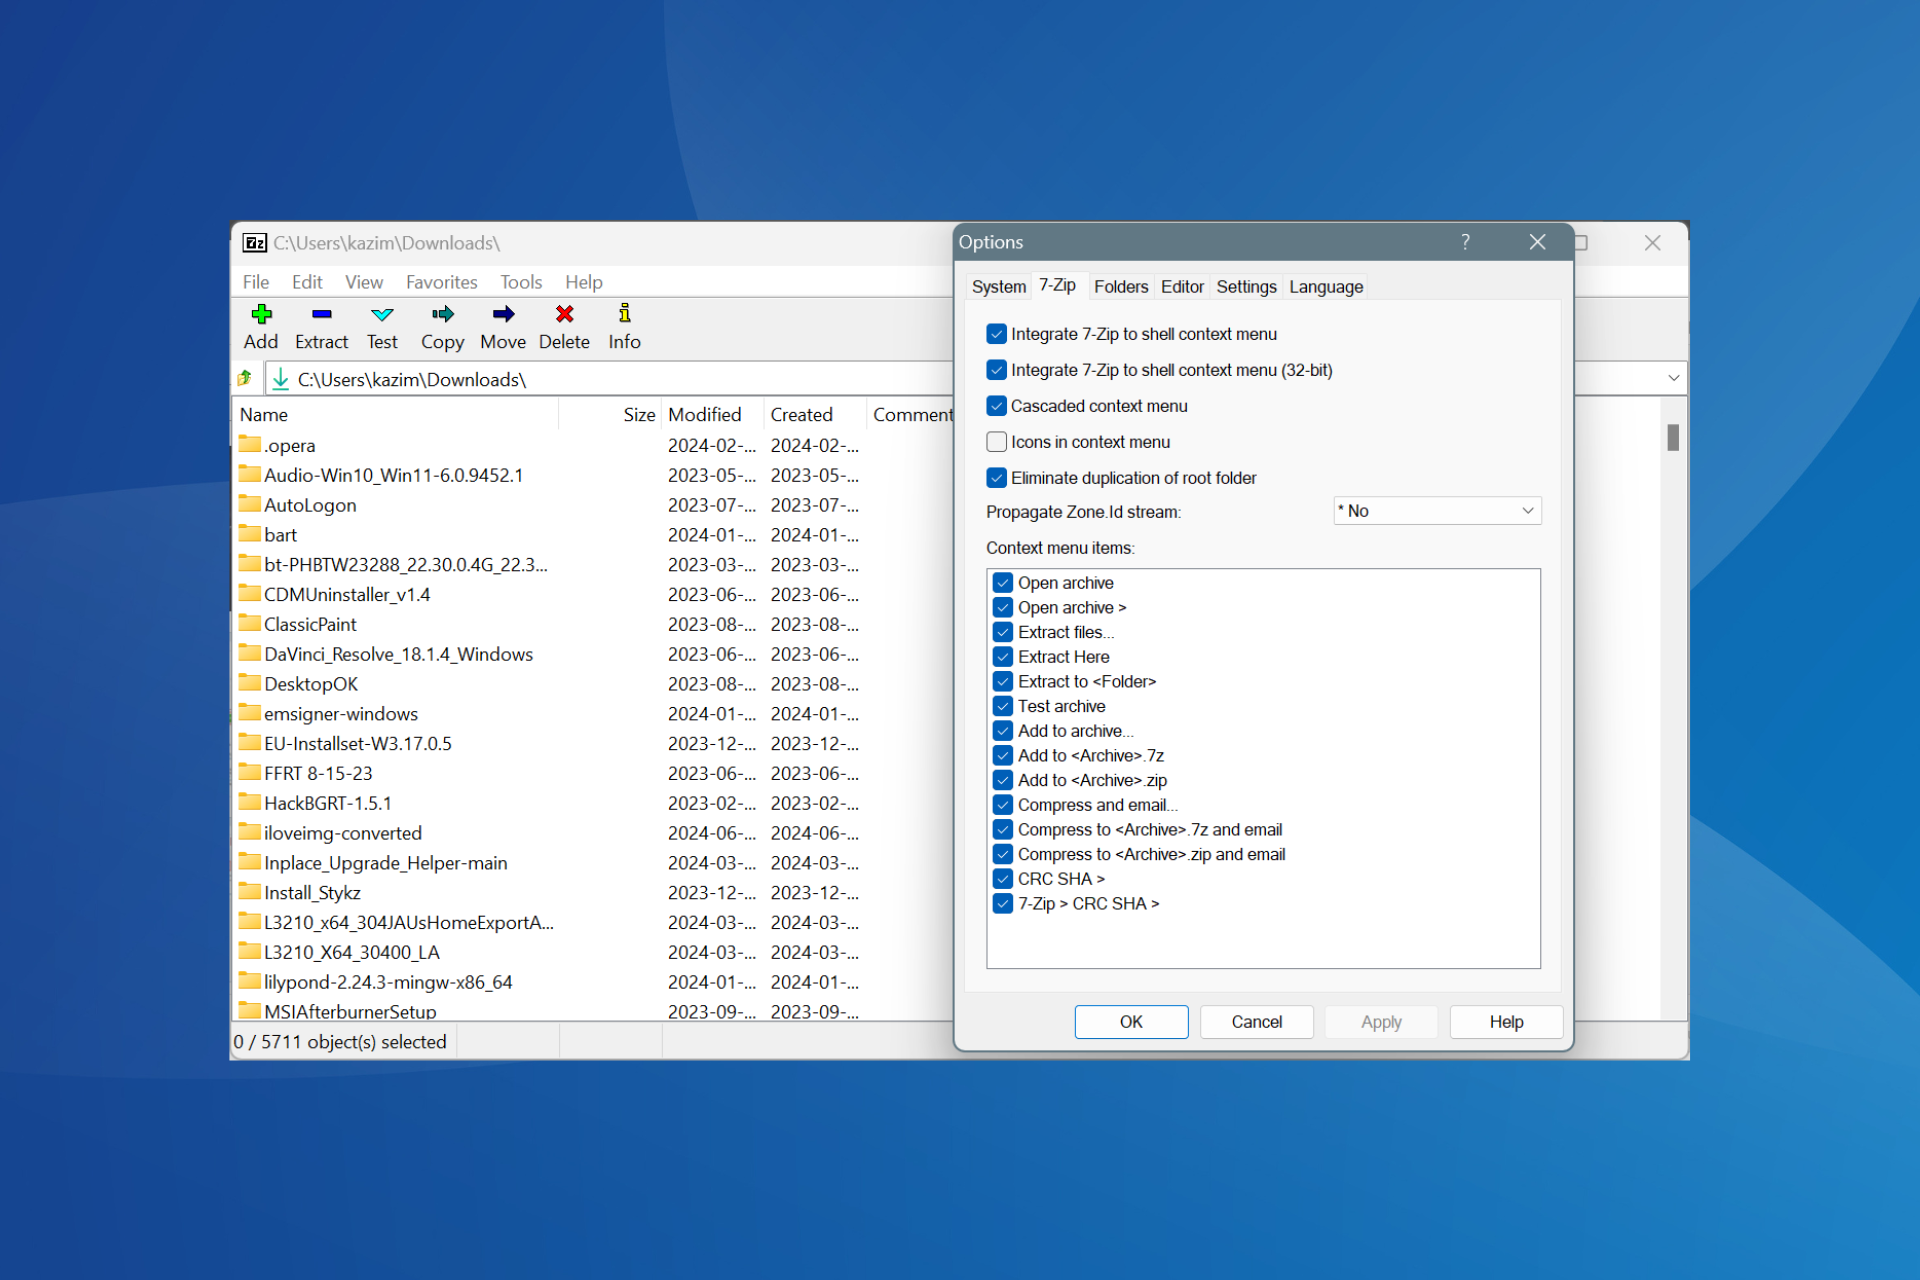
3. Use 7-Zip
- First, download 7-Zip on your Windows 10 system.
- Install 7-Zip on your device – run the executable file and then follow on-screen prompts.
- Choose the file you want to compress, and right-click on it.
- Pick Add to archive.
- Under the Add to Archive window, you need to: enter a name for the file, set an archive format, and enter an encryption solution.
- So, set the password for protecting the future zip file.
- When done, click on OK, and that’s it.
Unlike WinRAR, through 7-Zip, you won’t be able to set a password for an existing compressed zip file. This software will let you set up one password only during the zip process.
So, for already compressed packages, you will have to unzip first and re-zip afterward. Anyway, 7-Zip is also free and offers an intuitive interface, just as we noticed with the WinRAR client.
As you will notice, both platforms are quite similar so just choose the one that you prefer the most, or try them both and decide afterward which solution is best for what you wish to accomplish.
These are the easiest ways in which you can protect a zip file by setting up a dedicated password. Keep in mind that Windows 10 doesn’t offer a built-in solution for completing this encryption.
However, by using the tools listed above, you can easily protect any zip file you want.
Both WinRAR and 7-Zip are open-source platforms, so you can download and use them for free.
Also, if you want to password-protect compressed folders in Windows 10, you should check out our complete guide.
Now, if you can’t manage to set a password for your ZIP file in Windows 10, we are here to assist you.
Use the comment section below to tell us more about your issue, and we will find the perfect explanations in order to make everything crystal clear.





User forum
0 messages