PCI Express Root Port Error: 7 Tested Ways to Fix
Updating the drivers and changing the BIOS settings can help
![]() 4 min. read
4 min. read
![]() Updated on
Updated on
Share this article
Improve this guide
Read our disclosure page to find out how can you help Windows Report sustain the editorial team. Read more

Dealing with PCI Express Root Port errors can be a real headache, especially when they disrupt your workflow or gaming sessions. This issue can be caused by a lot of problems, from a malfunctioning driver to hardware failure, but we have the right solutions to troubleshoot and fix it.
How do I fix the PCI Express Root Port error?
1. Update the PCI Express Root Port driver
- Press Win + X and select Device Manager from the menu.
- Expand the System devices category, and find entries named something like PCI Express Root Port or similar.
- Right-click on each PCI Express Root Port entry and select Update driver.

- Choose Browse my computer for drivers.
- Select Let me pick from a list of available drivers on my computer.
- Choose PCI Express Standard Root Port and click Next to install it.

Updating the driver ensures you have the most compatible drivers, which can resolve conflicts and errors related to the PCI Express Root Port. You may also try to select Uninstall device instead of updating, then restart your PC. The system will find and install a suitable driver.
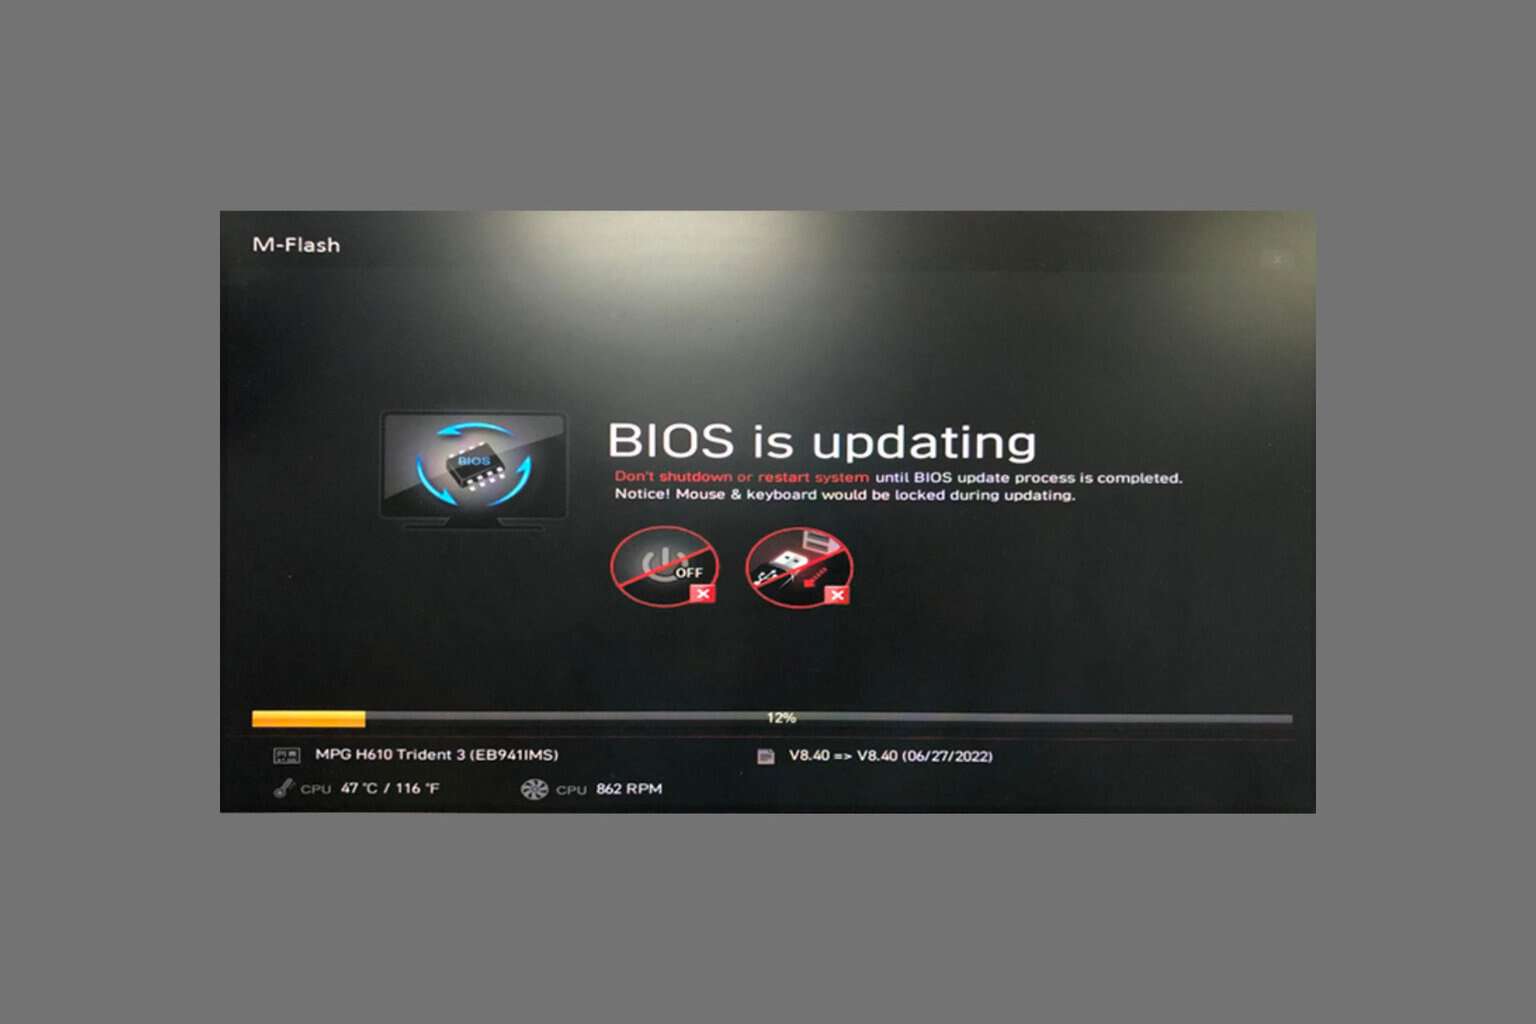
2. Change the BIOS settings
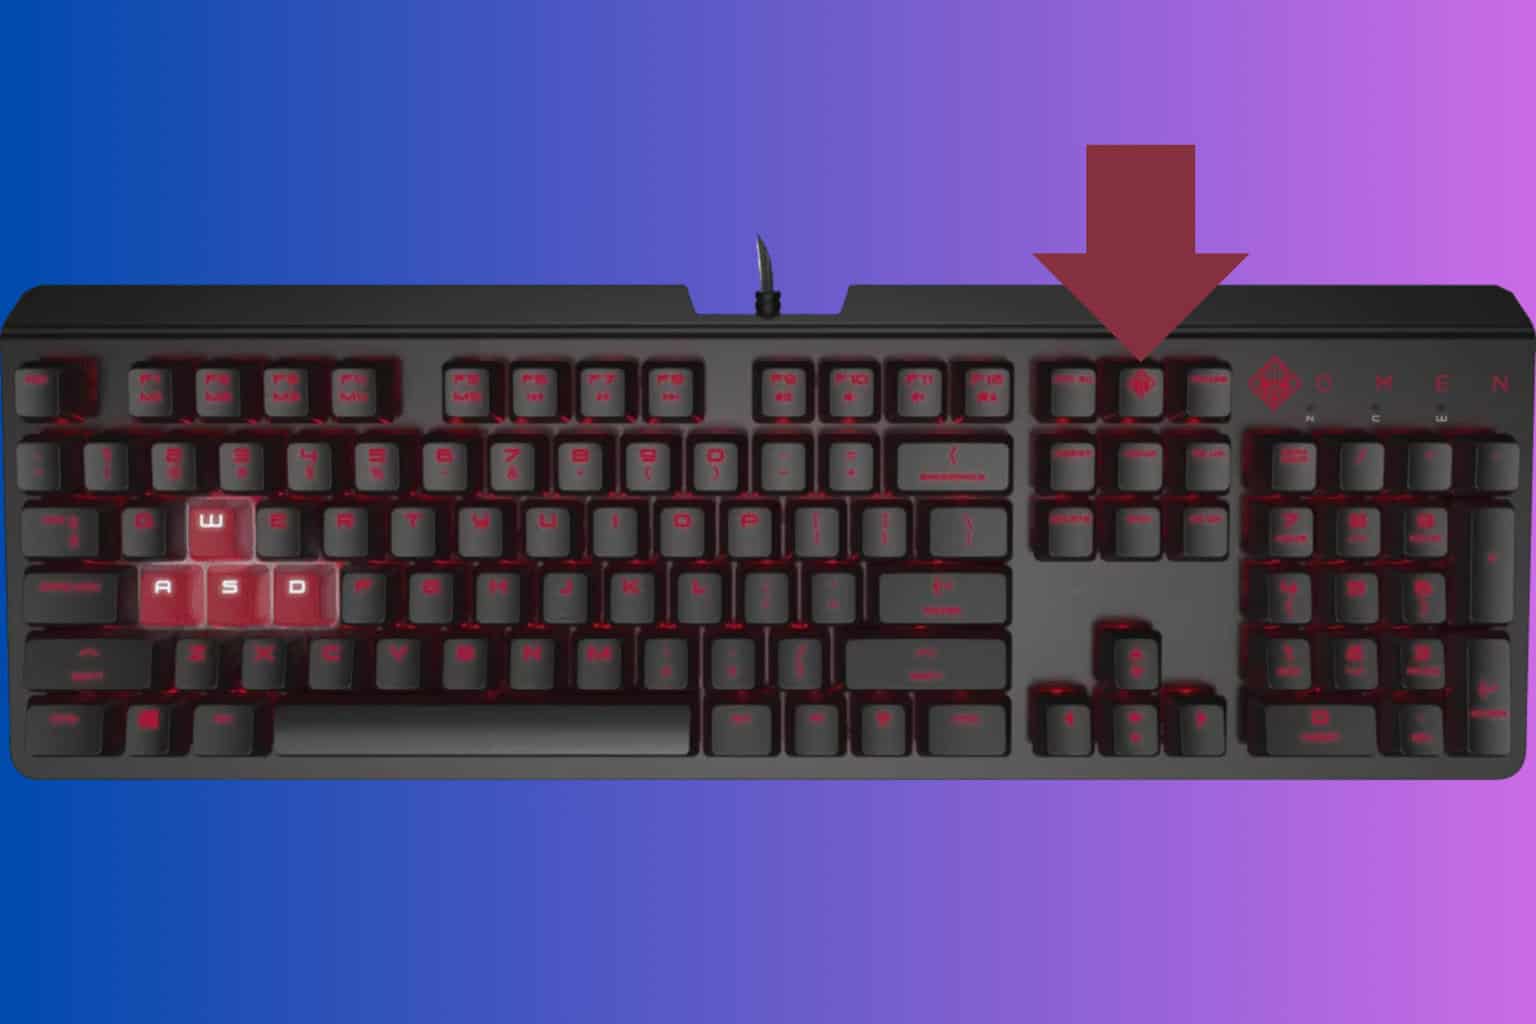
- Restart your computer and repeatedly press the key (often Del, F2, F12, or Esc) to enter the BIOS setup.
- Use the arrow keys to navigate to the section related to PCI settings. This might be under Advanced or Chipset configurations, depending on your BIOS.
- Find PCIe Link Speed or CPU PCIe Link Speed and switch the setting from Auto to Gen3.
- Press the key to save changes (usually
F10) and exit the BIOS.
Changing the PCIe Link Speed to Gen3 can resolve issues caused by incompatibilities or instabilities with Gen4 settings.
3. Disable PCI Express Native Power Management
- Restart your computer and enter the BIOS setup just like in the previous solution.
- Navigate to the section related to power management.
- Locate PCI Express Native Power Management and disable it.
- Save the changes and exit the BIOS setup (often it’s the F10 key).
Disabling PCI Express Native Power Management can prevent the system from entering low-power states that might cause errors.
4. Check and reconnect the hardware
 NOTE
NOTE
- Shut down your computer and unplug it from the power source.
- Carefully open your computer case to access the hardware components.
- Remove and then firmly reinsert your graphics card, RAM, and any other PCIe devices.
- Ensure all power cables and connections are secure.
- Close the computer case, plug in the power, and restart the computer.
Reseating components and securing connections can resolve issues caused by loose or improper connections.
5. Reinstall or update the chipset drivers
- Visit your motherboard manufacturer’s website and download the latest chipset drivers.
- Run the downloaded installer and follow the on-screen instructions to install the latest drivers.
- After the installation is complete, restart your computer.
Updating chipset drivers ensures that all components communicate effectively, minimizing conflicts and errors.
6. Use PowerShell to identify problematic devices
- Press Win + X and select Windows PowerShell (Admin). If it’s not on the list, you can use the Search tool to find it.
- Enter the command to list all devices within the System class:
pnputil /enum-devices /class System - Look for the device with the specific hardware ID that matches the error logs, such as PCI\\VEN_8086&DEV_….
- Note the problematic device and update or reinstall its driver as needed.
Using PowerShell helps you pinpoint the exact device causing the error, allowing for targeted troubleshooting.
7. Replace the hardware if necessary
- Based on error logs and troubleshooting, determine if a specific hardware component (like an SSD or GPU) is likely faulty.
- If possible, replace the suspected faulty component with a known working one.
- Monitor the system to see if the errors persist.
- If replacing the component resolves the issue, consider making this a permanent change.
Sometimes, the root cause is a hardware failure, and replacing the faulty component is the only solution.
By following these steps, you should be able to resolve most PCI Express Root Port errors. To avoid future issues, keep your drivers up to date and regularly check your hardware connections.
While we are at PCI driver issues, check out the highlighted guide if the Device PCI Requires Further Installation.
If you have any other questions or suggestions, leave them in the comments below.


User forum
0 messages