HP Printer Cannot Connect to Server: Why & How to Fix
Some HP printers enable users to utilize web-connected printing services. However, some HP printer users have said that a There was a problem connecting to the server error arises when they try to scan emails.
The printer doesn’t connect to Web Services when that error arises. These are a few fixes that might resolve the There was a problem connecting to the server HP printer error for some users.
What to do if HP printer won’t connect to server?
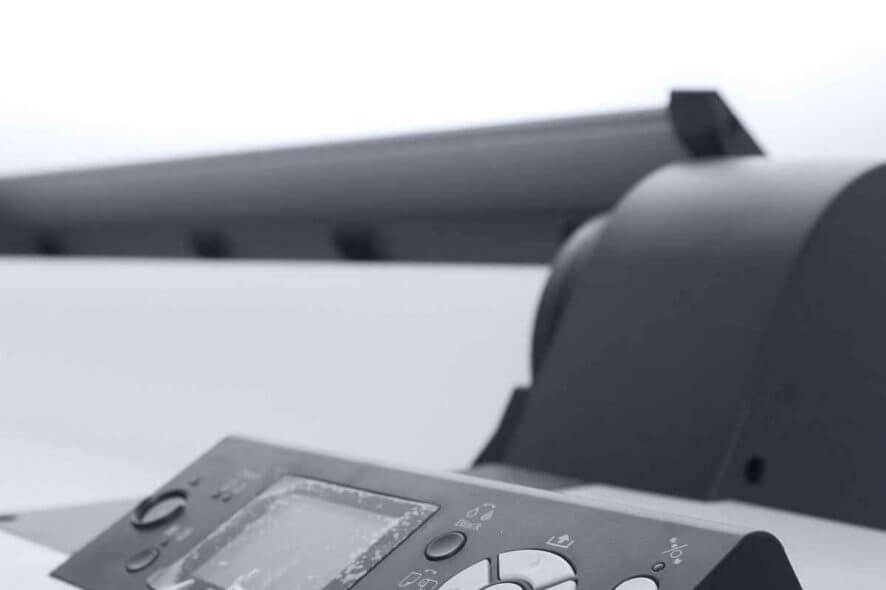
1. Check the Printer’s Connection

First, check that the printer is certainly connected to HP Web Services. Note that HP printers can’t connect to Web Services when plugged in with a USB cable. Users can check the printer’s connection status by opening a Wireless Network or Settings menu on its LCD display.
Then users should see a solid, blue wireless icon light that highlights a printer is connected. Users will need to connect the printer with Web Services if they can’t see that light.
2. Restart the Printer, Router, and PC

- Restarting the router, printer, and PC can resolve connectivity issues. First, turn off and unplug the router.
- Then switch off the HP printer.
- Shut down the desktop or laptop.
- Plug the router back in, and turn it on.
- Turn the printer back on.
- Then boot up the desktop or laptop.
3. Turn on Web Services From the Printer’s Embedded Web Server Webpage
Some users might need to turn on Web Services via the Embedded Web Server page to fix the There was a problem connecting to the server error. To do that, users will first need to print a Network Configuration Page from a Setup, Network Settings, or Wireless menu on their printer’s LCD display. Users can check their printer manuals for more specific details on how to print a Network Configuration Page. Then follow the guidelines below when you’ve printed that page.
- Open a web browser in Windows.
- Then enter the URL for the Embedded Web Server listed on the Network Configuration Page in the browser’s URL bar. That URL takes the form of a number and might be something like: https://169.172.123.45.
- Then click a Web Services Tab on the EWS page that opens.
- Press the Continue, Enable, or Turn on button on the Web Services tab. Then users can go through the Web Services setup wizard.
4. Adjust the DNS Settings for the HP Printer
Some users have confirmed they’ve fixed server connection errors by changing the DNS server for the HP printer to Google’s 8.8.8.8 IP address.
To do that, open the Embedded Web Server page as outlined above. Then click Wireless on the left of the Network tab. Select the IPv4 tab, enter 8.8.8.8 as the first DNS there, and click Apply. Then users have configured the printer to utilize Google’s DNS instead of the router’s DNS server.
5. Update HP Printer Firmware
- Firmware updates for some HP printers might also fix the There was a problem connecting to the server error. To update HP printer firmware, open this HP Customer Support webpage.

- Click Printer on the HP Customer Support page to open a search box.
- Enter your HP printer model in the search box, and click the Submit button.
- Then scroll down to and click Firmware on the printer’s page.

- Click Download to save the update printer firmware.
- Then click the downloaded firmware file to open the HP Printer Update window. Note that the printer should be on when updating its firmware.

- Select the checkbox for the HP printer’s serial number.
- Then press the Update button.
6. Run the HP Print and Scan Doctor
HP Print and Scan Doctor is a utility that can fix HP printer connectivity issues. So, that might also come in handy for resolving the There was a problem connecting to the server error. Users can run the HP Print and Scan Doctor as follows.
- Click Download Now on the HP Print and Scan Doctor page to download that software.
- Then click HPPSdr.exe to open the HP Print and Scan Doctor window.
- Click Start and select your HP printer.
- Press the Next button.
- Select Fix Scanning if the There was a problem connecting to the server error arises when trying to scan.

- The utility might then automatically fix some detected issues. However, follow the guidelines provided if it provides further resolutions for issues.

Some of the resolutions listed above could feasibly resolve the There was a problem connecting to the server error so that users can utilize HP’s web-printing services. For further fixes, HP users can sign in to HP Customer Support.
Read our disclosure page to find out how can you help Windows Report sustain the editorial team. Read more


Improve this guide


User forum
1 messages