Project Playtime Failed to Connect to Server: How to Fix It?
Explore these easy fixes to resolve the problem
Key notes
- This error on Project: Playtime is often caused by a slow internet connection or server outages.
- A few tweaks in your computer settings or changing the DNS can help you fix this issue.
- Also, you can add the game to the whitelist of your security program to resolve this annoying issue.

Project: Playtime, a free-to-play multiplayer horror game, has been praised since its launch. However, like other games, it is also not free from bugs and errors.
Many users have reported getting Failed to connect to the server. In addition, your progress may not load or save correctly on Project: Playtime when trying to launch the game.
This guide will discuss the reasons for the issue and different ways to fix the problem. Let’s get started!
What causes the Project: Playtime failed to connect to server error?
There can be various reasons why you get this error. We have listed some of the most popular ones:
- Network issues – To play the game seamlessly, you need a steady internet connection. If your internet is shoddy, you might get this error while accessing Project: Playtime.
- Server outages – If the game server is down due to maintenance or technical issues, you might get the error.
- Firewall blocking the connection – Your firewall or antivirus tool might be blocking the connection to the server. It is recommended to add the game to the allowlist of the software.
- Cache & cookies – If your browser has an old cache and cookies, these could also cause prevent you from accessing the server. Try clearing the browser cache.
- Problem with the device – If the game works fine on a different computer, your PC might be the problem.
How to fix Project: Playtime failed to connect to the server?
Perform the following preparatory checks to ensure that the error is not a result of fundamental issues which may require only subtle tweaks:
- Restart your computer, router, and modem.
- Check minimum system requirements for the game.
- Check if there is any update for the app.
- Try accessing the server from a different device.
- Check your internet connection.
If these fixes didn’t work for you, let us dive into the troubleshooting methods to resolve the issue:
1. Check server status

To server status for Project: Playtime, you must check its Twitter page. The developers post all the updates related to the server and bug fixes on Twitter. So if the server is down, they will post there to notify the gamers.
2. Disable IPv6
- Press Windows + R to open the Run window.

- Type ncpa.cpl and hit Enter to open Network Properties.
- Go to active connection, right-click it and select Properties.

- Now from This connection uses the following items section, locate and uncheck Internet Protocol Version 6 (TCP/IPv6).

- Click OK to confirm.
3. Use Google DNS
- Press Windows + R to open the Run window.
- Type ncpa.cpl and hit Enter.
- Right-click on active connection and select Properties.
- Now from This connection uses the following items section, locate and double-click Internet Protocol Version 4 (TCP/IPv4).

- Select Use the following DNS server addresses and type 8.8.8.8 and 8.8.4.4 as Preferred DNS server and Alternate DNS server, respectively.

- Click OK and then OK.
4. Flush DNS
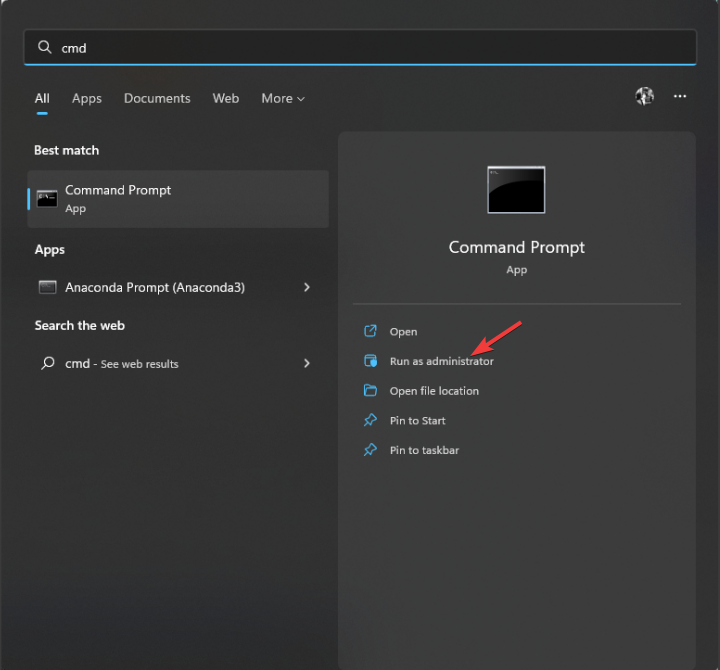
- Press the Windows key, type CMD, and click Run as administrator.
- Type the following command and press Enter:
ipconfig/flushdns - Restart your PC.
5. Verify the integrity game files
- Launch Steam and click Library.

- Scroll through the games list, select and right-click Project: Playtime
- Select the Properties option.
- Go to Local Files, and click on Verify Integrity of games files button.

- The process might take a while to complete. Once done, relaunch the game to see if the issue persists.
6. Allow the app through the Firewall
- Press Windows + I to get Settings.
- Go to Privacy & security, and click Windows Security.

- Now click Firewall & network protection.

- Click Allow an app through firewall link.

- On the next window, click the Change Settings button and then click Allow another app.

- Click Browse.

- Scroll through the list, select the app, and click Open.
- Click Add.

- Now, click OK to complete the process.

7. Contact Project: Playtime support
If none of the suggested troubleshooting methods worked for you, then you need to contact Project: Playtime support for assistance. Explain the whole situation and all the troubleshooting steps you have used. They might help you with additional troubleshooting or inform you of the issues from their side.
So, these are the steps you need to follow to fix Project: Playtime failed to connect to a server error. Try them and let us know which worked for you in the comments below.
Read our disclosure page to find out how can you help Windows Report sustain the editorial team. Read more


Improve this guide


User forum
0 messages