Repair All DirectX Errors Easily: Updated Steps That Work In 2026
Keeping your OS updated is good prevention against DirectX errors

Struggling with DirectX errors on Windows 11? Outdated drivers, corrupted files, or even bugs can cause issue with these APIS.
Today, we’ll show you how to end all errors so you can use DirectX to enhance video playback, gaming, and media production.
We’ll tell you all about what causes errors in the first place, but first, let’s fix them:
How do I fix DirectX errors on Windows 11?
1. Checking the DirectX version
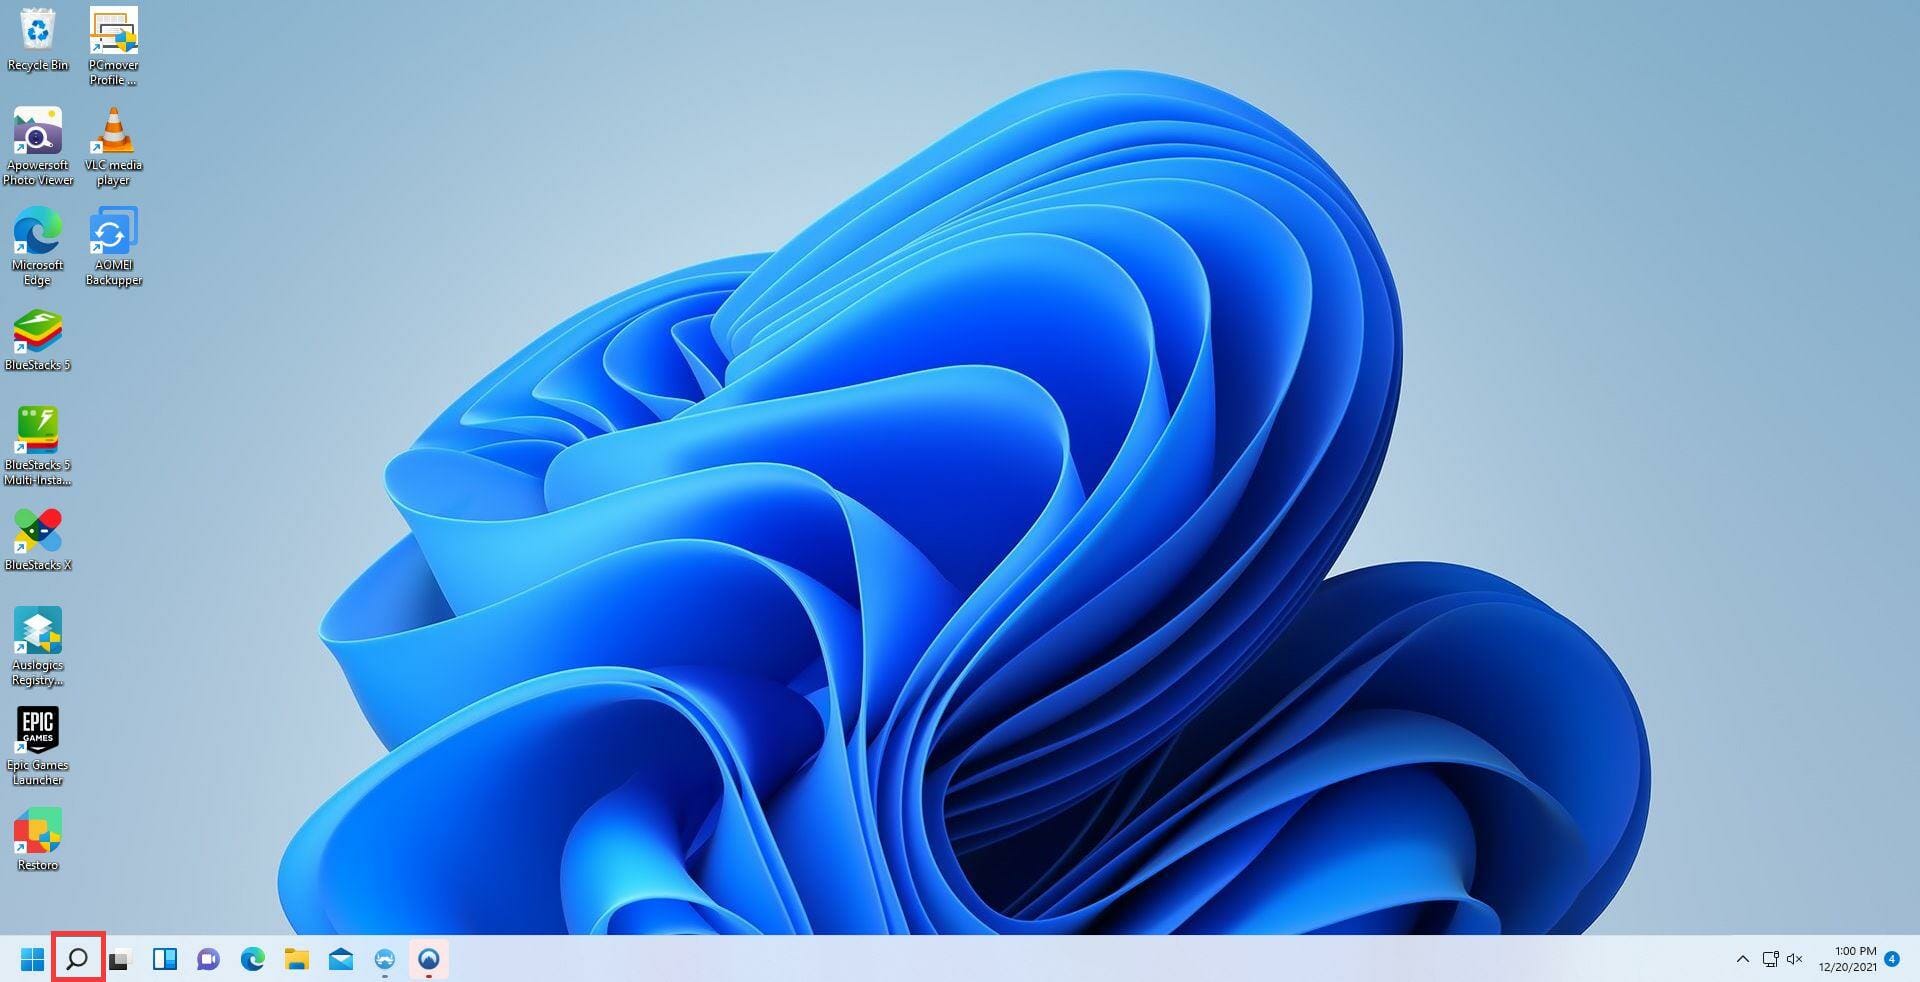
- Click on the magnifying glass icon on the bottom taskbar to bring up the Search bar.
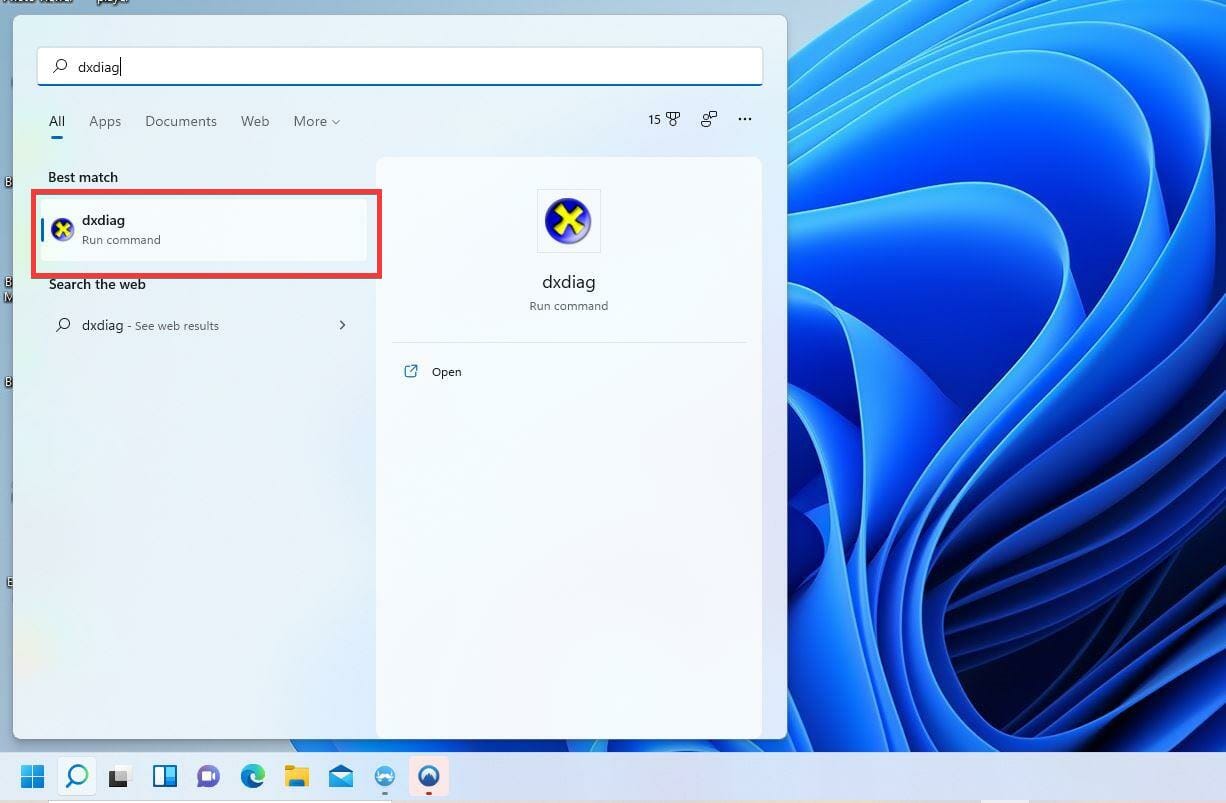
- Type dxdiag and click on the first entry you see to run the DirectX Diagnostic Tool.
- Underneath the System tab, you will see which version of DirectX is installed on your computer.
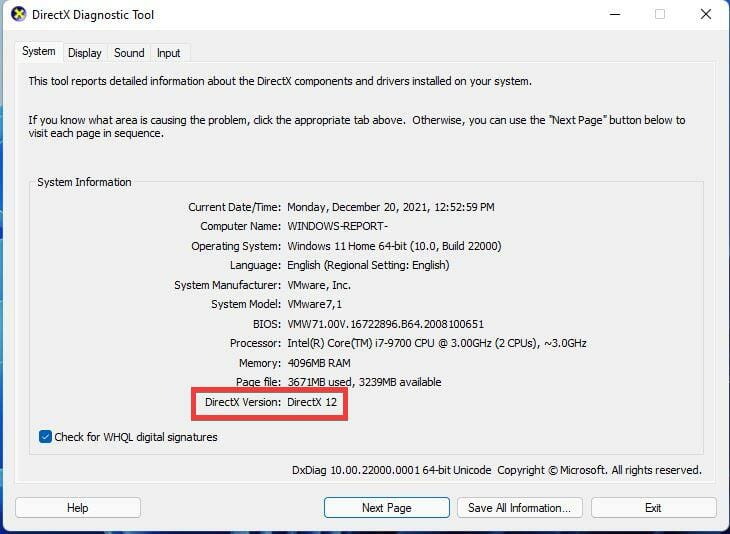
- As you can see in this example, this computer has DirectX 12. If you don’t have this version or DirectX 12 Ultimate installed, we recommend that you download the latest version from Microsoft.
2. Download the latest version of DirectX
- On your preferred search engine, search for Download DirectX 12 and click the first entry you see. This will begin the download automatically.

2. You’re going to download the dxwebsetup.exe file. Click Open file.

3. A small window will appear asking if you want to make changes. Select Yes.

4. An installation wizard will appear to guide you. Select I accept the agreement.

5. Click Next in this next window. You’re also given the option to install the Bing bar. We recommend that you deselect this option to save your computer space.

6. At this point, DirectX 12 will begin downloading and installing.

7. As soon it’s done installing, click Finish.

8. Go back to the DirectX Diagnostic Tool and double the version for good measure.
You can rely on the next method that will most probably fix the DirectX error on Windows 11 by getting the latest version of the program.
3. Using Device Manager
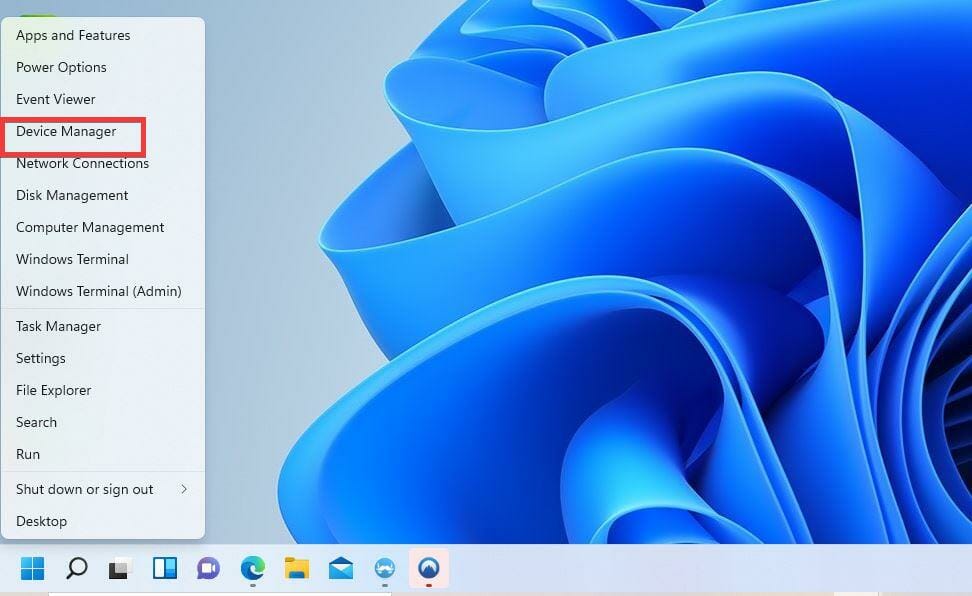
- Right-click on the Start button.
- Select Device Manager and open the tool.
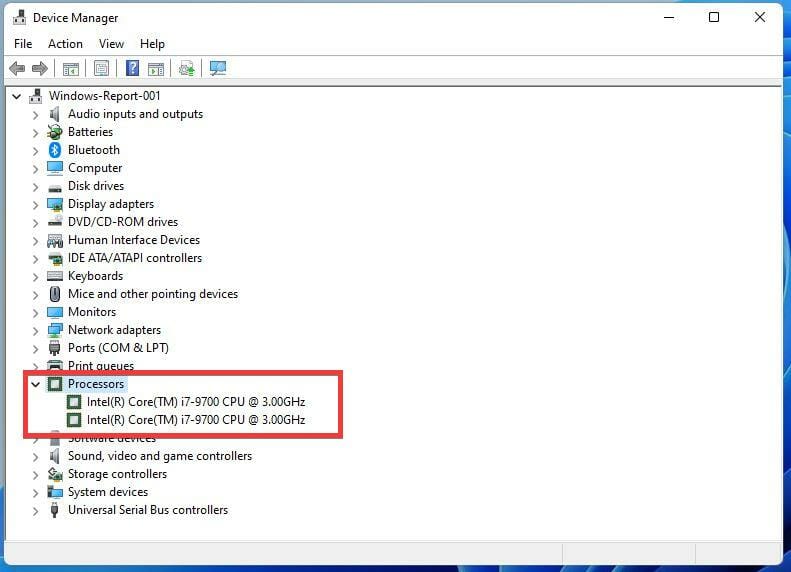
- Identify which driver you want to update. For example, in this guide, we will select to update the drivers for the computer’s processors.
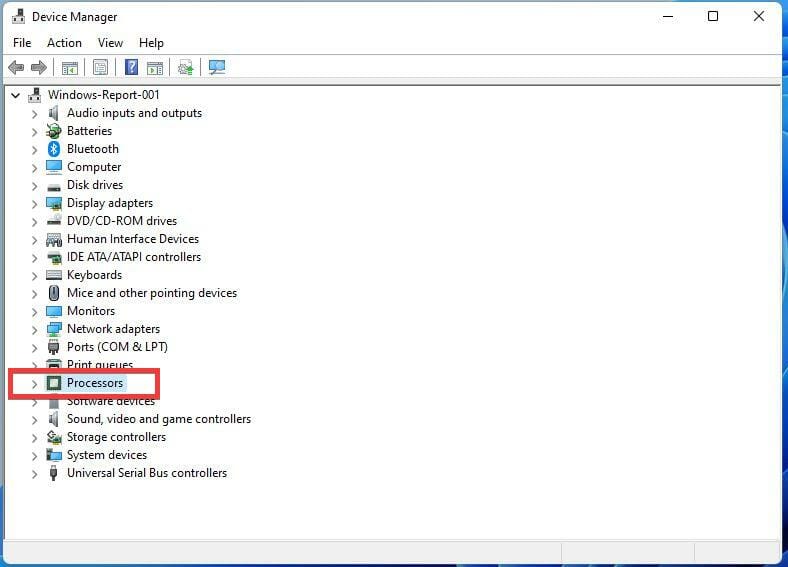
- Click on the arrow to expand.
- Please select the driver you want to update and right-click it. Then choose Update driver.
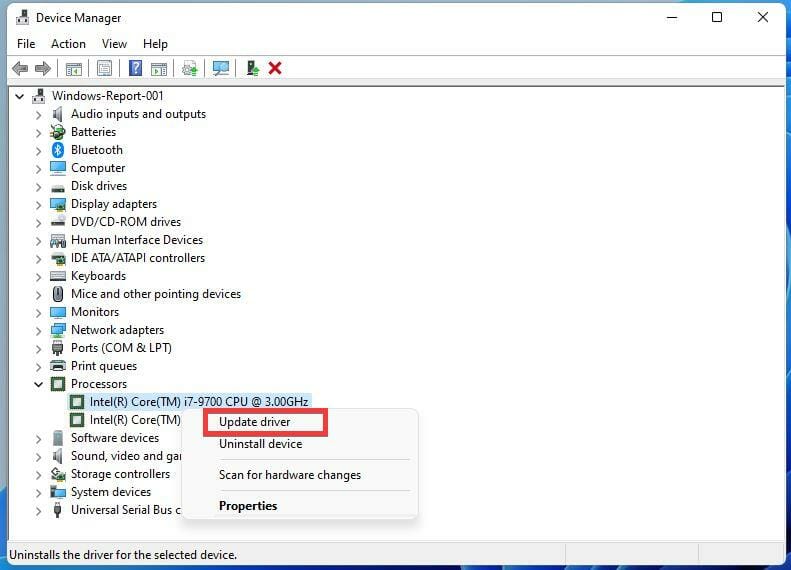
- A wizard will appear to give you an option on how you want to update the drivers. We recommend that you select Search automatically for drivers.

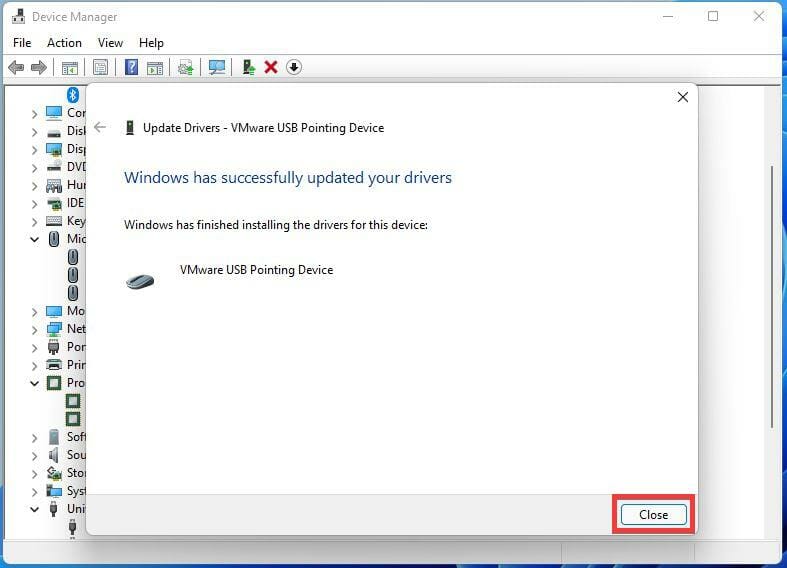
- If an update is found, Windows 11 will automatically download and install it. If there’s no update, you’ll get this screen.
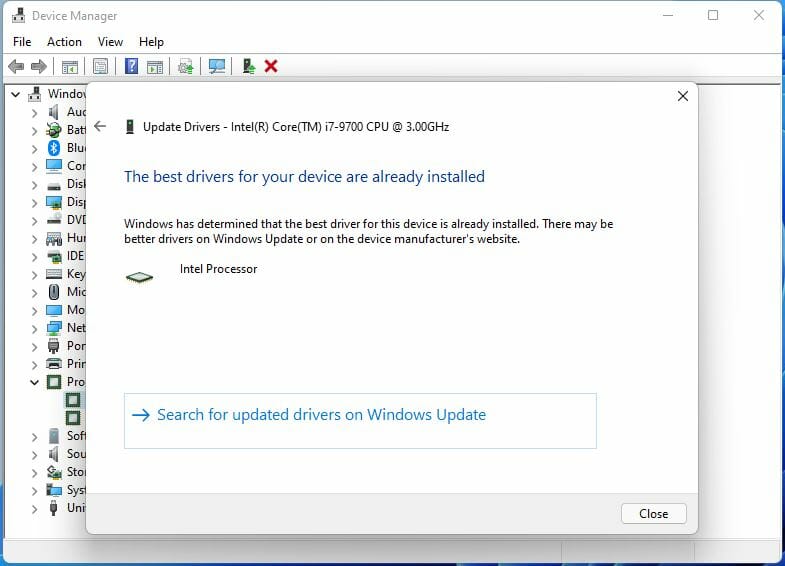
- After the driver has been successfully updated, select Close.
If that does not work, we recommend trying a specialized driver updater tool, which will scan your PC for missing or outdated drivers and prompt you to update them.
4. Checking for Windows Updates
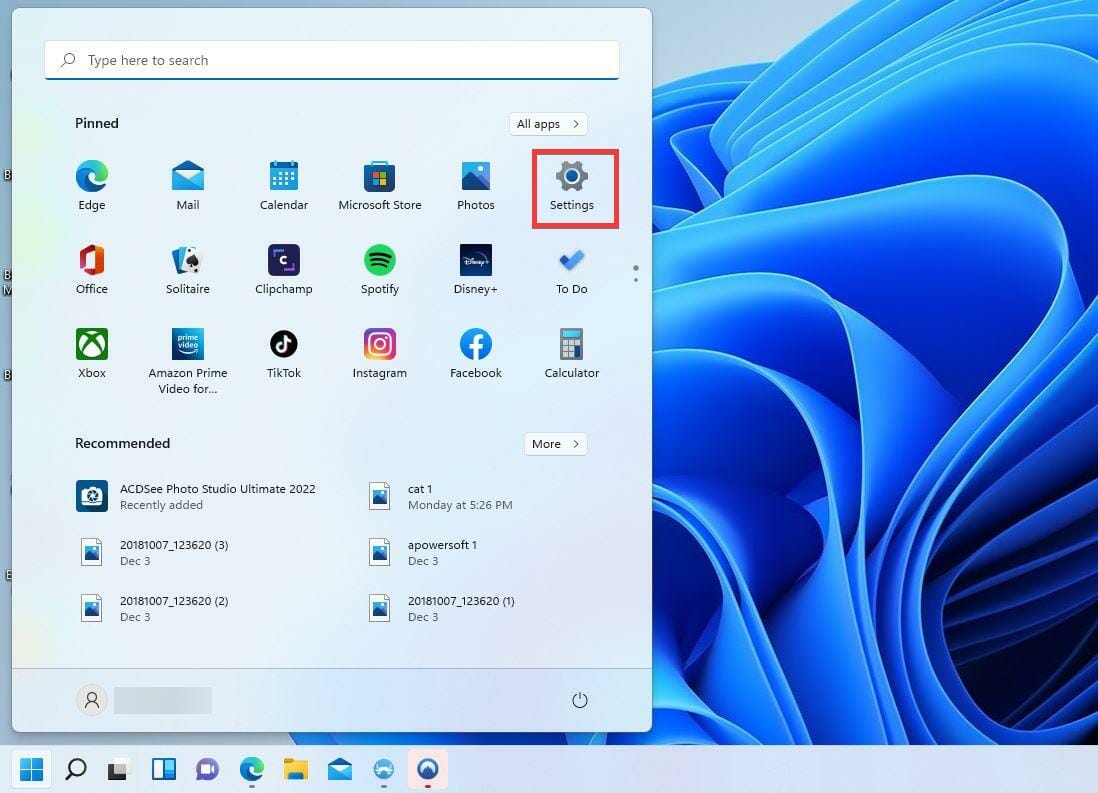
- Click on the Start button and select the Settings icon.
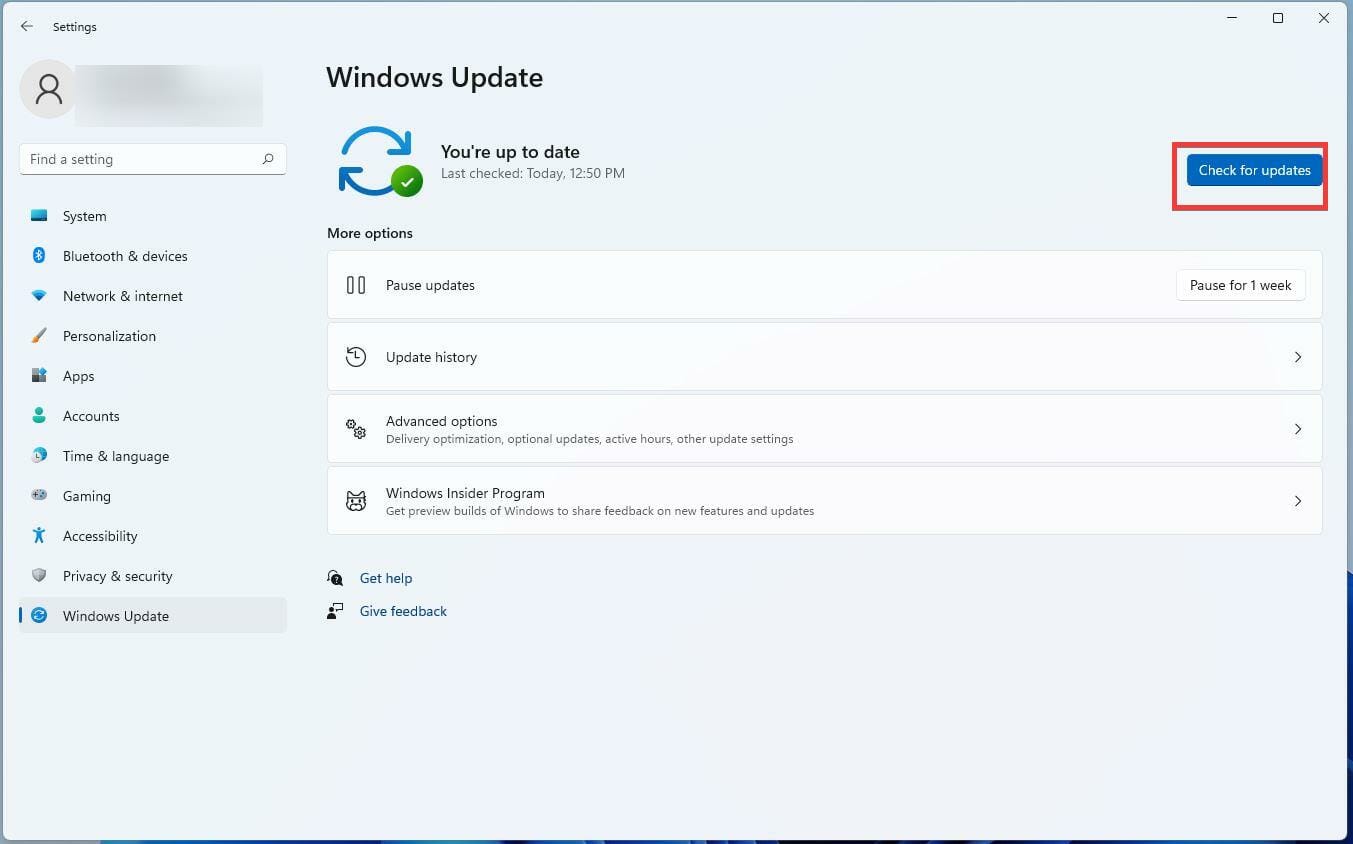
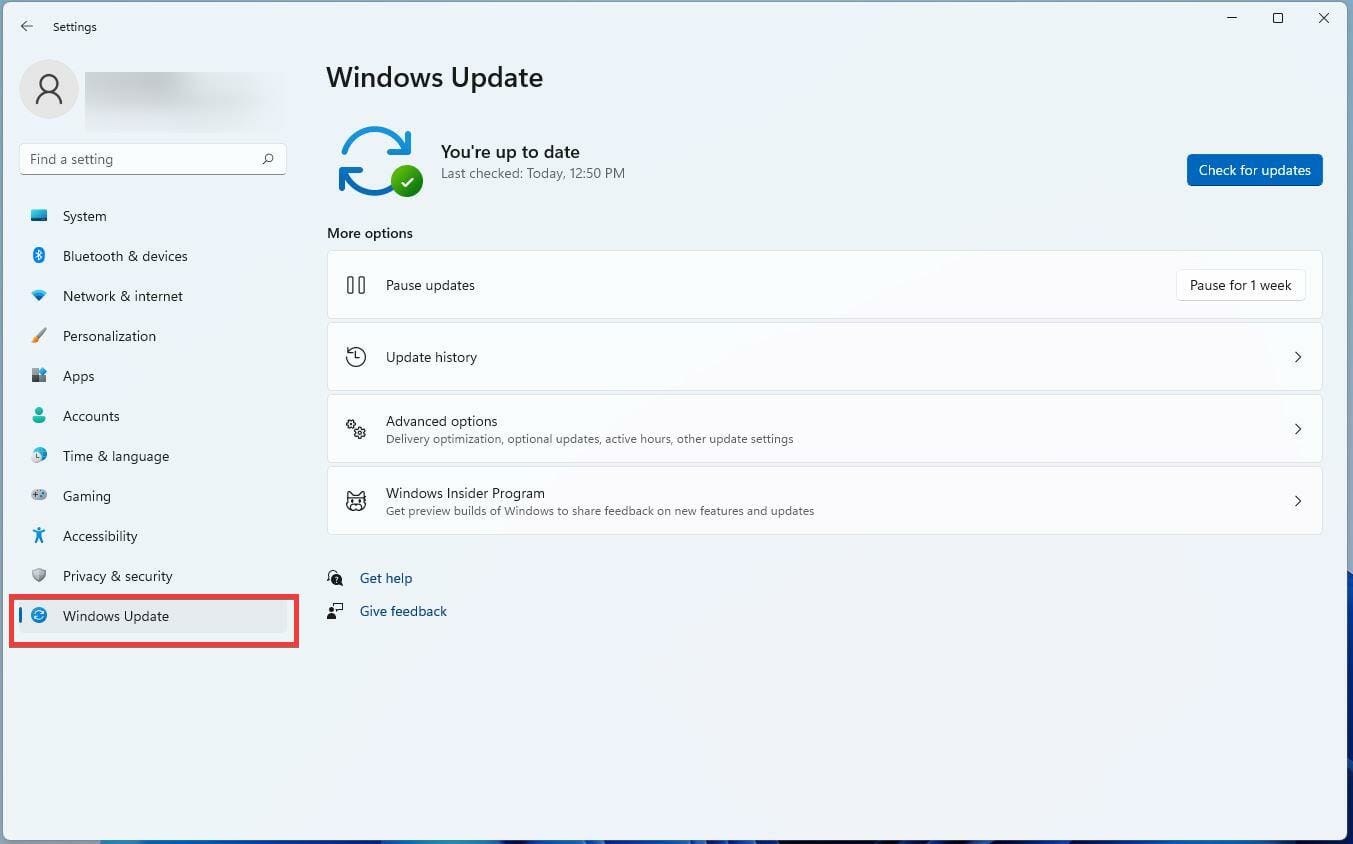
- Click on Windows Update on the left.

- Select Check for updates to have Windows 11 download and install any updates, including drivers.
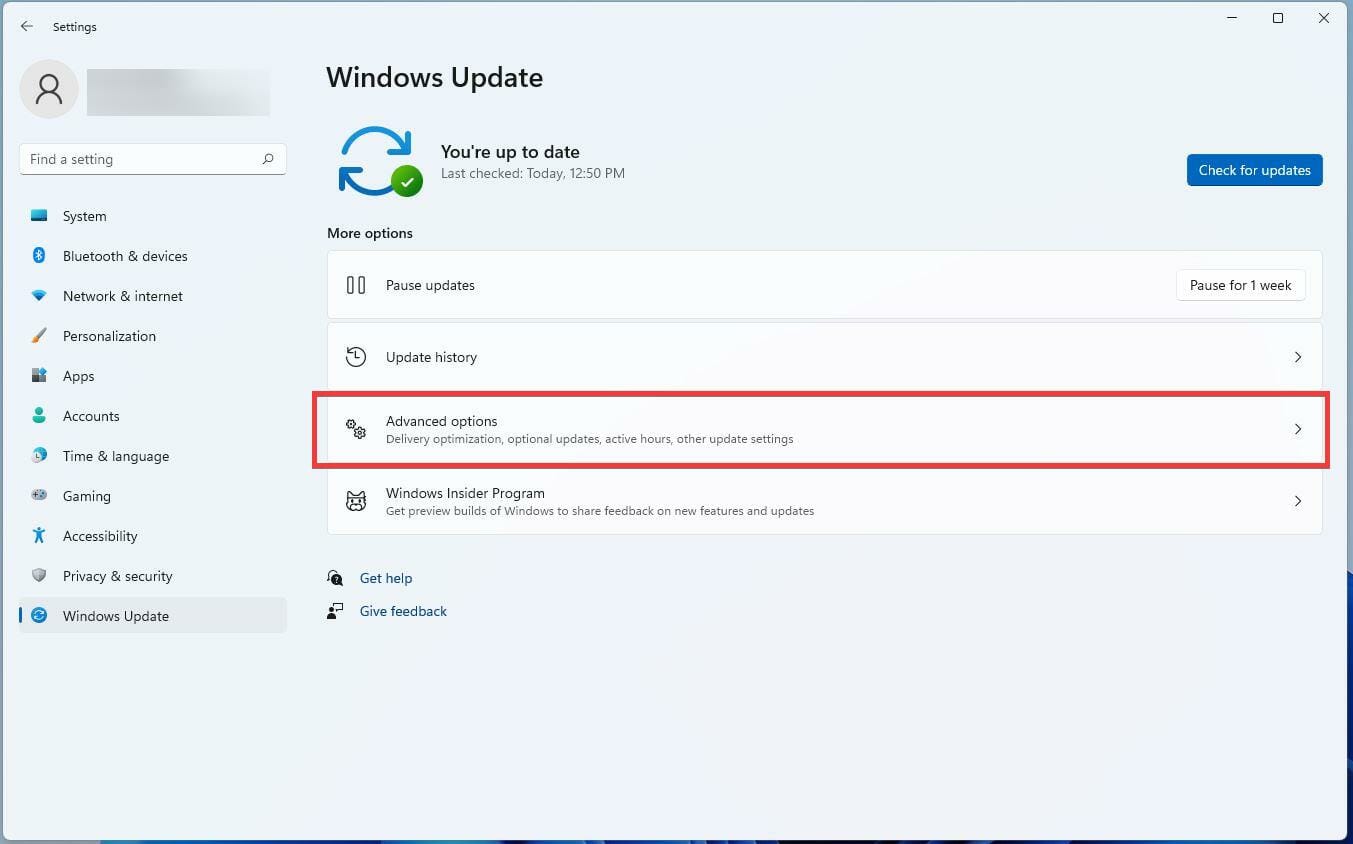
5. Installing optional updates
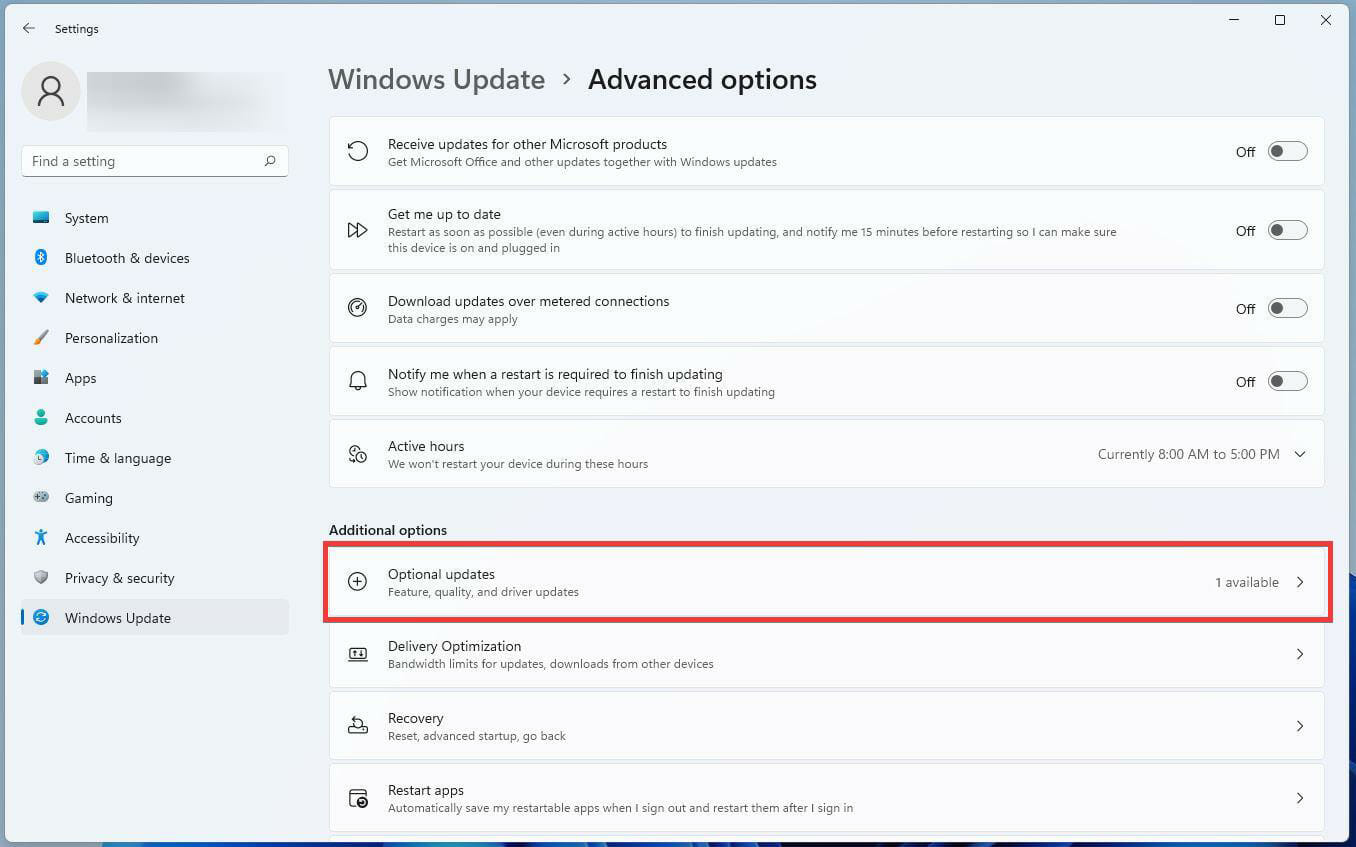
- Some driver updates may be considered optional by Windows 11. However, if you’re still experiencing DirectX issues, download the optional updates by clicking on Windows Update in the settings menu.
- Select Advanced options.
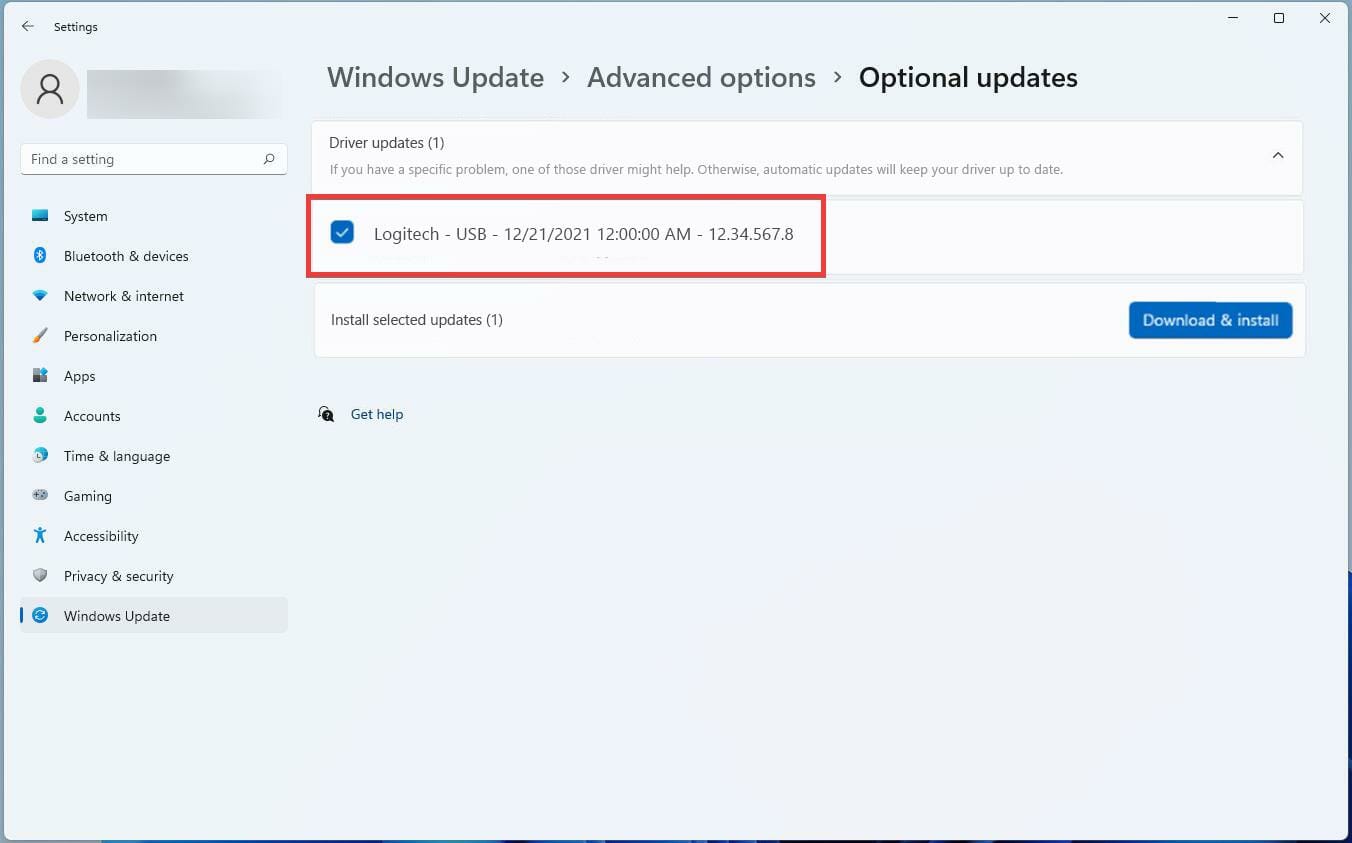
- Under Additional options, select Optional updates.
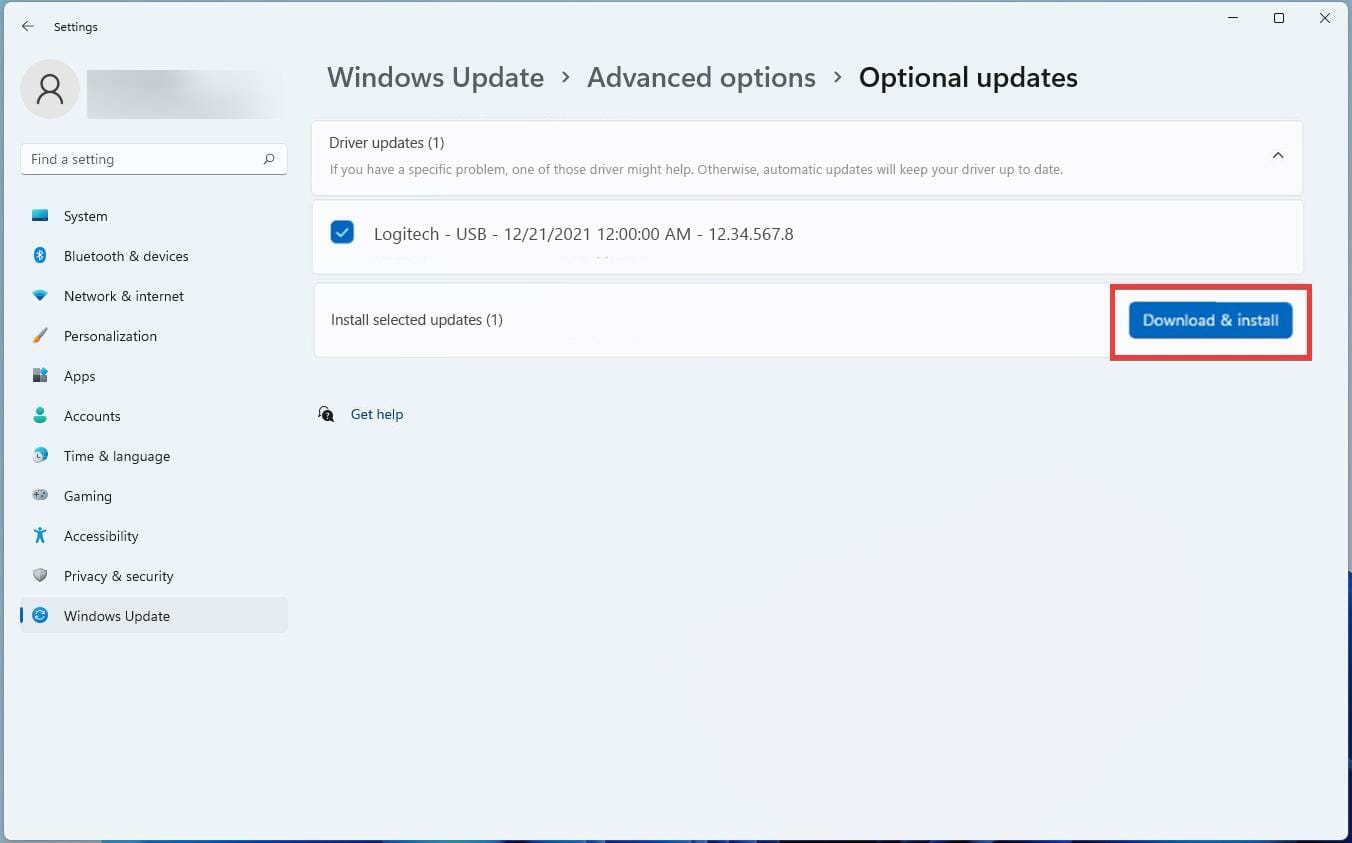
- In the next window, click the Driver updates drop-down menu and select the optional update you want to install.
- Then select the blue Download & install button.
 NOTE
NOTE
6. Disable third-party apps and startup services
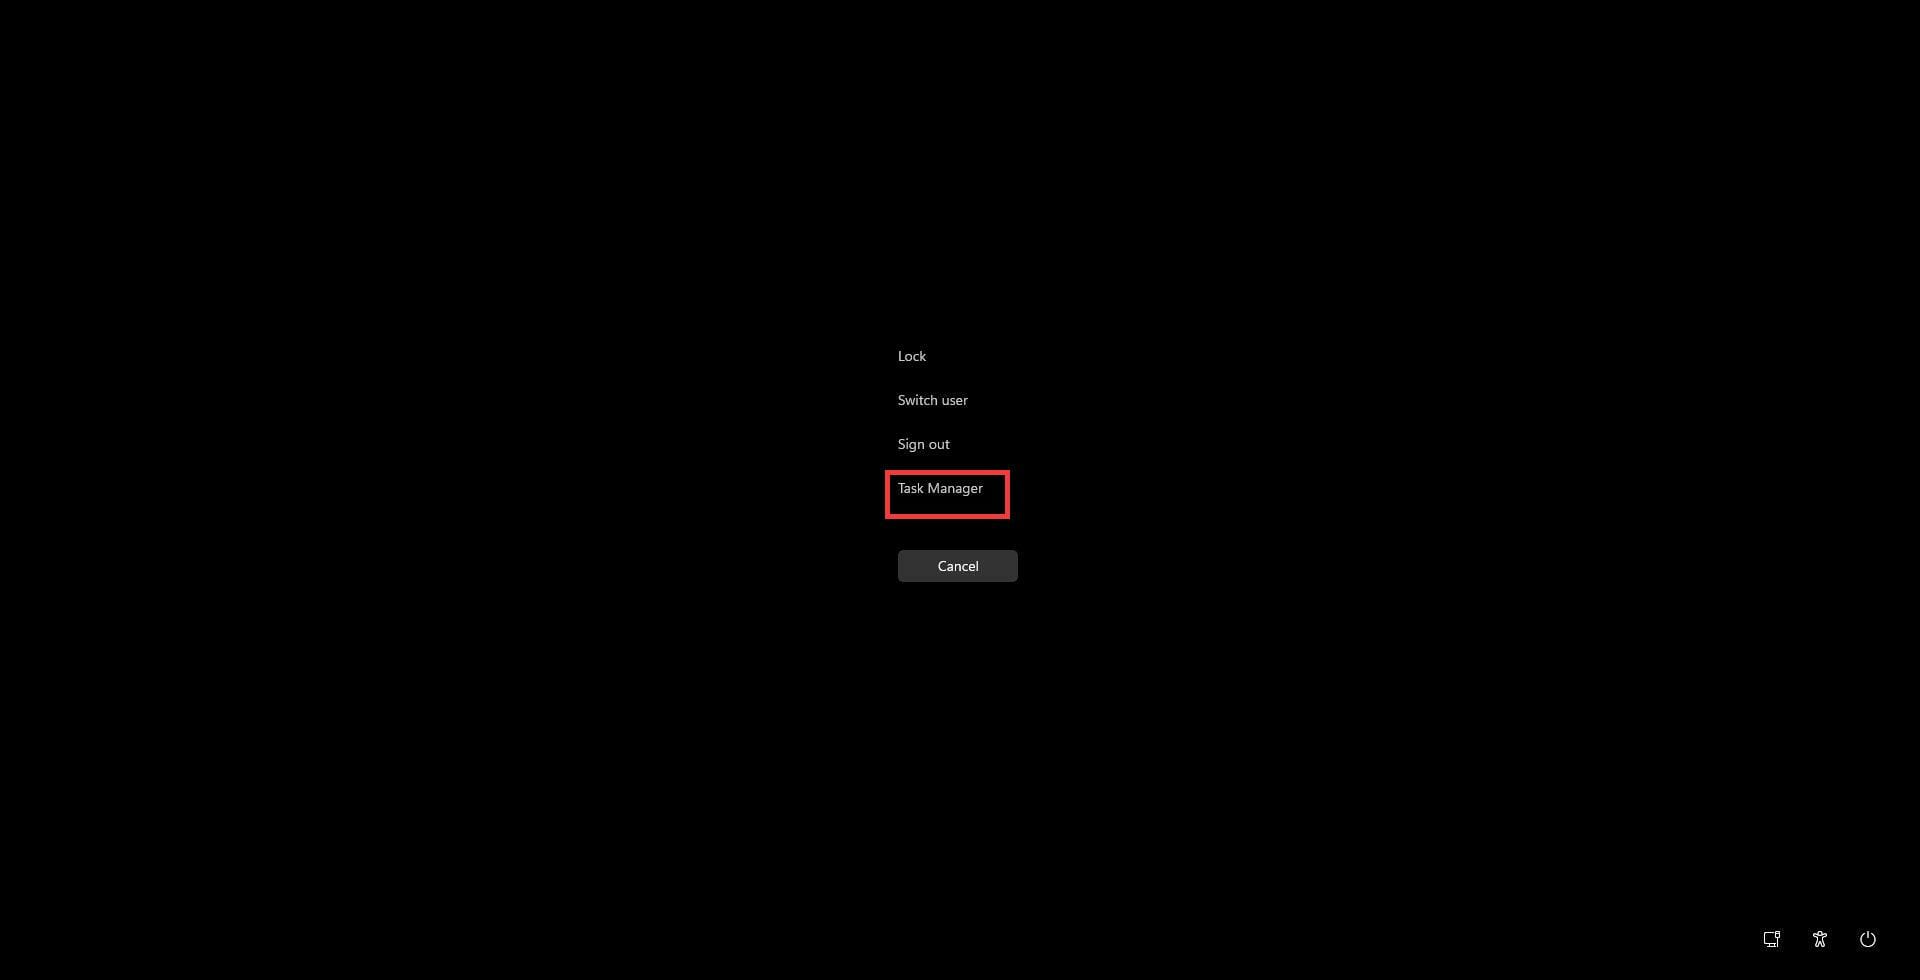
- Press the Ctrl + Alt + Del keys on your keyboard.
- Click Task Manager to open the Task Manager window.
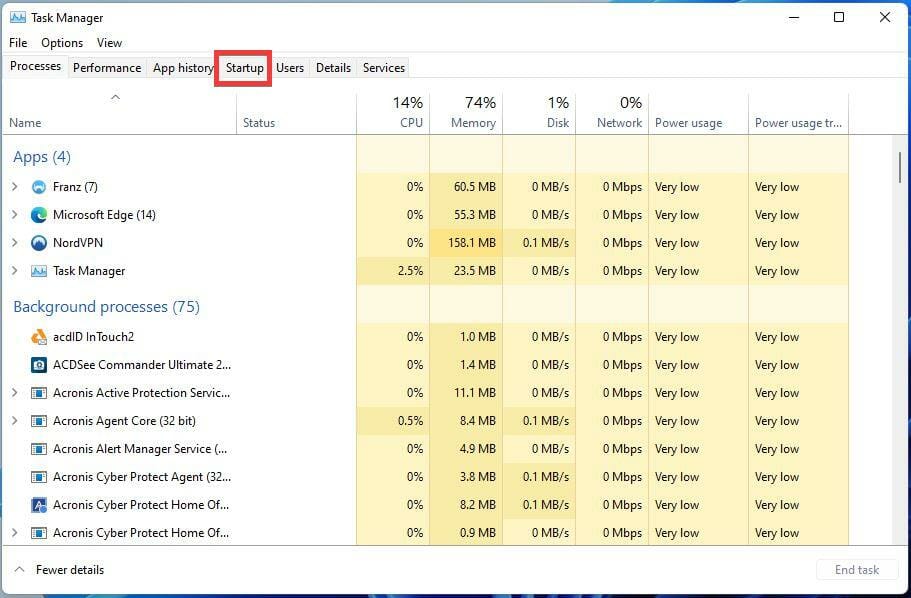
- Click on the Startup tab.
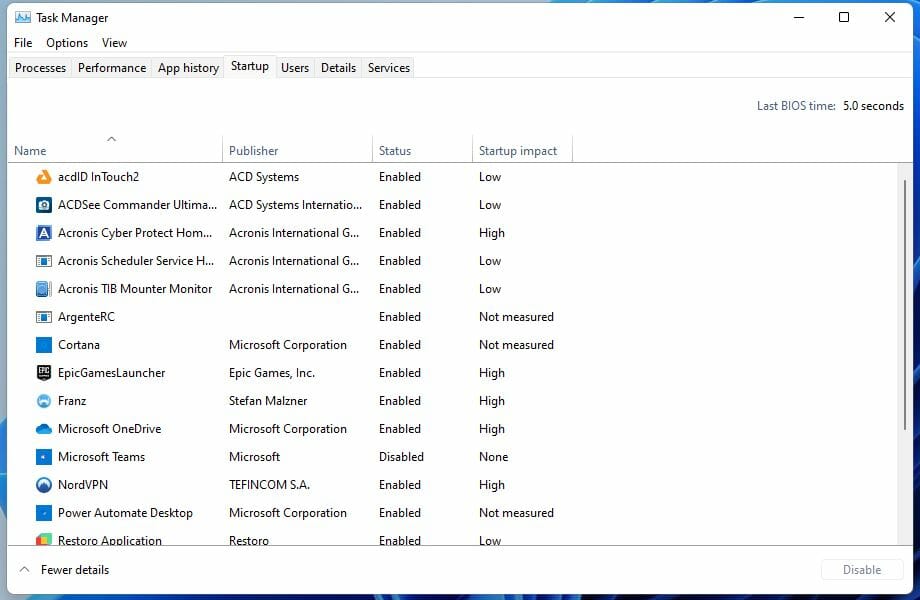
- Here, you will find a list of apps and services that run on startup; they can slow down your PC and conflict with other programs.
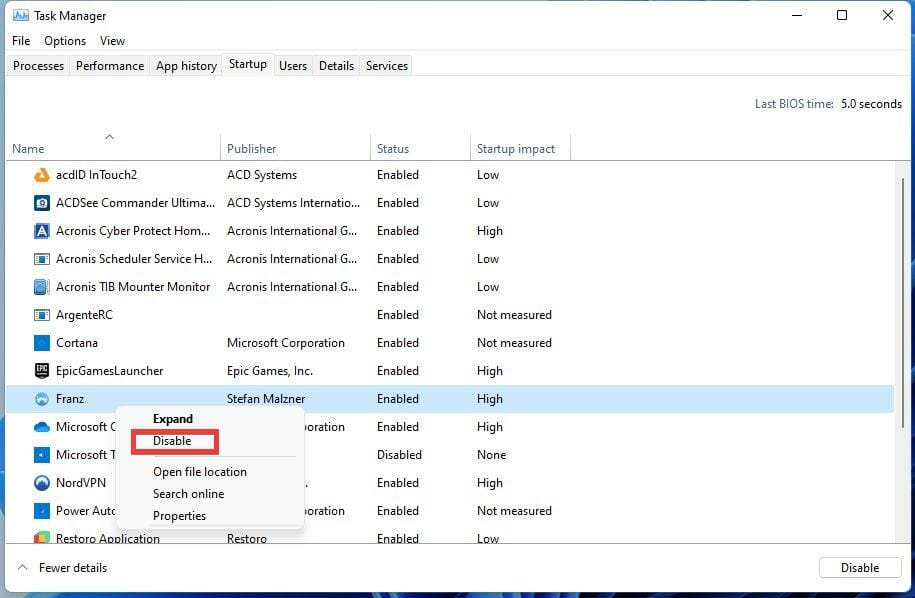
- Right-click a service and then select Disable.
- Check to see if DirectX works now. If it works, the app or service you disabled was the culprit.
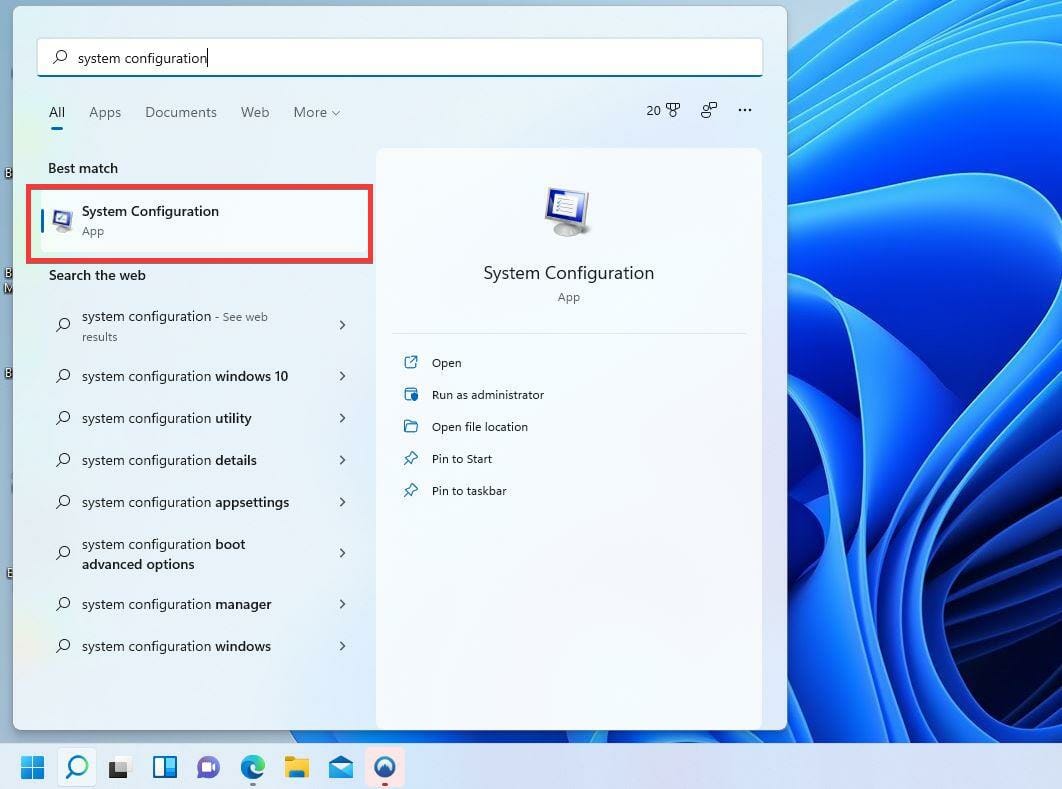
- If you want further control over a broader range over which startup services are activated, open the search bar and type in System Configuration.
- Select the first entry you see.
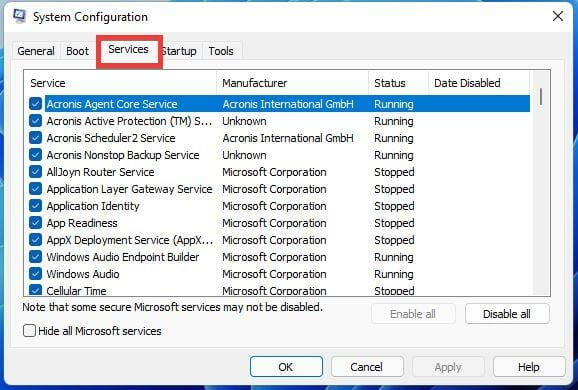
- Go to the Services tab, and you will see all of the background services currently running on your PC.
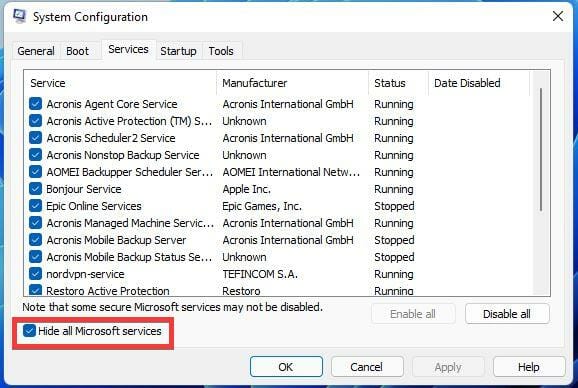
- Tick off the Hide all Microsoft services checkbox to remove them.
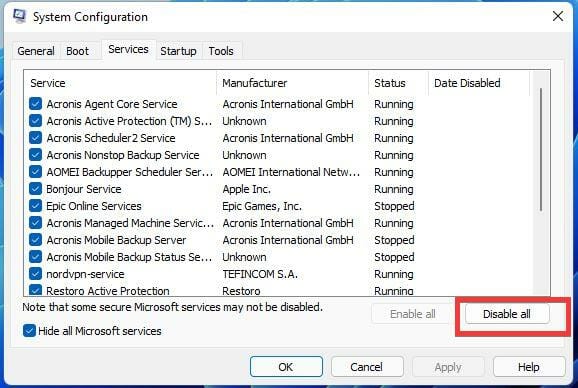
- Select Disable all to shut down all these processes. This is not permanent, as you can return and enable them back on.
- Hit the Apply button.
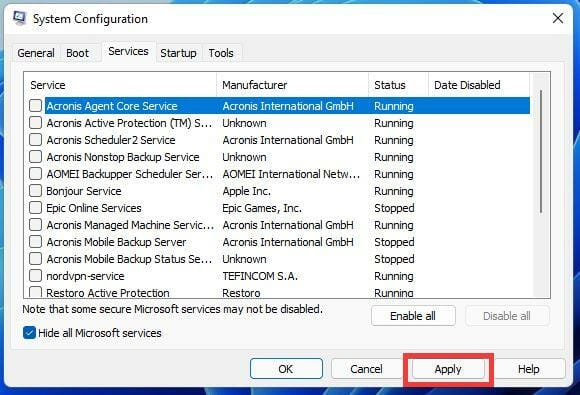
- Restart your PC and see if DirectX works. If it is, then one of these services caused the problem.
- You should enable them one by one, so you can find the problematic app.
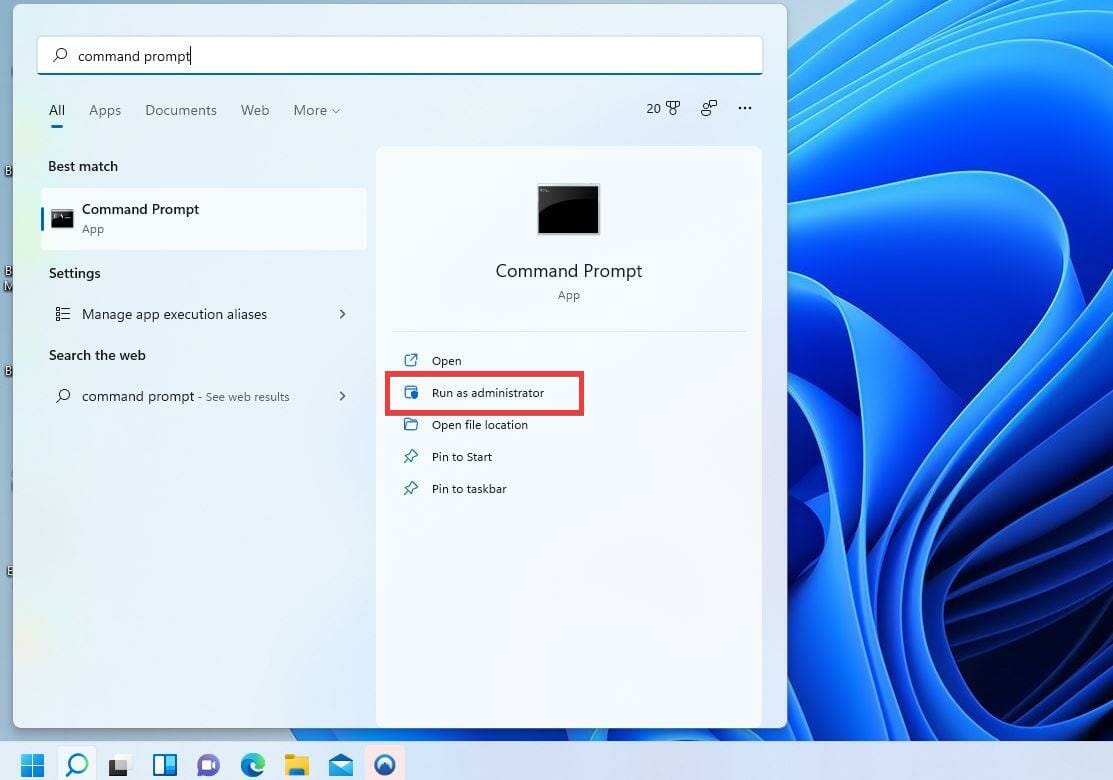
7. Run command prompt
- In the search bar, type in command prompt.
- Select Run as administrator.
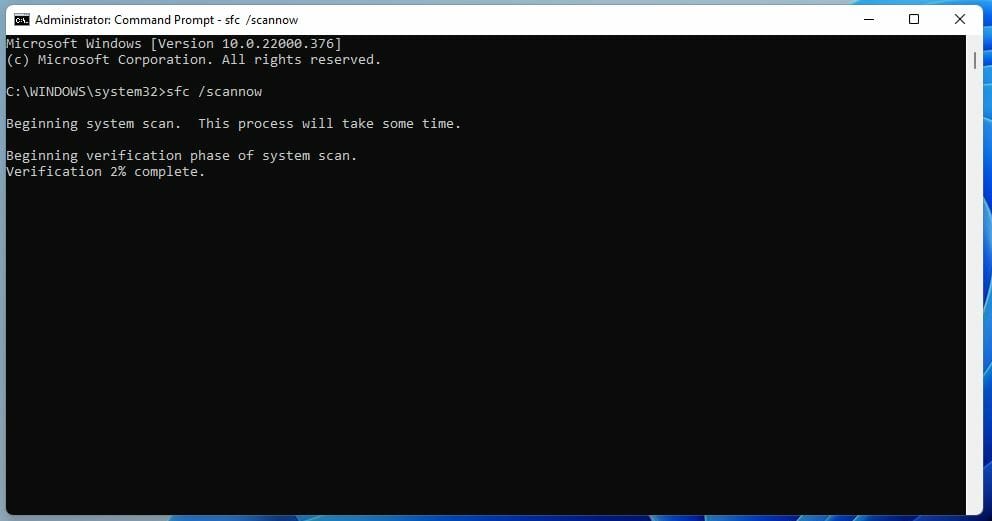
- Enter the command below and hit Enter.
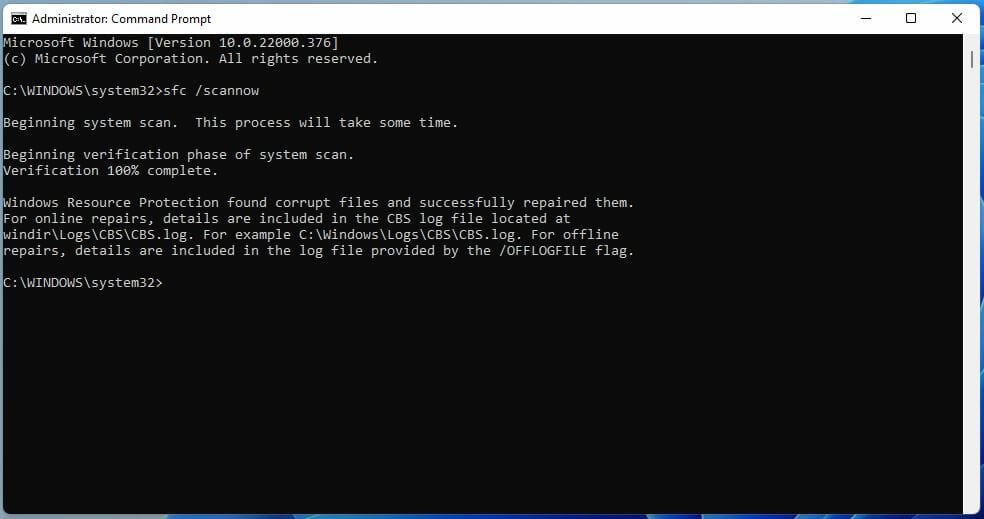
sfc /scannow - System File Check will scan Windows 11 and verify each file. This will take some time.
- Once the scan is complete, all of your system files will have been checked and repaired.
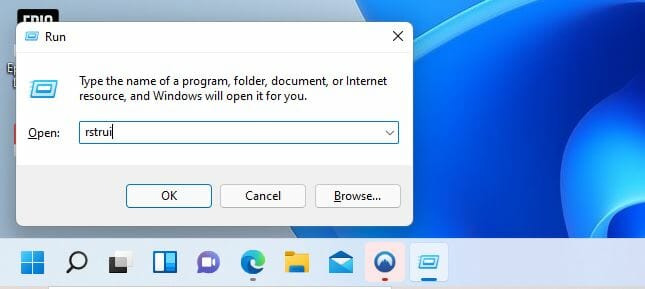
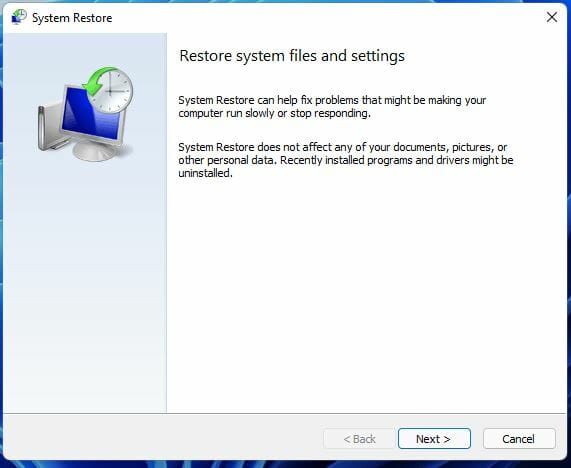
8. Perform a system restore
- Press the Windows key + R to bring up the Run dialog.
- In the dialog box, type rstruit, then hit Enter to open the System Restore wizard.
- In the System Restore wizard, click Next.
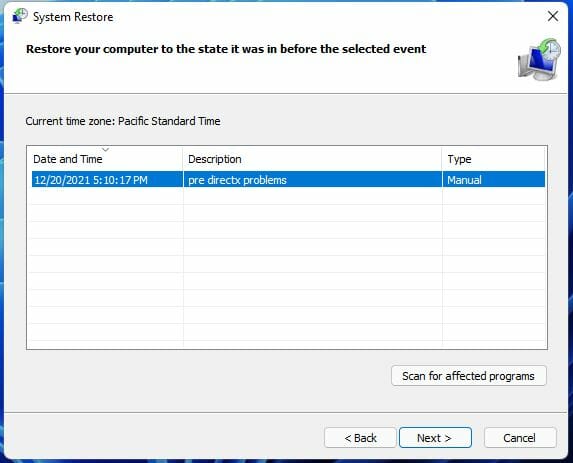
- The following window will show you the restore point currently available. Select the restore point and hit Next.
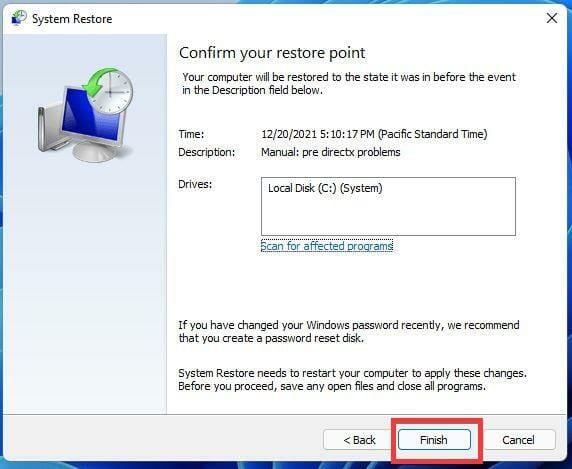
- Hit Finish, and the computer will revert to the point when DirectX worked or before the problems started.
NOTE
What causes a DirectX error?
By and large, DirectX is updated automatically, so there are rarely any issues, but sometimes there’s that odd moment where you’ll encounter an error. Sometimes your drivers aren’t up to date, or there’s a glitch, or something got corrupted along the way.
There is a myriad of reasons why DirectX won’t work for you. Here are a few of the most common ones:
- Antivirus or PC boosters – They may often prevent your game from starting correctly, resulting in the DirectX error.
- Corrupted game files – Your game files can be damaged, or essential files might have been destroyed. You may either attempt to fix the game or uninstall it and install a new copy.
- Unexpected bugs – This error may occasionally appear in games or on your computer due to a random bug. In such cases, restart your computer and attempt to launch the game once more.
Errors associated with DirectX come in different forms; a few include:
- DirectX encountered an unrecoverable error in windows 11
- DirectX error in Warzone
- The DirectX internal system error in windows 11
- DirectX runtime error in windows 11
- DirectX not installing in Windows 11
How do I enable DirectX on Windows 11?
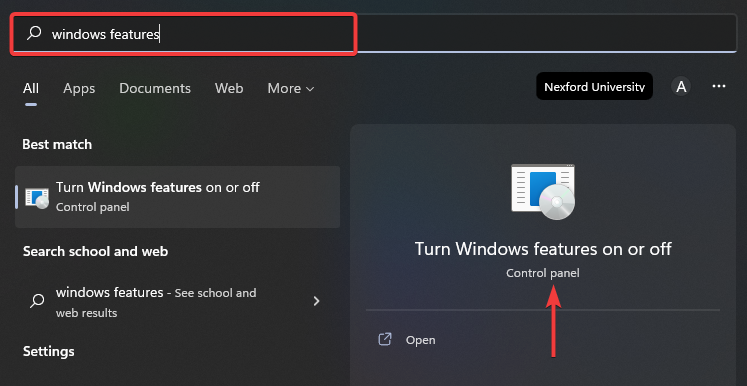
- Open the search menu, type Windows features, and select the Turn Windows features off or on option.
- Expand the Legacy Components option, then select DirectPlay, and click OK.
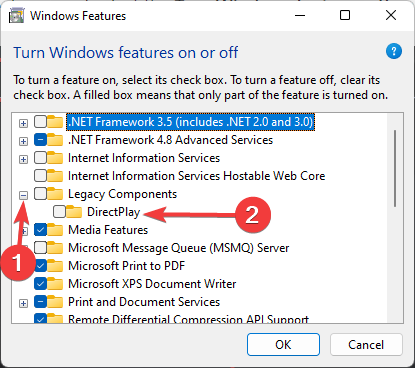
- Now you should have DirectX enabled.
How to reinstall DirectX Windows 11?
To reinstall DirectX in Windows 11, you only have to follow the steps in Solution 2: Download the latest version of DirectX.
With the steps above you should be able to fix common DirectX errors such as dxerror.log and directx.log in Wwindows 11.
Remember, it’s essential to ensure your Windows 11 stays healthy, free of any corrupted files or malware slowing everything down. Because of this, it’s recommended that you download PC Health Check to test your system and ensure it stays healthy.
Also, you should update to Windows 11 DX12 for the next experience using the tech. For older games, check for DirectX 9 graphics card compatibility.
Need help getting started? Here’s how to download DirectX 12 on Windows 11 and enable it properly if it’s not already active. If you’re running into issues, you can always reinstall DirectX 12 for a fresh start.
Feel free to comment below if you have questions about other Windows 11 problems or bugs. And leave comments about the most relevant solutions.
Read our disclosure page to find out how can you help Windows Report sustain the editorial team. Read more


Improve this guide


User forum
0 messages