Fix a Realtek Audio Driver That Keeps Reinstalling [5 Ways]
The Realtek driver problem may be caused by corrupt system files
4 min. read
Updated on
Read our disclosure page to find out how can you help Windows Report sustain the editorial team Read more
Key notes
- One possible reason Realtek audio driver keeps reinstalling is that the driver itself has flaws, and as a result, Windows is continuously attempting to correct them.
- To halt the Realtek audio driver reinstalling loop, you can stop Windows from automatically installing drivers.
Since Microsoft introduced automatic driver updates, there’s been a surge in the number of complaints about driver-related issues from users.
One such is a Realtek audio driver that keeps reinstalling. Attempting to install Realtek audio driver leads to an infinite uninstall/install cycle. If this is the case with you, your solution is here.
Why does Realtek audio driver keep reinstalling on my PC?
There could be a number of reasons Realtek audio driver keeps reinstalling such as:
- Corrupt Realtek driver: If there are errors within the Realtek driver, Windows tries to fix it by automatically reinstalling it.
- Missing Realtek system file: A broken or corrupt system file can also trigger Windows to keep reinstalling Realtek driver.
- Outdated driver: Not using the latest version of Realtek might also lead to continuous reinstallation.
Whatever causes Realtek audio driver to keep reinstalling, you can resolve the issue with the methods enlisted below.
How can I stop a Realtek audio driver that keeps reinstalling?
Before you start using the methods below, there are some preliminary checks you can perform that might help fix the problem:
- Do not hesitate to update to the latest Windows version.
- Restart your PC. Corrupt or broken system files can prevent restarting your PC, yet we have some solutions for that as well.
If any of that didn’t stop Realtek audio driver from reinstalling, then you can proceed to the main fixes.
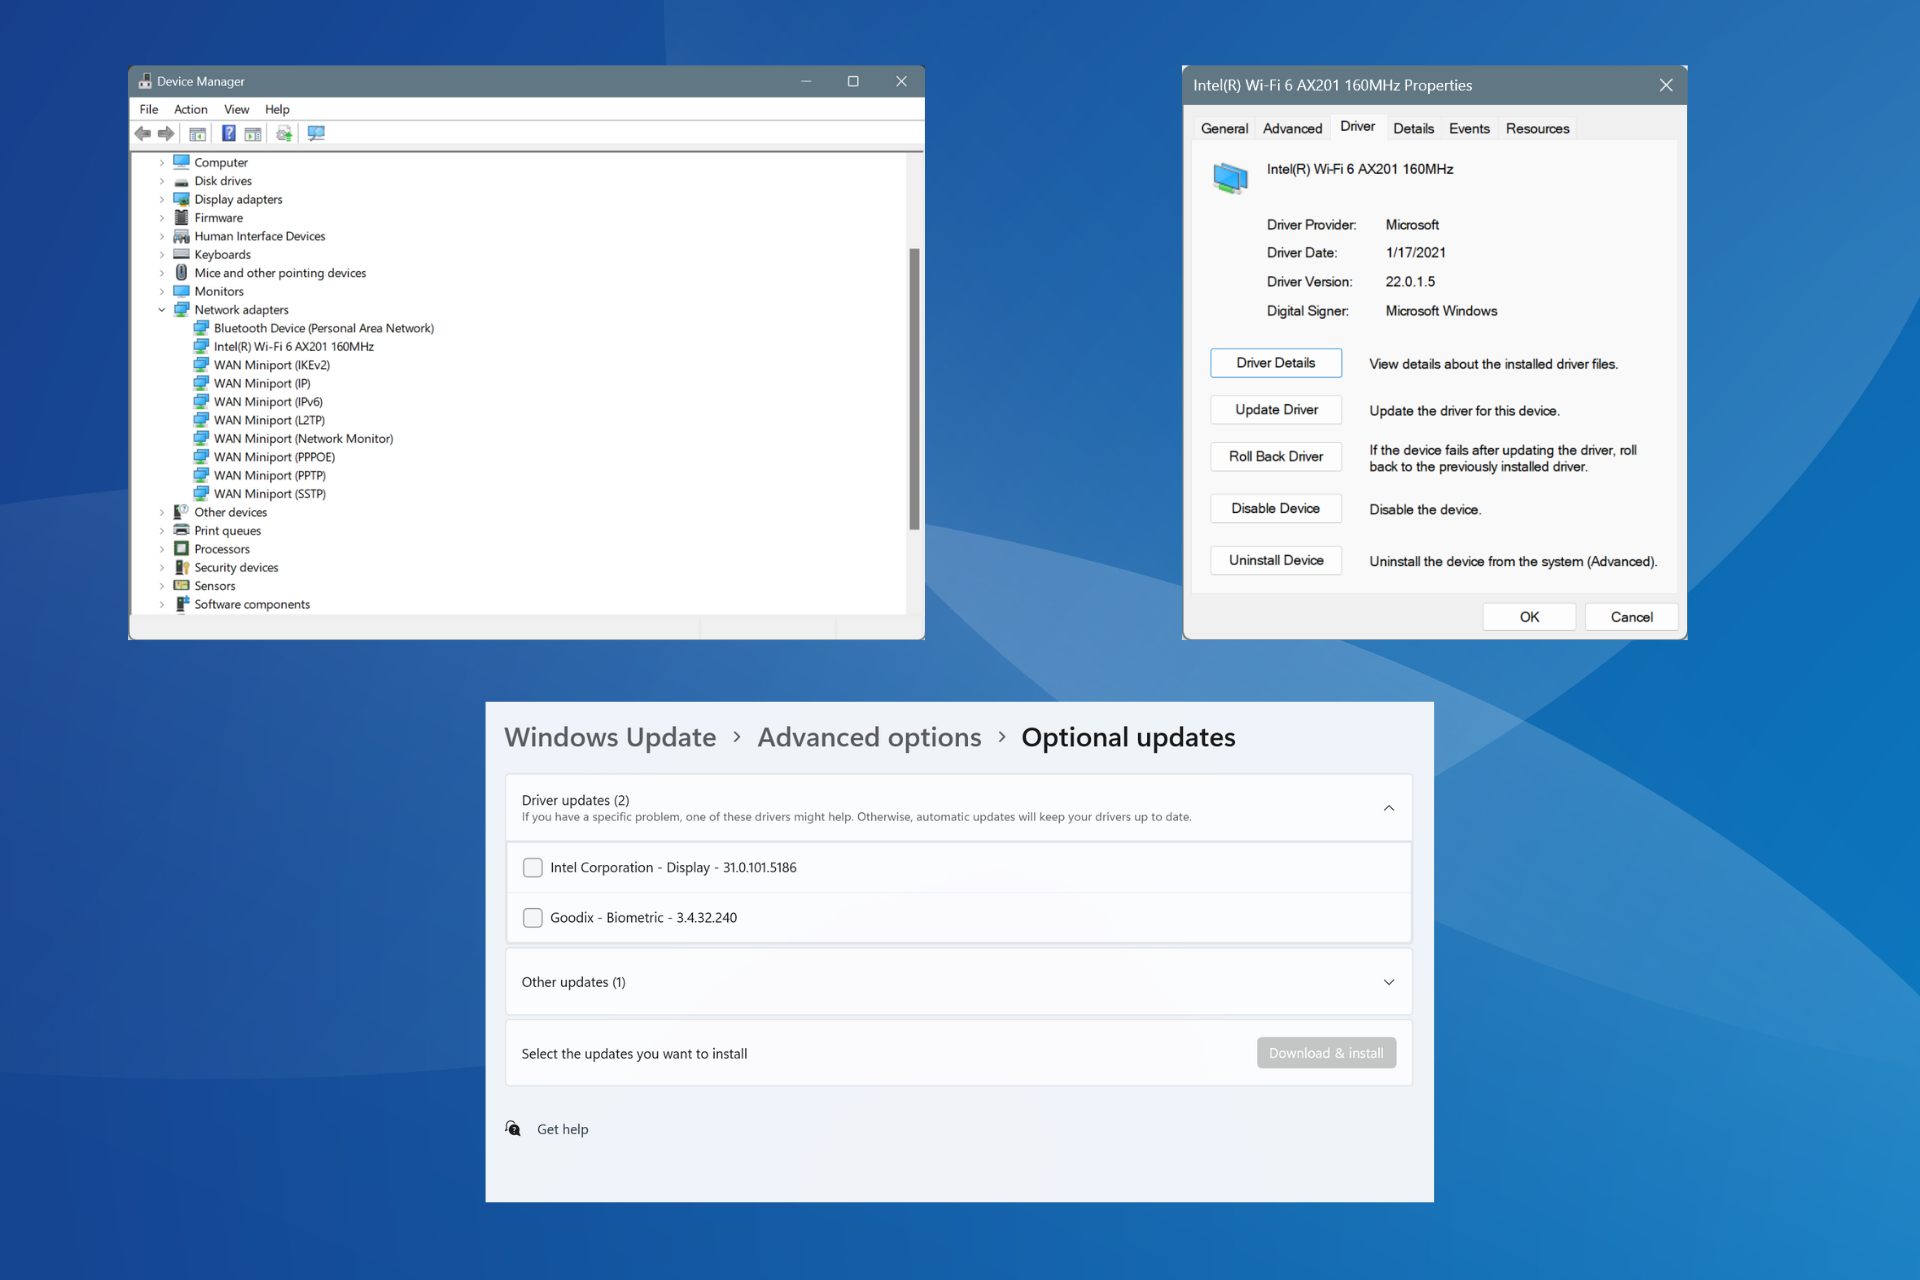
1. Roll back driver
- Press Windows + R key on your keyboard and select Device Manager from the resulting menu.
- Locate Sound, video and game controllers from the list, and double-click to expand it.
- Right-click Realtek High Definition Audio and select Properties.
- Switch to the Driver tab and select Roll Back Driver.
- Restart your PC.
If the Roll back Driver option is grayed out, it means you don’t have an older driver to roll back to.
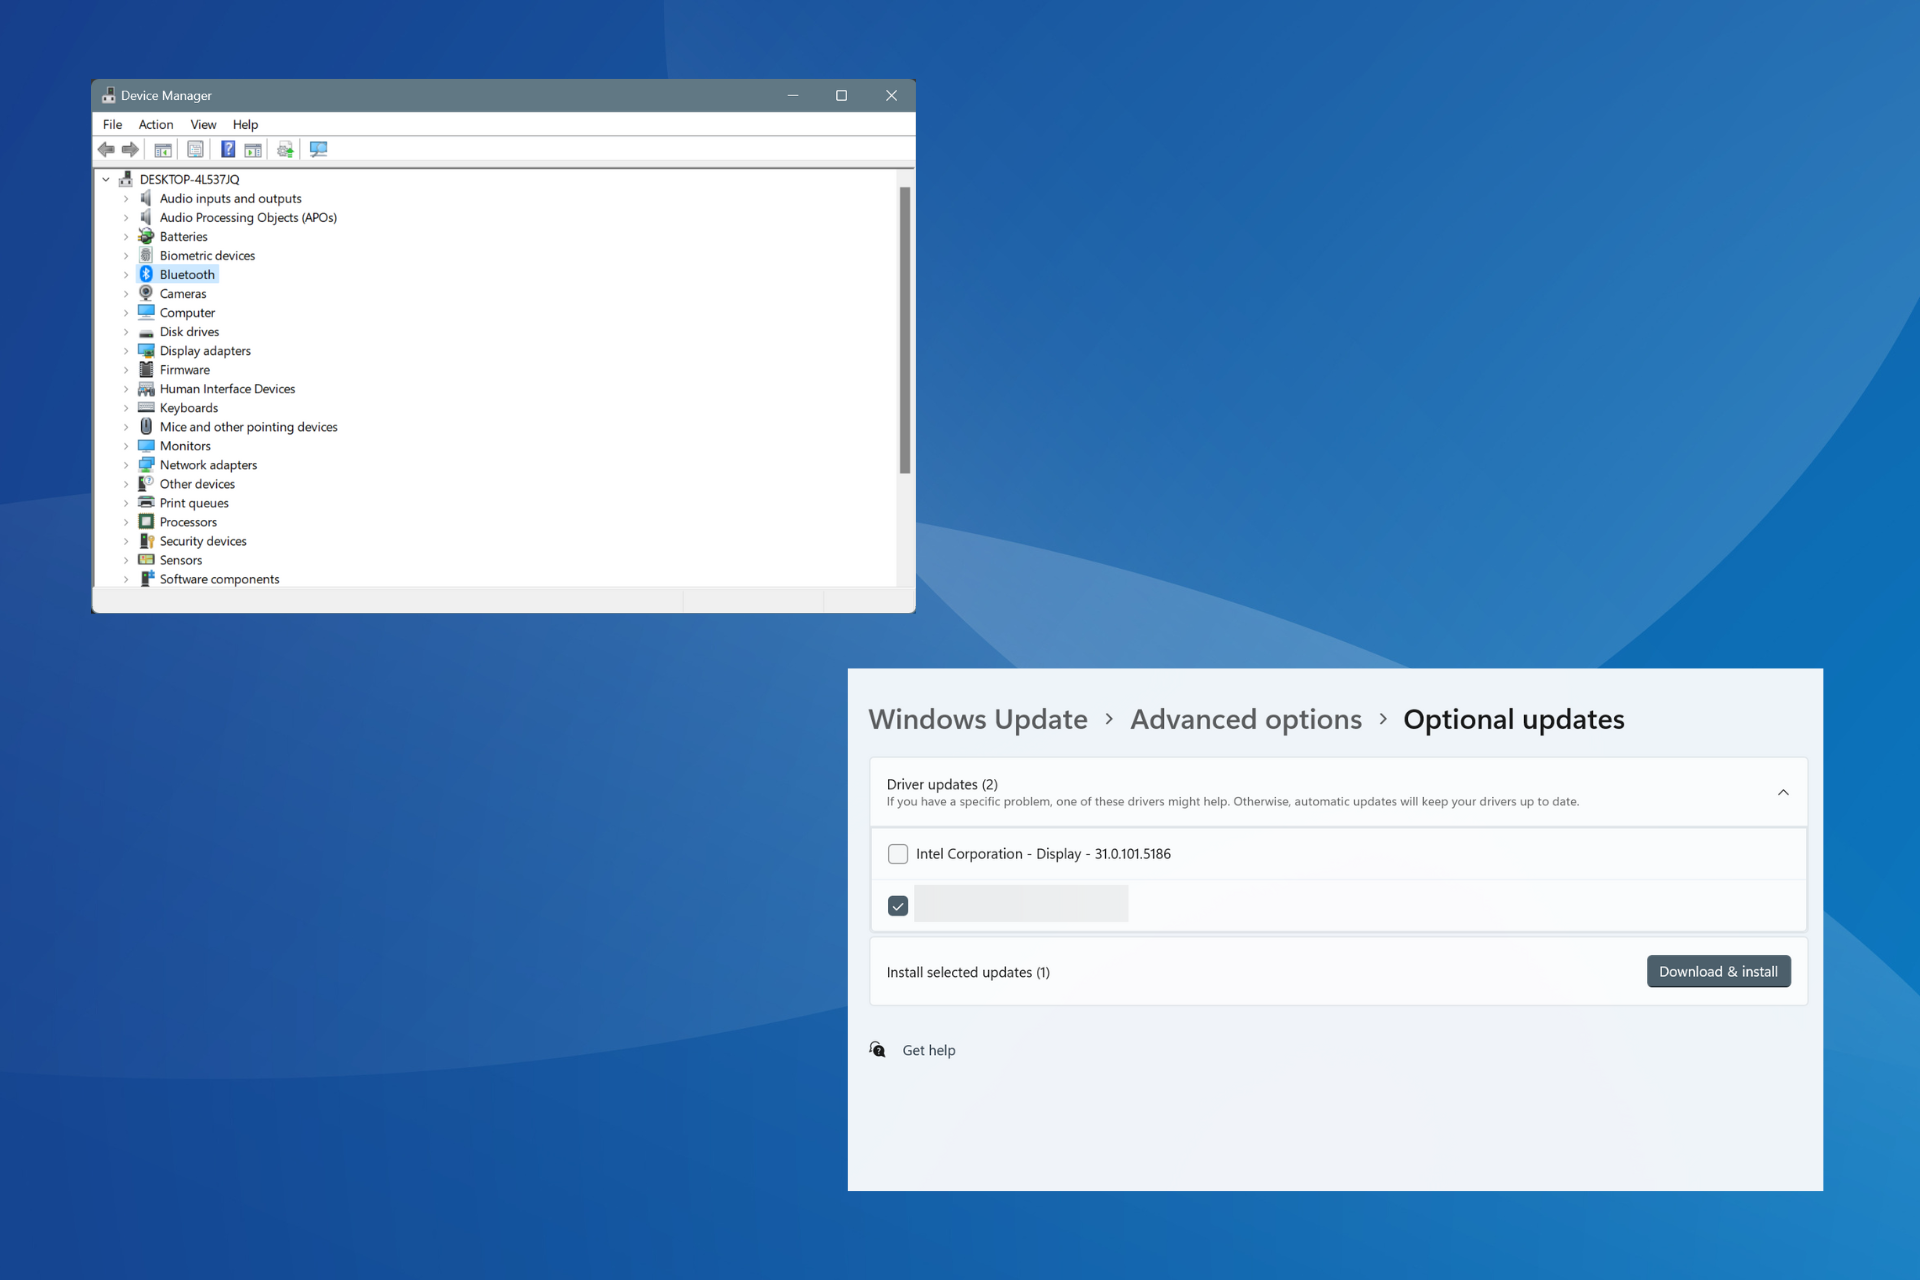
However, you can update the present driver as it might help. Our article on Windows 11 drivers update can guide you through the process.
2. Disable Automatic Driver Installation
- Click the Windows or Start icon on your taskbar and select Settings from the Start menu.
- Go to System, then scroll down to click About.
- Next, click on Advanced system settings.
- Switch to the Hardware tab and select the Device Installation Settings.
- Select No (your device might not work as expected) and click Save Changes.
By completing these steps, Windows will no longer install or update drivers automatically. To add new hardware in the future, you will need to install drivers manually or enable automatic drivers update again.
3. Update to Microsoft High Definition Audio Device
- Press Windows + X keys on your keyboard to open Device Manager.
- Scroll down to Sound, Video and game controllers, and expand it.
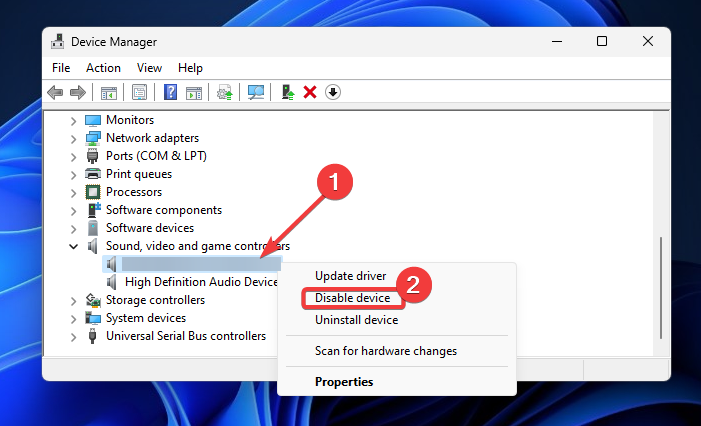
- Right-click Realtek High Definition Audio, then select Disable device.
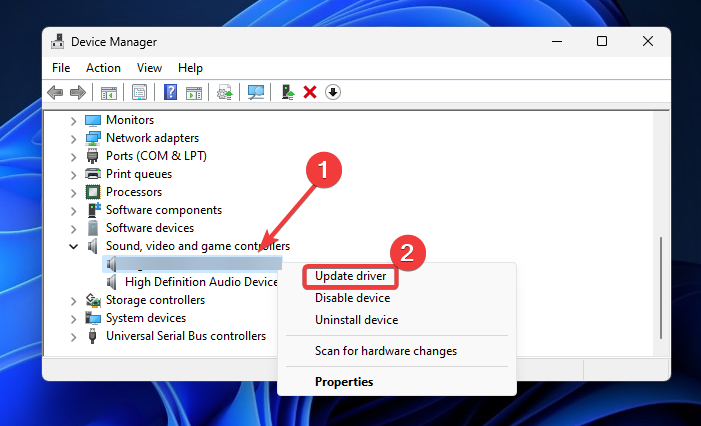
- Right-click Realtek High Definition Audio again and choose Update driver.
- Select Browse my computer for drivers.
- Click Let me pick from a list of available drivers on my computer.
- Choose High Definition Audio Device and click Next.
- Click Yes on the dialogue box.
If by chance you run into issues after updating to Microsoft High Definition Audio Device, then you should consult our guide on what to do when High Definition Audio Device has a driver problem.
4. Disable Windows access to Realtek system files
- Input the file path into the Search box and select the Best match result.
C:\Program Files\Realtek\Audio\HDA - On the folder, right-click anywhere that is blank and choose Properties.
- Switch to the Security tab, select SYSTEM, then click Edit.
- Under Permissions for ALL APPLICATION PACKAGES, check the Deny checkbox in the full control option and click OK.
- Select Yes in the dialogue box.
- Restart your computer.
5. Manually uninstall and reinstall Realtek
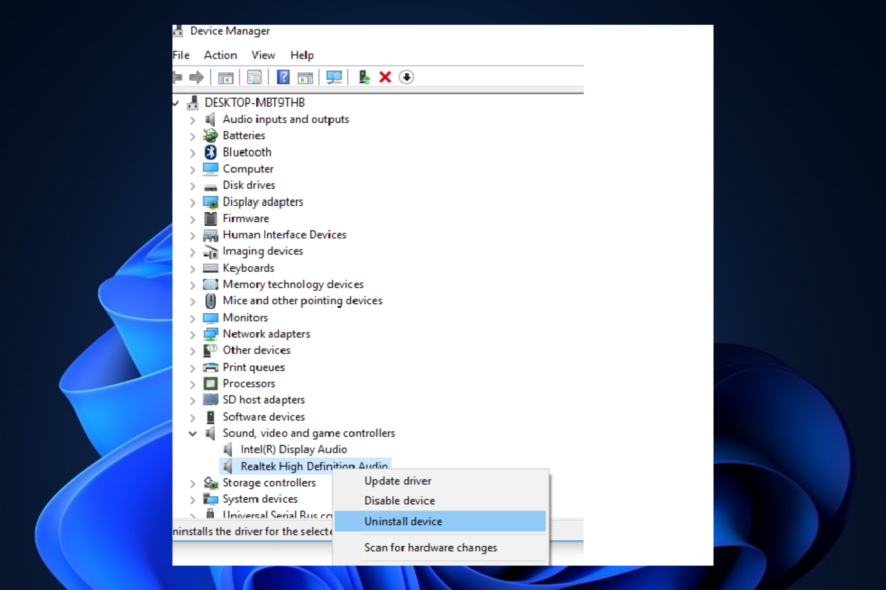
- Press Windows + X key on your keyboard and select Device Manager.
- Locate Sounds, video and game controllers from the list, then double-click to expand it.
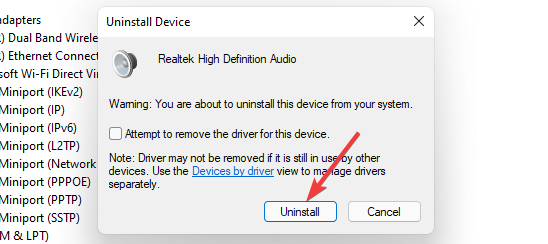
- Right-click Realtek High Definition Audio, then select Uninstall device.
- Choose Uninstall on the dialogue box.
- Restart your PC. Windows will automatically install Realtek audio driver now without the annoying loop.
If Windows does not automatically install Realtek after restarting your PC, you can do it yourself by following our guide on how to reinstall Realtek audio driver.
Hopefully, you should be able to stop Realtek audio driver from the reinstalling cycle with the methods above.
However, some users have claimed that after installing the Realtek audio driver, the Realtek Audio Manager is missing. If you encounter the same issue, you can restore Realtek Audio Manager by following our guide on how to fix missing Realtek HD Audio Manager.
If you have any other solution that can fix Realtek audio driver reinstalling loop, drop us a message in the comments section below.


