Recent Documents Not Showing in Microsoft Word? Here's How to Fix it
Unlink your cloud and see documents reappear
![]() 4 min. read
4 min. read
![]() Updated on
Updated on
Share this article
Improve this guide
Read our disclosure page to find out how can you help Windows Report sustain the editorial team. Read more

Recent documents in Word help you retrieve your documents faster without opening File Explorer but if they are not showing, it can be a big inconvenience to go back and start perusing through folders.
If you can’t locate any recent document when you open Word, it’s probably a glitch with Microsoft apps, a corrupt cache or a change in file location. You may also have installed a new app or plugin that tampered with your Word settings.
What can I do if recent documents are not showing in Word?
1. Log out and log back in
- Launch your Microsoft Word app and open a blank document.
- Navigate to File and select Account.

- Click on Sign Out.

- Sign back in and see if the recent documents appear.

You can also try logging in to your Microsoft Office account with Word for web and see if the issue persists.
2. Clear Microsoft cache and run Microsoft Word in Safe Mode
- Close all your Office apps.
- Press the Windows key + R to open the Run command.
- Type the following command and press Enter or click OK:
%appdata%\Microsoft\Office\Recent
- Delete everything in this folder then restart your Microsoft Word.
- Press the Windows key + R to open the Run command.
- Type the following command and press Enter or click OK:
word /safe

3. Adjust the number of recent documents
- Launch your Microsoft Word app and open a blank document.
- Navigate to File and select Options.
- Select Options then go to Advanced.

- Navigate to the Display section, then adjust the number under Show this number of recent documents.

- Next, place a checkmark next to Quickly access this number of recent documents and select a number you’re comfortable with


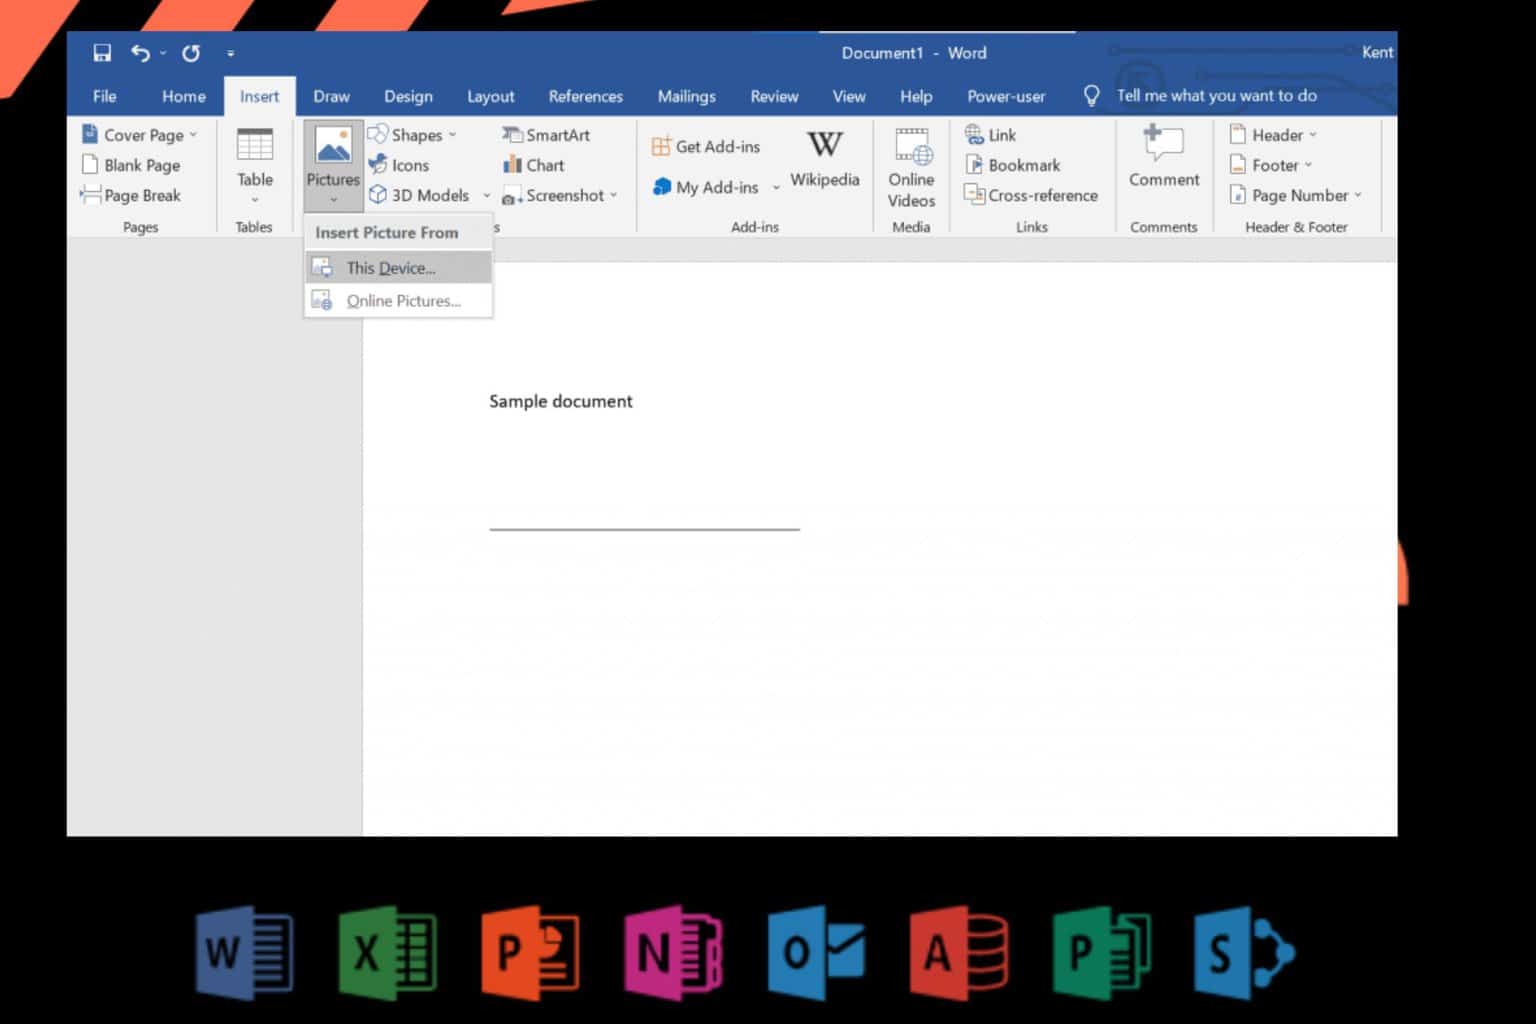
4. Switch off MS Word’s Add-ins
- To disable add-ins, open MS Word, click the File tab, and select Options to open the software’s settings window.

- Click Add-ins on the left of the Word Options window. That will open a list of your active and inactive application add-ins.

- Each add-in has a type category, such as COM, Template and Action. Click the Manage drop-down menu and select a type from there.
- Press the Go button to open a window displaying all the add-ins that fit within the type selected from the drop-down menu.
- Now you can deselect the checkboxes for the active add-ins to disable them.
- Press the OK button to close the window.


5. Unlink OneDrive
- Launch the OneDrive icon by clicking on the system tray.

- Select Settings.

- Click on the Account tab, then select Unlink this PC.

- Confirm by clicking Unlink account in the dialog box that pops up.


If you’ve connected your Microsoft account to sync with your OneDrive, it continuously syncs with the local files in your drive. However, if there are any network interruptions, there may be sync issues causing some discrepancies.
Further, if your documents have set permissions, linking with OneDrive may limit document visibility hence the reason why they may not show up in recent documents.
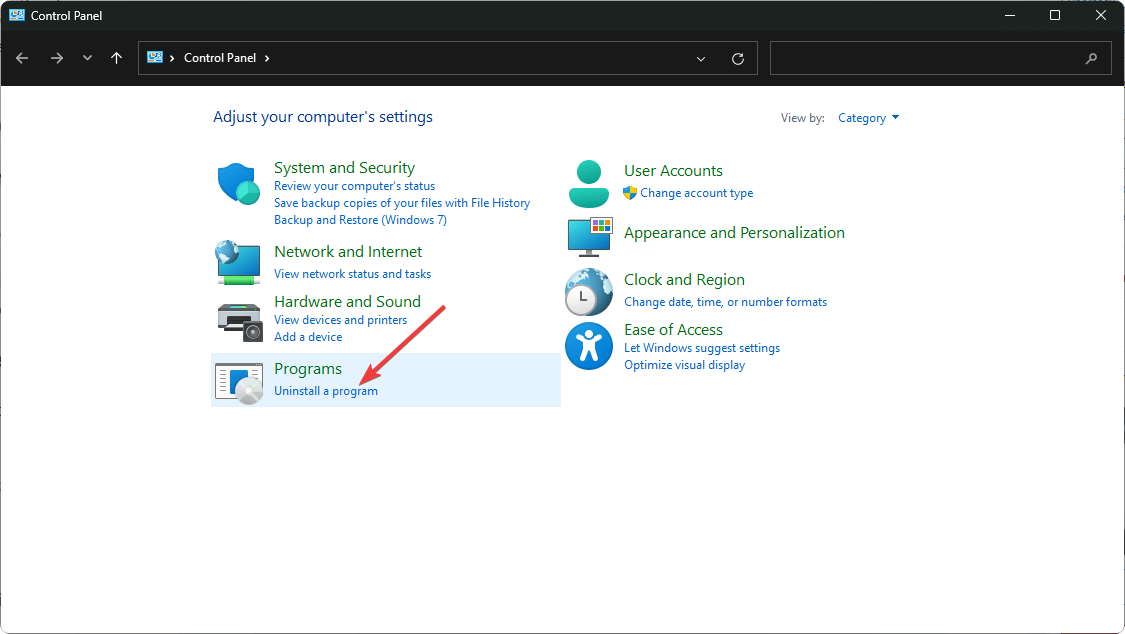
6. Repair MS Office
- Hit the Windows key, type Control Panel in the search bar, and click Open.

- Navigate to Uninstall a program under Programs.

- Locate MS Office, click on it, and select Change.

- Select the Online Repair option and click on the Repair button.


If the recent documents section fails to reappear after a repair, try resetting your Word to default settings and see if this helps.
7. Reinstall Microsoft Office
- Hit the Windows key, type Control Panel in the search bar, and click Open.
- Navigate to Uninstall a program under Programs.
- Locate MS Office, click on it, and select Uninstall.
- Now, restart your PC and install the latest Microsoft Office version available for Windows.

Unfortunately, this issue is not unique to Microsoft Word. It may occur in any other Microsoft Office app like Excel or PowerPoint so the same solutions apply.
Speaking of recent files, you may also run into an issue where they’re not showing in the Quick Access toolbar so check out how to get them back. In case you recently deleted files that should be appearing in this section, you can always recover them.
If this issue happens often, you may also want to check whether your Word documents are not saving and address this issue first. This could be the reason why your signatures are also not showing.
That’s a wrap from us but we’d love to hear from you if you have any other solutions up your sleeve. Share them with us in the comment section below.
User forum
0 messages