How to Record a PowerPoint Presentation (with Sound & Video)
Recording with audio and video will enhance the overall presentation
Key notes
- The Recording Slideshow feature is only available in Microsoft PowerPoint versions 2013 to 2019 and 365.
- When a PowerPoint presentation is recorded with audio and video, it can be exported as a video in either MP4 or WMV format.
- Your recording will be added to each slide separately, so you can modify individual recordings if needed.
Recording your PowerPoint presentation with audio and video can make it more attractive and exciting. This can help to keep your audience engaged and focused, making it more likely that they will stay engaged throughout your entire presentation.
Microsoft PowerPoint offers options to record PowerPoint presentations with audio and video, allowing you to present the slides while capturing your camera feed.
There are two ways to create a PowerPoint presentation with sound and video: by recording a slideshow with audio and video or by adding external audio and video to your presentation.
Can you record PowerPoint with audio?
PowerPoint allows you to record your screen along with your voiceover narration. You can either record your voice as you present the slides or add a pre-recorded audio track to your presentation.
During recording, you can turn off your camera, allowing you to include only your voice narration or background music in your presentation.
When you’re done recording, you can save the presentation as a video file or PowerPoint Show that includes both the slides and the audio.
How do I record PowerPoint presentations with audio and video?
1. Check your microphone and camera settings
- Connect your headset or external microphone to your computer for the best sound quality. You can also use your computer’s internal microphone.
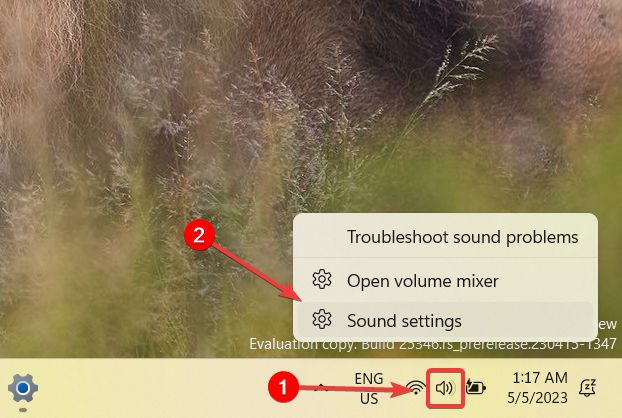
- Right-click the speaker icon and select Sound Settings from the menu that appears.
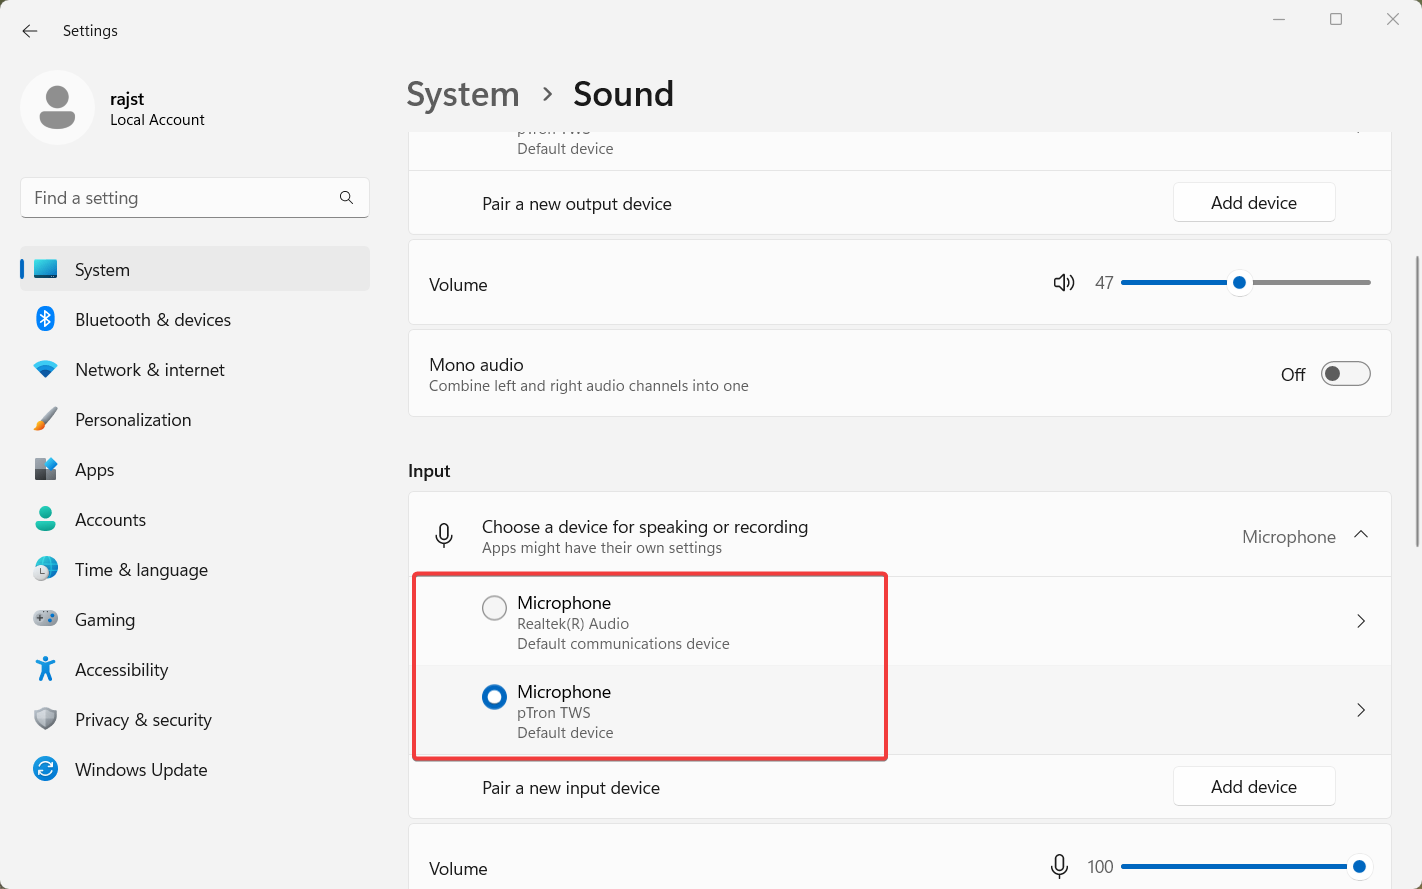
- Scroll down to the Input section. You will see your default microphone device is selected.
- To change the default microphone, simply select the microphone from the list.
- Then, click the arrow button next to the microphone you want to test.
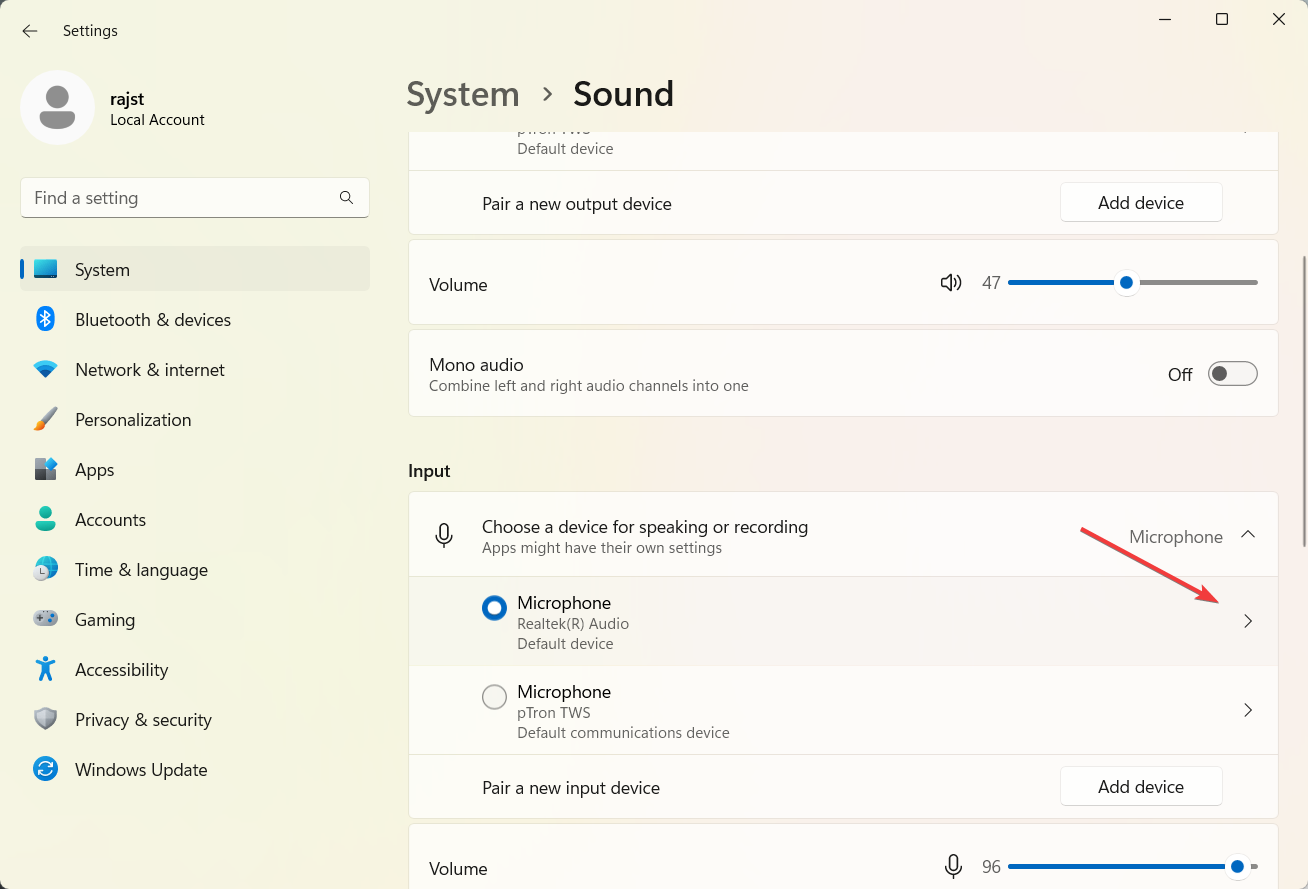
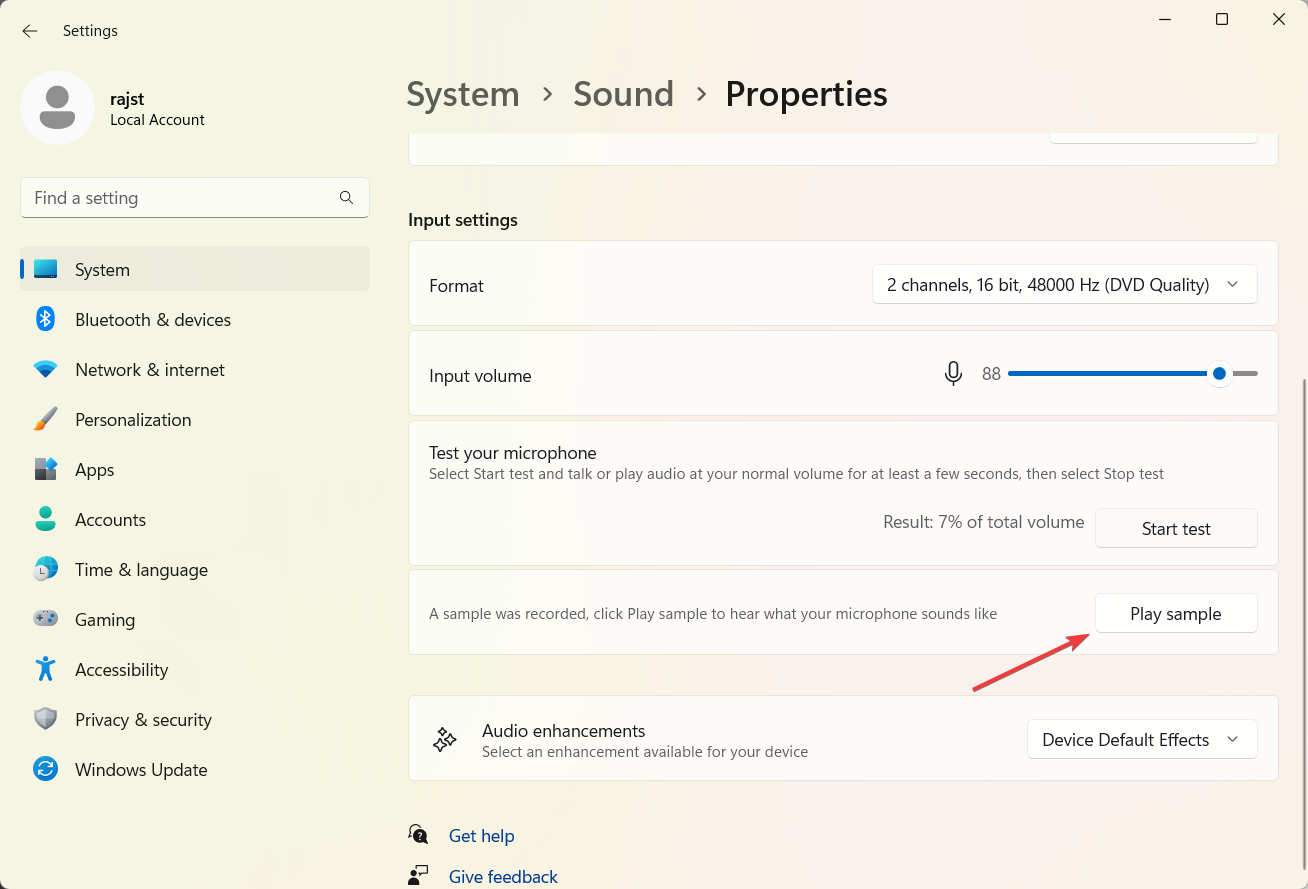
- Under Input settings, adjust the input volume to the correct level and click the Start test button.
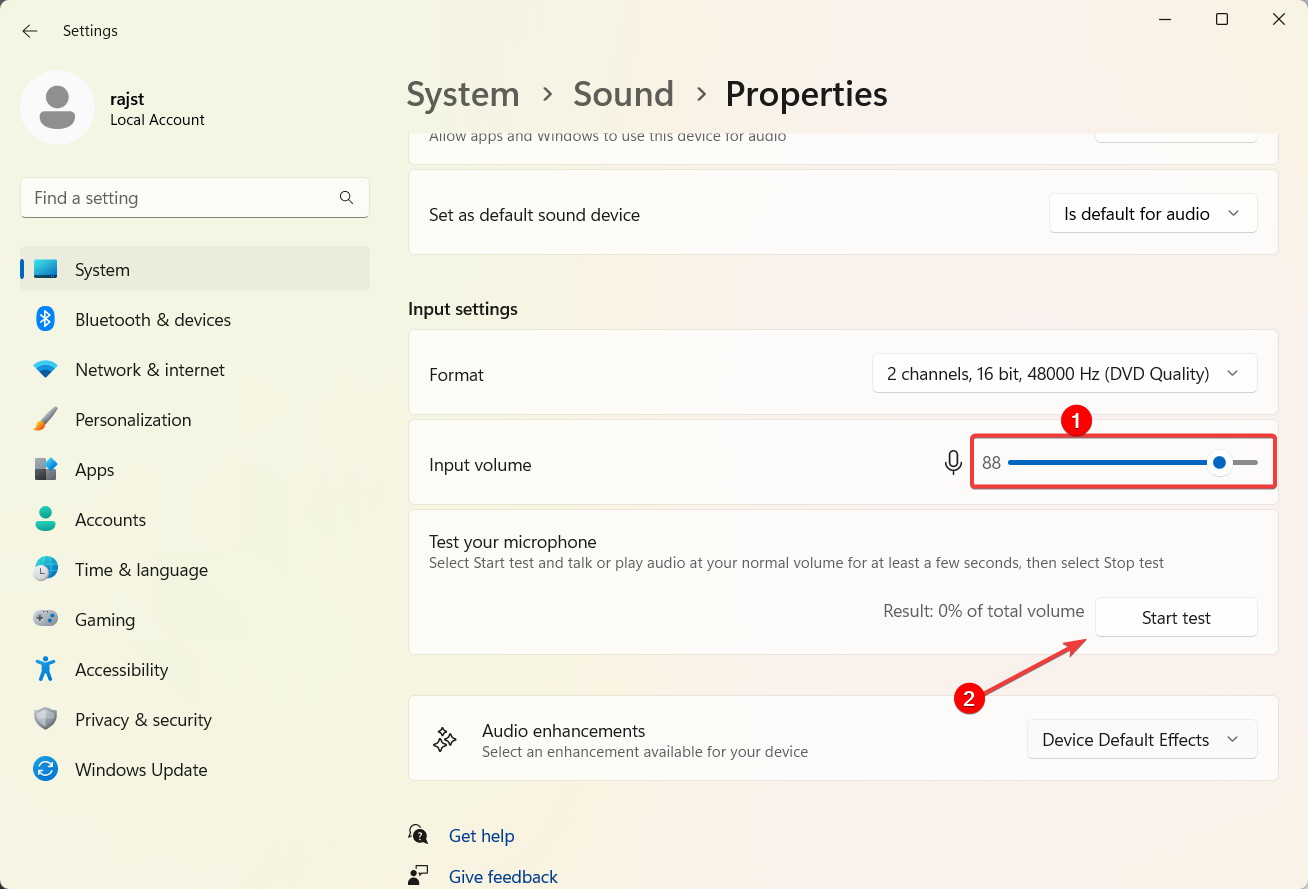
- Then, speak into the microphone and click the Play sample to hear what your microphone sounds like.
- After that, click on Bluetooth & devices on the left and select Cameras on the right.
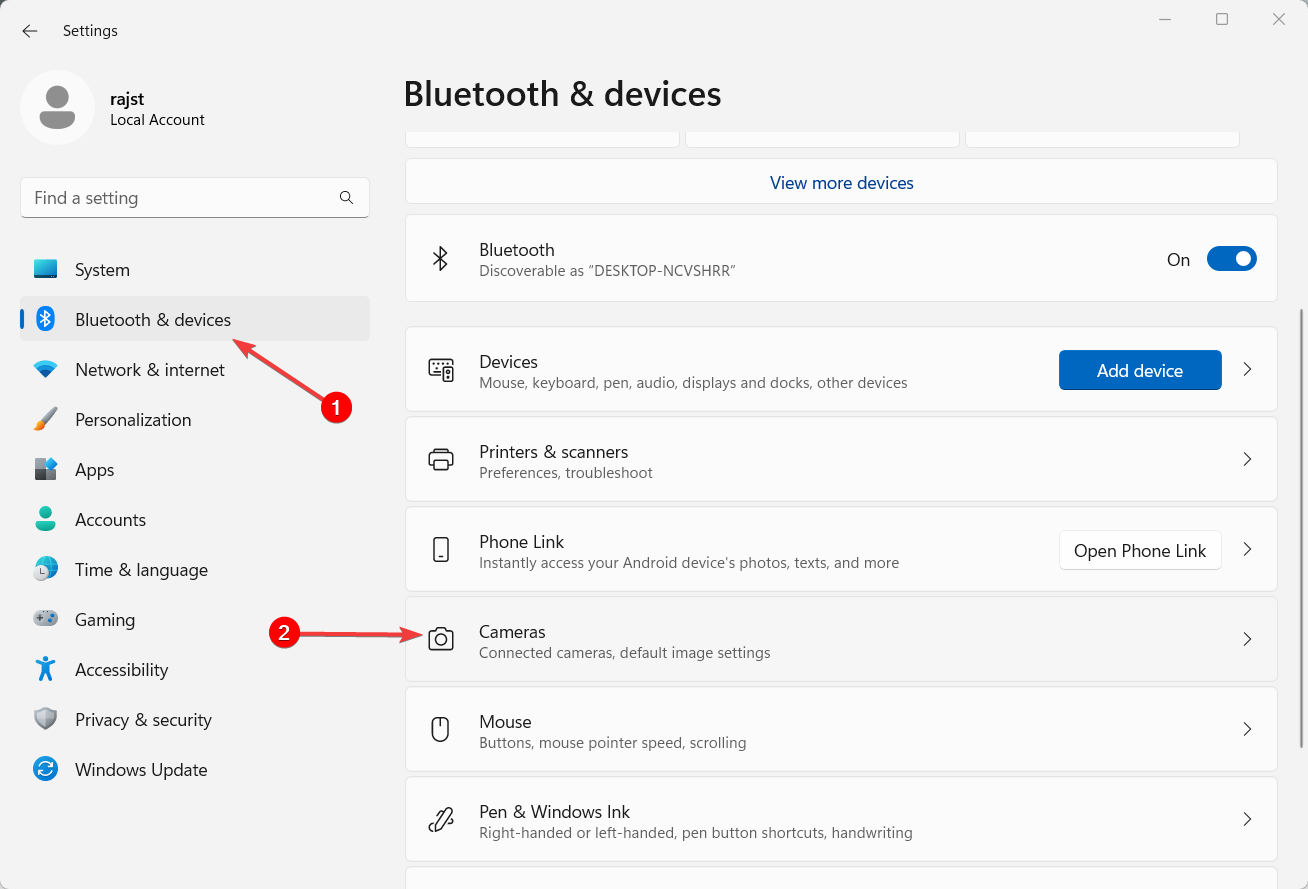
- Next, select the camera under Connected cameras.
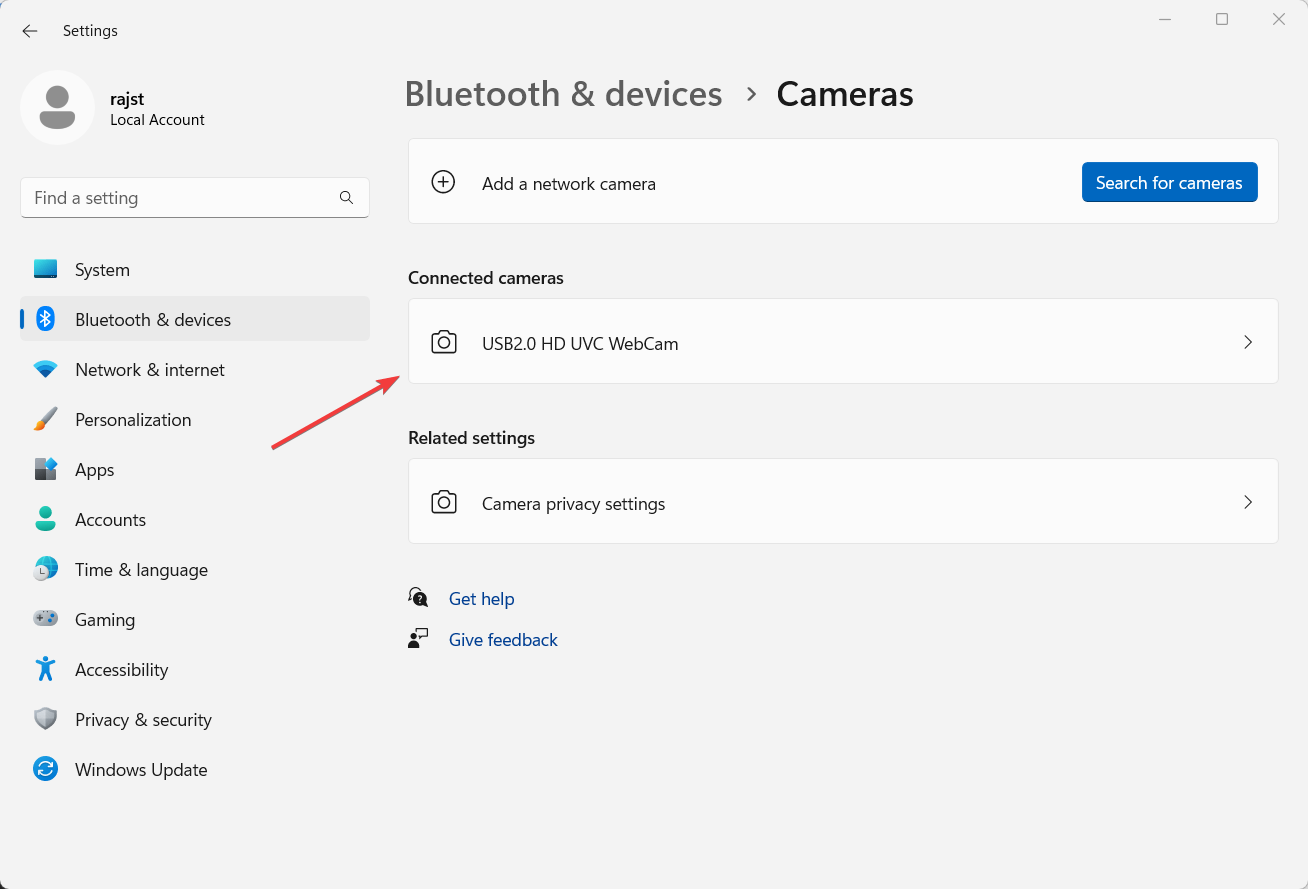
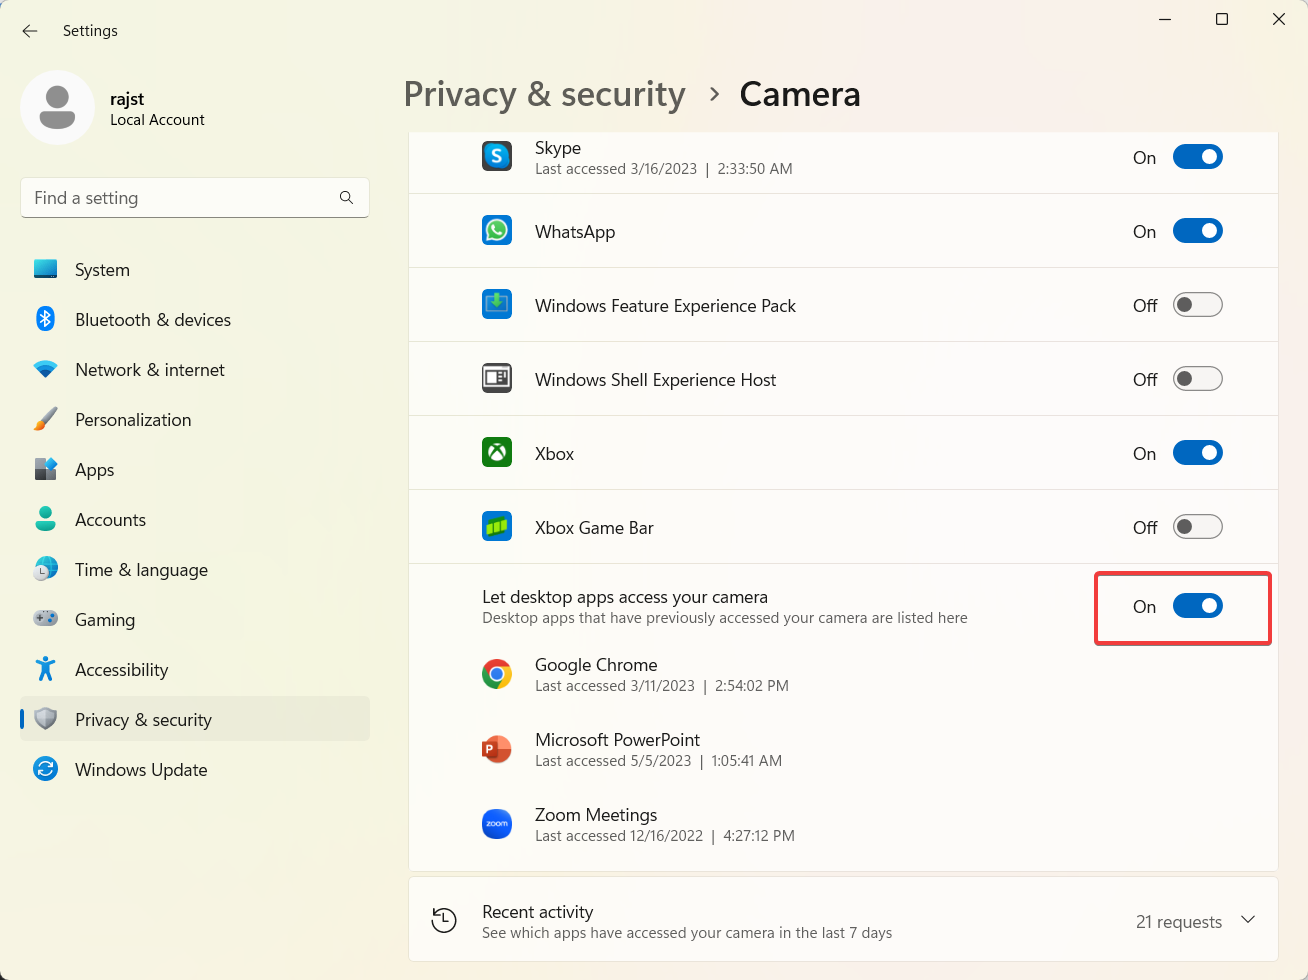
- Change camera settings for optimal quality and click the Camera privacy settings.
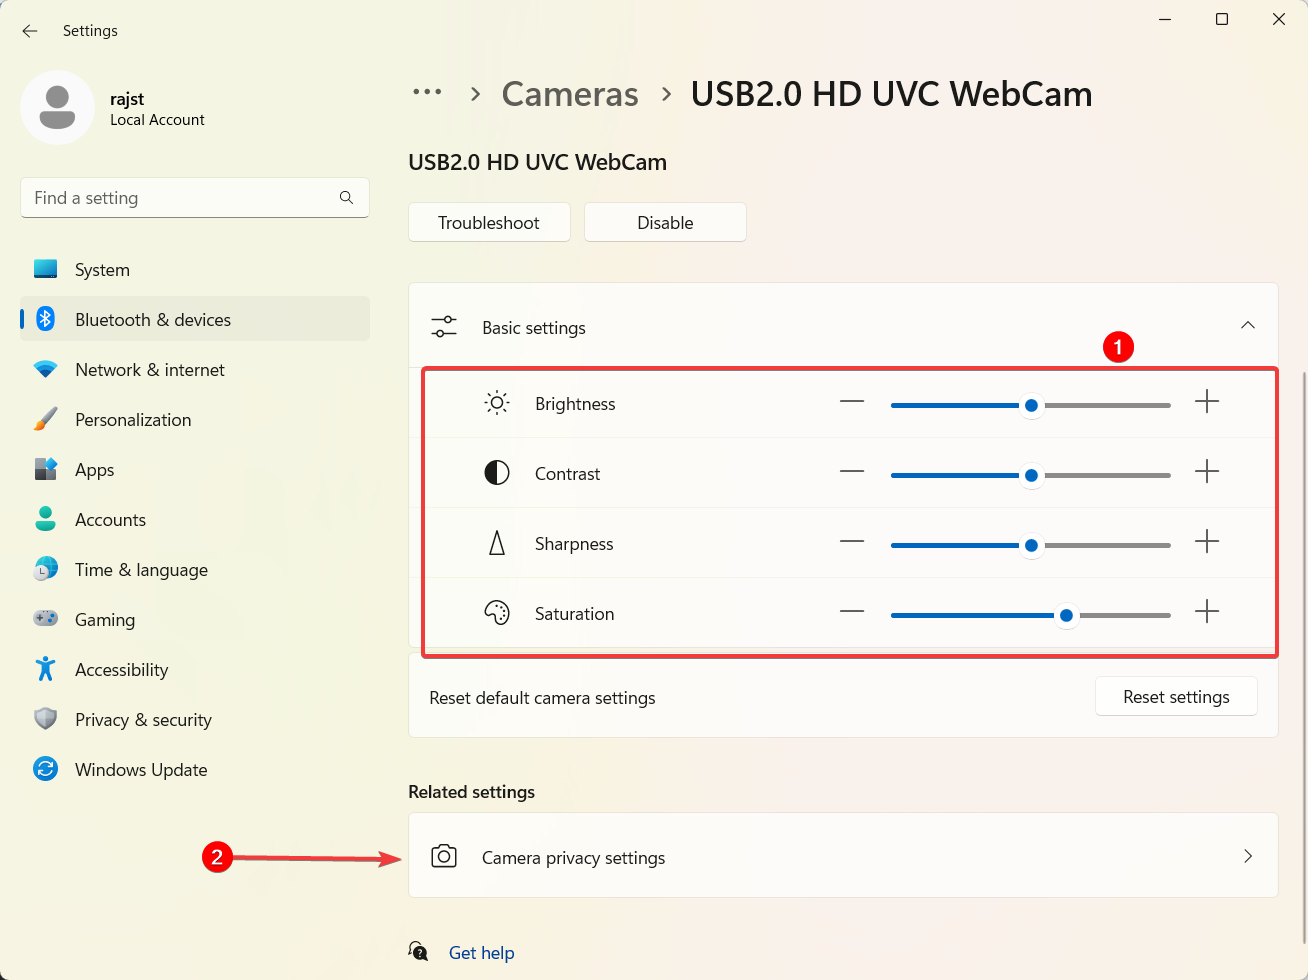
- Now, make sure that the Microsoft PowerPoint app have access to your camera.
2. Convert older Powerpoint presentations
 NOTE
NOTE
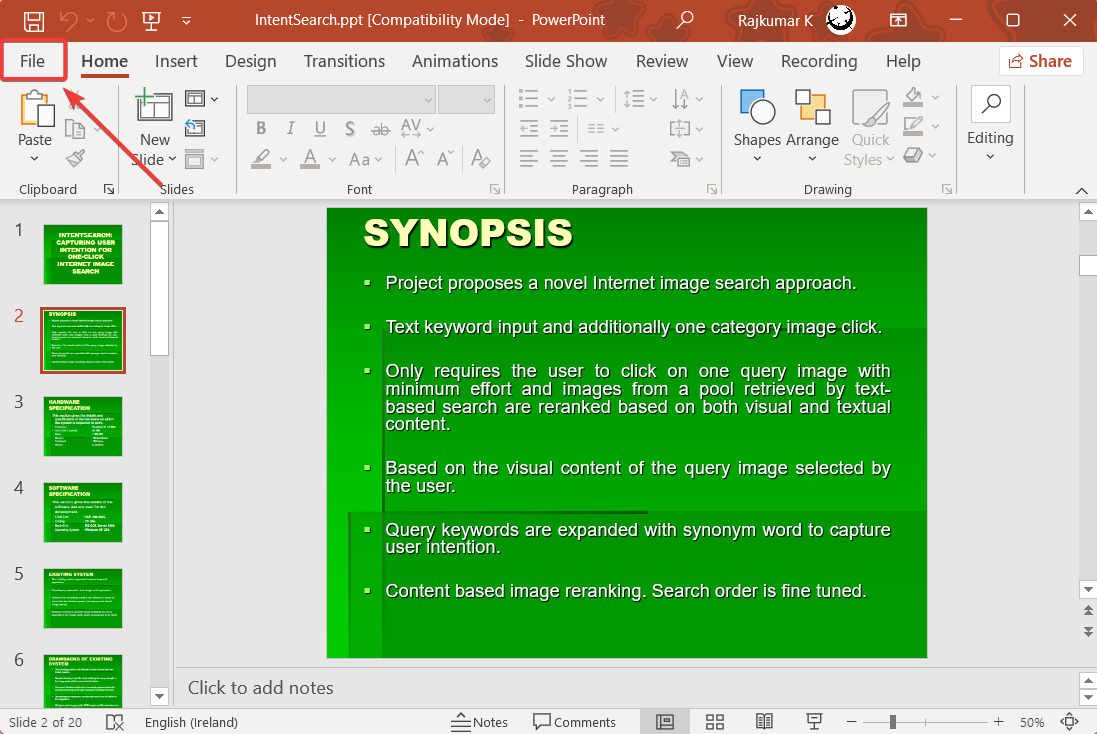
- Open the older PowerPoint file in the Microsoft PowerPoint app and click File.
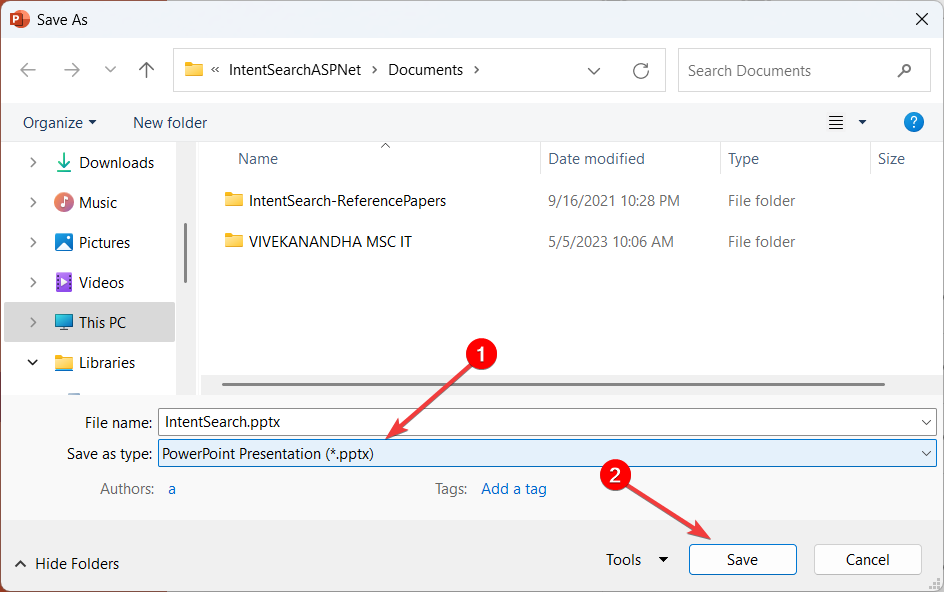
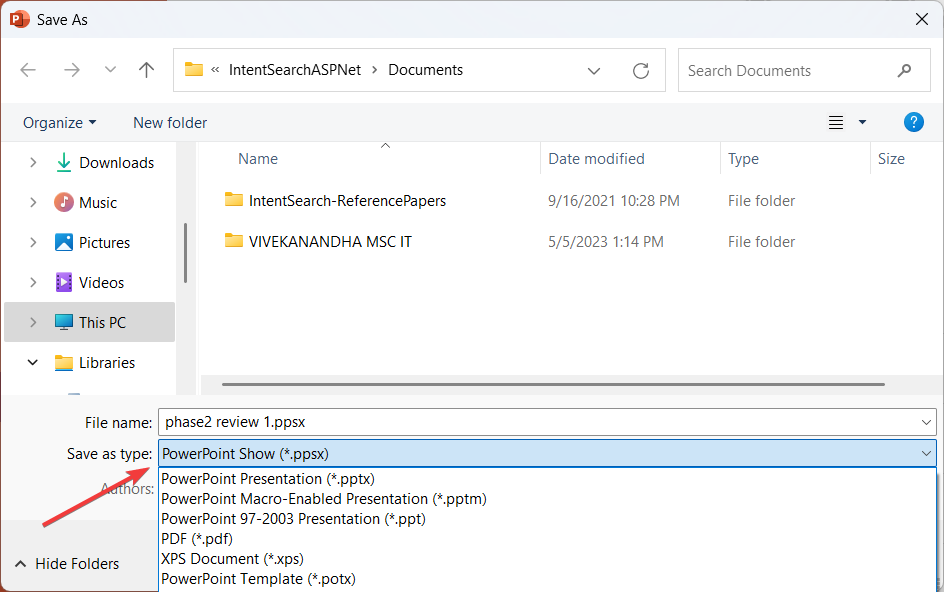
- Then, click Save As.
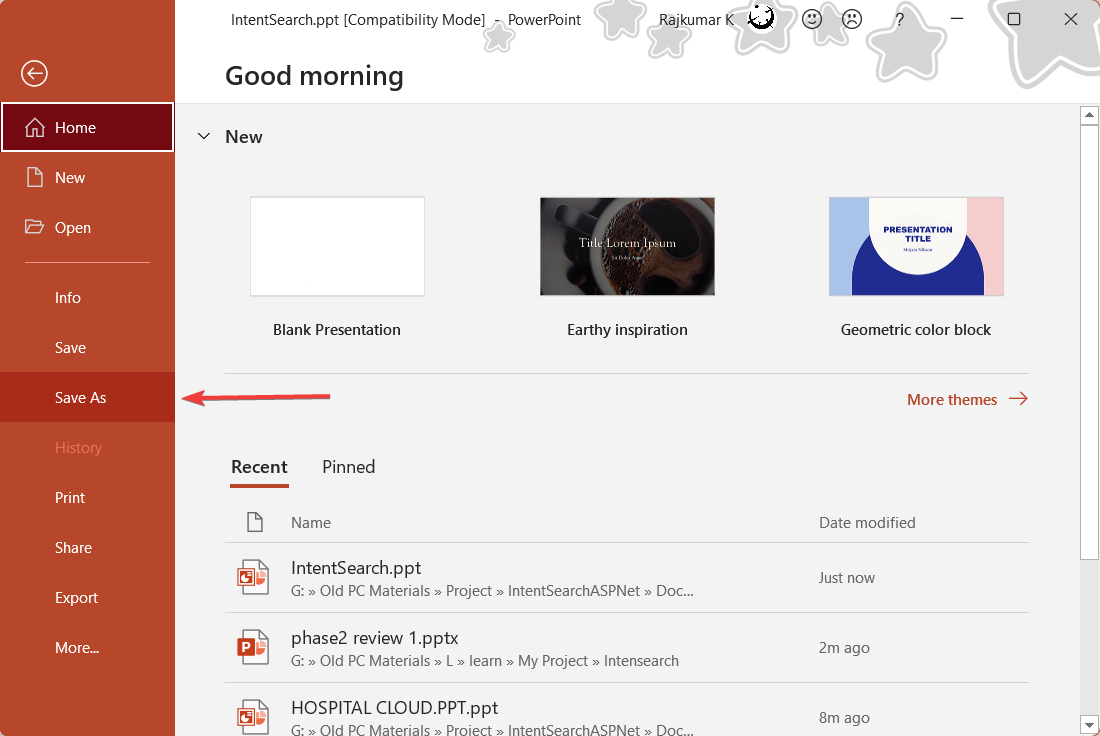
- In the Save As dialog window, choose PowerPoint Presentation (*.pptx) from the Save as type drop-down menu.
- Then, select where you want to save the new file and click Save.
3. Record PowerPoint with audio and video
NOTE
- Open the PowerPoint presentation.
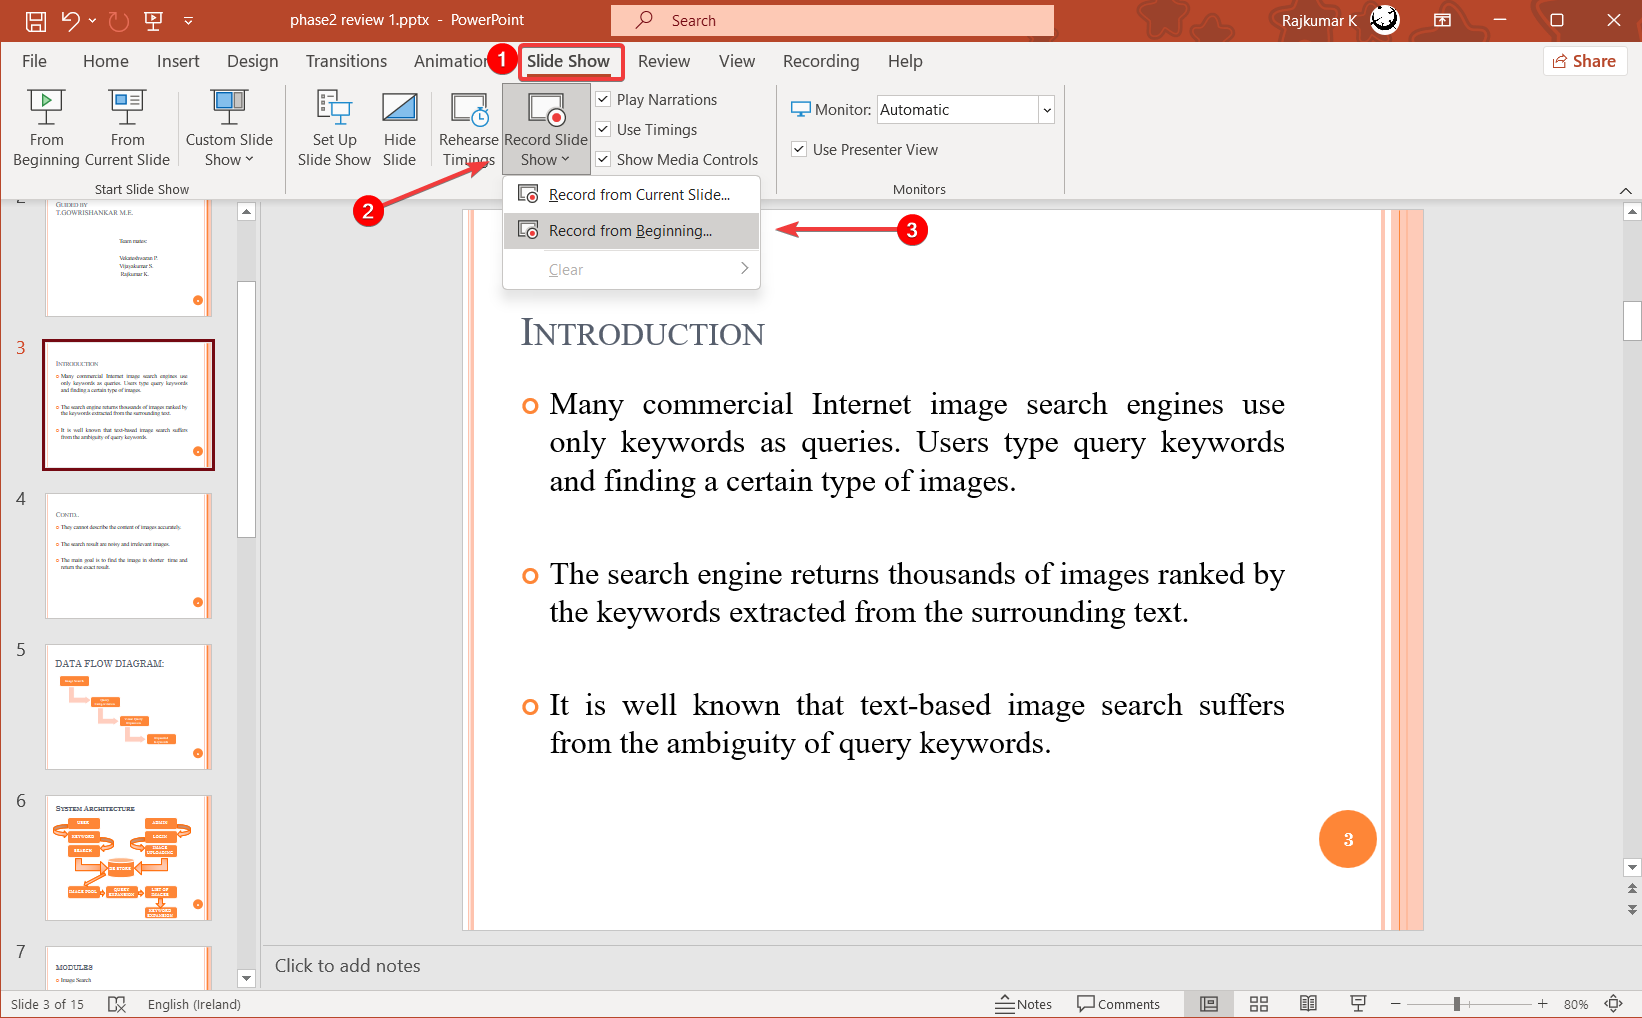
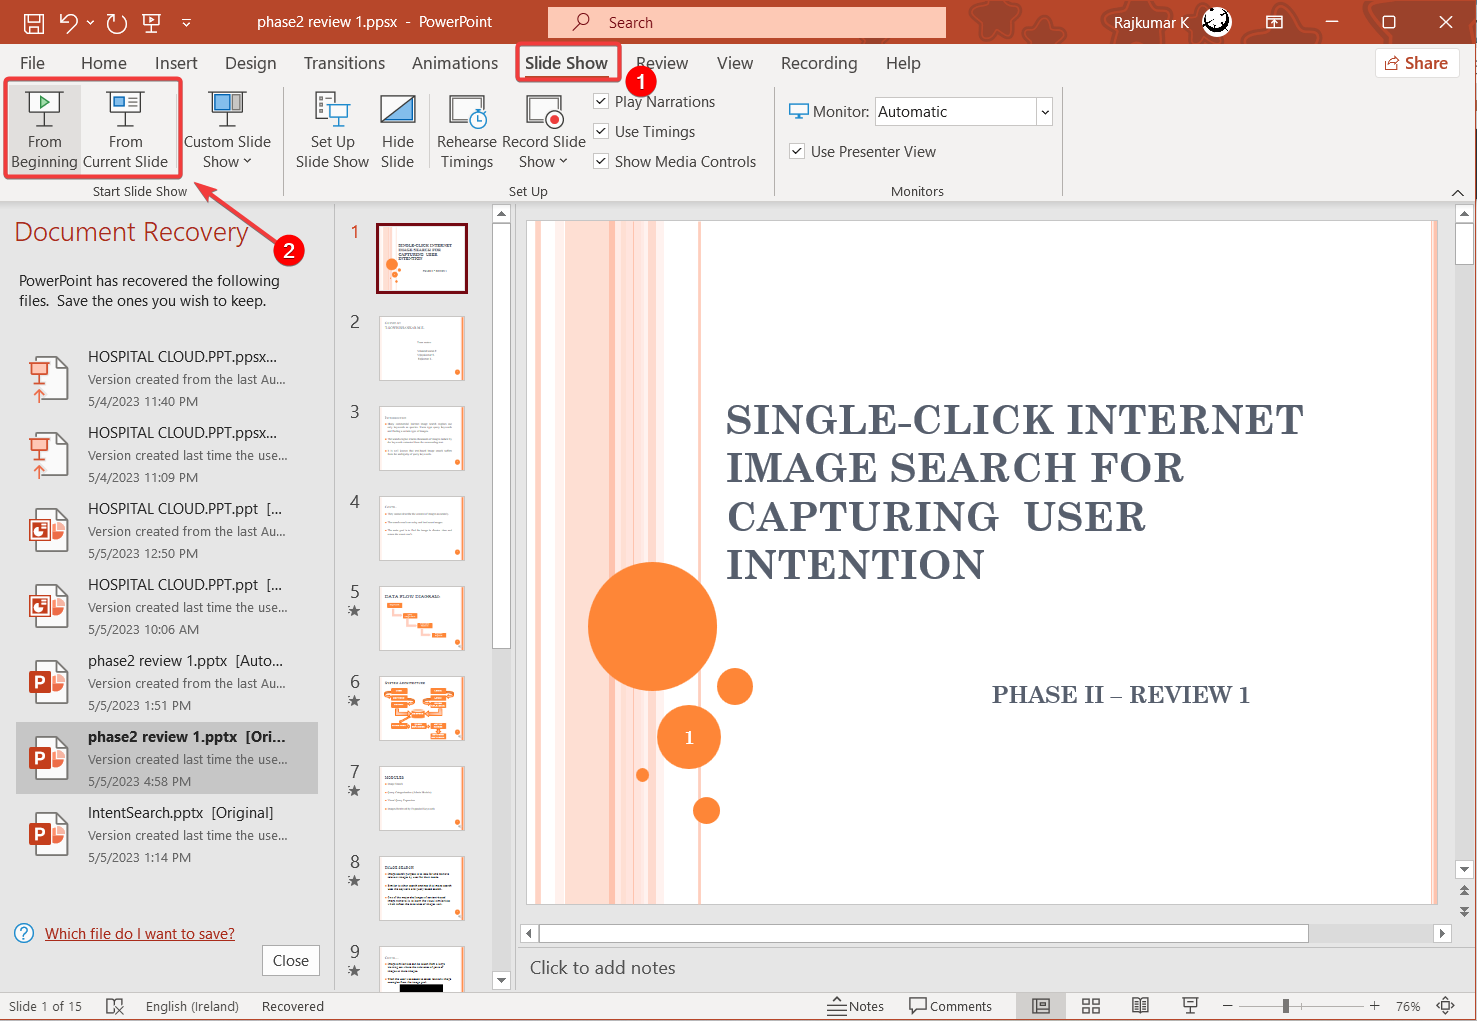
- Go to the Slide Show or Recording tab, click the Record Slide Show button, and choose Record from Current slide… or Record from Beginning… option.
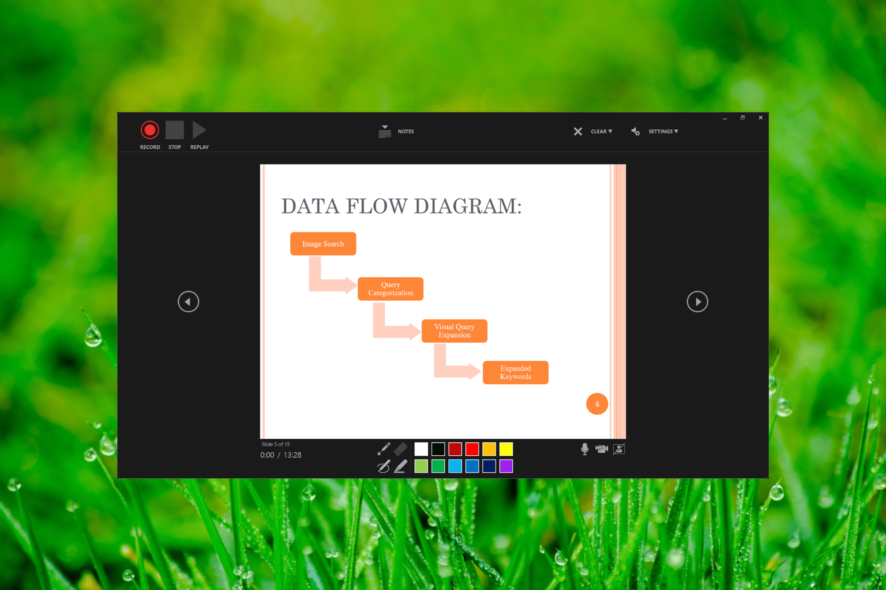
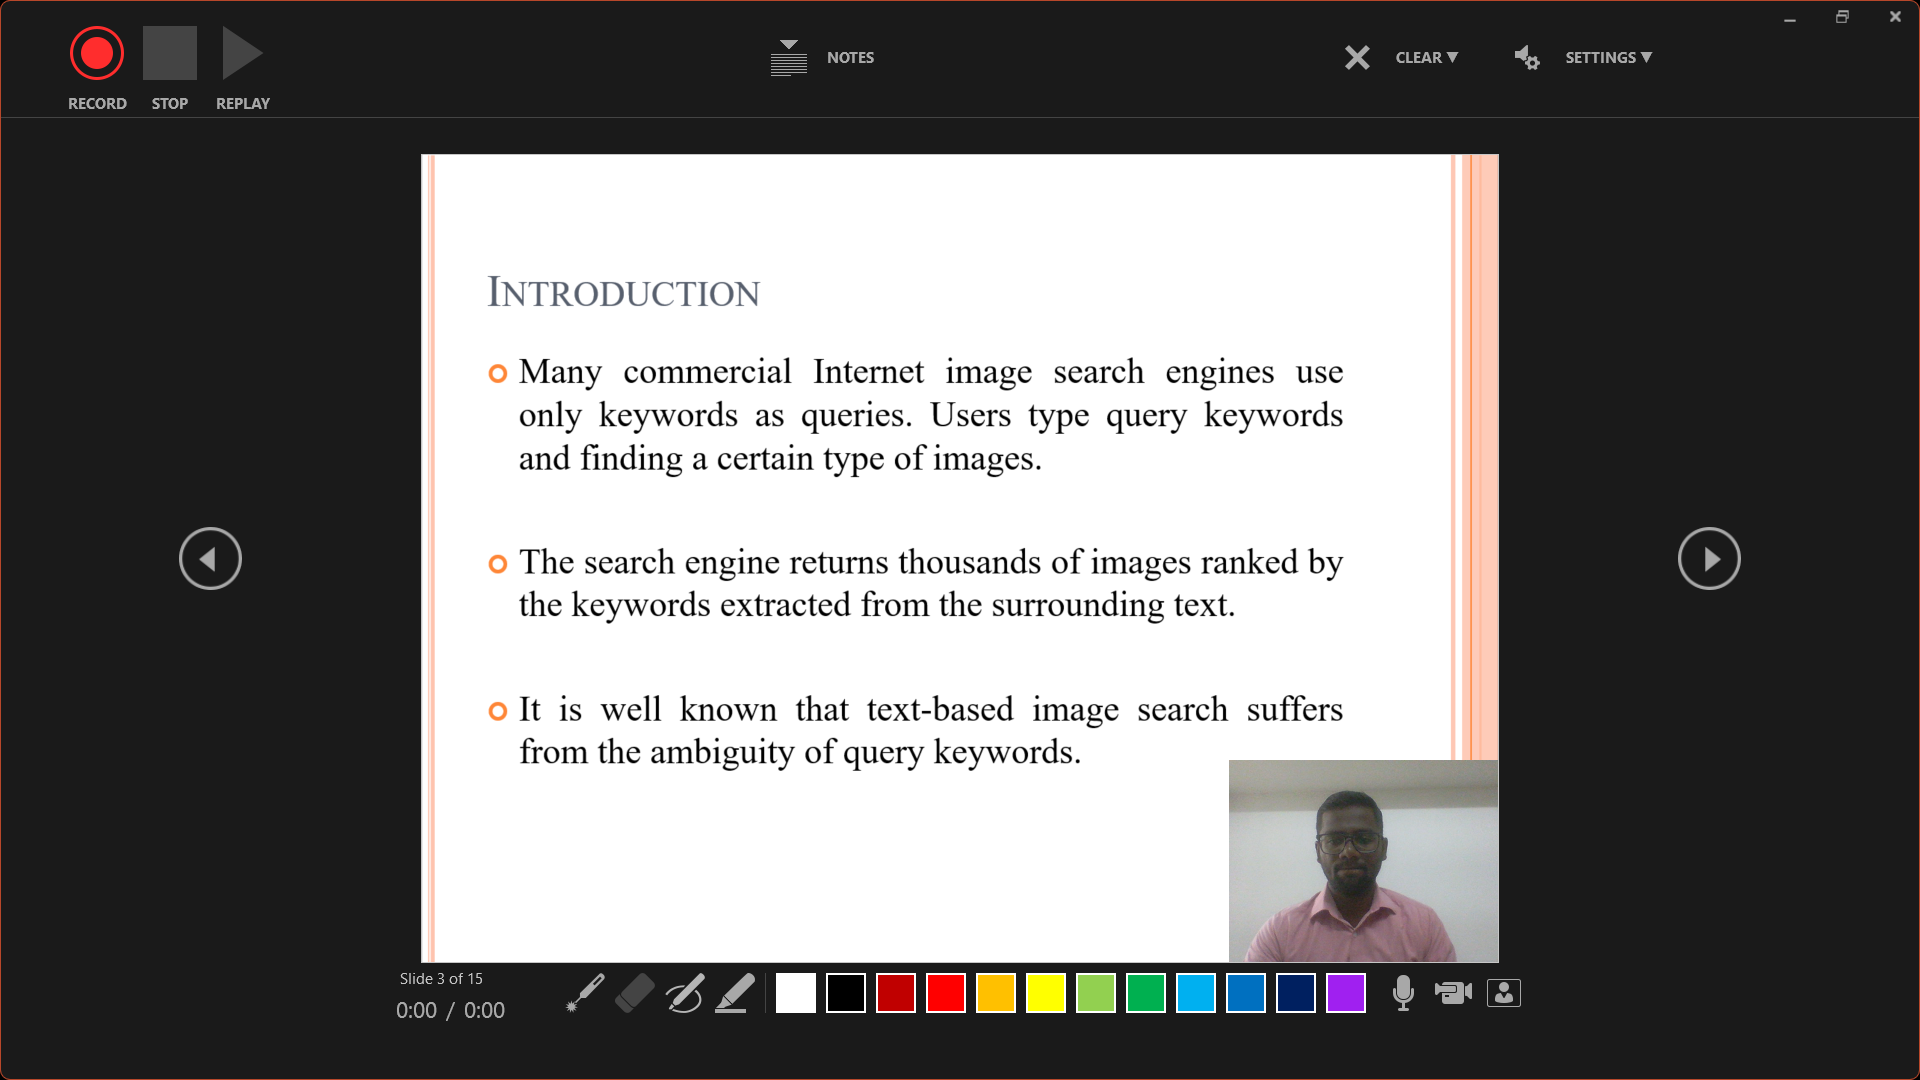
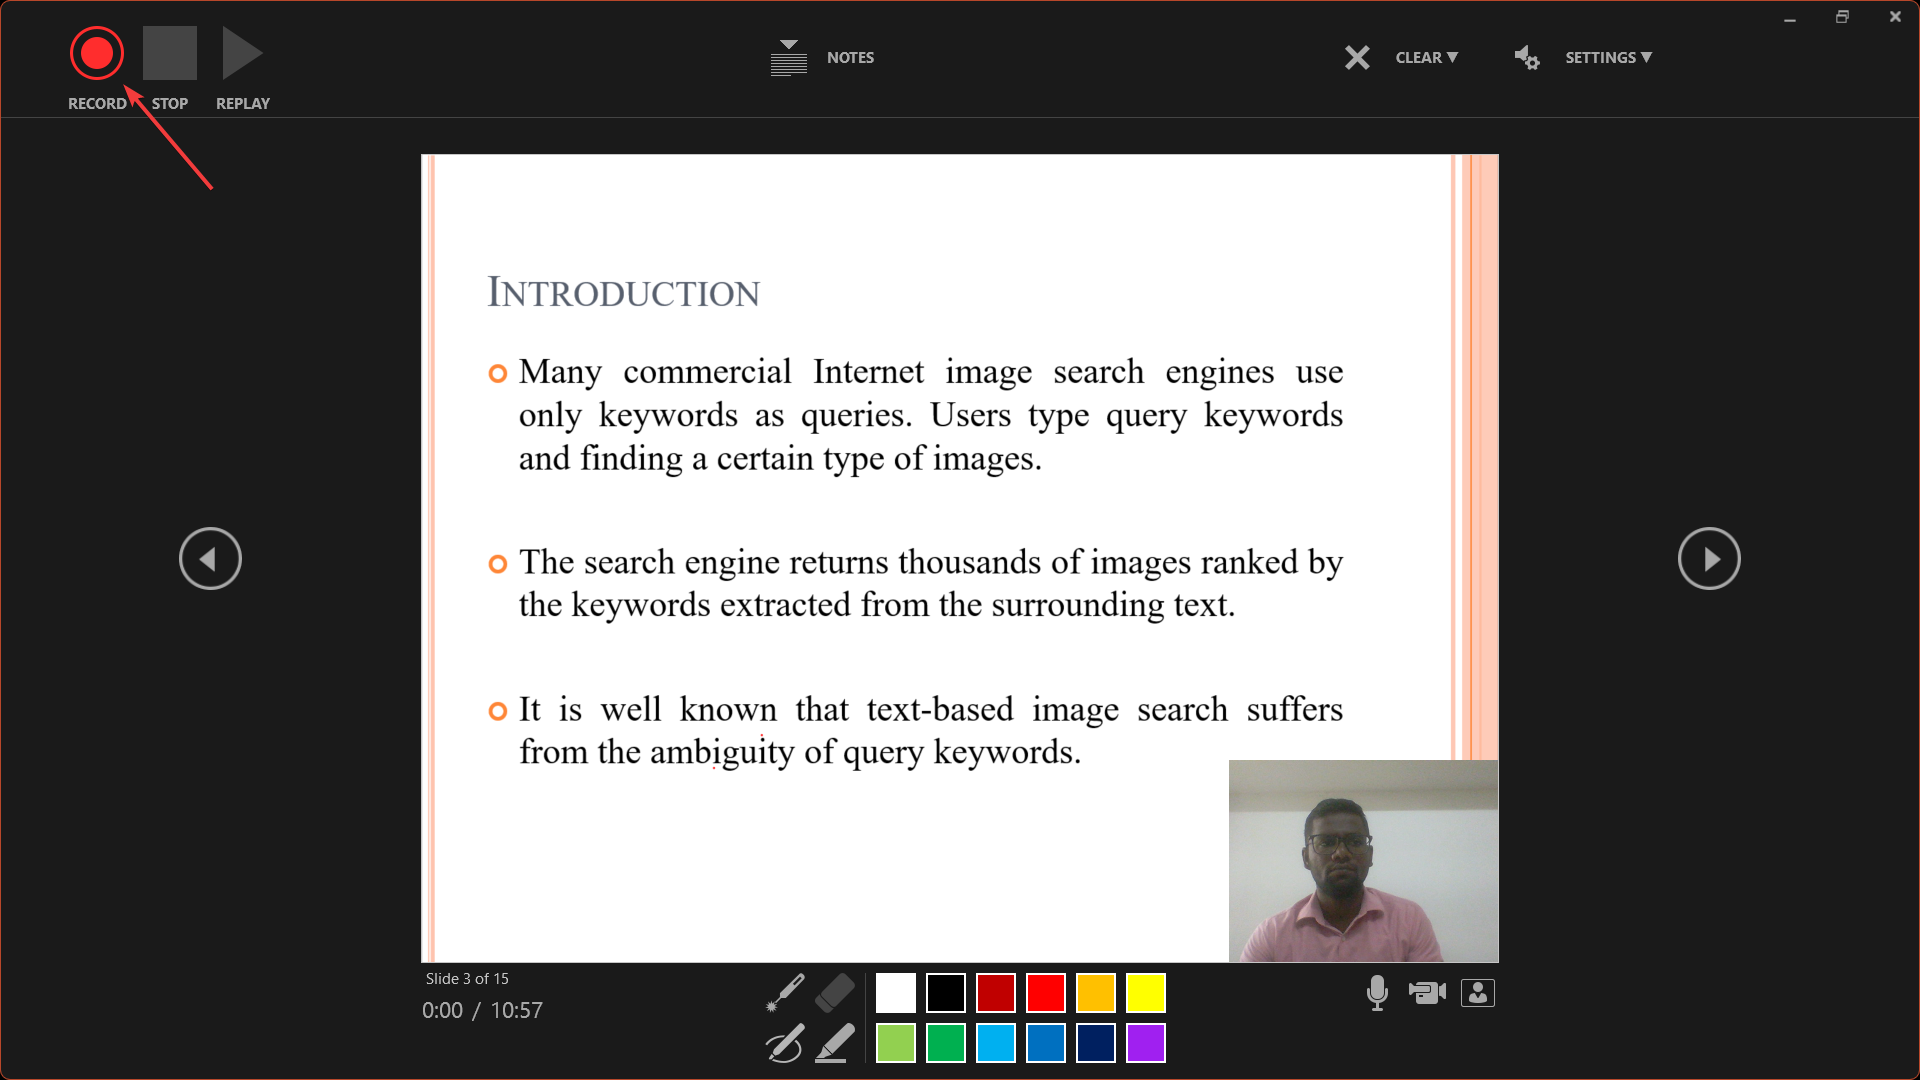
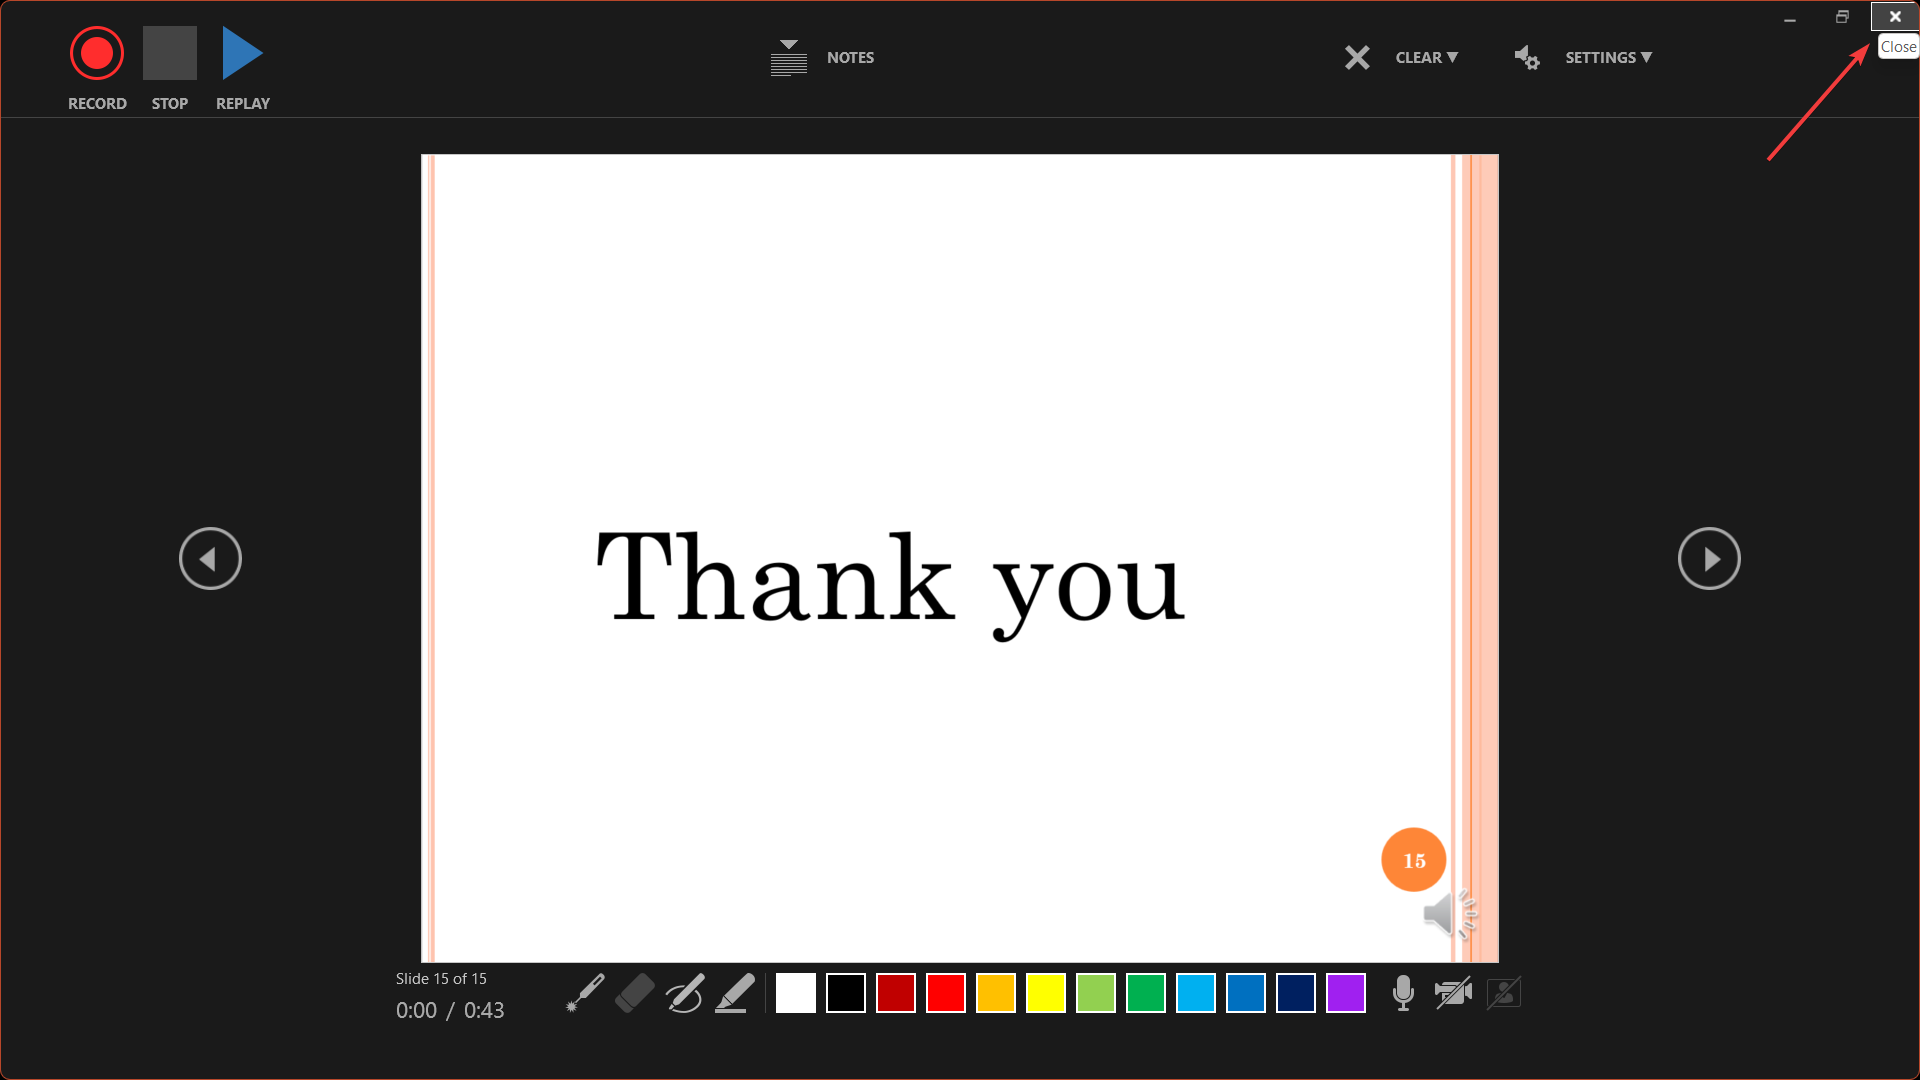
- Your presentation will now open in a recording window and in full-screen mode. You will also see your notes, recording controls, annotation tools, and web cam preview on the screen.
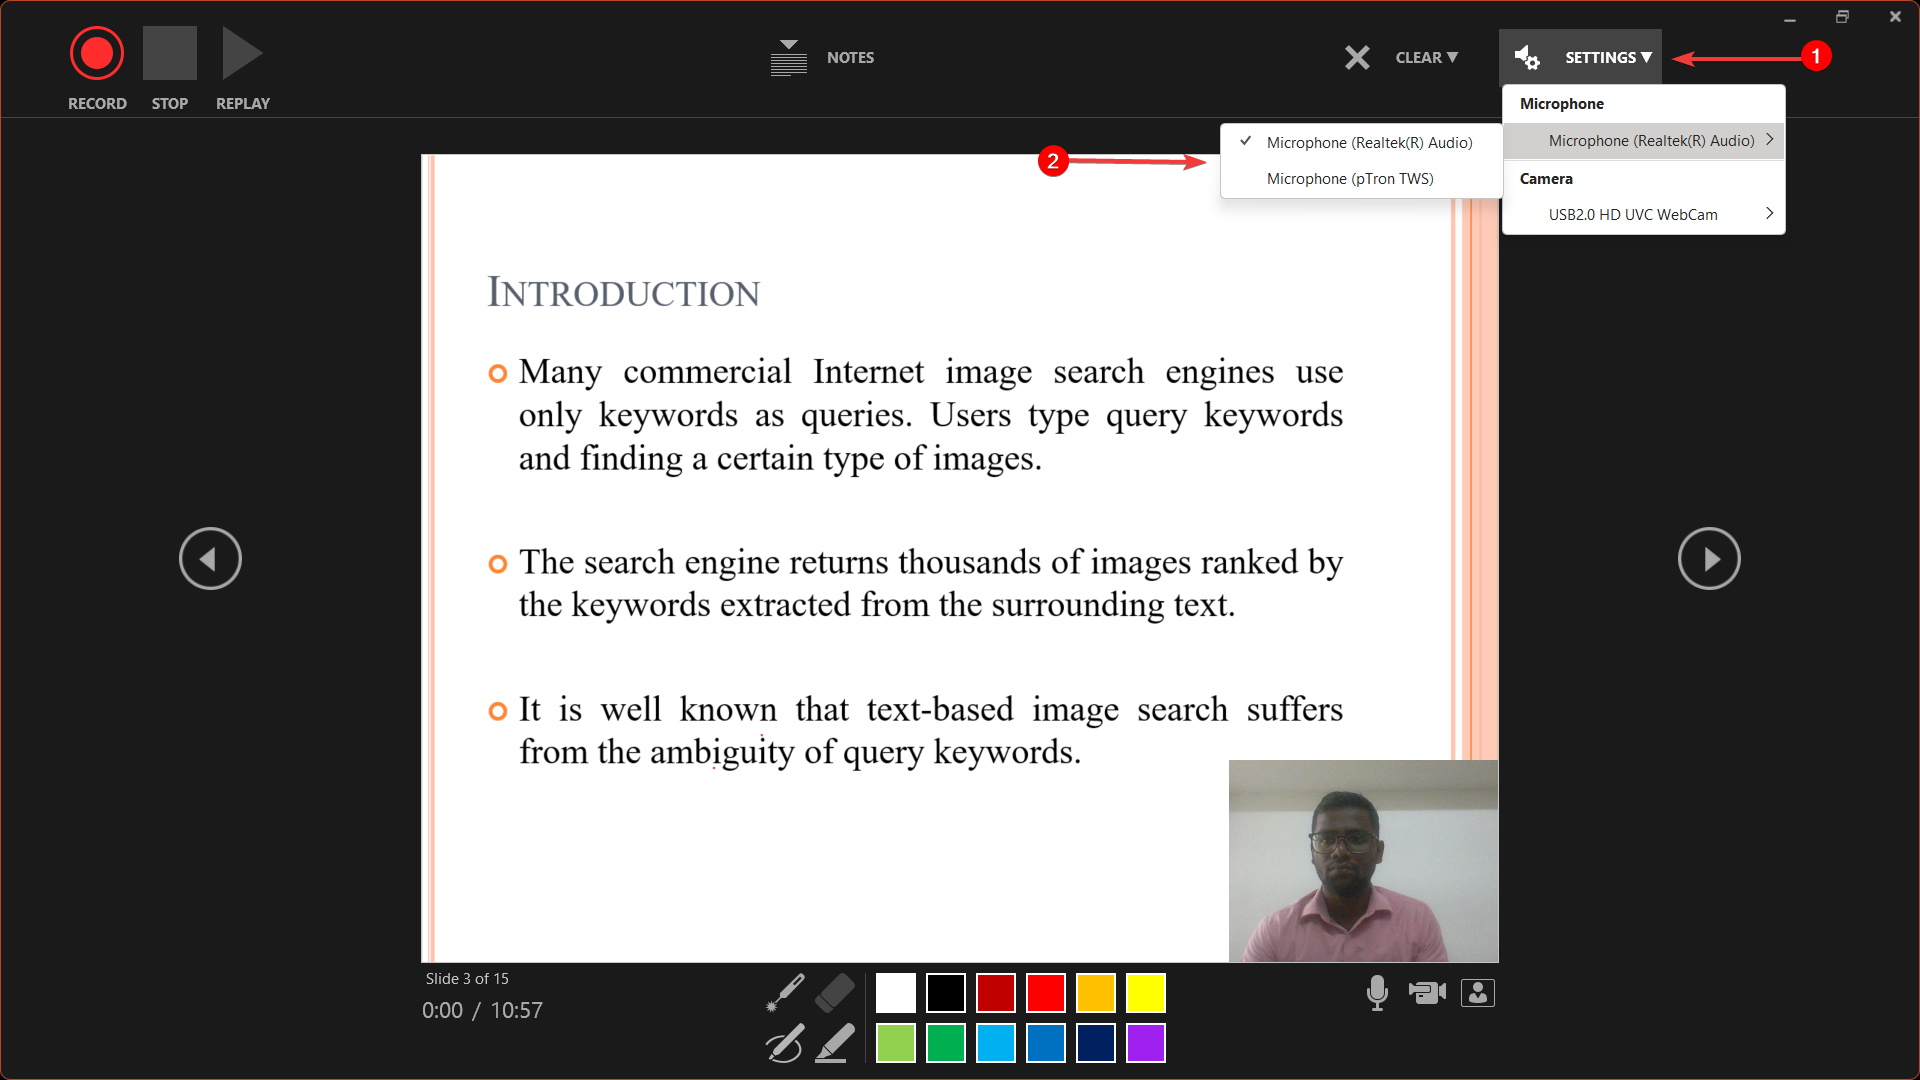
- Before recording, check your microphone and camera settings by clicking the SETTINGS button.
- To begin recording, click the RECORD button at the top left corner and start presenting your slides.
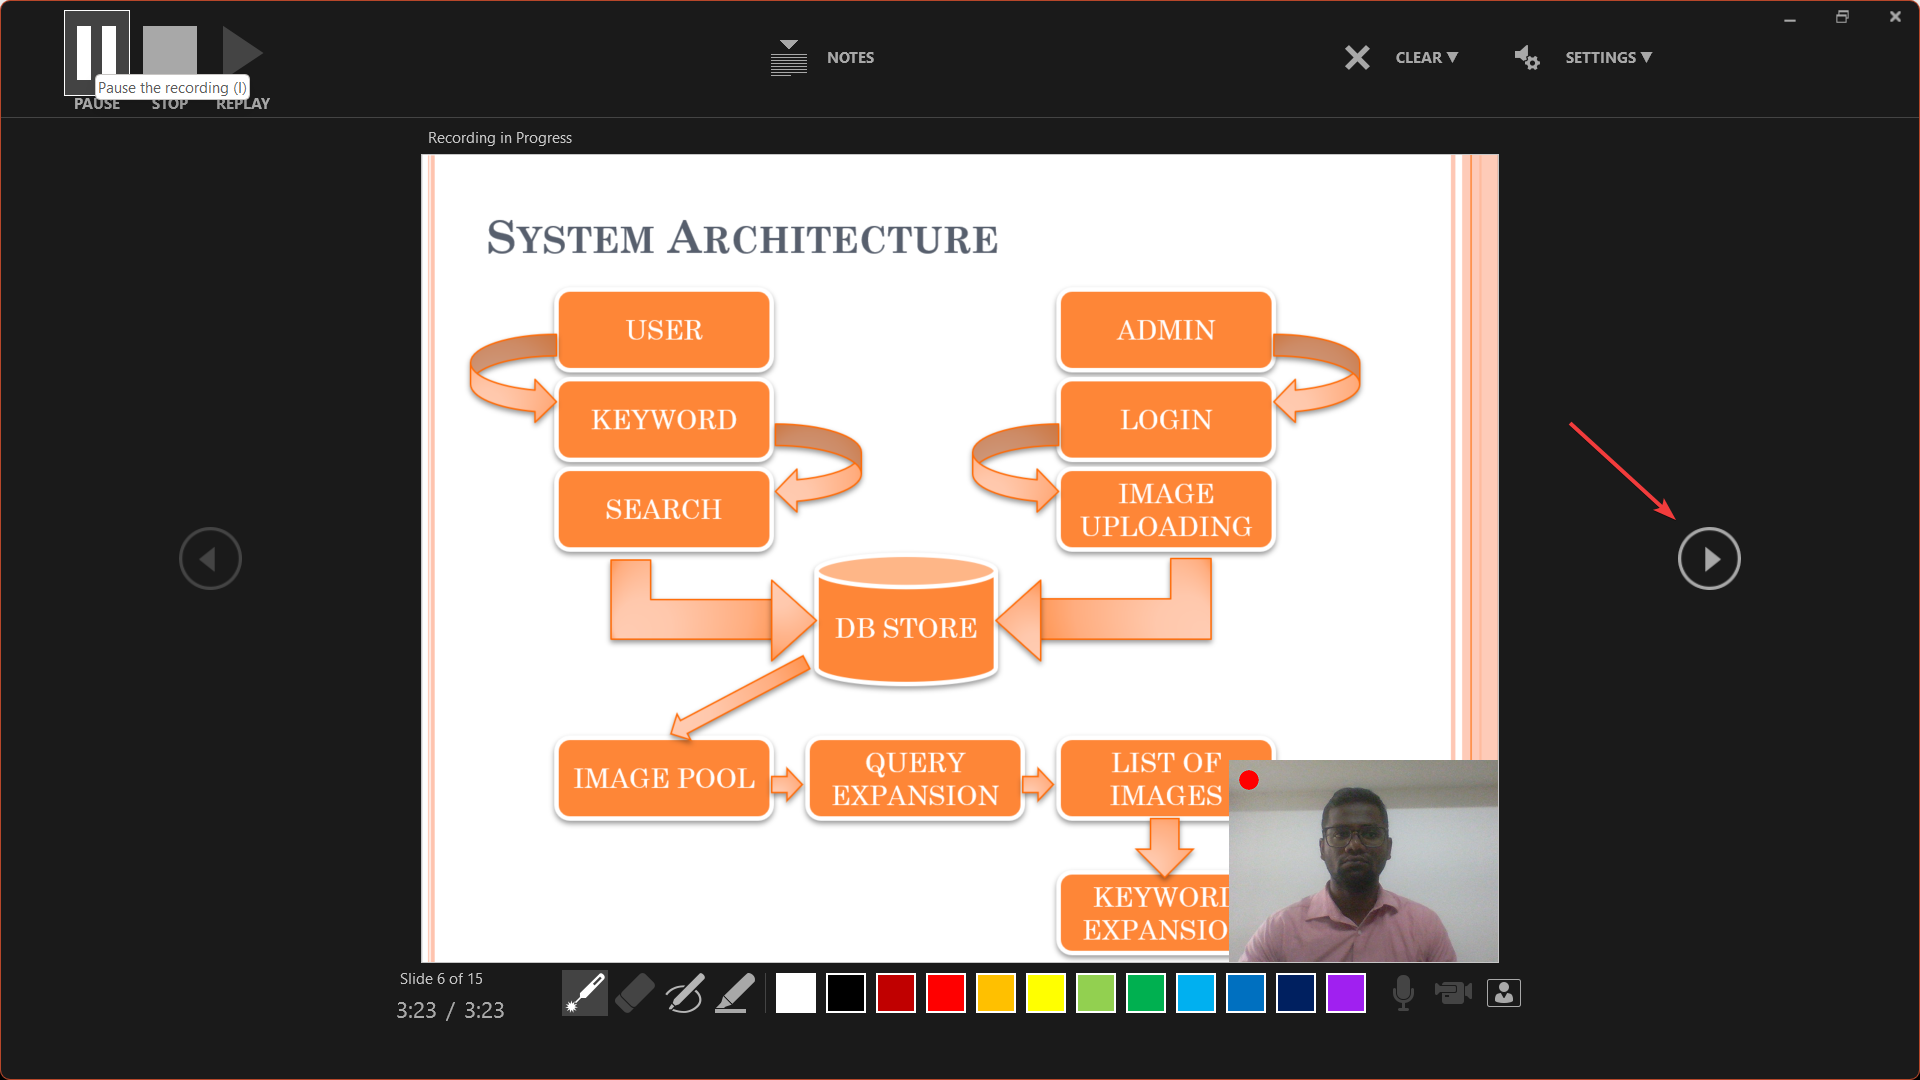
- Use the arrow keys to move forward, but be aware that you can’t move backward or forward to a slide that already has a recording. This is done to avoid recording over an existing recording by mistake.
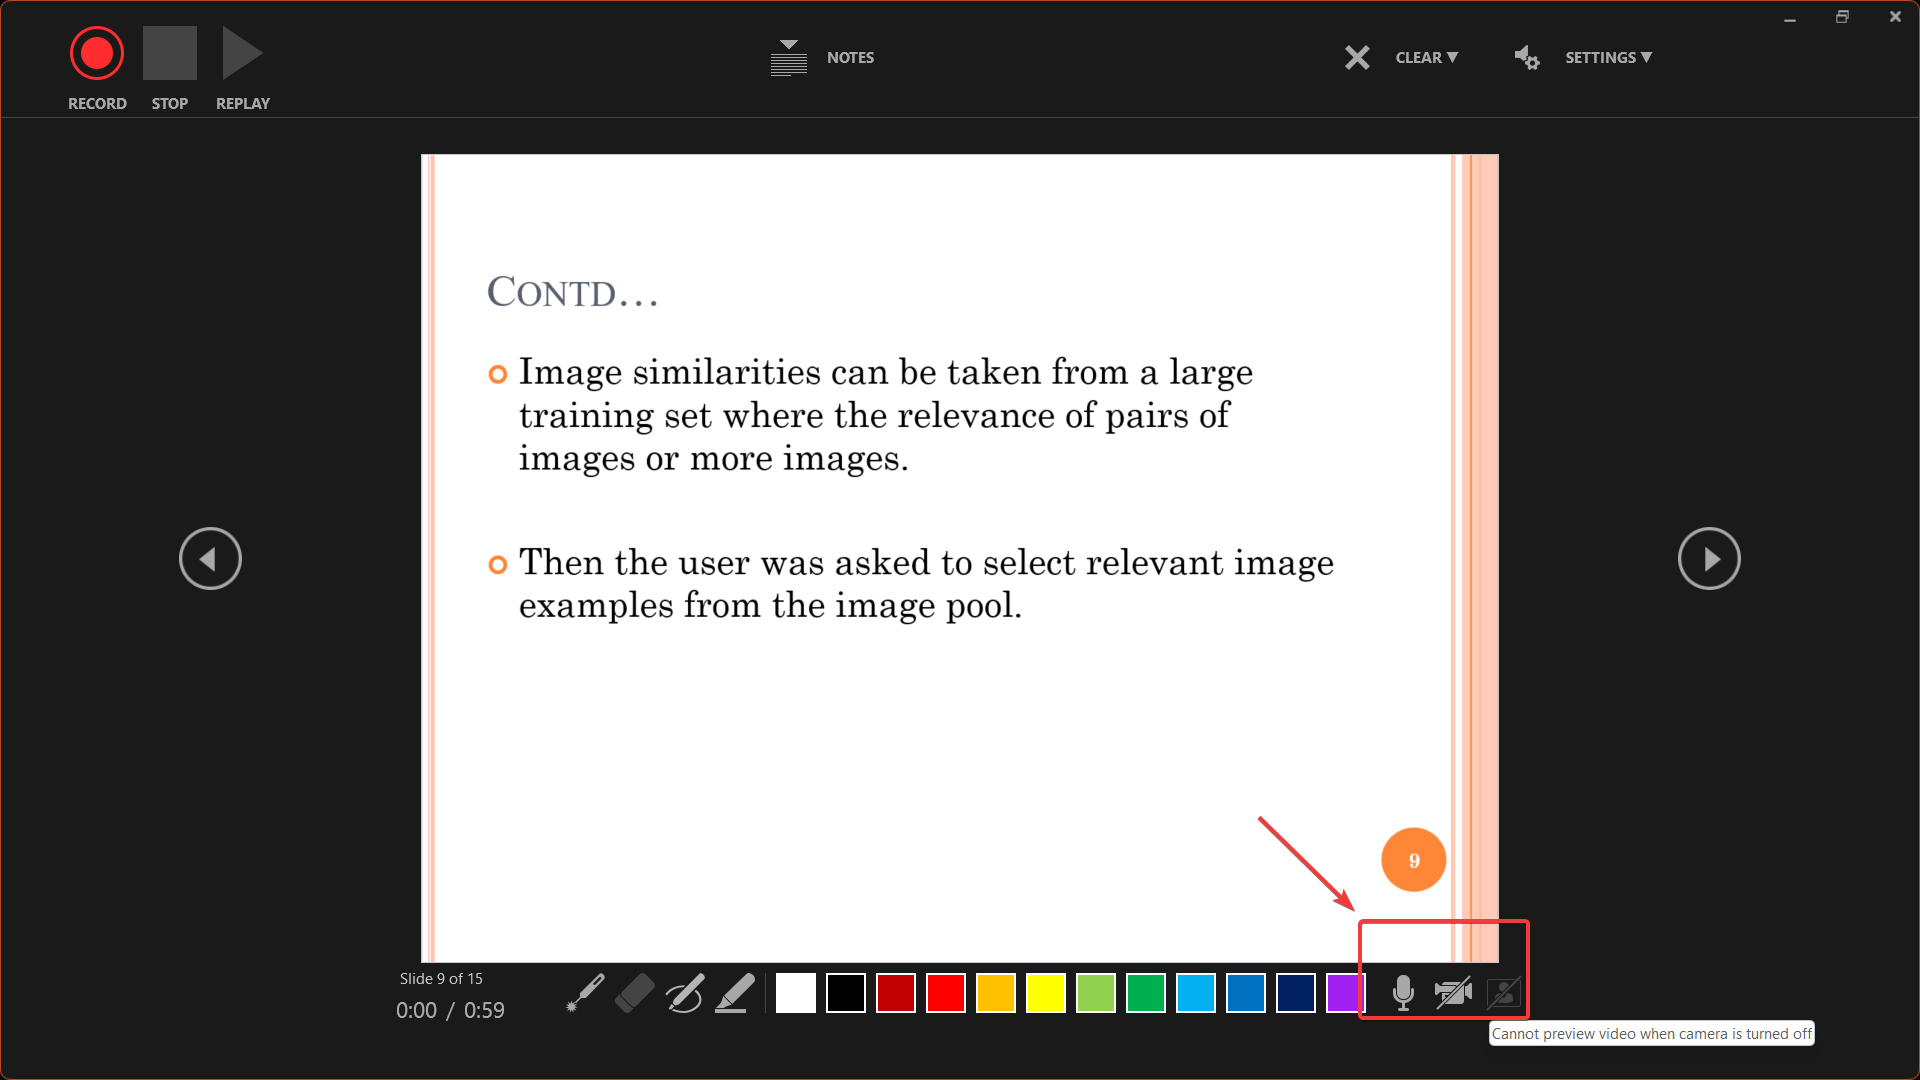
- From the bottom right corner of the screen, you can toggle the microphone, camera, and camera preview on or off.
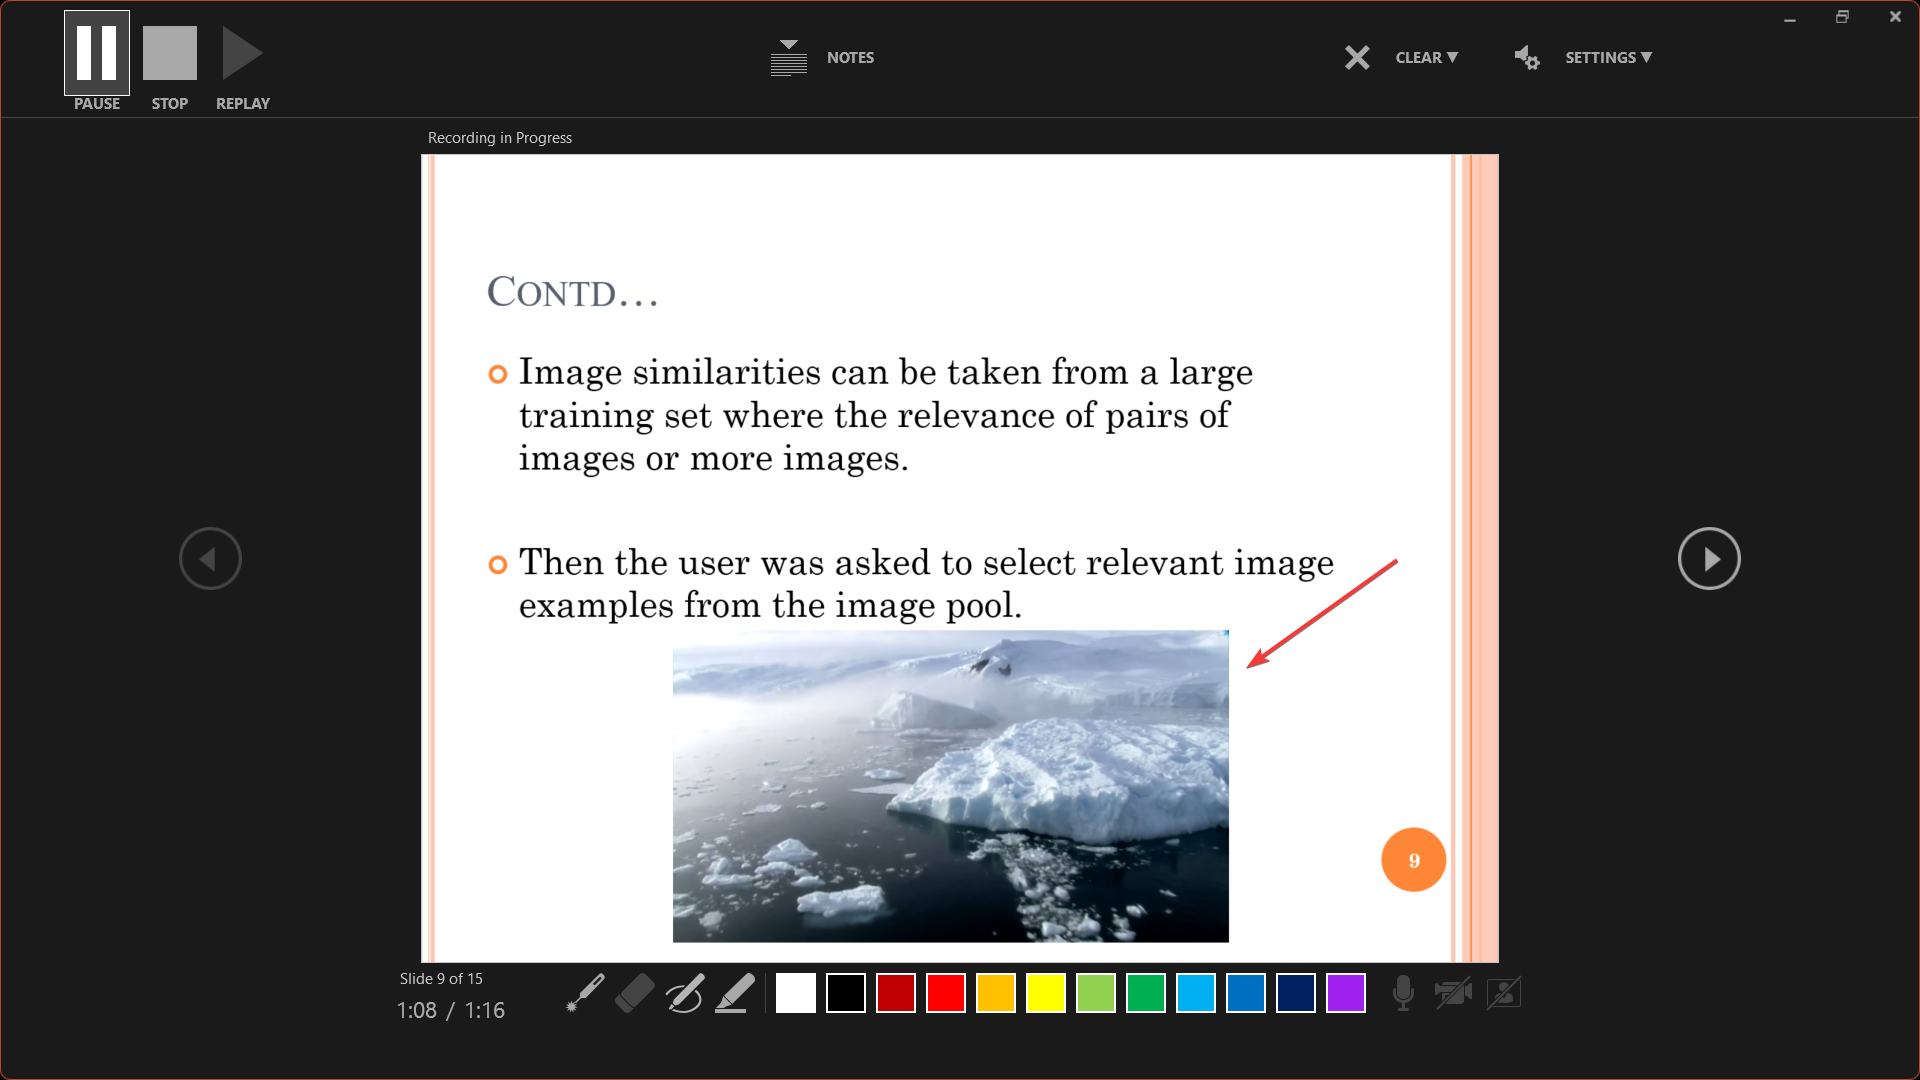
- If your slide has a video inserted, click on the video to start and stop playback, otherwise, the inserted video won’t be visible in the exported video.
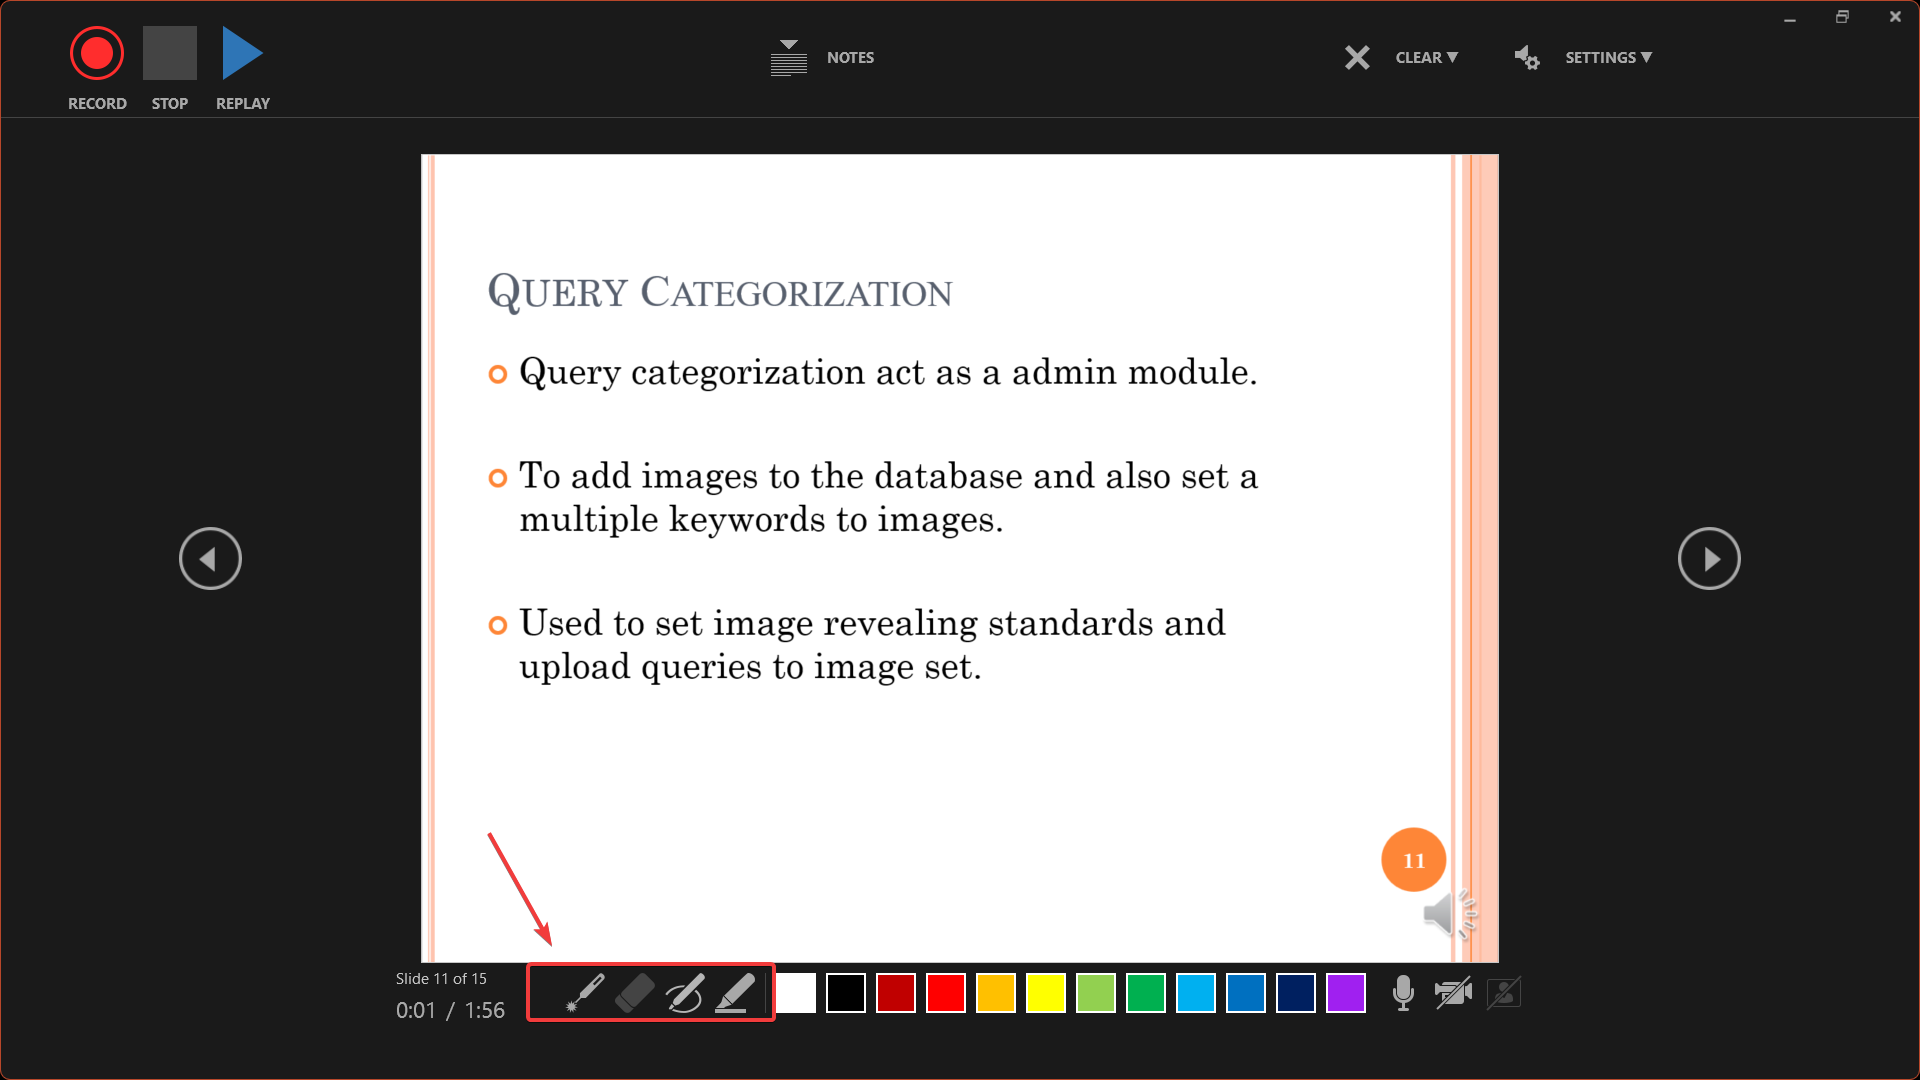
- Use the Pen, Highlighter, or Laser icons from the bottom right corner to annotate your slides during recording.
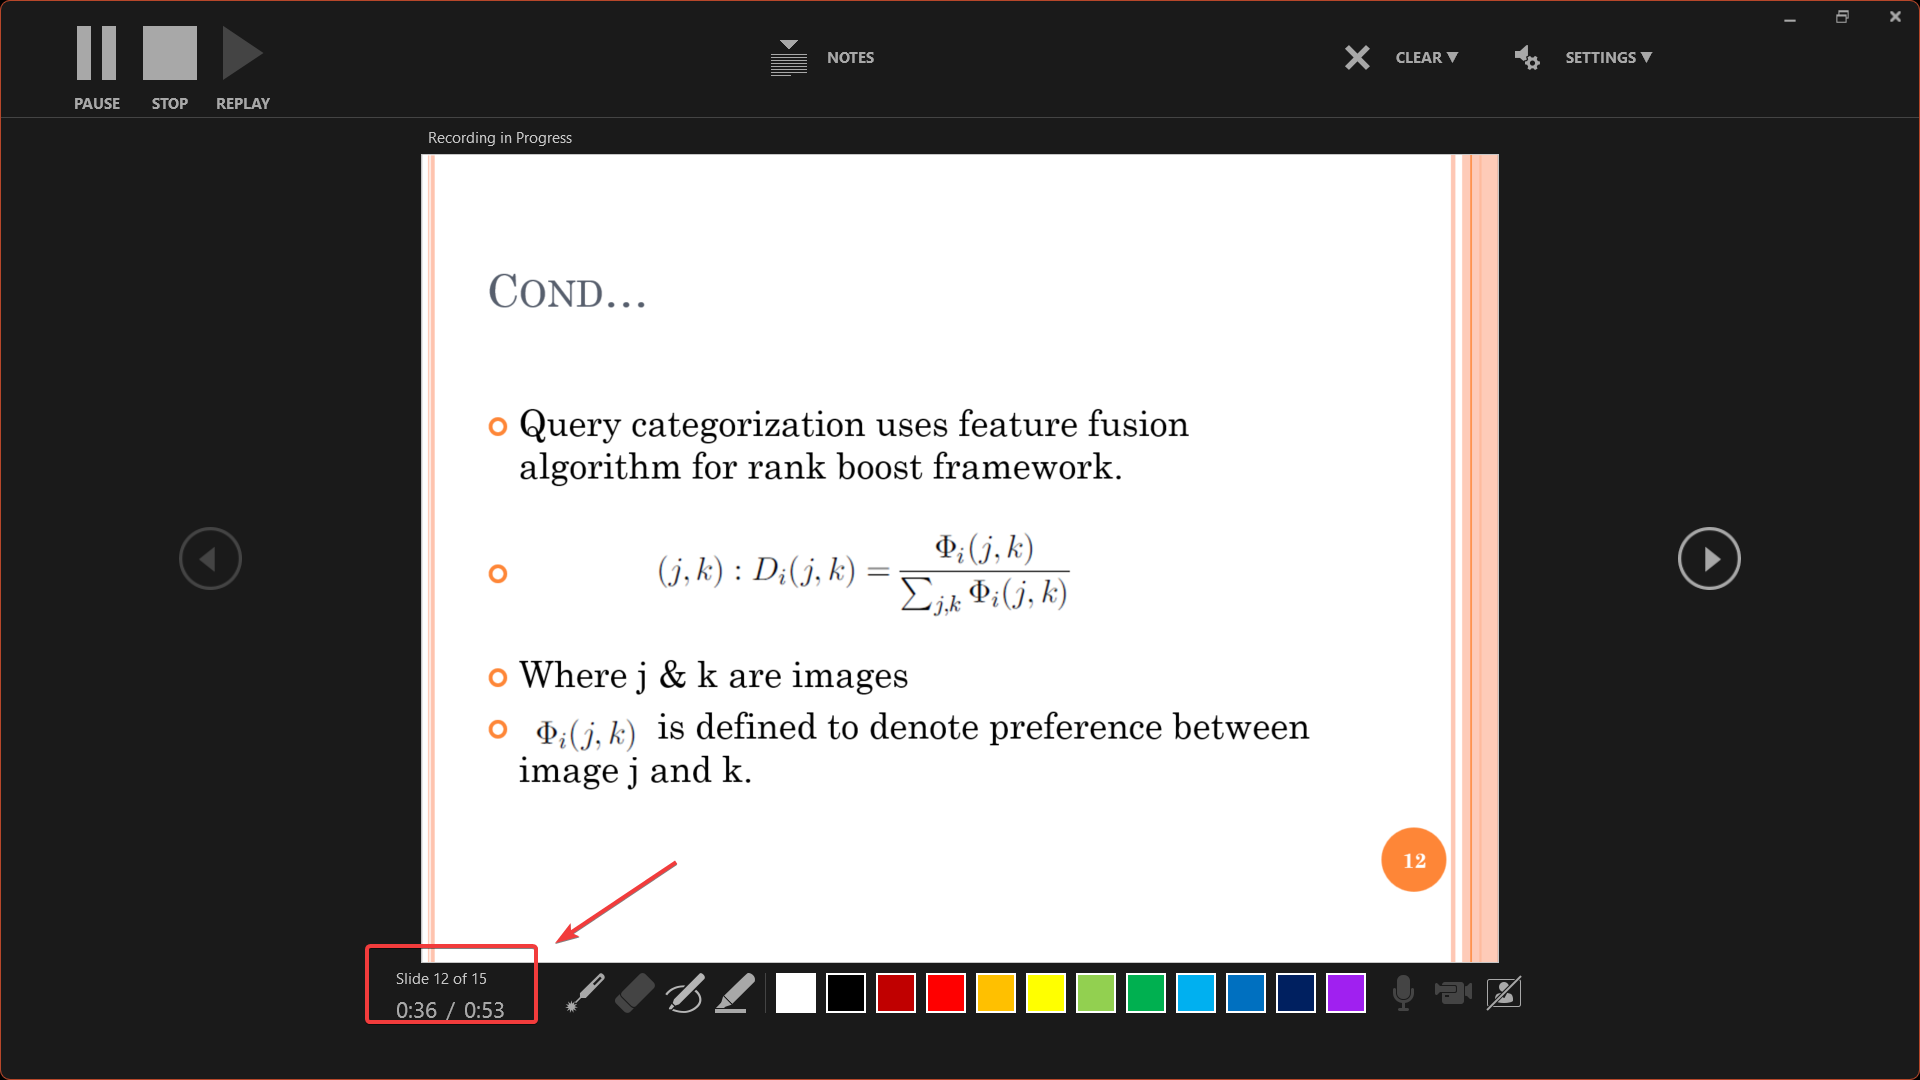
- PowerPoint shows two time counts when recording: one for the current slide and one for the entire presentation.
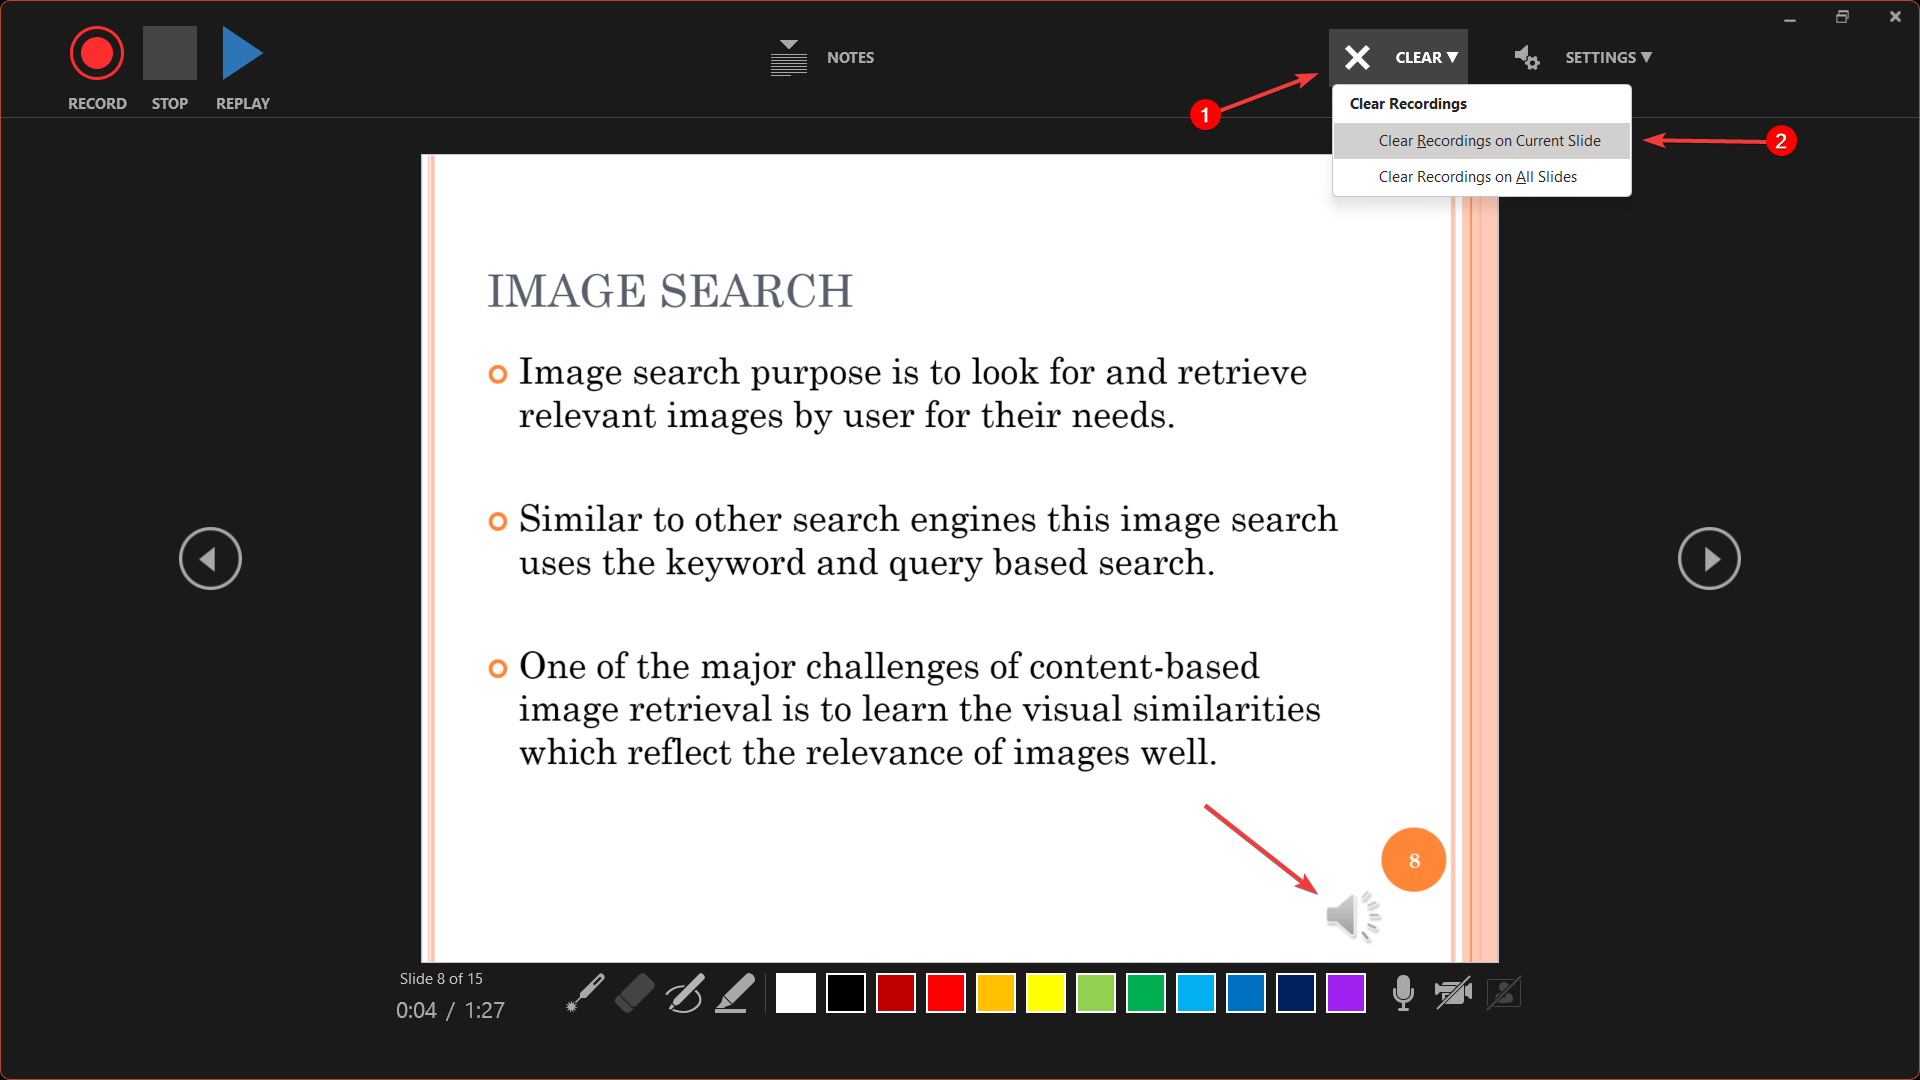
- To re-record a slide with an existing recording, click CLEAR at the top and select Clear Recording on Current Slides. If slide has recording, video preview or speaker icon shows at bottom right.
- To delete all recordings in the presentation, click CLEAR and select Clear Recordings on All Slides.
- You can pause or stop recording at any time with the Pause and Stop buttons.
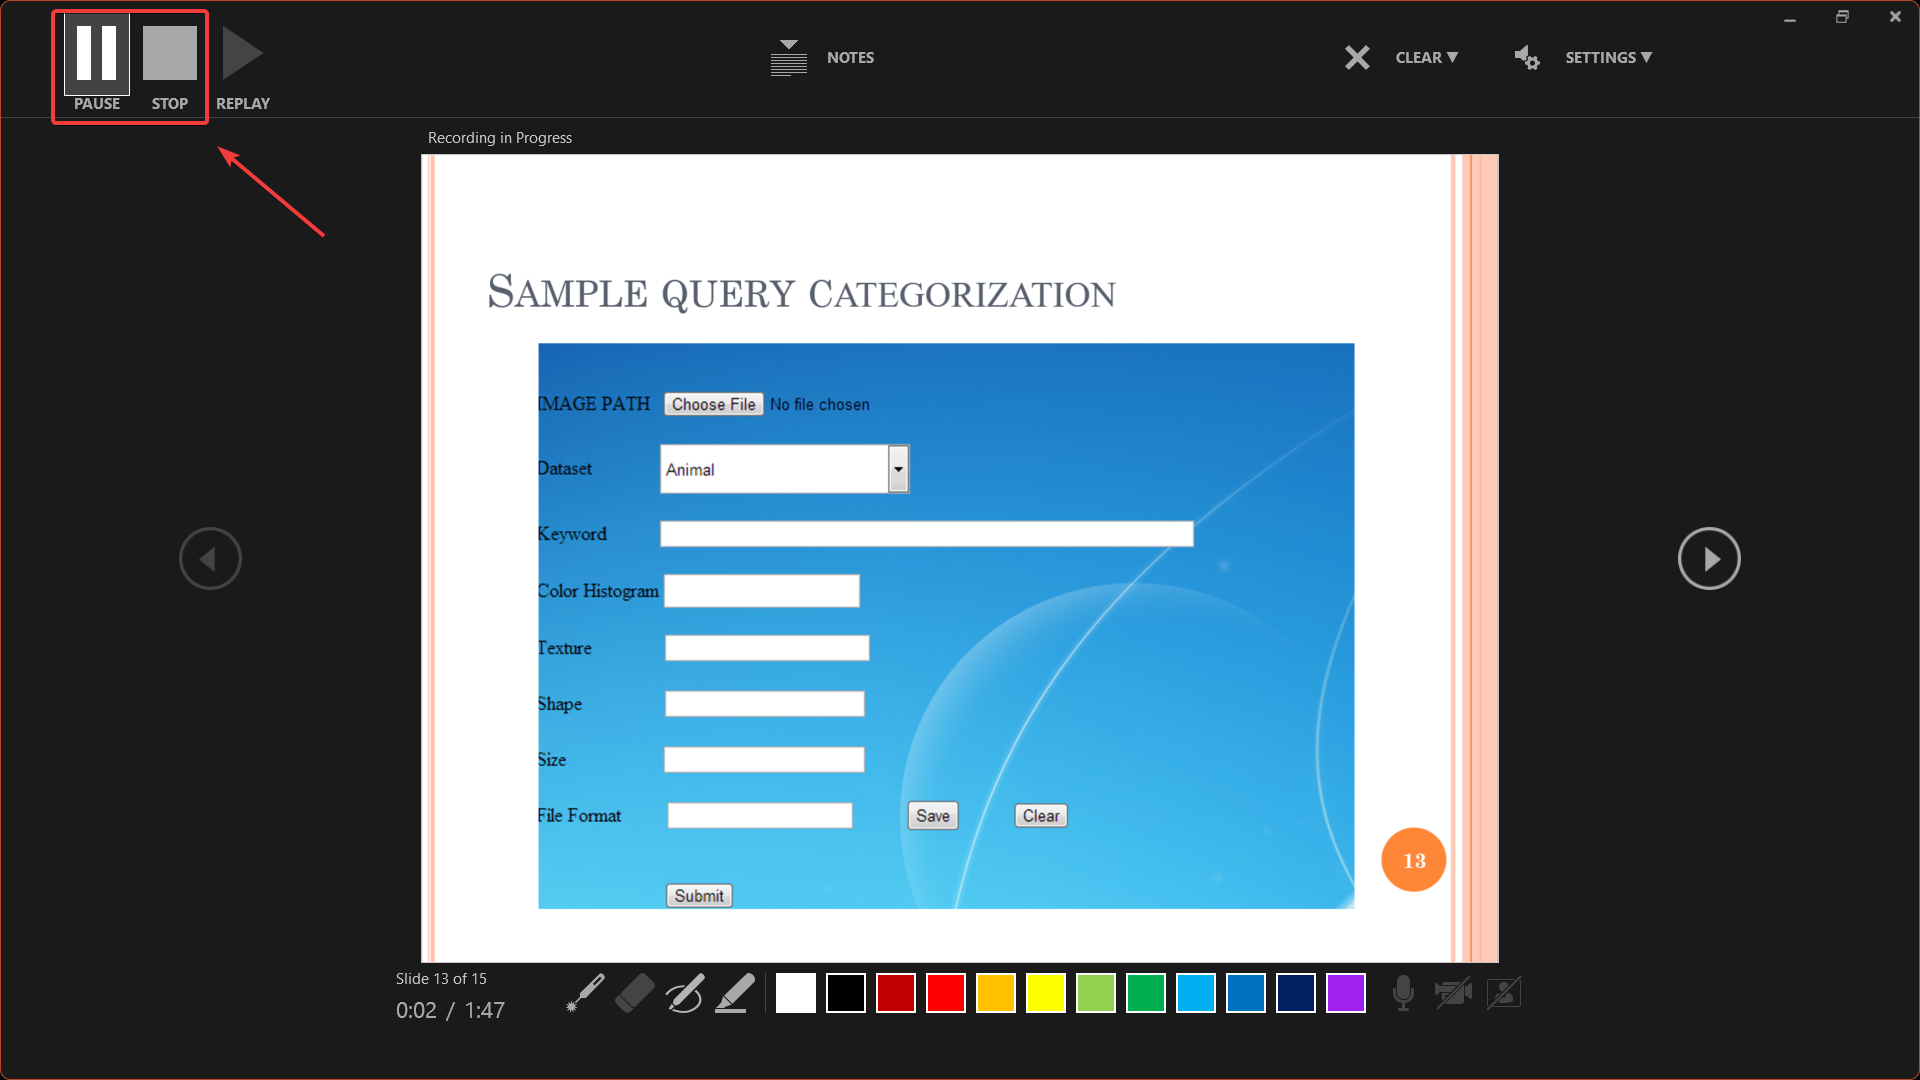
- You can record all of them continuously without pausing, or you can record each slide individually and click pause before moving on to the next slide to begin recording again.
- Click Close or right-click and select End Show when you’re done recording.
The recordings are added to the presentation on a slide-by-slide basis. So, if you need to modify a recording, you only need to re-record the specific slide or slides affected.
4. Check the Recordings
NOTE
- Go to the Slide Show tab of the main PowerPoint toolbar and click From Beginning or From Current Slide to start the playback.
- To verify each slide has a recording and timing recorded, switch to the View tab and click Slide Sorter to view all slides at once.
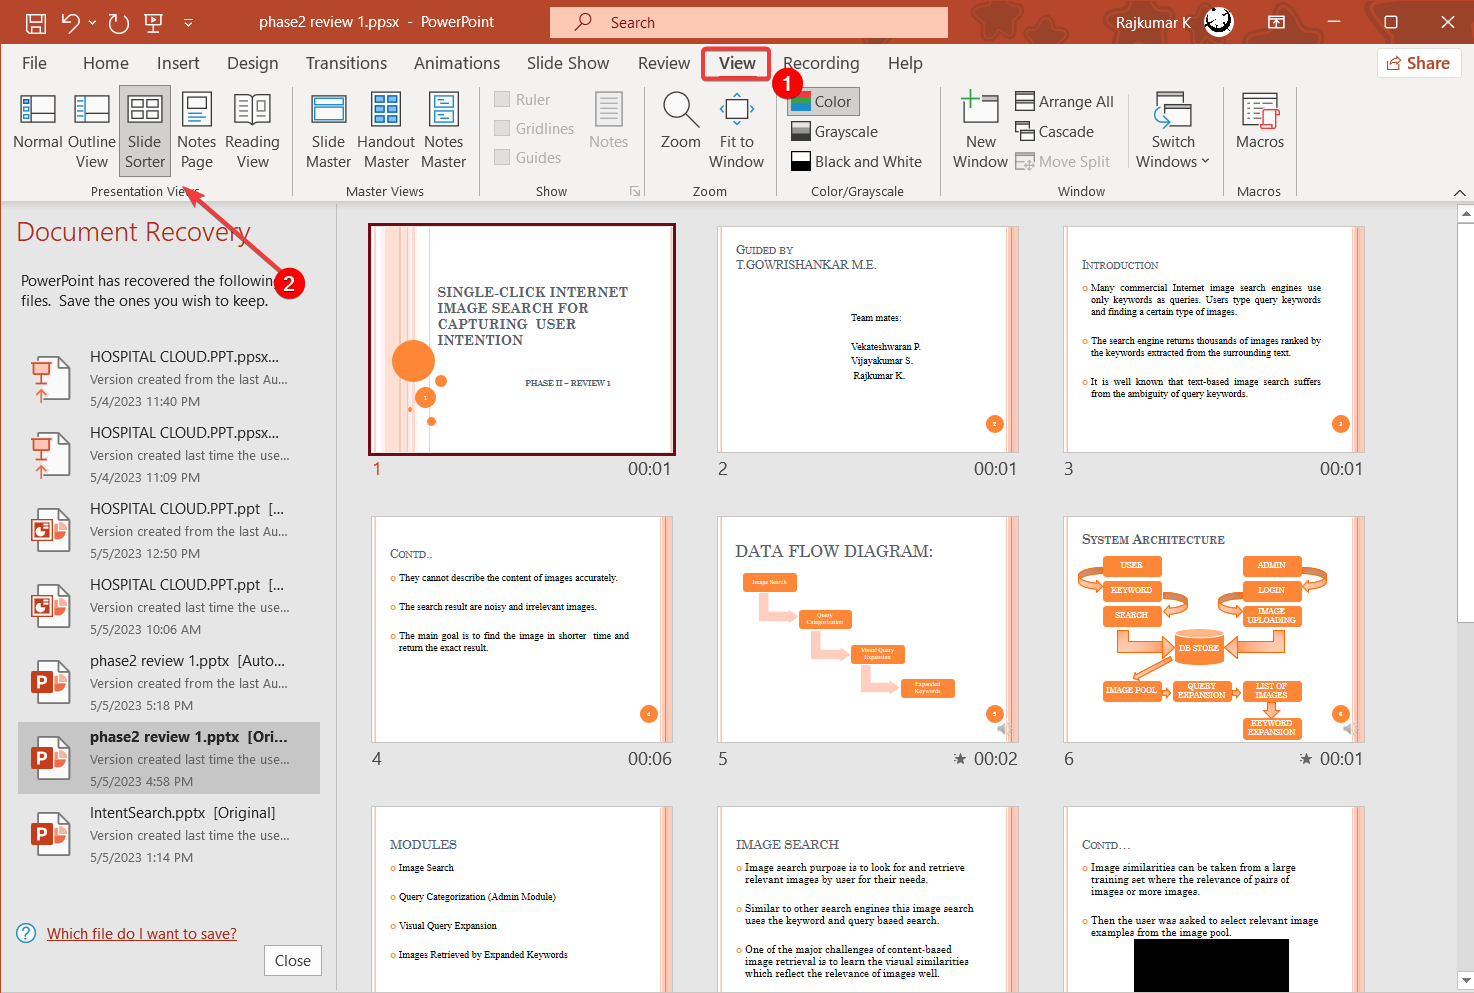
For each slide, you should see a speaker icon or a thumbnail image in the lower-right corner, along with a recording time indicating how long the recording is.
Once you are satisfied with your recording, you can export the entire recorded presentation as a Slide show or a video.
5. Save the presentation as a PowerPoint Show
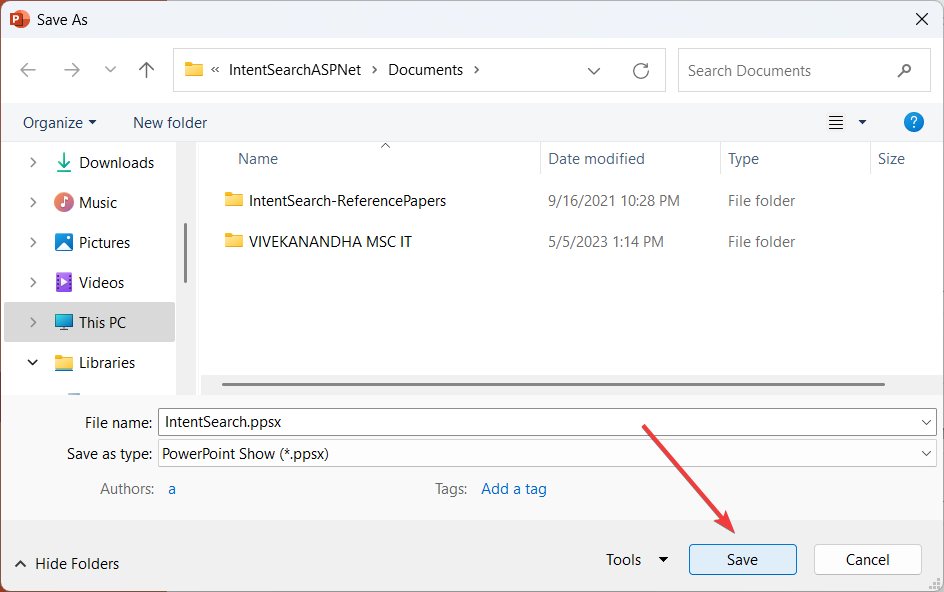
- Click File and select Save As.
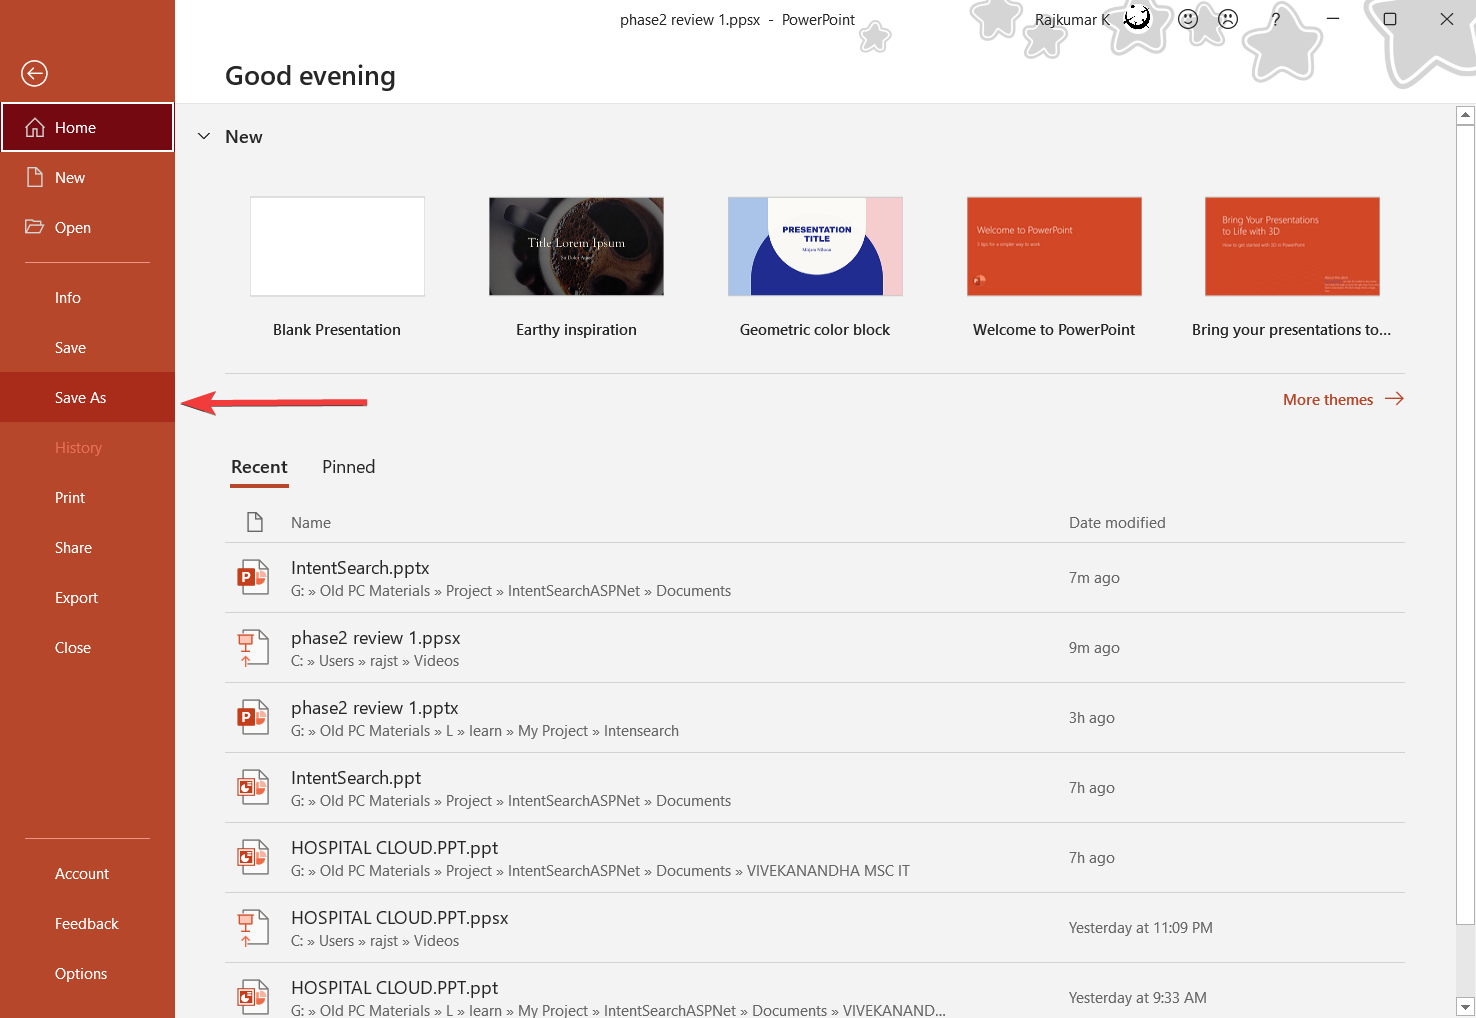
- Then, select the location where you want to save the file and choose PowerPoint Show (*.ppsx) from the Save as type drop-down.
- Then, click Save to save the file as PowerPoint Show.
If you’re looking for other useful tips, here’s our guide on how to print a PPT with notes with a few clicks.
6. Save the presentation as a video
- Click File and select Export.
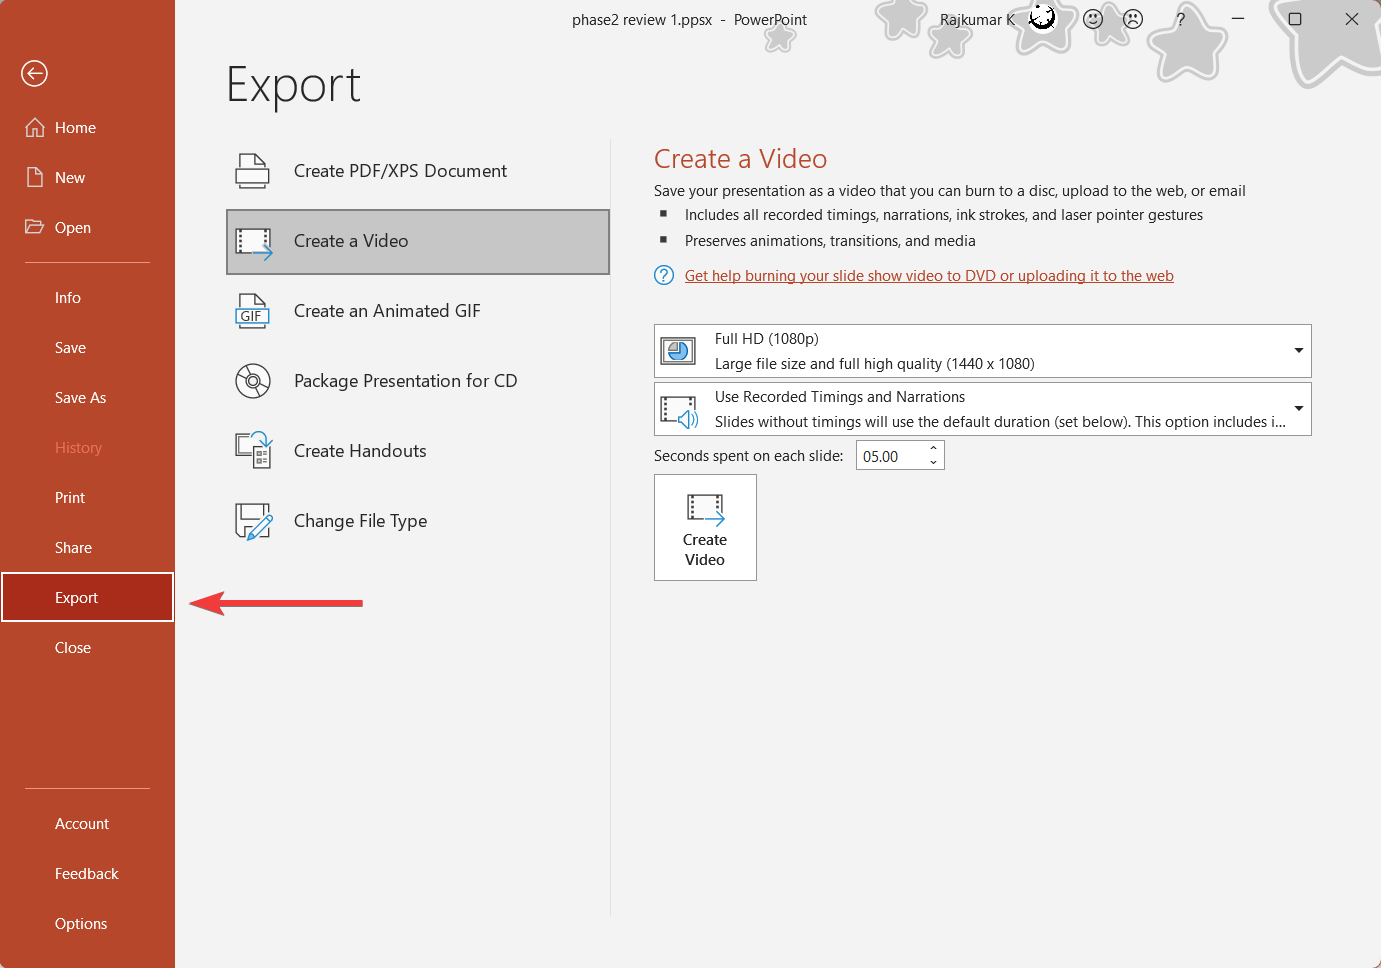
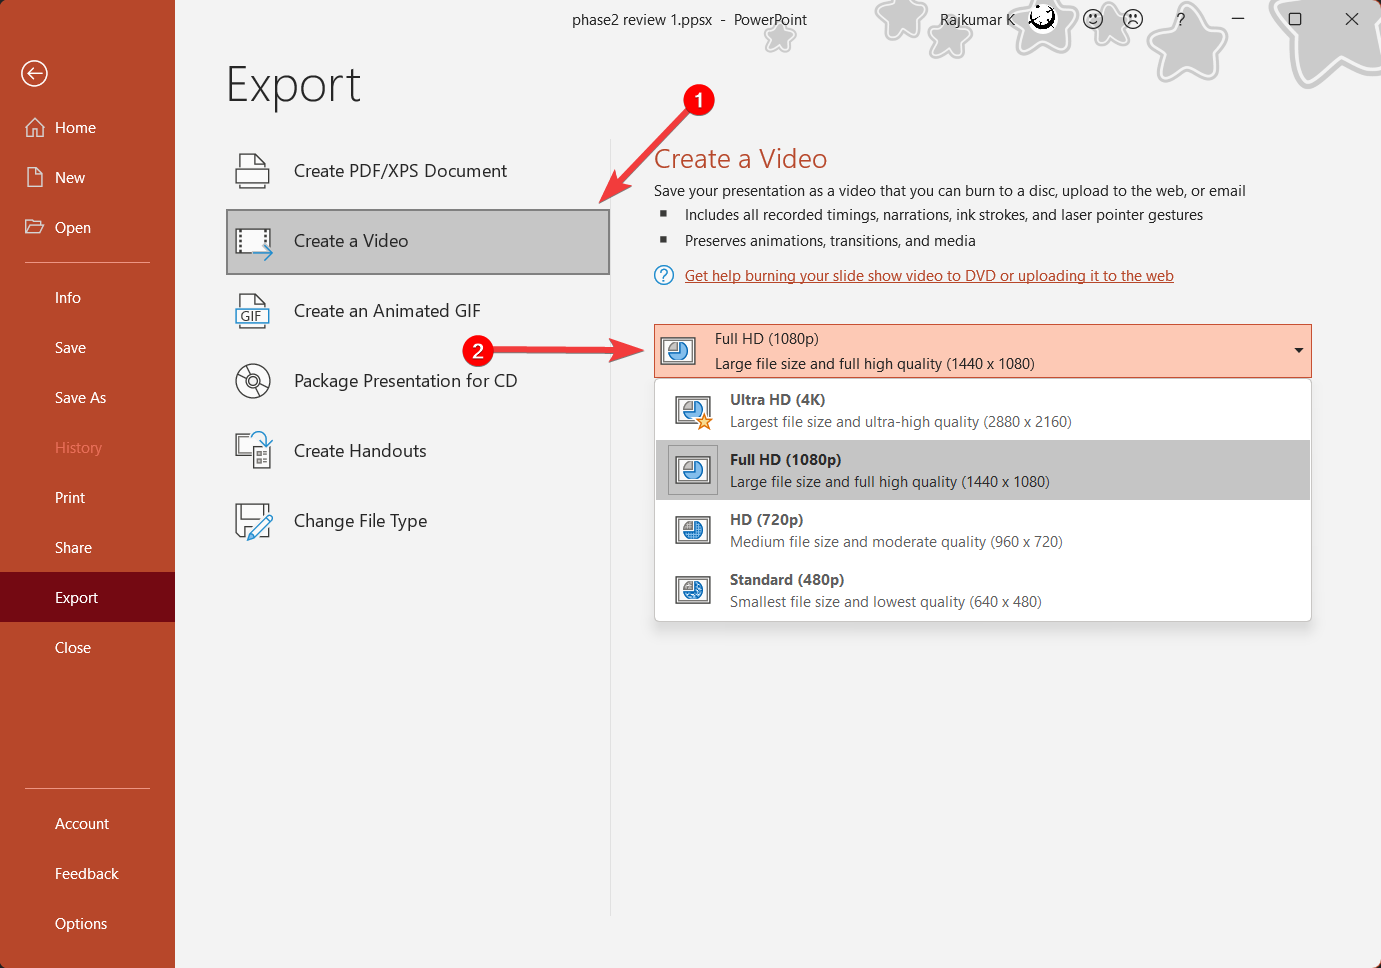
- Click Create a Video on the right pane and choose the video quality from the first drop-down menu. It is recommended to select Full HD (1080p).
- Make sure the Use Recorded Timings and Narrations is selected in the next drop-down menu.
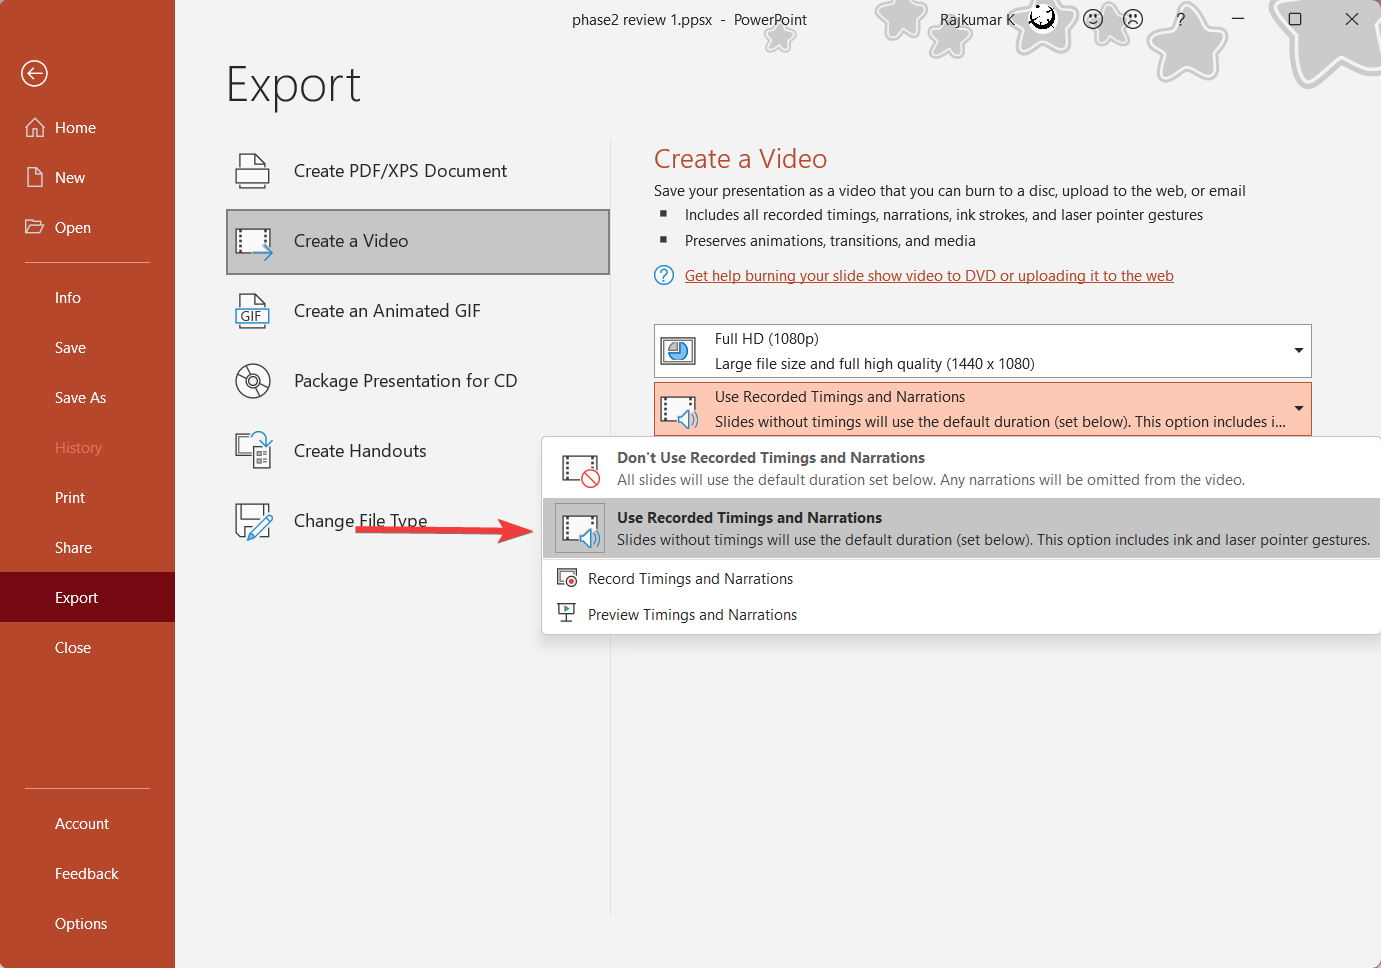
- Choose how long you want to spend on the slides without any recordings in the Seconds spent on each slide setting.
- Click the Create Video button and choose the location where you want to save the video.

It may take some time to create the video, depending on your computer’s performance. Once the video is created, it can be played on any video player.
How to add audio and video to a PowerPoint presentation?
Instead of recording audio and video directly in PowerPoint, you can add external audio and video files to your presentation.
1. Add audio to a PowerPoint presentation
- Go to the Recording tab, click the Audio button select Audio on My PC… You could also select the Record Sound option to record your narration to add it to the slide.
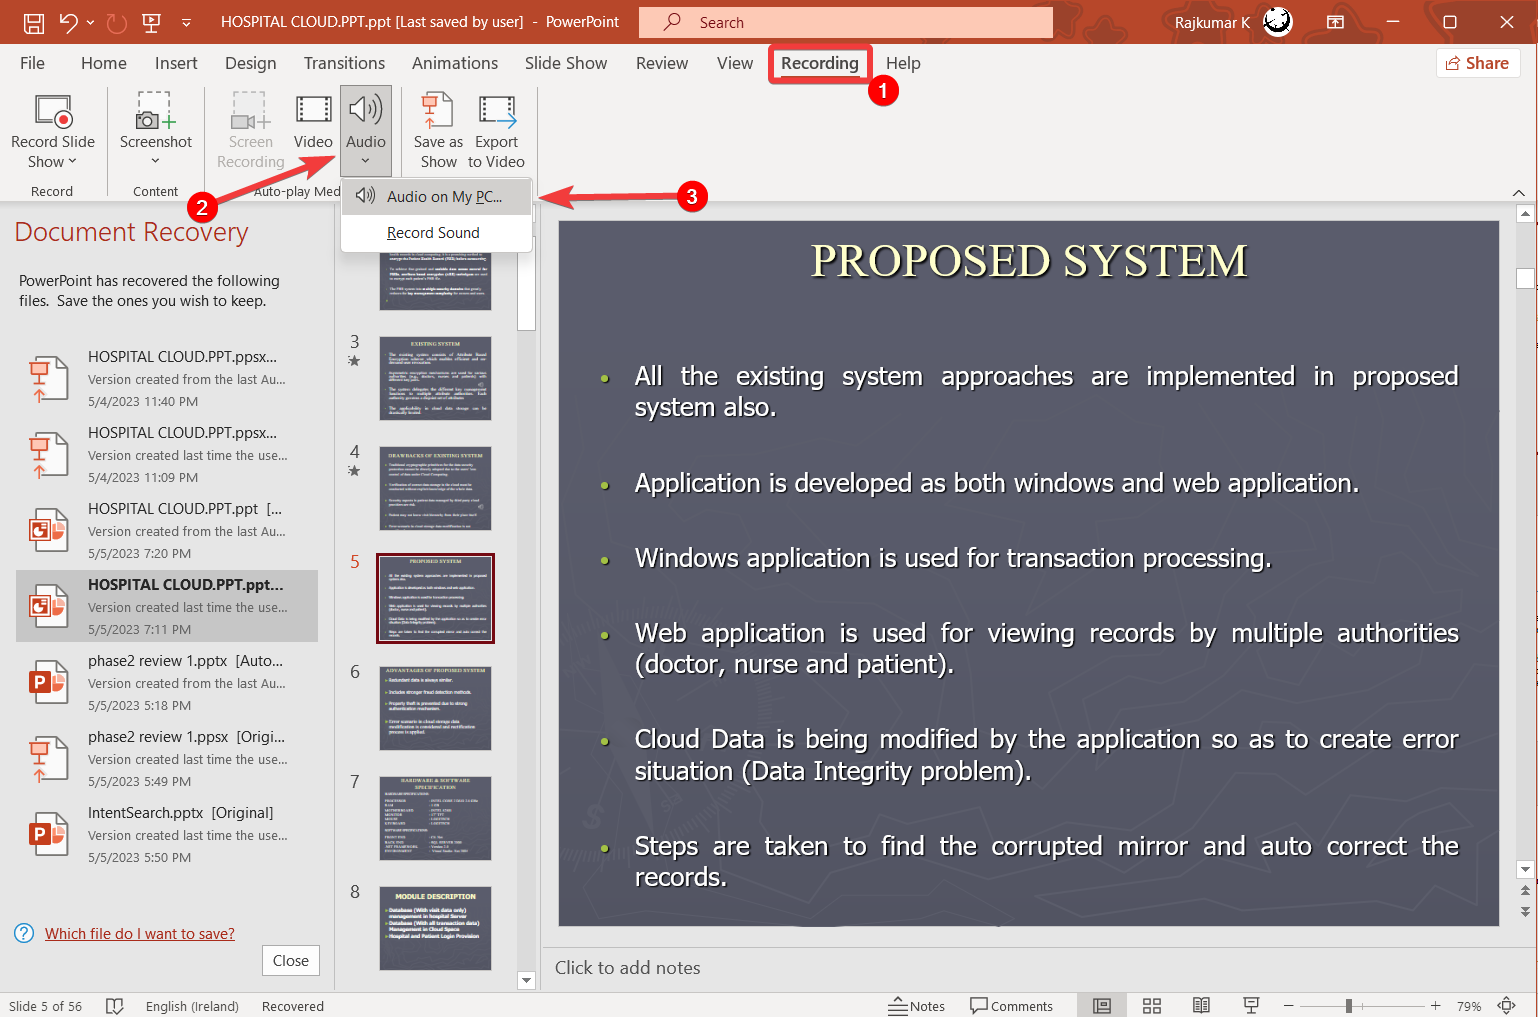
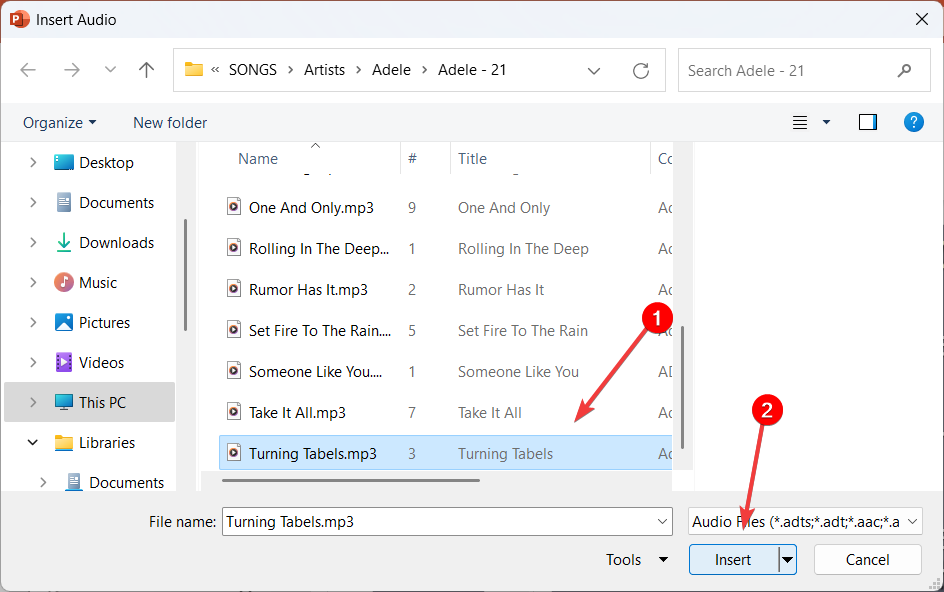
- Then, select the audio file from your device and then click Insert.
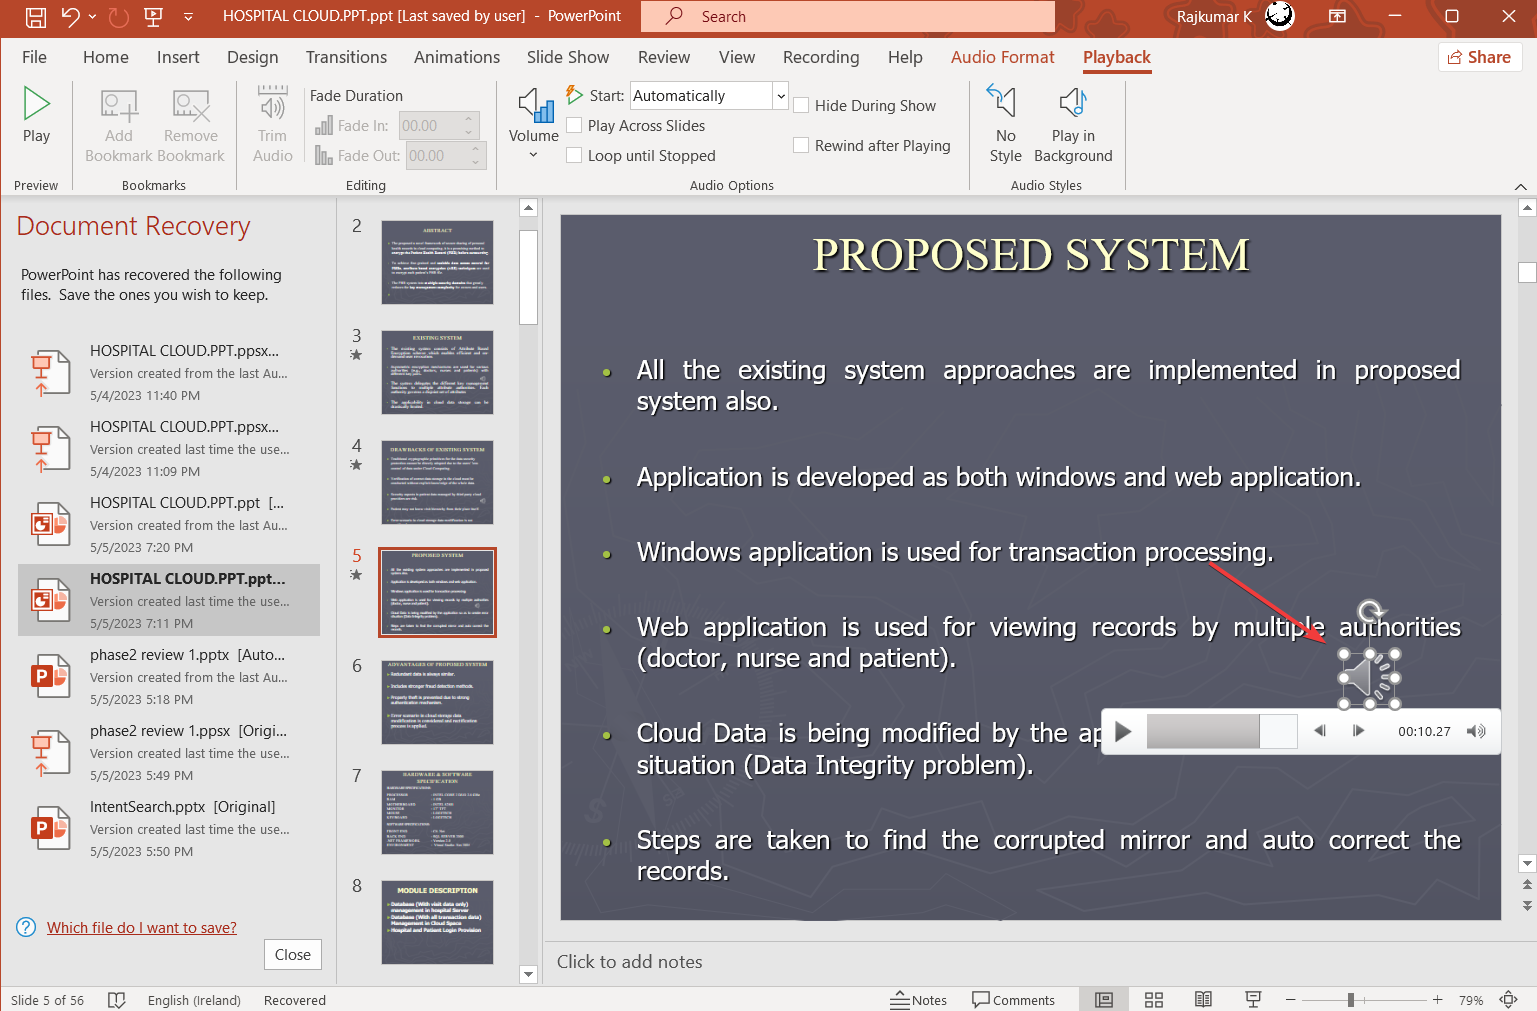
- The added audio will appear as a smaller speaker icon in your presentation.
2. Add video to a PowerPoint presentation
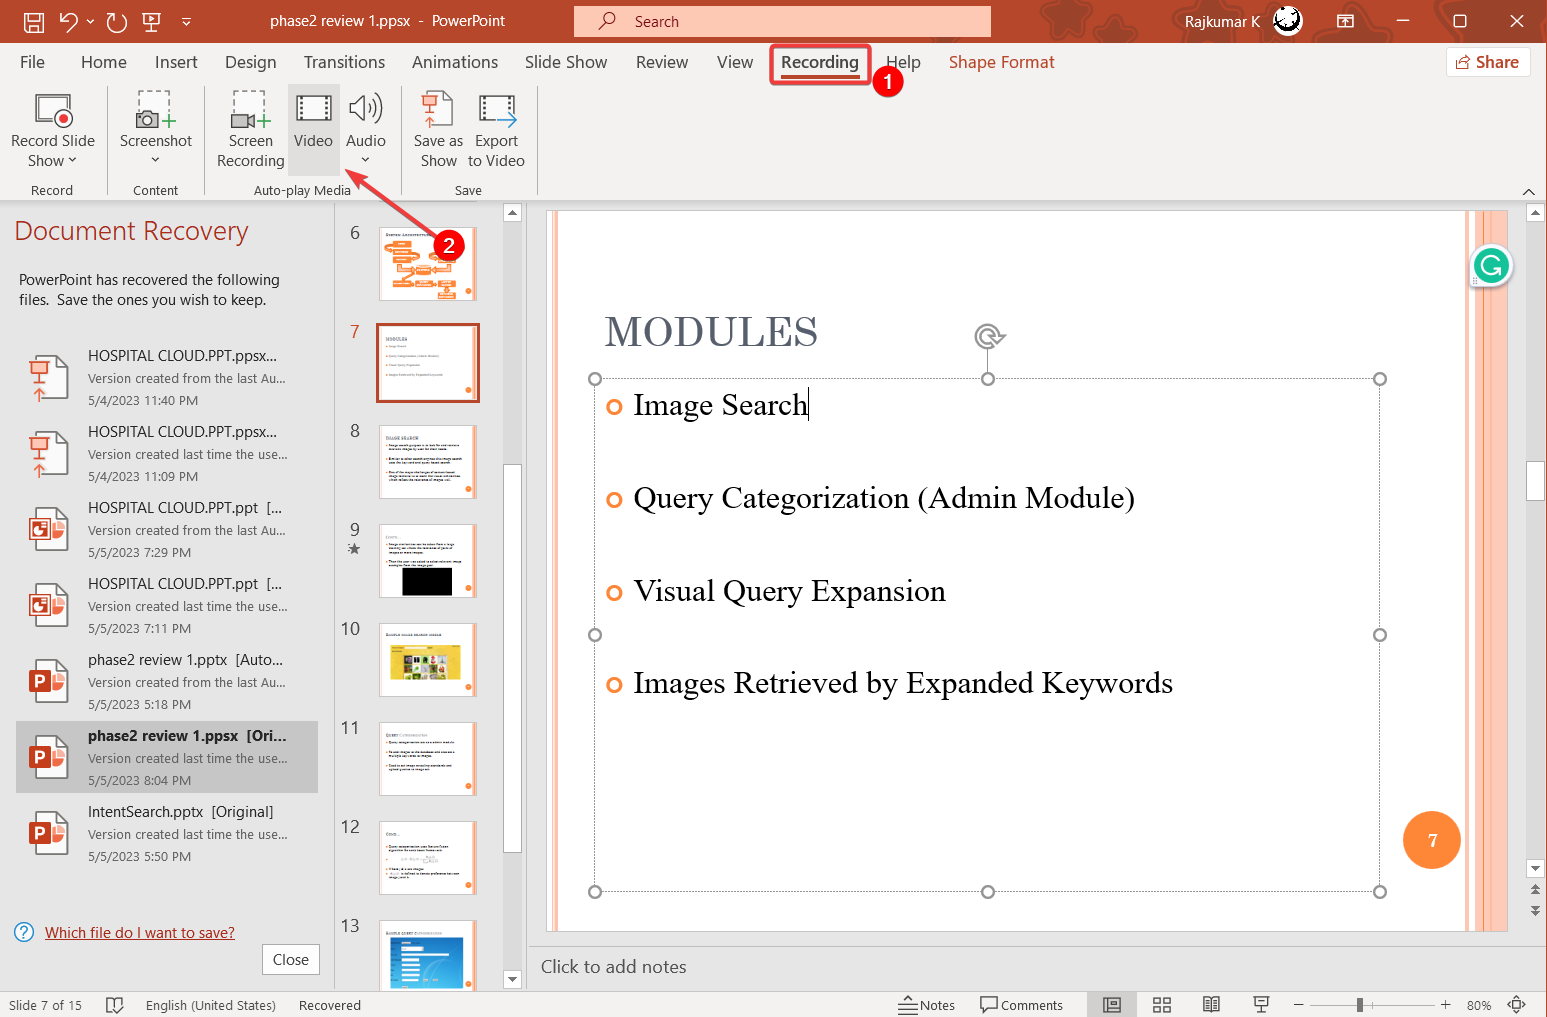
- Go to the Recording tab and click the Video button.
- Select the video from your computer and then click Insert.
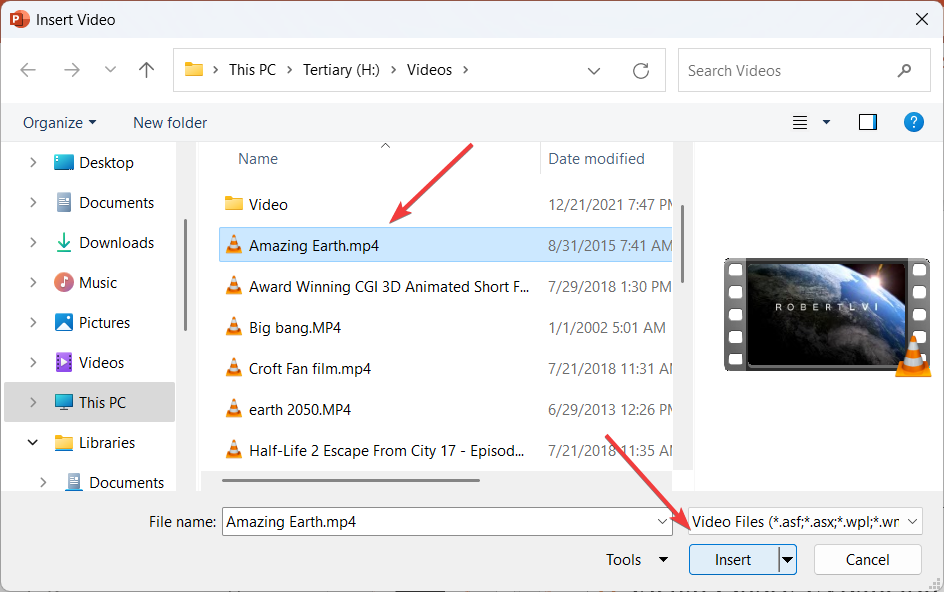
- Then, resize the video to your desired size.
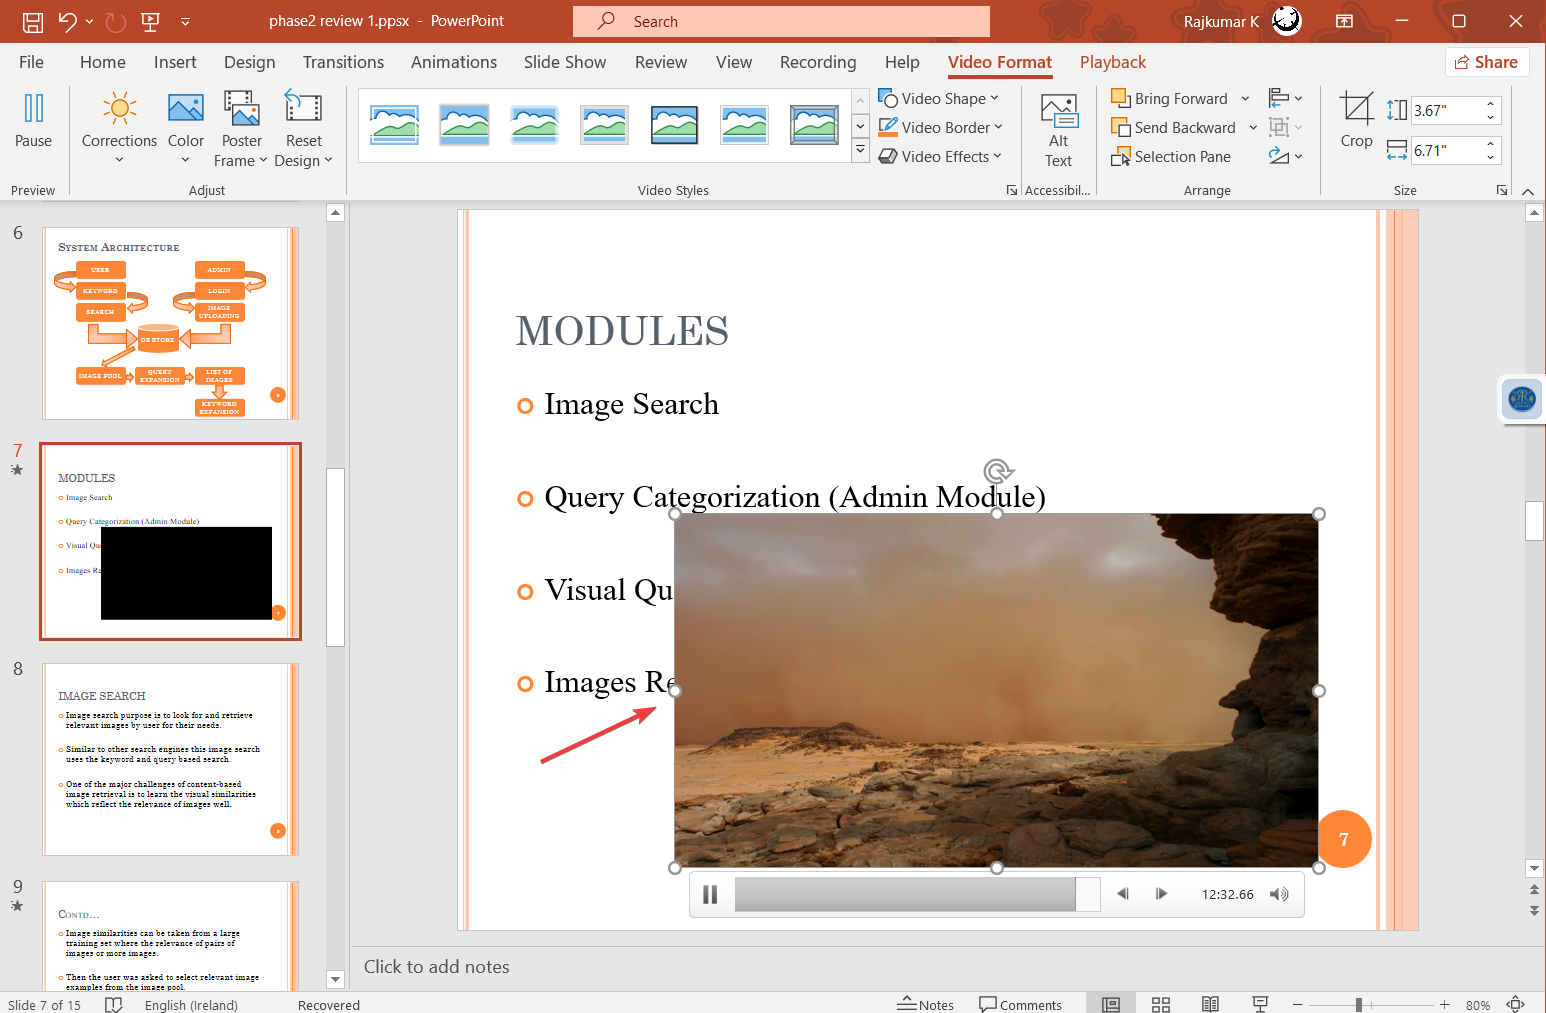
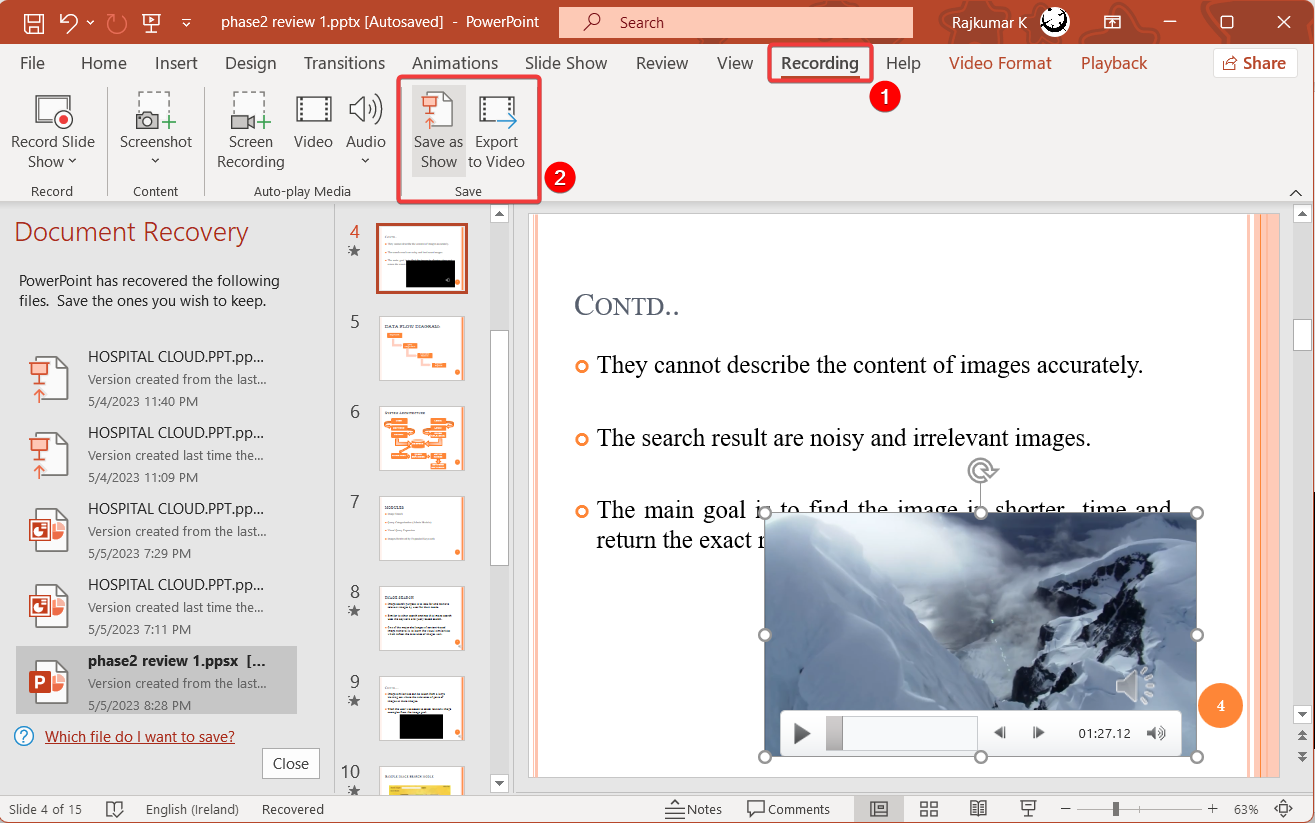
- Once the audio and video are inserted into the presentation, it can be exported as a video or saved as a PowerPoint show using the options under the Recording tab or File tab.
There are many advantages to recording PowerPoint presentations. They can be used as a record of a meeting that can be uploaded to the internet, shared with those who could not attend the meeting, or used as instructional videos to convey information.
Also, before you leave, find out how to make the image background transparent in PowerPoint.
If you need to jump to a slide in a long PowerPoint presentation, read the highlighted guide to learn how to do that.
To learn more about PowerPoint, we have a great guide on how to insert an Excel file into PowerPoint as icon, so don’t miss it.
If you found this guide helpful, don’t hesitate to share your experience with us by using the comment section below.
Read our disclosure page to find out how can you help Windows Report sustain the editorial team. Read more


Improve this guide


User forum
0 messages