How to Reset Windows Search Settings [3 Tips]
Run the Search troubleshooter to easily fix this issue

If you want to know how to reset the Windows Search settings to default on your Windows PC, in this article you will find the most simple solutions.
Before trying any of the advanced solutions provided below, try to run the System File Checker tool to scan for and repair any corrupted files in your computer and update your Windows to the latest version. Also, make sure you are properly signed in as an administrator.
How can I reset the Windows Search Settings?
1. Run the Search troubleshooter
- Press the Windows + R keys to open the Run command dialog. Type the following command in the dialog box and click Enter:
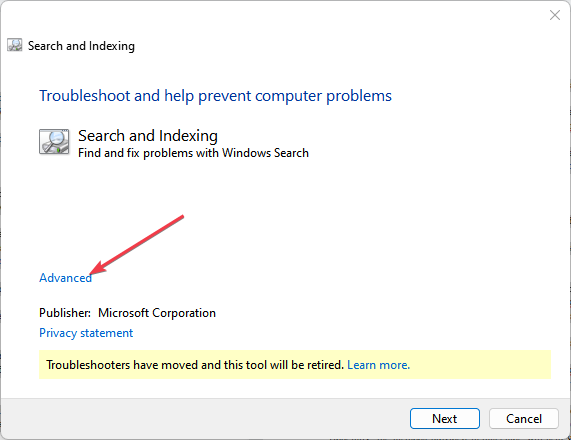
msdt.exe -ep SystemSettings_Troubleshoot_L2 -id SearchDiagnostic - In the troubleshooter window, click Advanced.
- Then, select Apply repairs automatically to make the tool automatically fix your settings.
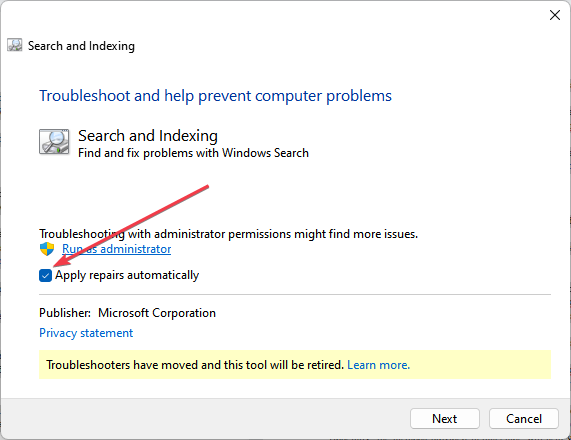
- Click on the Next button.
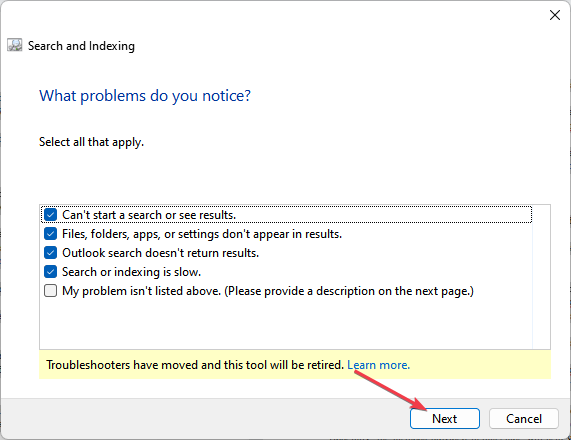
- Select all the checkboxes that apply. Click on the Next button and follow the on-screen instructions to complete the troubleshooting process.
The built-in Windows Search Troubleshooter tool will help to automatically reset your Windows search settings.
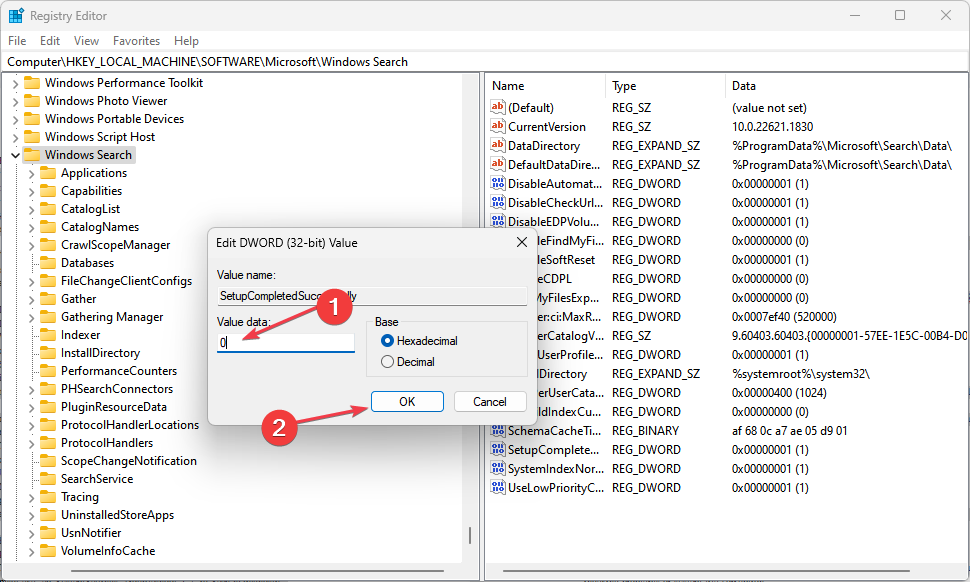
2. Manually reset Windows search settings in Registry Editor
- Press the Windows + R keys to open the Run command dialog. Type regedit in the dialog box and click Enter.
- Click Yes to continue when the UAC prompt appears on the screen.
- Navigate to the following registry path:
HKEY_LOCAL_MACHINE\SOFTWARE\Microsoft\Windows Search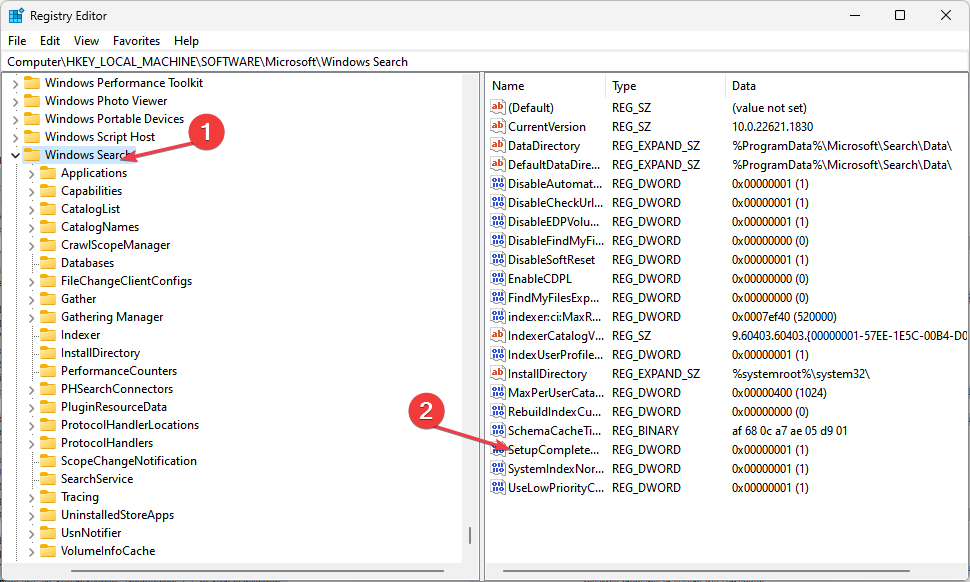
- Search for the key named SetupCompletedSuccessfully on the right pane.
- Right-click on the key and select Modify.
- Change its Value from 1 to 0 and click on OK to save the changes.
After following the steps above, close the Registry Editor and restart your PC for the changes to take effect.
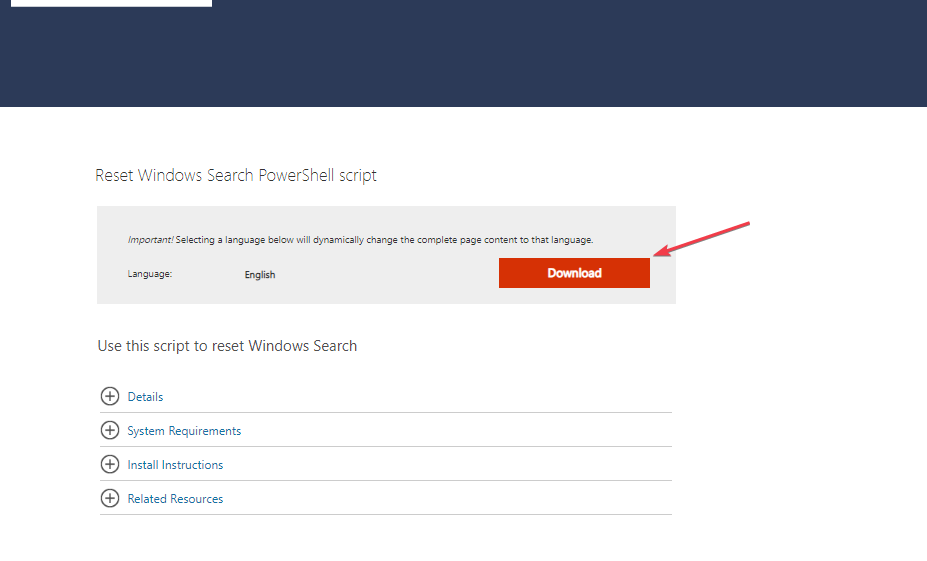
3. Use PowerShell to reset Windows search settings
- Visit the Microsoft Download page and download the ResetWindowsSearchBox.ps1 PowerShell script.
- Press the Windows key, type PowerShell, and click on Run as administrator.
- Type the following command and press Enter:
Get-ExecutionPolicy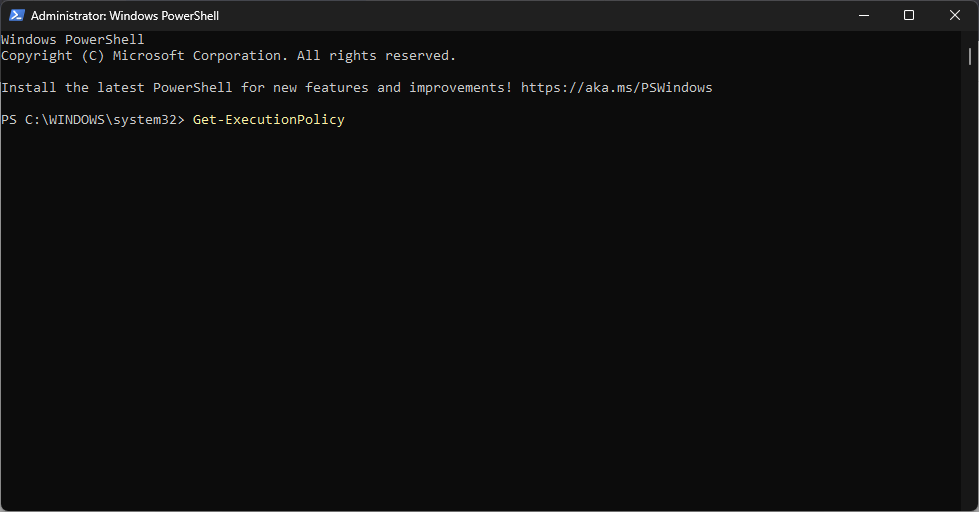
- If the output is Restricted, execute the following command to allow PowerShell scripts:
Set-ExecutionPolicy -Scope CurrentUser -ExecutionPolicy Unrestricted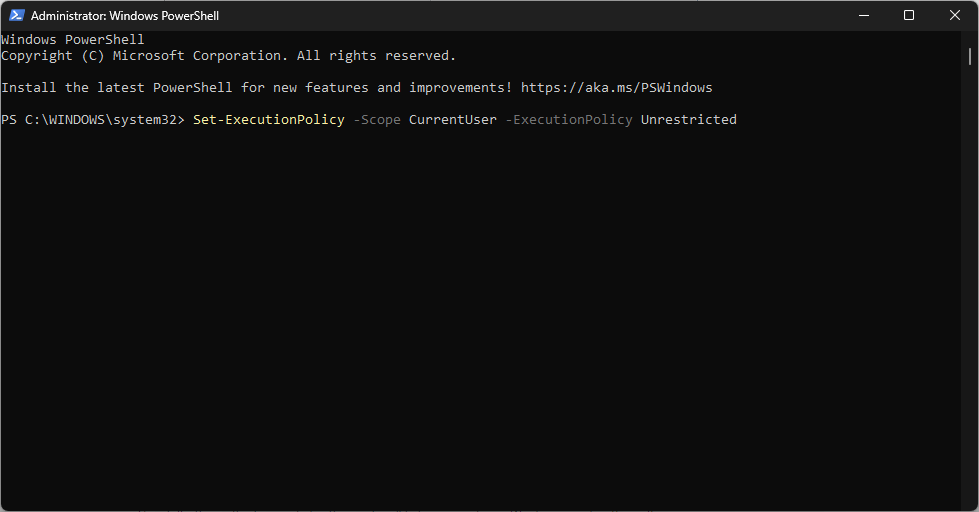
- Now, try running the ResetWindowsSearchBox.ps1 downloaded file. This resets your Windows search settings to default.
- Now, restore the execution policy to its original settings by running the following command in PowerShell:
Set-ExecutionPolicy -Scope CurrentUser -ExecutionPolicy Restricted
The PowerShell tool should have reset your Windows Search settings to default by now.
When Windows Search still fails to perform as expected, consider using Agent Ransack for Windows 11. It provides a more powerful and precise file search experience with advanced filters and live previews, helping you locate files instantly even when the native search fails.
Can the Windows search feature stop working?
Yes, the Windows search feature can stop working. Whenever this happens, it is almost always a simple software problem. The system may just need a restart to get it working again. Other possible causes could be:
- Indexing problems – Windows search relies on an index database to quickly retrieve search results. If the indexing process is interrupted or corrupted, it can lead to search failures.
- Windows updates – Sometimes, updates to the Windows operating system can introduce bugs or compatibility issues that affect the search feature.
- System file errors – Errors in the Windows system files can impact various functionalities, including search or web search with no results.
And that’s it on how to reset the Windows search settings to default on your Windows 11 PC.
You can also explore our detailed guide on how to fix Windows 11 search bar if it’s not working.
Hopefully, the methods provided in this guide will help you reset your Windows search settings. If you have any questions or suggestions, do not hesitate to use the comments section below.
Read our disclosure page to find out how can you help Windows Report sustain the editorial team. Read more


Improve this guide


User forum
0 messages