Roll Back Driver on Windows 7: How to do it
This takes just a few clicks in the Device Manager
![]() 2 min. read
2 min. read
![]() Updated on
Updated on
Share this article
Improve this guide
Read our disclosure page to find out how can you help Windows Report sustain the editorial team. Read more

Sometimes it’s necessary to install an older version of a driver, and the easiest way to do that is to roll it back. Speaking of which, in today’s guide we’re going to show you how to roll back a driver on Windows 7.
How do I roll back drivers in Windows 7?
1. Use the roll back option
- Open the Control Panel and select Device Manager. Alternatively, you can use Windows key + R and type devmgmt.msc.

- Double-click the device whose driver you want to roll back.
- Go to the Driver tab and click on Roll back driver.

- When the confirmation dialog appears, click on Yes.


2. Reinstall the driver
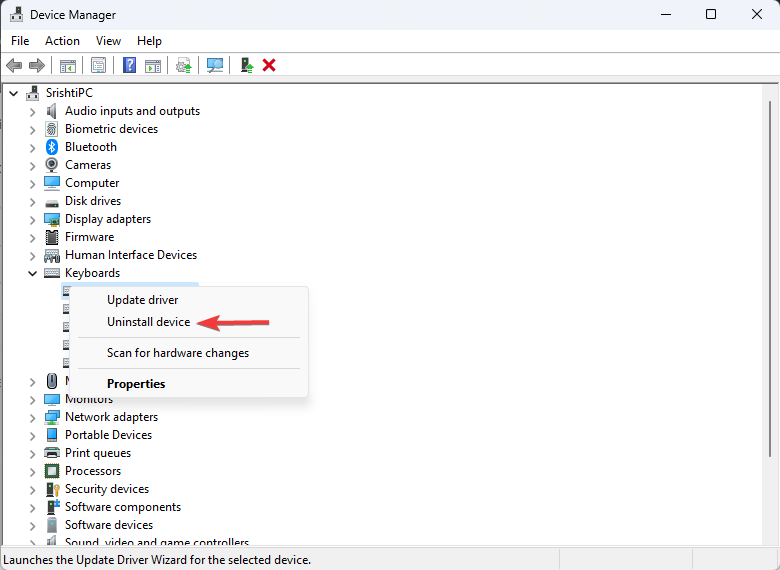
- Open Device Manager.
- Locate the driver you wish to remove.
- Right-click it and choose Uninstall device.

- Click Yes to confirm.

- Download the desired driver version and install it.

Why won’t my computer let me roll back drivers?
If this happens, it means that your computer didn’t have the older version of the drivers installed or it didn’t keep it after the driver update.
How do I manually install drivers in Windows 7?
The best way to do that is to manually download the driver from the hardware manufacturer’s website. To learn how to do that, check our guide on how to update outdated drivers on Windows 10. The process is almost identical for all versions of Windows.
If you’re using the latest version of Windows, we also have a guide on how to roll back the driver on Windows 11, so don’t miss it for more information.


User forum
0 messages