Access Point Temporarily Full: What it Means & How to Fix
Alleviate your router's pressure points with these tricks

If you’re having trouble connecting to a wireless access point, or it seems like the signal is weak or, the access point may be temporarily full. This can happen if the AP is overloaded with too many clients or taking too long to process packets from existing clients.
Here’s how to fix it:
How do I fix the router access point temporarily full error?
Before you dive into troubleshooting, try the following: disconnect unnecessary devices from the router, check with your ISP about your modem’s IP, power cycle the router, and update its firmware while plugging in via Ethernet.
1. Raise the device limit
If too many devices are trying to access the same network, it’s easy for your access point to reach its capacity quickly. This is most common with older routers and modems because they typically only support a handful of clients.
However, be cautious: adding more devices on a weak connection can severely degrade your Wi-Fi performance, leading to connection issues.
2. Change your router’s channel
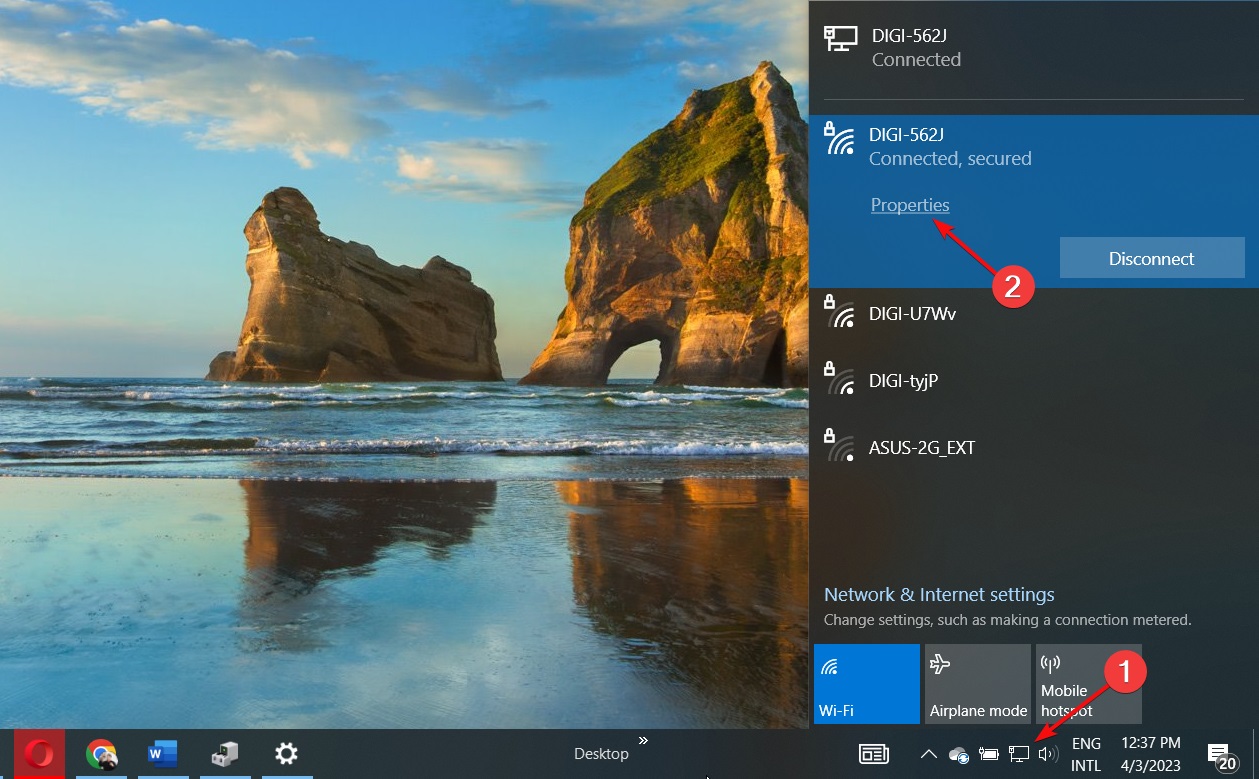
- Click on the Network icon on your taskbar, select your Wi-Fi connection, and click on Properties.
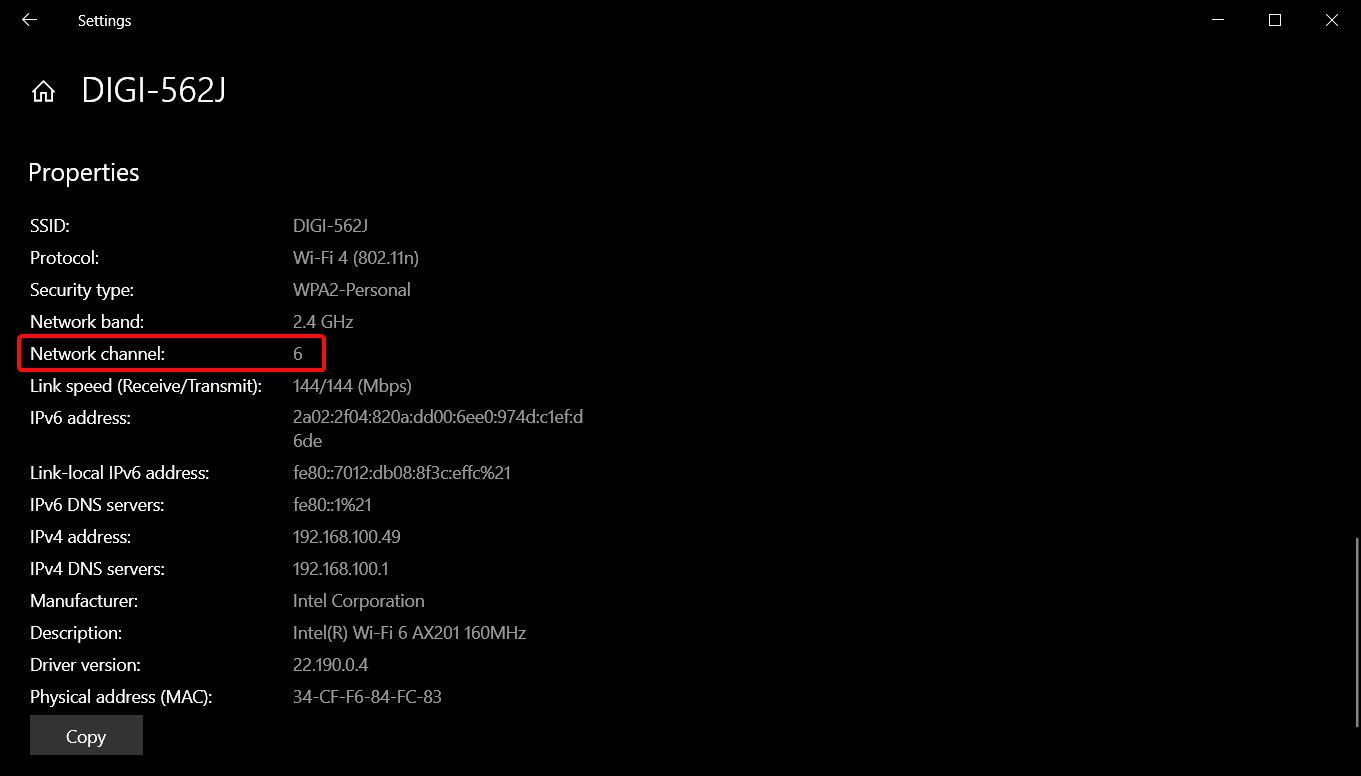
- Now, scroll down and you should see the Network channel for your Wi-Fi connection.
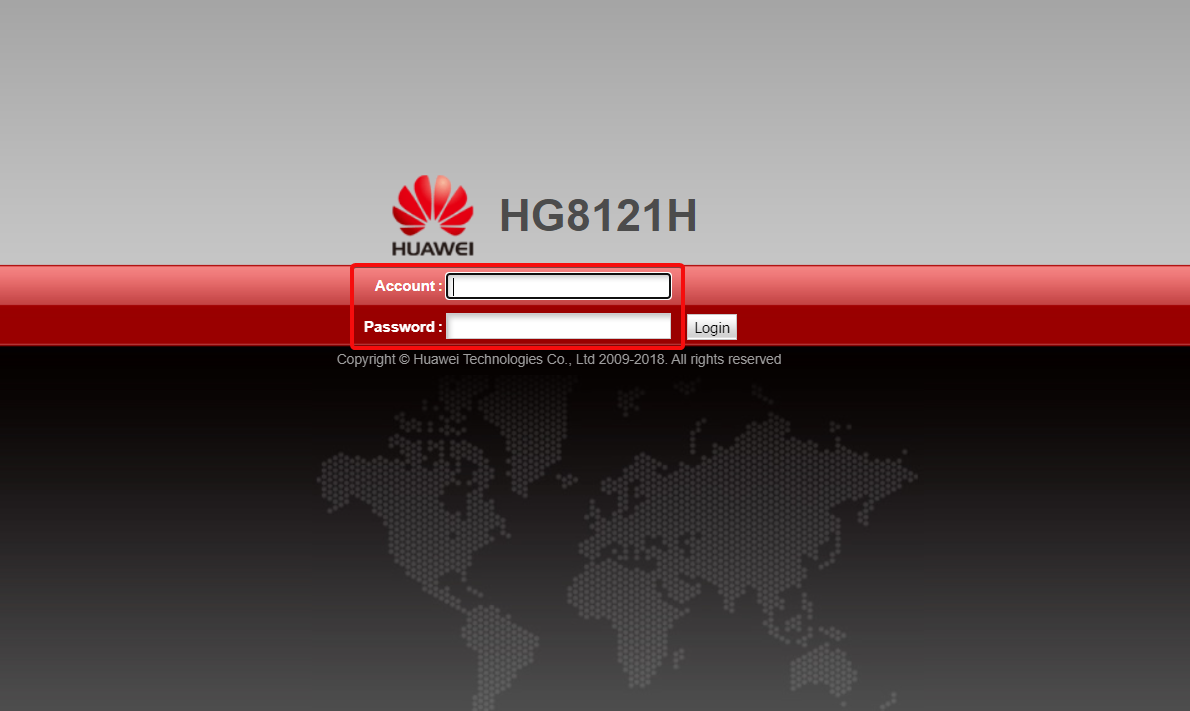
- Navigate to your browser and log into your router with the correct credentials. You can find that info on the router itself or on the manual of the router.
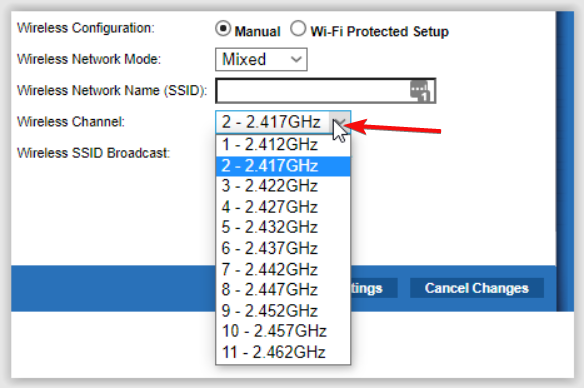
- Go to the Wireless settings of your router and change the router channel to a different one from the default. If you’re using a dual-bound router, make this setting for both bands (2.4GHz and 5GHz).
New devices may flock to the only available channel if it is saturated and can’t accommodate more clients. This can easily cause an overlap and create a channel conflict.
3. Change your network band
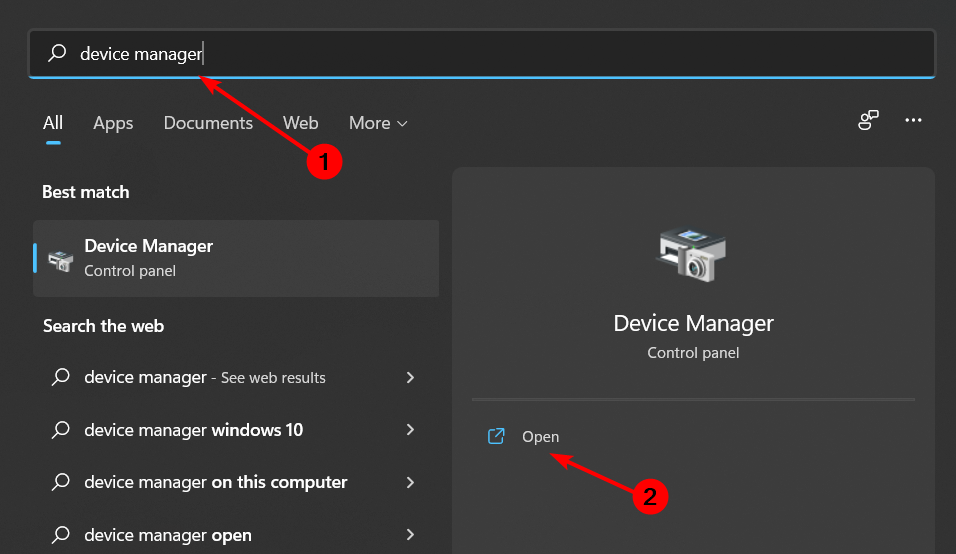
- Click on the Start Menu icon, type Device Manager in the search bar, and click Open.
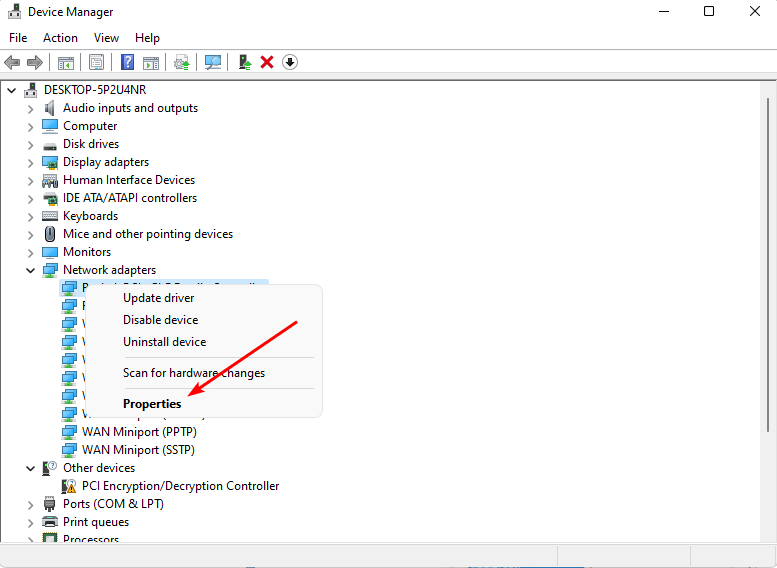
- Navigate to Network adapters and double-click to expand.
- Right-click on your network adapter and select Properties.
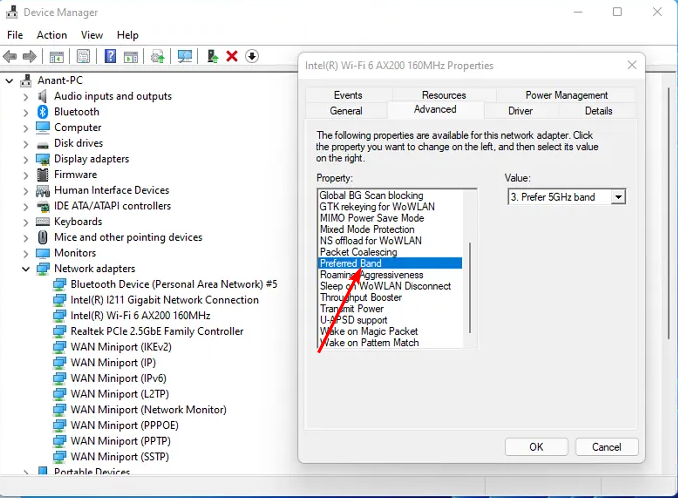
- Click on the Advanced tab and locate the Preferred Band.
- In the Value drop-down menu, select Prefer 5GHz band or the 2.4GHz band then hit Enter.
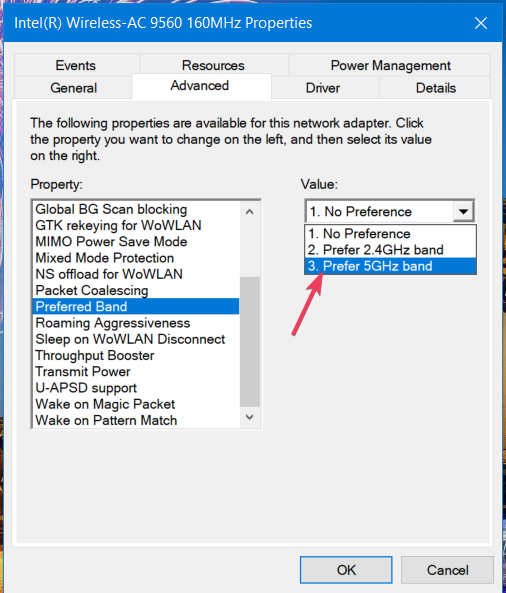
- Restart your PC.
4. Set a static IP address
- Start by finding your device’s IP address.
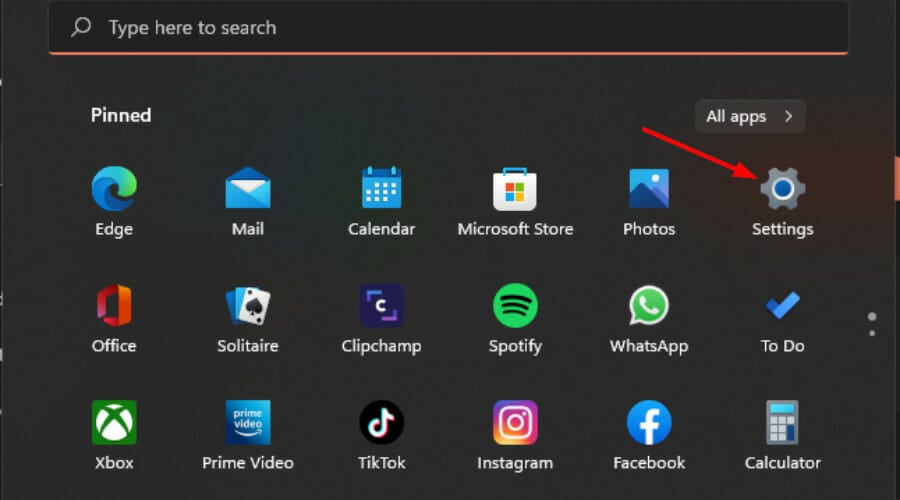
- Press the Windows key and click on Settings.
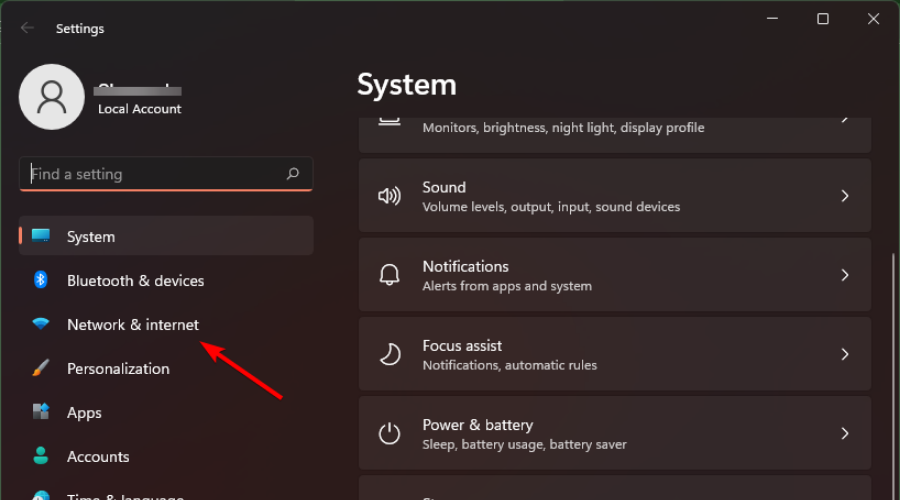
- Navigate to Network & internet.
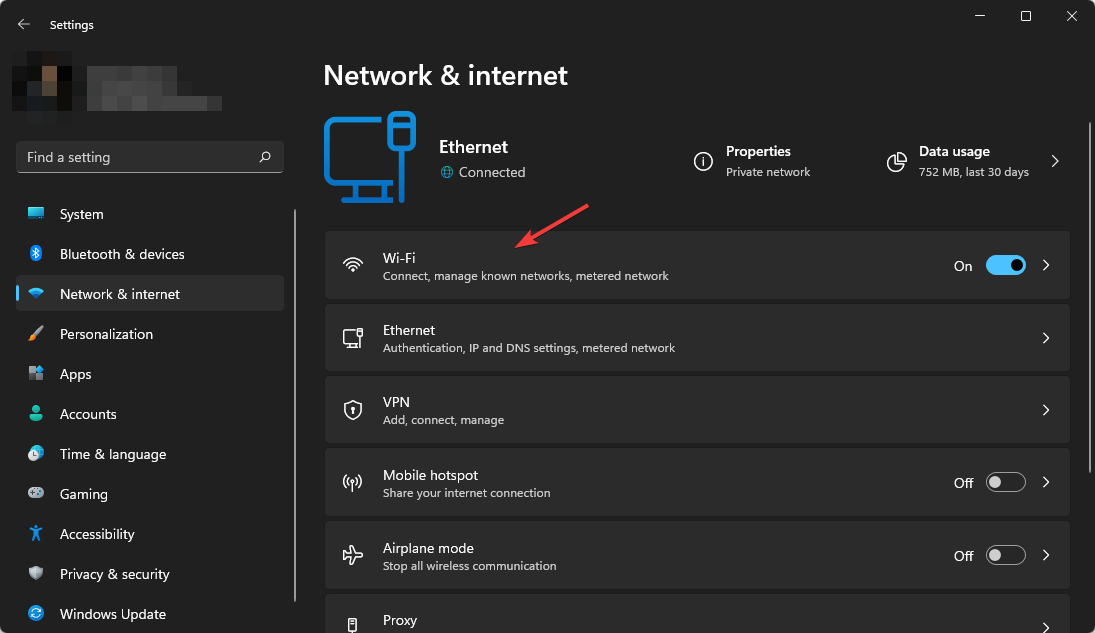
- Click on Wi-Fi and find your current connection.
- Click on Edit IP settings and select Manual settings.

- Toggle on the IPV4 button.
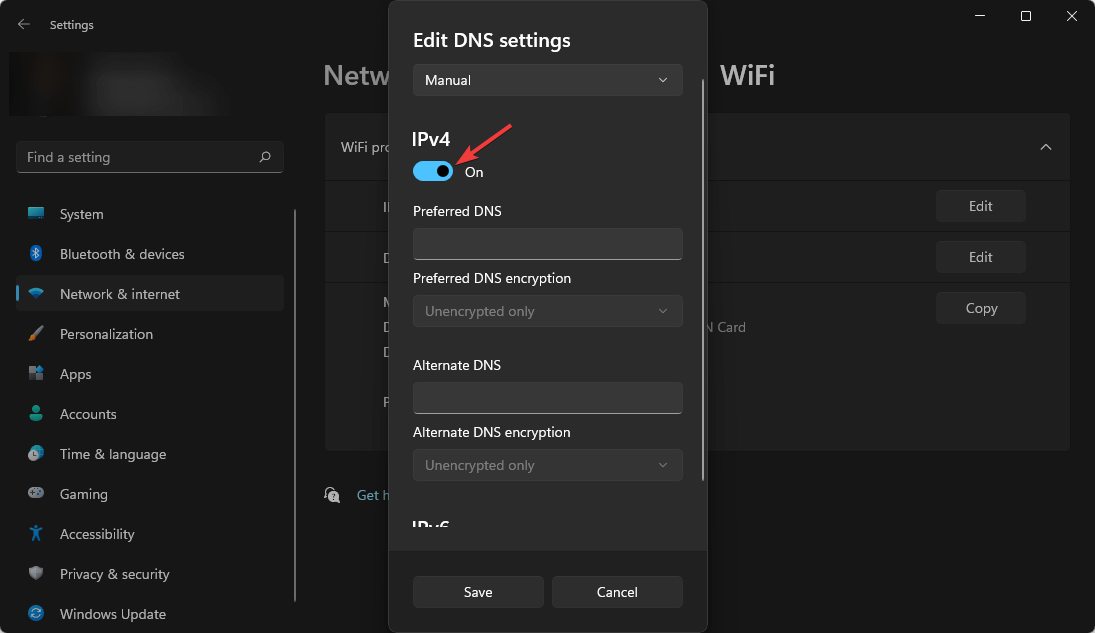
- Set a static IP address as found in 1 above and click the Save button.
When you configure devices on your network to use specific IP addresses, they can always connect even in times of unexpected power outages.
5. Increase security
If you’re using an open network, the best way to block all outside traffic is to prevent clients from accessing the Internet. This can be done by adding a password, MAC filtering, and/or enabling encryption.
If that’s not enough, consider installing a firewall to block unauthorized access attempts.
The lifespan of a wireless access point varies based on usage, manufacturer quality, and environment. High-quality APs can last up to 5 years, while lower-quality models may only last a year or less.
If your access point is reaching the end of its life, you might experience connection issues. If that’s the case, consider getting new ones.
And if the access points are proving to be a hard nut to crack, consider a Wi-Fi mesh. Nevertheless, for problems that aren’t related to the age of your hardware, the troubleshooting steps above should help you fix it.
Have you managed to fix this error? Let us know which solution worked best for you in the comment section below.
Read our disclosure page to find out how can you help Windows Report sustain the editorial team. Read more


Improve this guide


User forum
0 messages