Runtime Error 52: Bad Filename or Number [Fix]
Reinstalling the runtime libraries should do the trick
3 min. read
Updated on
Read our disclosure page to find out how can you help Windows Report sustain the editorial team. Read more
Key notes
- Uninstalling applications that are conflicting might prove effective.
- Another method that seems to work is performing an in-place upgrade.
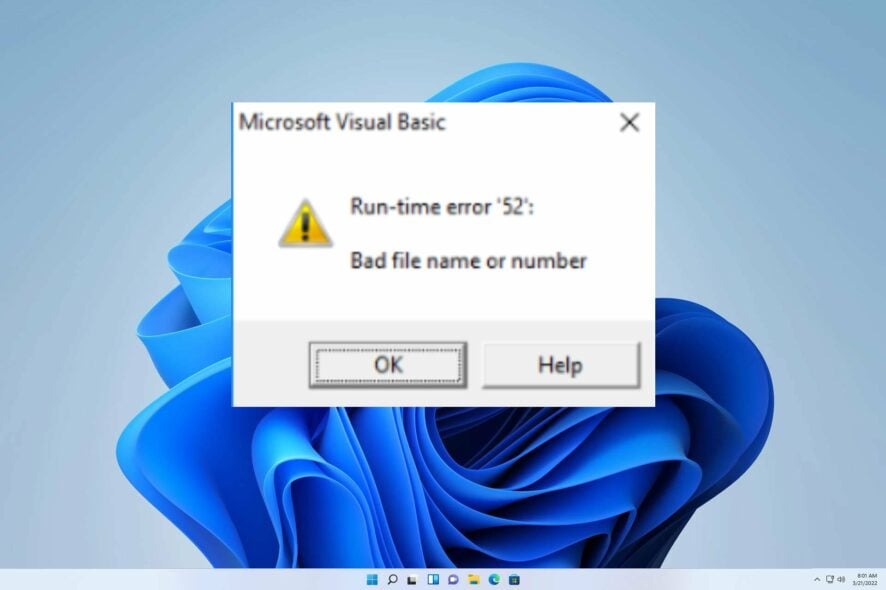
When initiating an FRx installation that directs to a network SysData directory, this error 52: Bad filename or number may occur. Other workstations can also encounter this error; however, it is not always the case.
Switching to a local SysData directory resolves the issue, and the error message is no longer received. The matter at hand resembles the Runtime Error 217, which we have addressed in a previous guide.
Before we take any steps to address the issue at hand, we must examine its underlying cause.
What is Microsoft Runtime error 52?
This error occurs in Visual Basic applications, and the most common causes are the following:
- Invalid file name – In case the file name is invalid, the code won’t be able to run, and you’ll get this error.
- Unspecified file – If the file isn’t specified properly or if it’s closed, you’ll get this error message.
- Out-of-range file numbers – Sometimes, a code might generate numbers that aren’t valid, thus causing this error to occur.
How can I fix Runtime error 52: Bad filename or number?
- Uninstalling apps clashing in the background might prove effective in handling this error. Also, a program called Worldox found in Excel, locate and delete it, then restart your program.
1. Reinstall runtime libraries
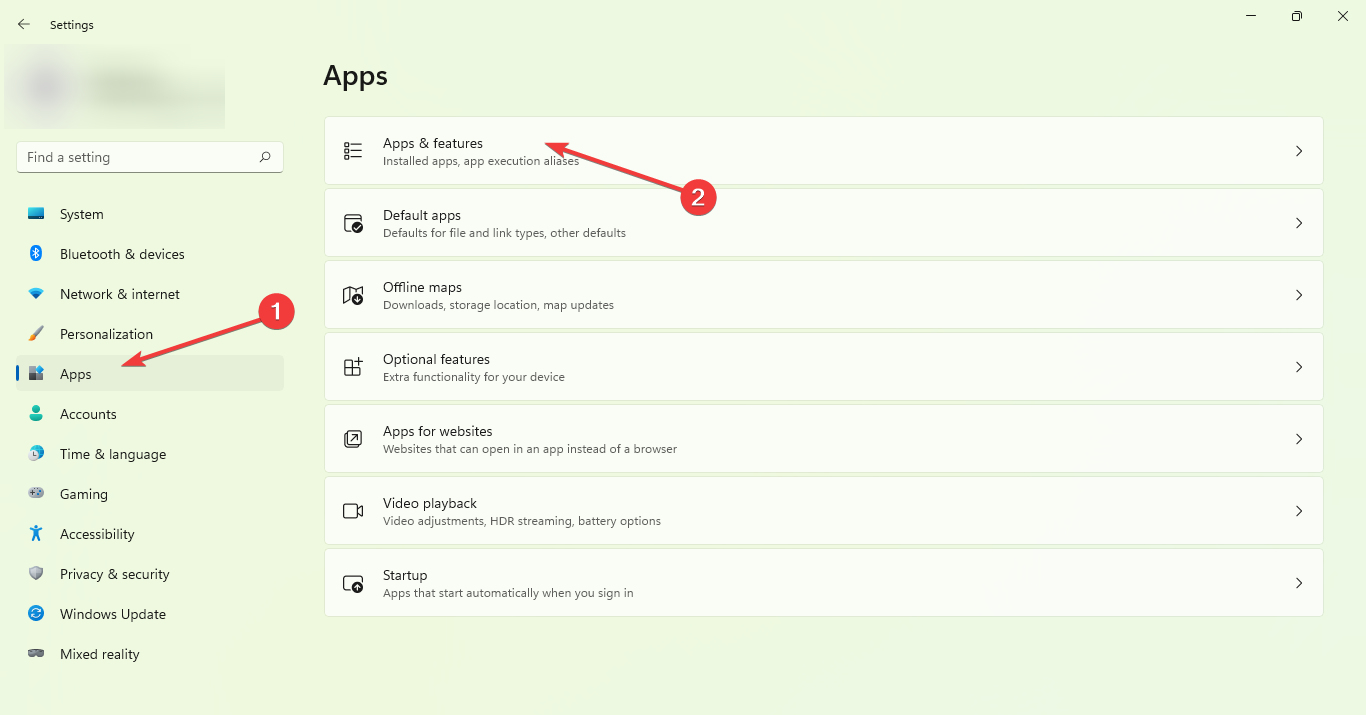
- Click on the Windows icon and open Settings.
- Now click on Apps, next on Apps & Features.
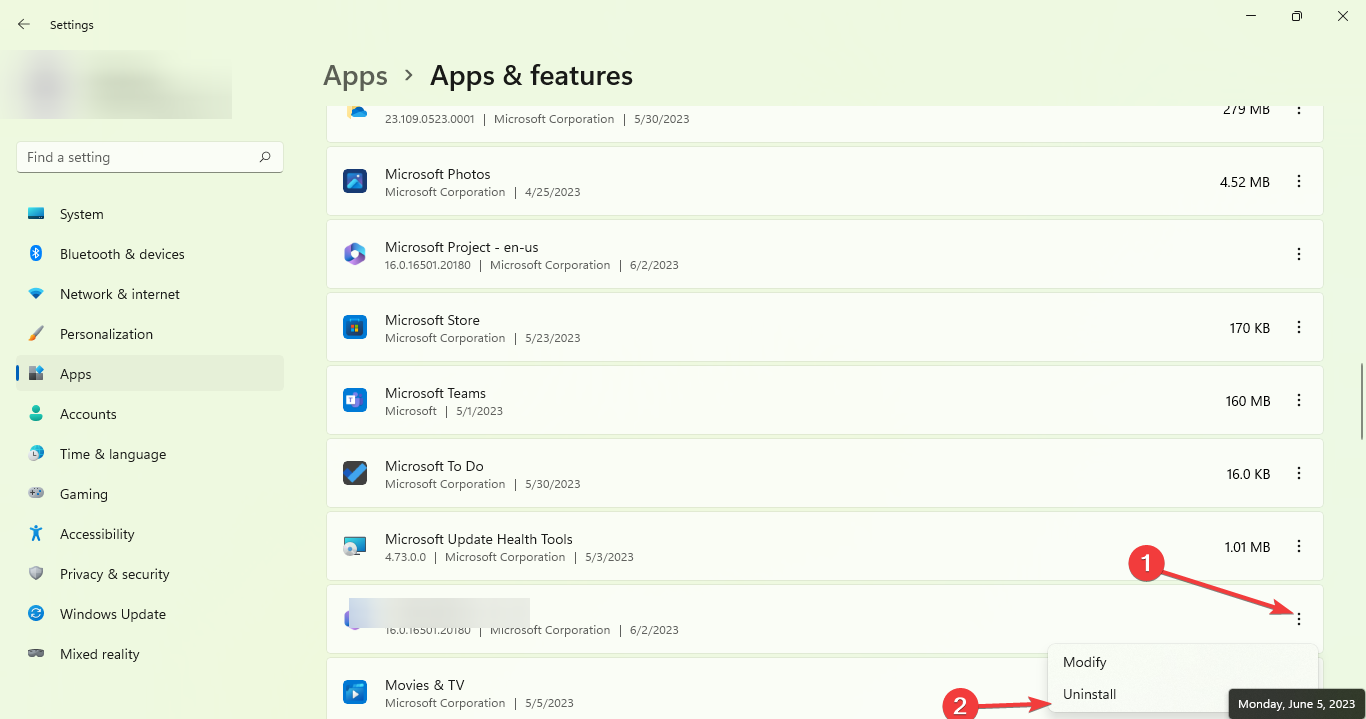
- Find and highlight the Microsoft Visual C++ Redistributable Package, now click Uninstall at the top of the list.
- The moment you are done, restart your computer.
- Lastly, download the latest redistributable package from Microsoft, then install it.
2. Perform in-place upgrade
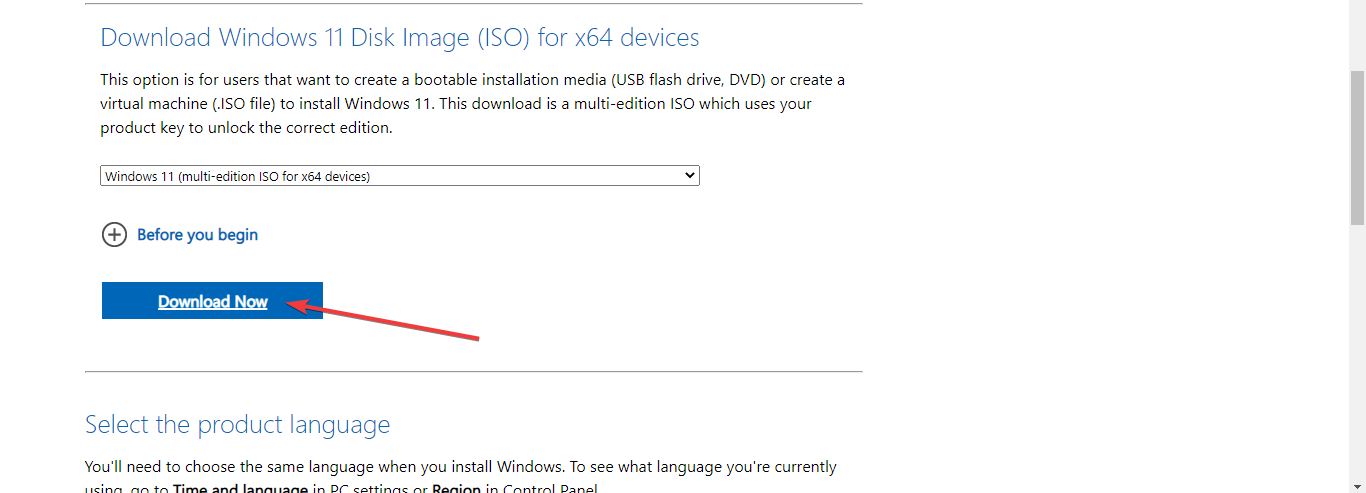
- On your favorite browser, go to the Windows 11 Download page.
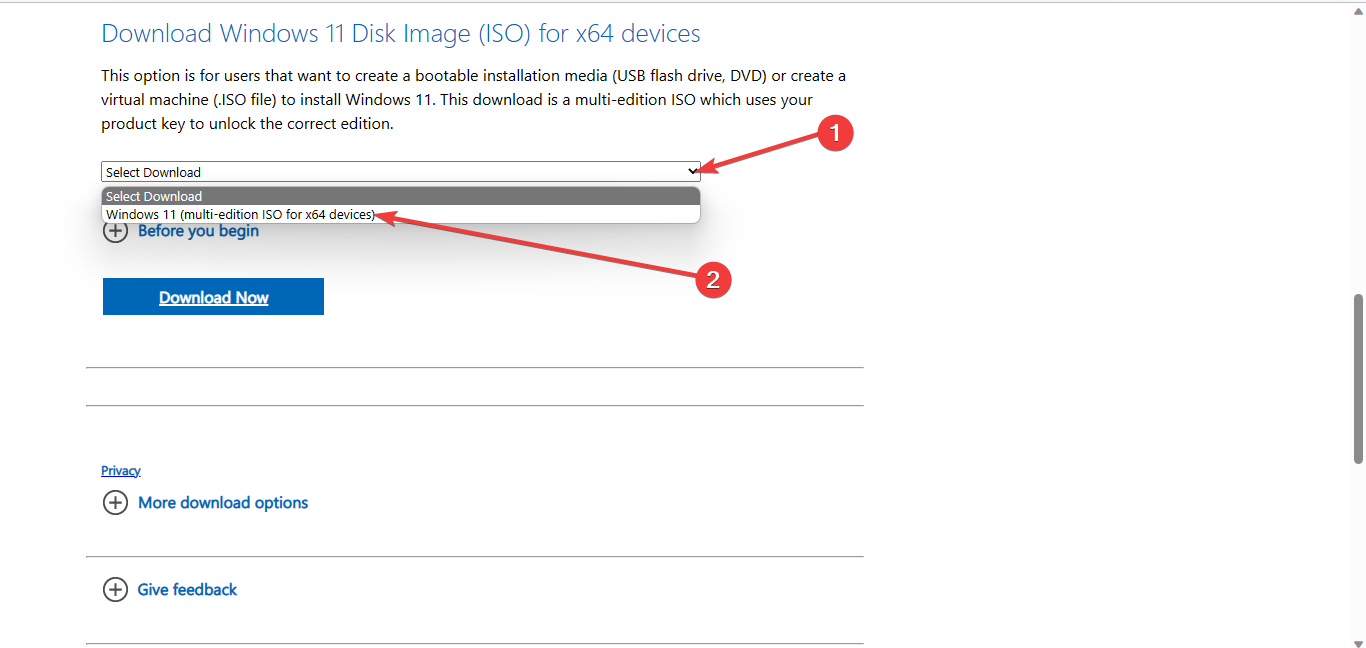
- Click on Select Download under Download Windows 11 Disk Image (ISO), then choose Windows 11.
- Next, click the Download button.
- Choose the product language you want, then click the Confirm button.
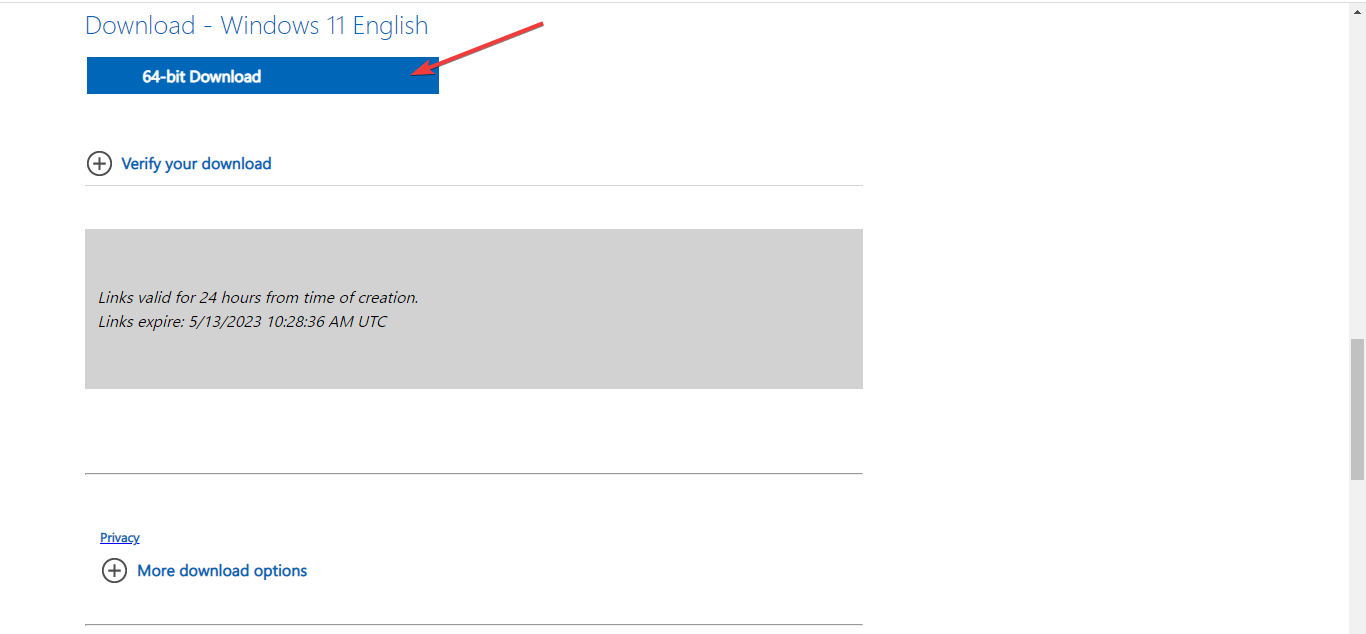
- Now you will receive a download link, and you will be able to click on the 64-bit Download button to get the Windows 11 ISO.
- Right-click the ISO file you downloaded and select the Mount option. Another option for this is to create a bootable USB or DVD.
- A new virtual drive will pop up in your File Manager window. Click on it and double-click the setup file to begin the installation process.
We trust that this guide has effectively resolved your problem. Should you encounter any additional obstacles, we suggest looking into runtime error R6025 for similar solutions.
Your feedback would be greatly appreciated, so please leave a comment below and inform us of the most effective solution you found.



User forum
0 messages