Screenshot Not Working in Windows 10? Here are 5 Quick Fixes
You might need to tweak your registry to fix this issue
4 min. read
Updated on
Read our disclosure page to find out how can you help Windows Report sustain the editorial team Read more
Key notes
- If the screenshot feature is not working on Windows 10, it might be because of outdated drivers.
- You can fix this issue quickly by running the hardware and devices troubleshooter and restarting your PC.
- Updating your keyboard drivers to the latest version is another effective solution you should try.
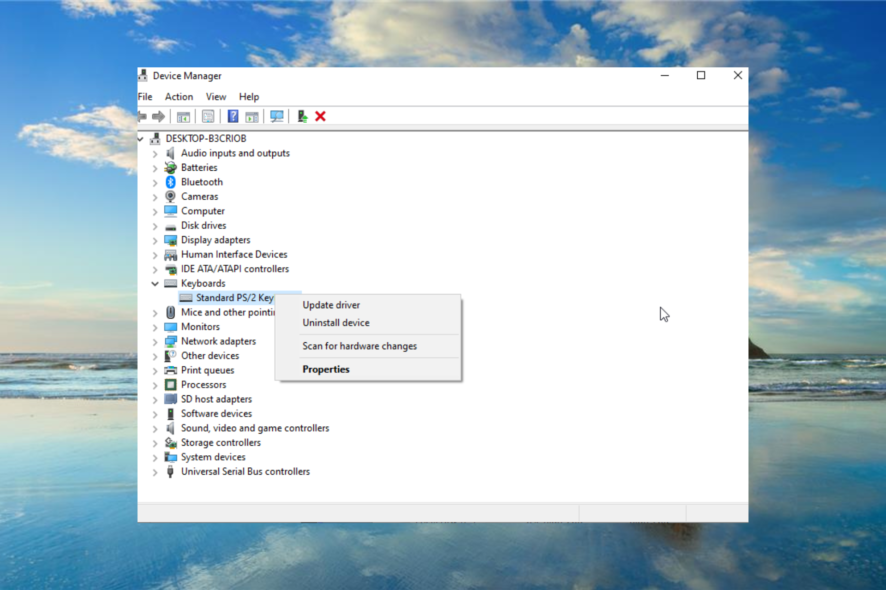
Since Windows 8, users have been used to taking screenshots with the built-in feature on their PC. Unfortunately, some users are complaining that the screenshot feature is not working on Windows 10.
This can be pretty frustrating, especially if you don’t have a third-party tool for taking screenshots. Knowing the gravity of the issue, we have prepared this detailed guide to help you solve the problem quickly.
Why can’t I take a screenshot on Windows 10?
Below are some of the reasons you can’t take a screenshot on Windows 10:
- Outdated drivers: One of the major causes of this issue is an outdated keyboard driver. You should be able to fix it quickly by updating your drivers.
- Wrong key combinations: In some cases, the problem might appear because you used the wrong key combinations to take the screenshot. Knowing the key that works for PC is the only way out of this.
- Faulty hardware: Sometimes, the screenshot not working on Windows 10 issue can be down to problematic hardware. To know this for sure and fix potential issues, you should run the hardware and devices troubleshooter.
How to fix print screen not working on Windows 10?
1. Edit Registry
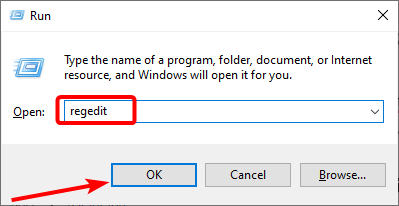
- Press the Windows key + R, type regedit, and click OK.
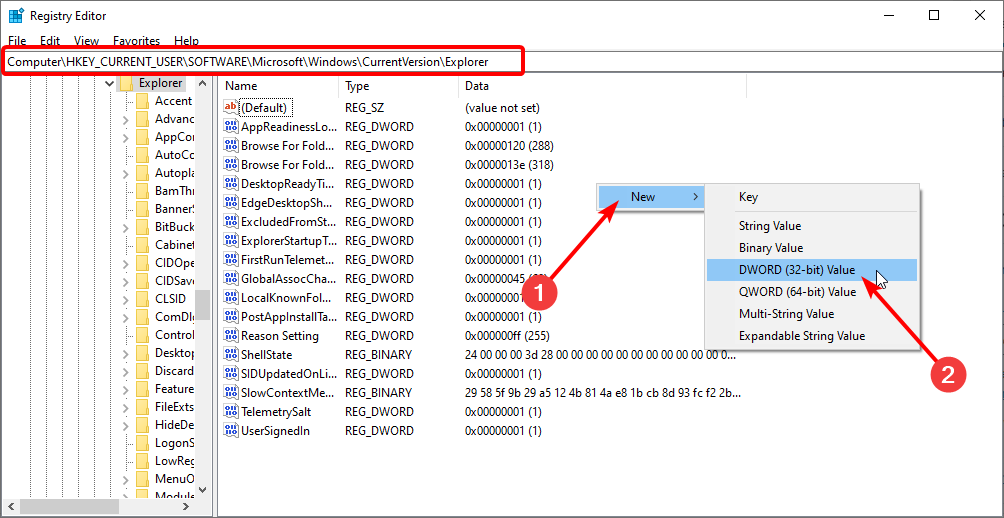
- Navigate to the path below in the left pane:
HKEY_CURRENT_USER/SOFTWARE/Microsoft/Windows/CurrentVersion/Explorer - Now in the right pane, you need to find ScreenshotIndex. If you can’t find it, right-click the space there and choose New > DWORD (32-bit) Value.
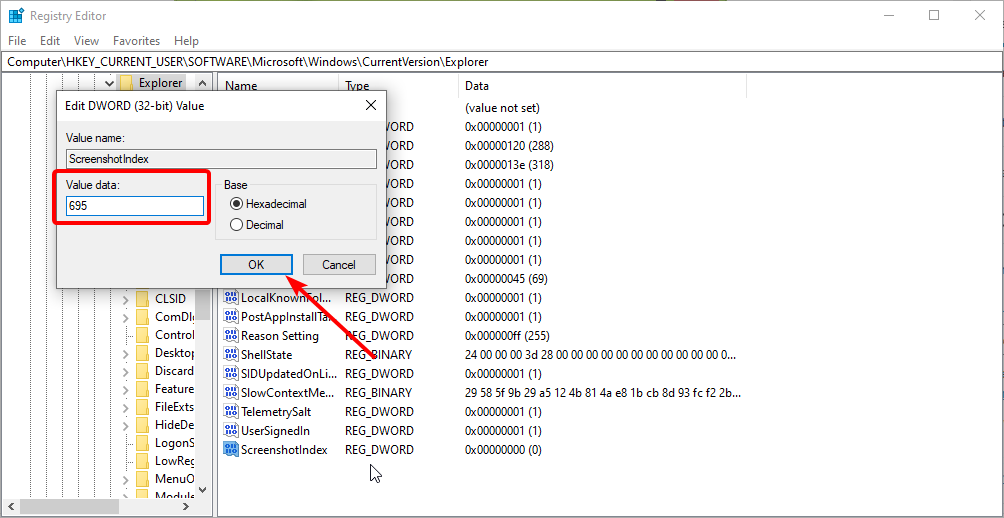
- Type ScreenshotIndex as the name of the new DWORD and double-click it.
- Now, set its Value data to 695 and click OK.
- Next, navigate to the path below in the left pane:
HKEY_CURRENT_USER/SOFTWARE/Microsoft/Windows/CurrentVersion/Explorer/User Shell Folders - Double-click the {B7BEDE81-DF94-4682-A7D8-57A52620B86F} entry on the right pane.
- Set its Value data to %USERPROFILE%PicturesScreenshots and click OK.
- Finally, close the Registry Editor and restart your PC.
2. Check if you’re using the correct key combination
If you’re using a Windows 10 laptop’s keyboard, the key combination for taking a screenshot is different. In most PCs, you must press the Fn key beside the usual Ctrl +PrtScr.
So, you have to note that. However, you will not need to use the Fn key on some PCs.
3. Update keyboard drivers
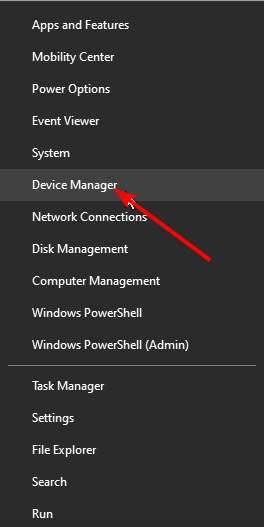
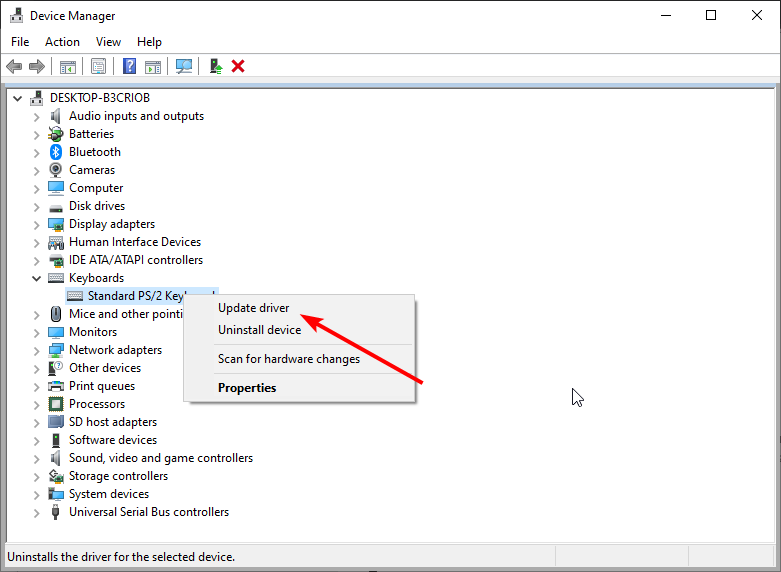
- Press the Windows key + X and select Device Manager.
- Double-click the Keyboards option to expand it and right-click the device there.
- Now, choose the Update driver option.
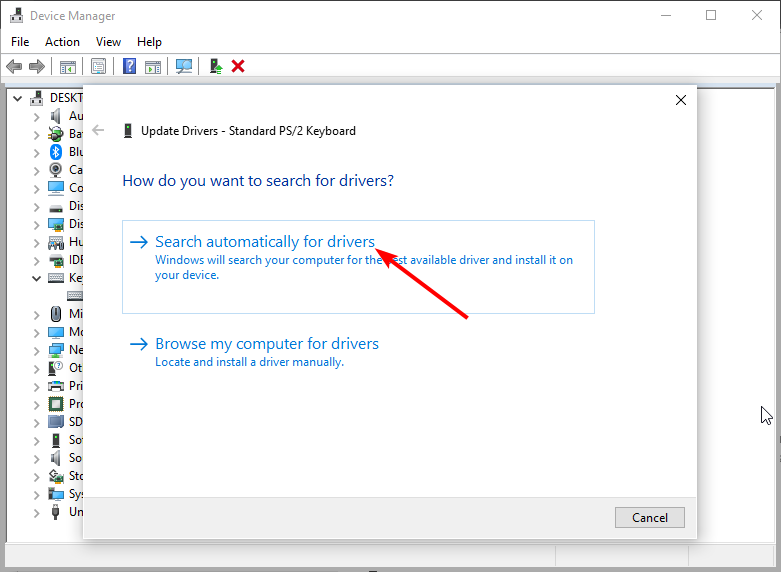
- Finally, choose the Search automatically for drivers option.
We often point to outdated drivers if something’s wrong with your keyboard. Nevertheless, keeping all your drivers up to date is always a good idea.
So, if the screenshot feature is still not working on Windows 10 after tweaking the registry, go and update your keyboard drivers.
If you don’t want the hassle of searching for drivers on your own, you can use a tool in Outbyte Driver Updater that will do this for you automatically. This tool is very easy to use, lightweight, and reported to update and repair any driver without any issues successfully
4. Run the Hardware and Device troubleshooter
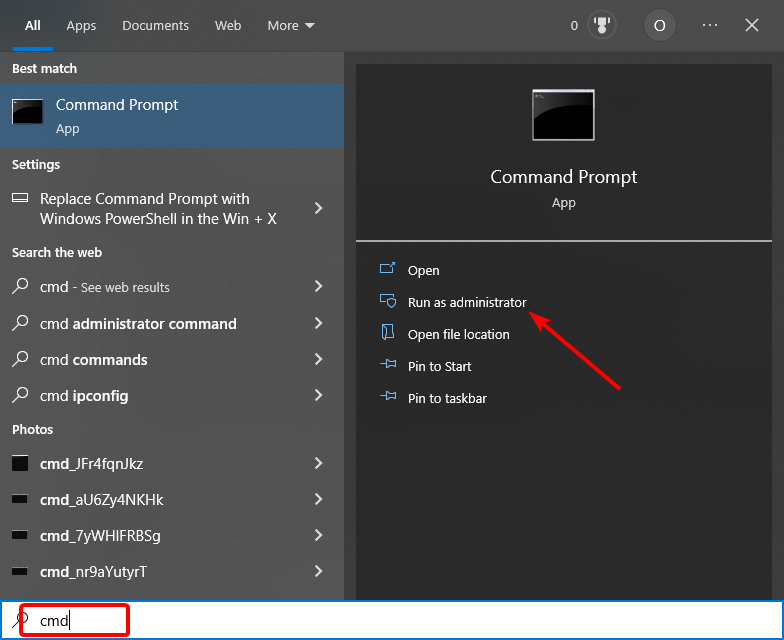
- Press the Windows key, type cmd, and select Run as administrator under Command Prompt.
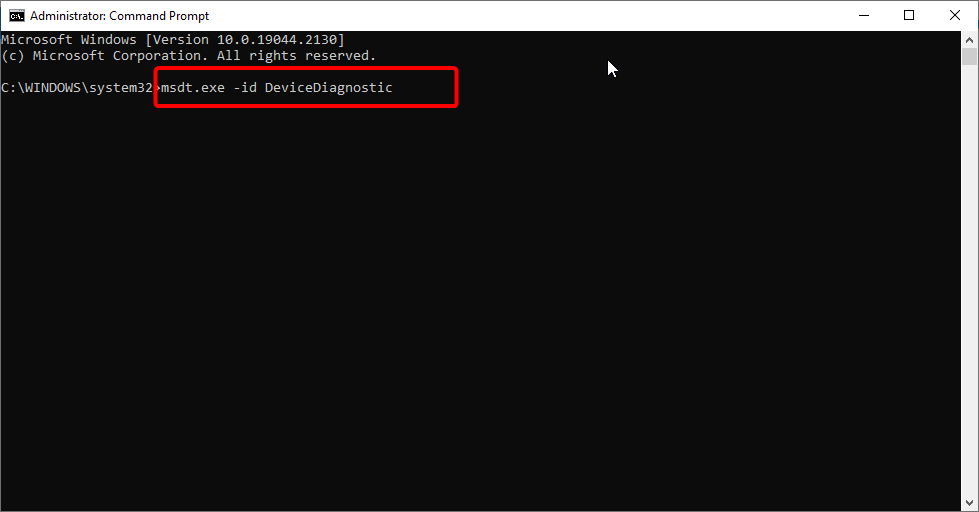
- Type the command below and hit Enter:
msdt.exe -id DeviceDiagnostic - Finally, wait for the command to finish running.
If none of the previous solutions resolved the issue, we would use Windows 10’s built-in troubleshooting tool. This tool can be used to address various kinds of issues, including hardware problems.
5. Use a dedicated tool
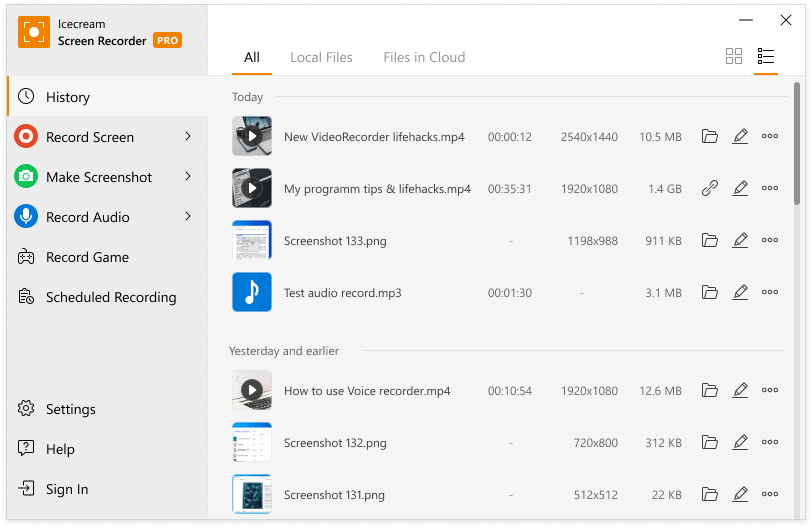
While there are a series of third-party screenshot tools you can use, we recommend using Icecream Screen Recorder. This is because it is a straightforward, simple, yet highly professional tool with enough features to accomplish what you want but not confuse you.
If you plan to capture an image to highlight particular areas or a specific section, this tool will be quite an innovative program. Also, it is the ideal solution if you use multiple browsers during your daily Internet sessions.
Feel free to check out more features on their official website. A fully-functional trial version is available, so you can try it out now.
⇒ Get Icecream Screen Recorder
The screenshot not working on Windows 10 issue can be pretty annoying. Fortunately, it is one that can be fixed, as we have shown in this guide.
If you are looking for ways to fix tinted screenshots on Windows 10, check our detailed guide for the steps you need to follow.
Feel free to let us know the solution that helped you fix this issue in the comments below.

