How to Factory Reset Your Steam Deck [Recovery Tips]
Restoring factory settings will delete all data on the Steam Deck
2 min. read
Updated on
Read our disclosure page to find out how can you help Windows Report sustain the editorial team Read more
Key notes
- Users have requested to know how to access their steam deck boot menu for a factory reset.
- Do not get confused when you come across a re-image. In Steam Deck, the real meaning of reset or factory reset is re-image.
- You can explore the steps provided in this article to know how to reset your Steam Deck.
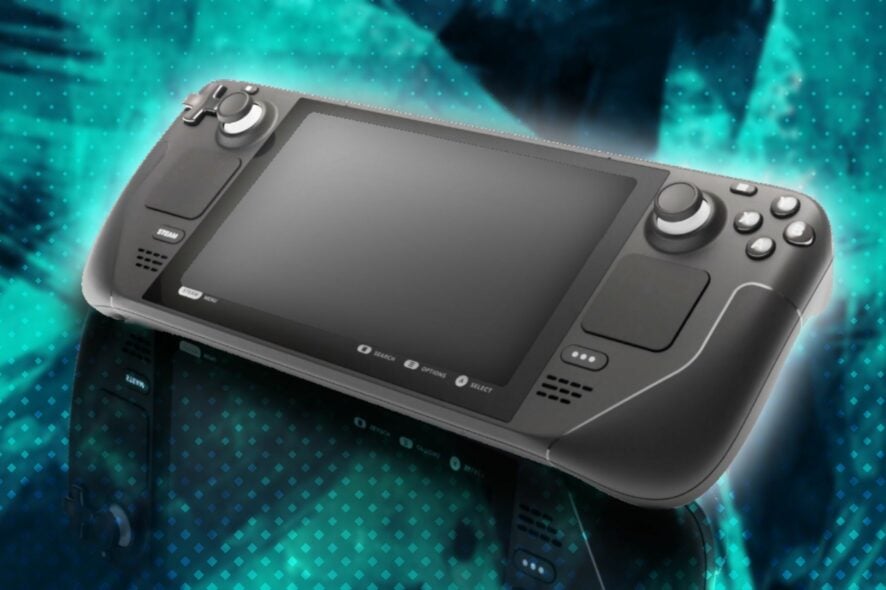
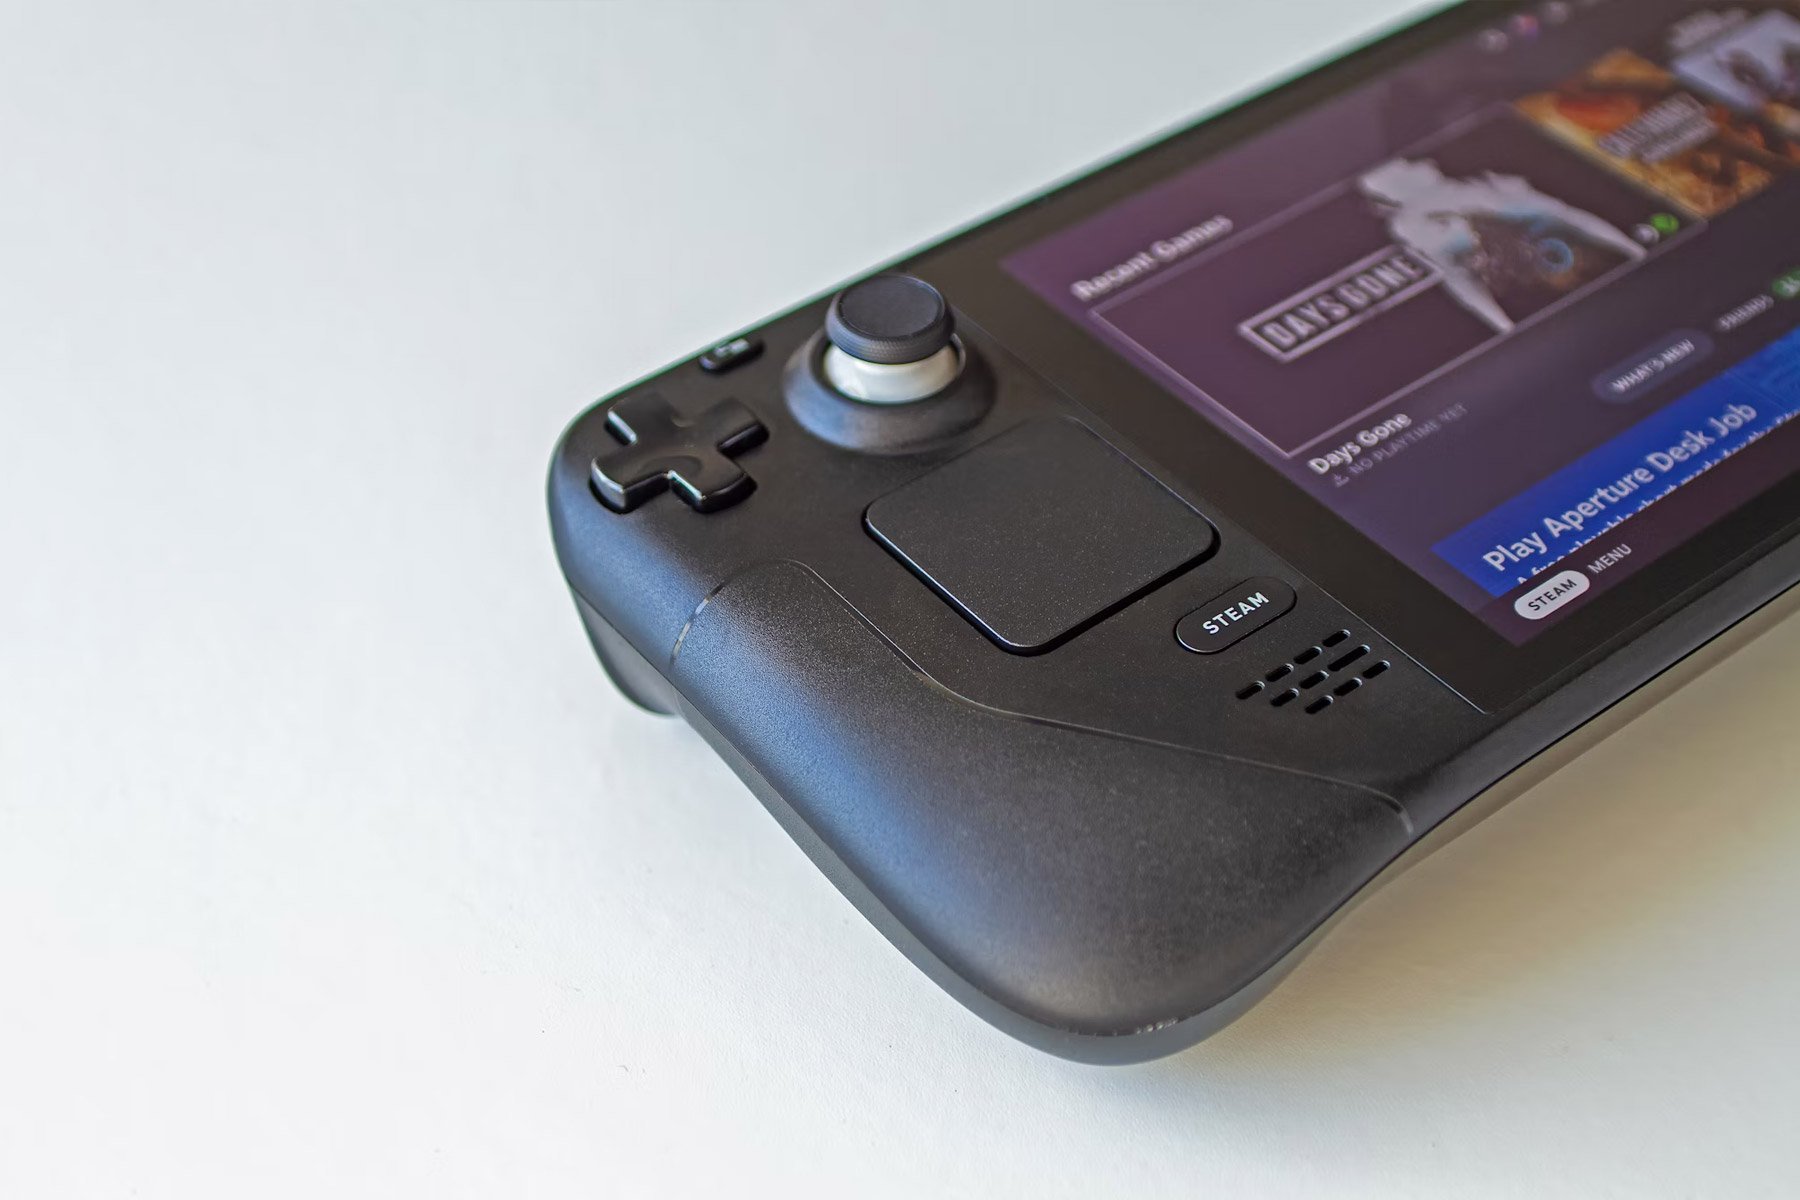
Several Steam Deck users have requested to know how to reset their Steam Deck to factory settings. From findings, some users are finding it challenging to boot, while some are experiencing other breaking issues.
Better still, this article is for you if you have installed another operating system and would like to get back to using the standard Deck SteamOS.
It might interest you that, in Steam Deck, the real meaning of reset or factory reset is regarded as re-imaging.
This process can wipe all user info, operating systems, or installed games and applications and replace them with stock SteamOS.
For whatever reason, you need to activate steam deck factory reset, steam deck factory reset from bios, or steam deck factory reset SD card, you can read further to know better.
Can you reinstall SteamOS on Steam Deck?
Yes, it is possible to reinstall SteamOS on Steam Deck. However, you want to be careful to have a backup for your essential data to be on the safe side.
Although a reinstall will keep your game library and data intact, do not resist the urge to back up your data.
How do I factory reset my Steam Deck?
In order to factory reset your Steam Deck, you need to download the recovery image via Steam Store to an USB flash drive and boot from it on your device.
1. Prepare a USB of about 8GB minimum space to download the recovery image.
2. Visit the Steam Store to download the recovery image.
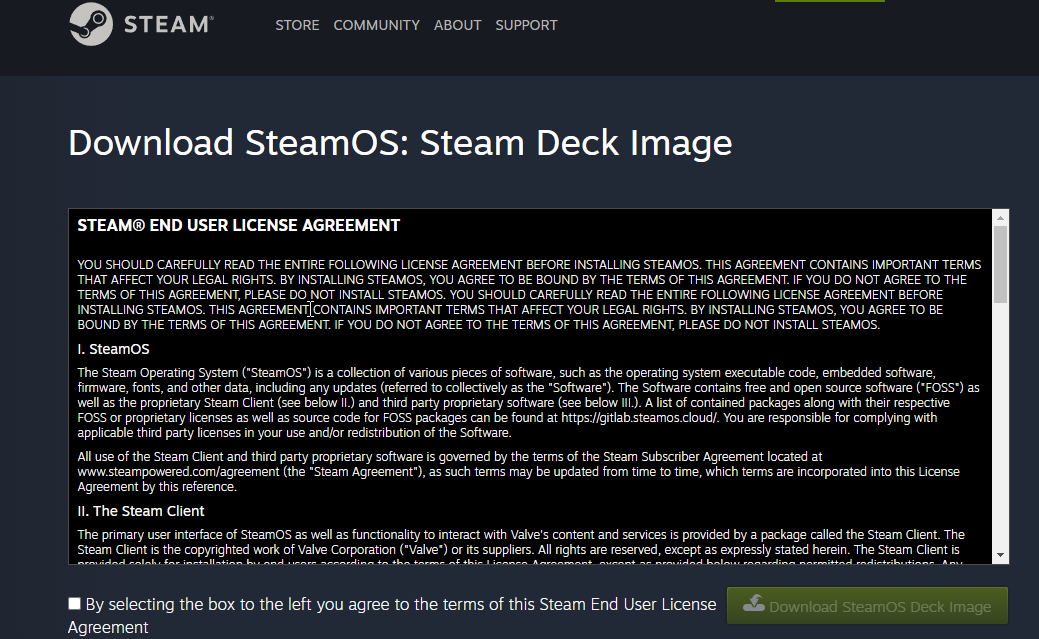
3. Select the recovery file and write it to your USB drive to format the contents of the USB drive.
4. Once it’s done, select Close and eject the USB drive.
5. On Linux you can use Balena Etcher to write the recovery file to your USB.
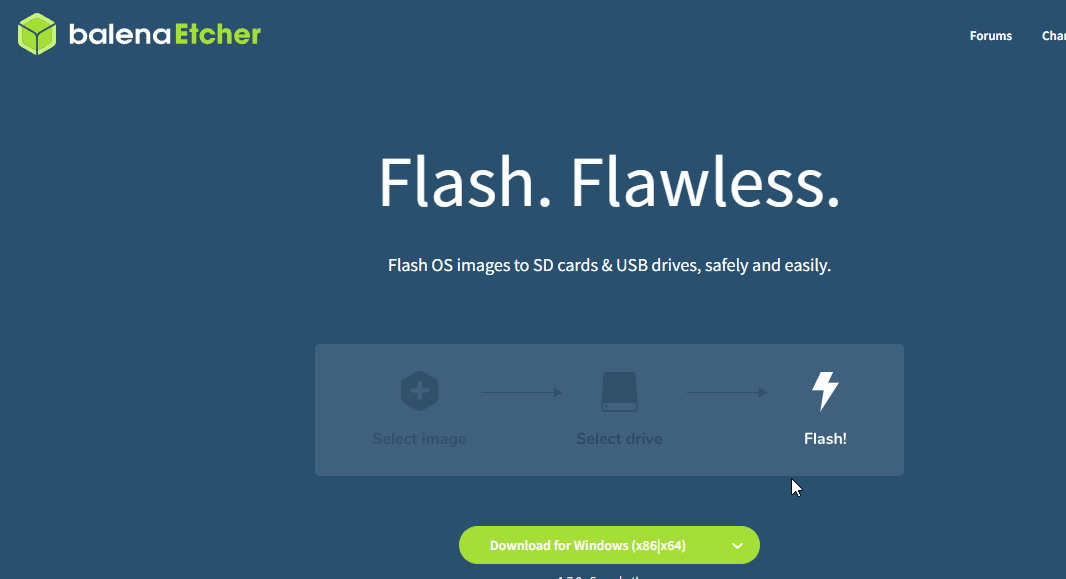
6. Otherwise, you can write the recovery file to your USB via the command line by entering the following: bzcat steamdeck-recovery-1.img.bz2 | dd if=/dev/stdin of=/dev/sdX oflag=sync status=progress bs=128M (set /dev/sdX to the USB device you inserted)
7. Use a USB-C adapter or hub to plug in the boot disk.
8. If your Steam Deck is not already powered down, shut it down.
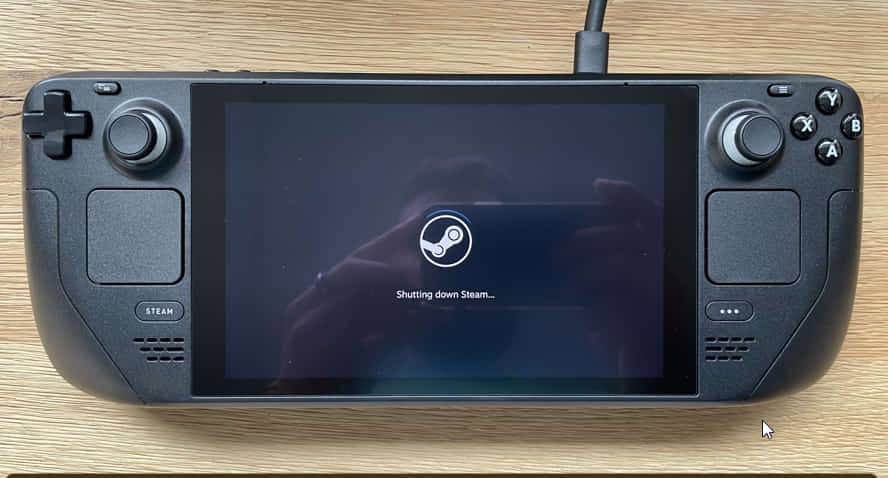
9. Hold the Volume Down and the Power Button simultaneously until you hear the chime, and you’ll be booted into the Boot Manager.
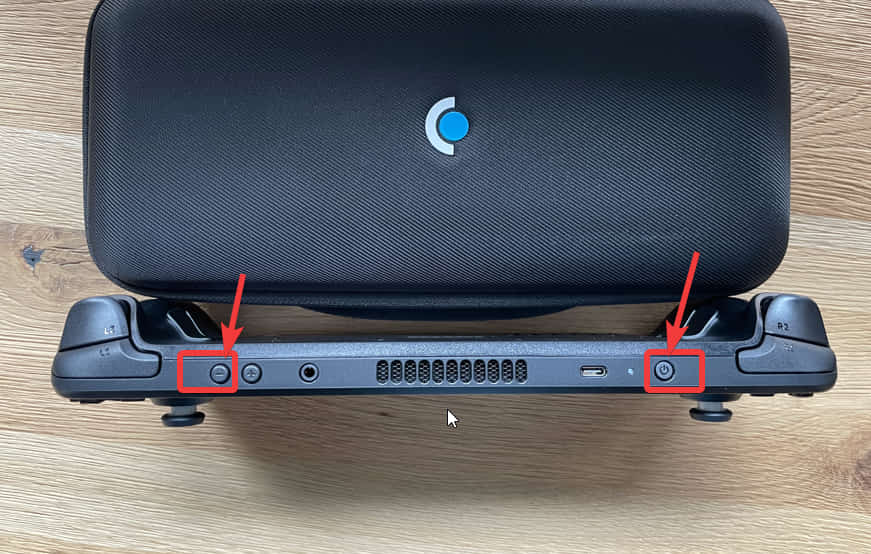
10. In the Boot Manager, boot from the EFI USB Device (your USB key).
11. Do not panic, as the screen will go dark while booting (within a minute).
12. Once the booting is completed, you will be on a desktop, and you can navigate using the trackpad and trigger.
13. You will be able to reset/re-image Steam Deck.
How do I access Steam Deck BIOS?
Hold the Volume Up button to access the Steam Deck BIOS and simultaneously press the Power button. Your Steam Deck should boot into the BIOS menu.
If you follow the instructions as outlined and illustrated in this article, you should have no problem with the Steam Deck boot menu or Steam Deck recovery image as it may.
You can also check our detailed guide on Steam Deck stick drift issue for further solutions to fixing your Steam Deck.
Let us know how best this guide has helped you by using the comments area below.

