Telnet on Windows 11: How to Download, Install & Enable it
Key notes
- Telnet stands for Terminal Network which was introduced way back in 1969.
- While Telnet is now outdated and has been replaced by SSH protocol, you can still enable and install Telnet client on your Windows 11 PC.
- Following the different methods mentioned in the guide, you can install the Telnet client on your Windows 11 computer.

Telnet is the short form of ‘Terminal Network’. It is a protocol that a user can use to connect one computer to a local computer.
Here, the local computer means the device that starts the connection, whereas the computer that is connected to the local computer is called a remote computer.
Telnet operates on a client/server principal, and although it is outdated, it is still used by many people in 2022 as well. Many people have already shifted over to the Windows 11 OS, the latest OS offering from Microsoft.
The good thing is that Windows 11 comes with Telnet in it. However, it is disabled by default. That is, you must enable it manually.
The same principle applies in the case of Windows 10, even though there are some differences when it comes to the steps required to activate the service.
This is where this guide comes into the picture. Because in this post, we will share with you all the information that you need to install and enable Telnet on your Windows 11 PC.
So, without any further ado, let us take a look at our guide on how to install and enable Telnet on Windows 11.
What is Telnet?
Telnet, as already mentioned, uses a client/server protocol to access remote servers. You can use Telnet to check connectivity to a remote server.
Moreover, you can make use of Telnet to run commands on a remote server. The output of this will be returned to the Telnet client.
It uses the Transmission Control Protocol/Internet Protocol (TCP/IP) networking protocol to create remote sessions. When connected to a remote system, users can log in to the remote computer by entering their username and password.
Since Telnet doesn’t offer a secure medium of communication with remote servers, you can use it if strong authentication and encryption over the network aren’t critical.
Telnet can be used for a variety of tasks. This includes carrying out activities on a server, including editing files, running various programs on a remote computer, or even checking mail, if you wish.
Notably, even though Telnet isn’t a secure medium of communication anymore, the Telnet client is still available on Windows 11 and Windows Server 2022. You need to, however, enable it manually.
Let us now take a look at how to enable Telnet in Windows 11.
How can I install and enable the Telnet client on Windows 11?
1. Use Control Panel
- Press the Start menu and search for Control Panel.

- Click on Programs (If you weren’t able to find Programs option, then change the View by option to Category).

- Under Programs and features section, click on Turn Windows features on or off.

- Check the box beside the Telnet client, and hit OK to begin installation.

Your system will look for resources and install the Telnet client on your Windows 11 PC. To access Telnet, follow the simple steps below.
- Search for command prompt in the Start menu and open it as an administrator.

- Type in the following command and press Enter:
telnet
2. Use Command Prompt
- Open the Start menu and search for Command Prompt. Run it as an administrator.
- In the newly opened command prompt window, type in the below command and press Enter:
dism /online /Enable-Feature /FeatureName:TelnetClient
3. Use Windows PowerShell
- Open the Start menu and search for Windows PowerShell. Open it as an administrator.
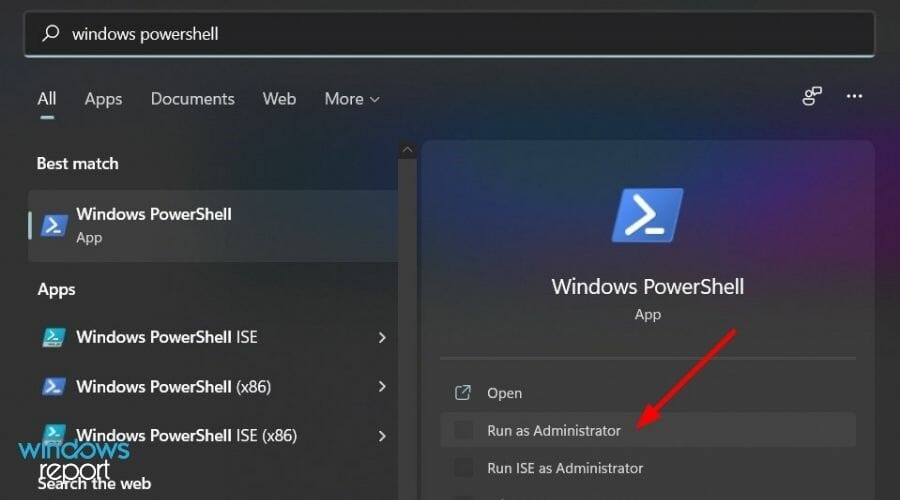
- In the newly opened Powershell window, type in the below command and hit the Enter button:
Enable-WindowsOptionalFeature -Online -FeatureName TelnetClient
Your PC will scan for required changes and will remove the Telnet client from your Windows 11 PC. To be on the safe side, you can reboot your PC for the changes to take effect.
What are the safety concerns with using the Telnet client?
The main reason why Telnet was replaced by the SSH protocol in most modern systems is the security flaws of the Terminal Network.
We will try to explain the safety concerns of using Telnet clients in simple words. All your data and information travels over an unencrypted network.
This gives easy access to hackers and spies to access important information such as usernames and passwords. This is the reason why SSH (Secure Shell) came into existence, which is kind of an encrypted Telnet.
The SSH protocol encrypts your data before sending it over the network and also authenticates the remote computer. In return, the SSH protocol requires some extra resources to run smoothly. In simple terms, a network that makes use of the SSH protocol should have powerful machines.
Moreover, the Telnet protocol is text-based. This limits the use case scenarios of this protocol. Telnet uses port 23, which is designed for local area networks. On the other hand, the SSH protocol uses port 22.
We hope that this guide helped you with all the information related to Telnet and how to install the Telnet client on your Windows 11 PC.
If you still run Windows 10 on your PC and want to know how you can use Telnet in Windows 10, then you can check out our guide on What is Telnet and how to use it in Windows 10.
You can share your doubts regarding this topic in the comments section below.
Read our disclosure page to find out how can you help Windows Report sustain the editorial team. Read more


Improve this guide


User forum
1 messages