How to use the Trusted Devices functionality in Windows 10

Keeping your data, credentials and other files secured is essential especially when you use different devices for completing daily tasks. Well, in Windows 10 you can smartly manage your Microsoft account for using your credentials without any problems an without worrying about security breaches even when you are connecting with more than your personal computer.
The only condition is to use your personal Microsoft account on all these devices.
Here’s how ‘Trusted devices’ works in Windows 10
Trusted devices is a feature introduced when Windows 8 was first released. However, the Trusted devices functionality was modified in Windows 10 and got better.
Now, you can add any other device (your phone, tablet, another PC or any other gadget regardless of the OS that is running) to your trusted devices list and use your credentials through your Microsoft account.
As you know, the normal steps for connecting to your Microsoft account from different devices are: you need to complete the two-step verification process and afterwards you need to enter the code provided by Microsoft via an app, text message or e-mail.
If a secondary authentication solution can’t be used you won’t be able to use your account at all. But, once you are signed in all your credentials will be synchronized.
However, even after performing this complex authentication process you might still have to complete additional verification queries – this will happen when you will try to use data marked as extra sensitive such as your credit card number.
And this is when the Trusted devices feature will come in handy. After filling out the security verification form you will receive a message saying ‘I sign in frequently on this device. Don’t ask me for a code’.
Once this checkbox is enabled and you successfully sign-in to your account, Microsoft will make this particular handset as a trusted device. Shortly, a trusted device will no longer ask for the Microsoft verification code next time you will try to access or use your sensitive / private information.
Set up your PC as Microsoft’s trusted device
Here is how you can set up your current Windows 10 handset as a trusted device for your personal Microsoft account:
- Press Win+I keyboard hotkeys.
- From System Settings go to Accounts.
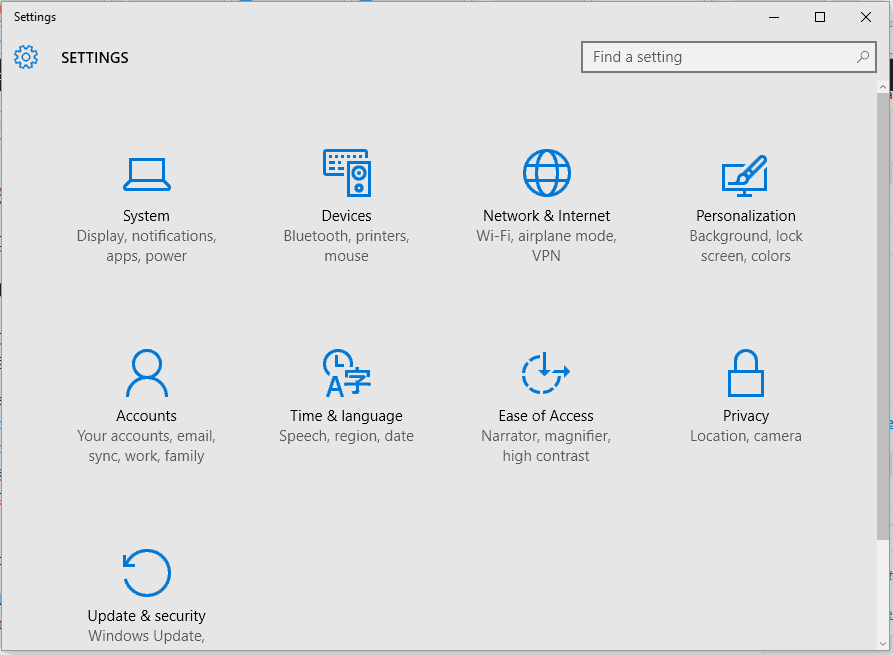
- From the left panel click on Your email and accounts.
- Under ‘You need to verify your identity on this PC’ click on Verify.
- Fill up the forms in order to receive the security code.
- Click Next and enter the security code you received.
- Perfect; your PC is now a trusted device associated with your Microsoft account.
- Now, if you go to System Settings – > Accounts – > Your account you should notice that the Verify link isn’t displayed anymore.
How to let apps use Trusted Devices in Windows 10
You can choose which apps can be used on the devices that were added in the Trusted devices list. Here is how you can perform this process:
- On your computer press the Win+I hotkeys.
- Go to Privacy.
- From the left panel access Other devices.
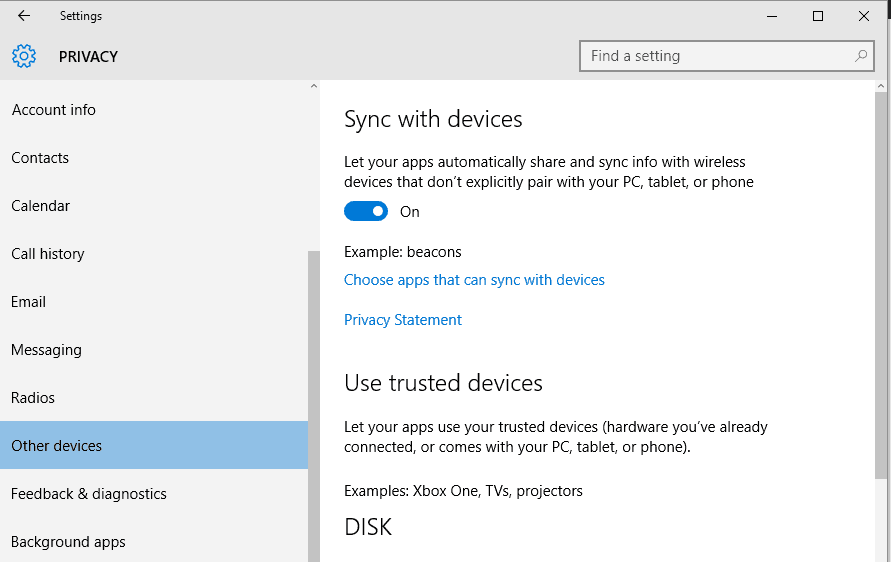
- Now, on the main window you can find the Use trusted devices section.
- There will be added your trusted devices.
- If you want to let apps installed on your computer to use your trusted devices enable the ‘Let apps use my device’ feature.
- Next, choose the apps that you want to use these devices by enabling each entry from the displayed list.
ALSO READ: New security report pegs Microsoft Edge as the safest browser against phishing attacks
How to remove a device previously added under Trusted devices
- On your computer open your browser.
- Access the Microsoft online website.
- Sign-in to your account.
- Go to the Security & privacy tab.
- Then, select More security settings.
- Scroll down and look for the Trusted devices field.
- Click on the Remove all the trusted devices associated with my account link.
- Follow on-screen prompts and wait while this operation is being automatically completed.
So, that’s how you can use Trusted devices in Windows 10.
If you have questions or if you need our further assistance don’t think twice and contact us. You can do it through the comments field from below.
Of course, based on your request we will try to assist you as soon as possible. Enjoy and let us know everything about your Windows 10 experience.
RELATED STORIES TO CHECK OUT:
Read our disclosure page to find out how can you help Windows Report sustain the editorial team. Read more


Improve this guide


User forum
0 messages