Unable to Shrink C Drive? 5 Quick Ways to Fix it
You should try disabling the Kernel memory dump option
Key notes
- If you aren’t able to shrink C drive in your PC, you should opt for a dedicated tool.
- You can also try using the Disk Cleanup Wizard to fix the problem.
- Else you can try the solution to disable the pagefile.

Are you unable to shrink the C drive on your Windows PC? Well, if you are then you are in the right place because, in this guide, we will give you some methods that will help you shrink the C drive.
Shrinking a drive will help you get extra storage space and allocate it to a new drive or an already existing drive to store more files in that drive. Let us get right into it.
Why am I unable to shrink the C drive?
We did our research and found a bunch of reasons why you will be unable to shrink the C drive. Some of the common errors that will prevent you from shrinking your C drive are listed below:
- The shrinking volume is greyed out
- There isn’t sufficient space available
- The size of the shrink space is less than the free space
- There are unmovable files and you can’t shrink the volume
Well, these are only a few errors that you will come across when you are trying to shrink any drive.
How can I shrink the C drive easily?
1. Run Disk Cleanup
- Press the Win key to open the Start menu.
- Type disk cleanup and open it.

- Select the drive you wish to clean and press OK.

- Select the files you want to get rid of and click OK.

- To free up more space, click on Clean up system files.

- Select the drive.
- Choose the files to remove and click OK.
- Restart your PC.
When you are removing the files from the drive, then make sure that you are also selecting the hibernation files and restore point files.
2. Disable System Restore
- Press the Win key to open the Start menu.
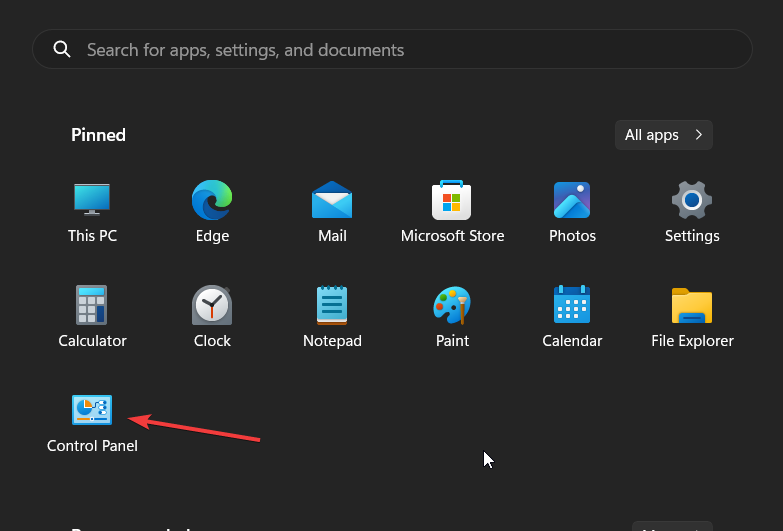
- Open the control panel.
- Select Recovery.

- Click on the Configure System Restore link under the Advanced recovery tools page.

- Switch to the System Protection tab.
- Select the C drive under the Protection Settings section and click on Configure.

- Under the Restore settings section, click on Disable system protection.

- Click Apply and then click OK.
After you have disabled the System Restore, check if the problem of being unable to shrink the C drive is resolved or not.
3. Disable the pagefile
- Press the Win key to open the Start menu.
- Open Control Panel.
- Select System.

- Click on Advanced System Settings.

- Under Performance, click on Settings.

- Switch to the Advanced tab.

- Click on Change.

- Uncheck the Automatically manage paging file size for all drives option.

- Select No paging file and click OK.

4. Disable the Kernel memory dump
- Press the Win key to open the Start menu.
- Open the Control Panel.
- Select System.
- Click on Advanced System Settings.
- Under Startup and Recovery, click on Settings.

- From the Write debugging information drop-down, select None to disable the Kernel memory dump.

- Click OK and restart your PC.
Disabling the Kernel memory dump option has also helped many of our readers fix the unable to shrink C drive problem on their Windows 11 PCs.
For users coming across the Kernel Security Check failure problem, we have a guide that lists effective solutions to resolve the problem.
5. Disable the Hibernation mode
- Press the Win key to open the Start menu.
- Type the Control Panel and open it.

- Select Power Options.

- Click on the Change what the power button do option on the left.

- Click on Change settings that are currently available.

- Uncheck the Hibernate box and hit the Save changes button.

- Restart your PC.
- Open File Explorer by pressing the Win + E keys.
- Navigate to the below path.
C:\pagefile.sys - Select the pagefile.sys and press Delete.

One of our readers suggested this solution and it has helped many to fix the problem of being unable to shrink the C drive.
You can also make use of third-party partition assistant tools to easily shrink any drive on your PC. However, we have a guide that gives a list of some of the best disk management software that you can use in 2023.
Feel free to let us know in the comments below, which one of the above tools helped you resolve the unable to shrink C drive problem.
Read our disclosure page to find out how can you help Windows Report sustain the editorial team. Read more


Improve this guide


User forum
0 messages