Kernel Security Check Failure: Definitive Guide to Fix
Look out for corruption signs & keep your drivers up to date!
Key notes
- Seeing the Kernel Security Check Failure BSOD implies that one or several files failed a compatibility or integrity check.
- The most common reason for the Kernel Security Check Failure stop code is caused by issues with outdated drivers.
- Our guide presents you with a variety of troubleshooting steps, ordered from the least intrusive to completely resetting your system.

If you are reading this article, it means that you were unfortunate enough to get the Kernel Security Check Failure error.
Because this problem occurs while trying to install Windows 10, users end up panicking that their entire system is stuck.
Even more believe that it’s a virus trying to take over and while that is a potential cause, it’s not as simple as that. That being said, is Kernel Security Check failure a virus? The short answer is no, it is not.
Many other users who upgraded their operating system to Windows 10 have experienced the same issue. Indeed, the Windows 10 Kernel Security Check Failure occurs more frequently than you might think.
It’s one of the most common Windows install issues out there. So let’s see what triggers it in the first place.
What causes Kernel Security Check failure?
The Kernel Security Check Failure error can be caused by a variety of issues, including memory problems and virus infections.
But the most common reason is that the drivers you were using on the previous version of the OS are not compatible with Windows 10.
As a result, the OS gives you the Kernel Security Check Failure error message followed by the 0x000000139 error code.
Here are some specific situations in which the annoying Kernel Security Check Failure error often occurs:
- Kernel Security Check Failure after sleep – This error may occur after waking your PC from sleep
- Kernel Security Check Failure after RAM upgrade – Users report that this error message sometimes occurs after they insert a new RAM card
- Kernel Security Check Failure when playing games – If you’re a gamer, you probably already encountered this error quite a few times.
- Kernel Security Check Failure when using particular apps and programs – It seems that particular apps and programs are more prone to trigger this issue than others. For instance, Kernel Security Check failure is common in Photoshop.
How do I fix Kernel Security Check Failure?
1. Use a dedicated third-party repair tool
The Kernel Security Check Failure BSOD error is not to be reckoned with as it may be caused by a lot of possible issues, all covered in this guide.
However, before starting to tweak your system with a more complicated solution, you should try a dedicated solution that can help you solve this issue automatically.
2. Enable legacy advanced boot menu
- Restart your computer and insert a Windows 10 bootable media into the optical media drive. Find out how to create a bootable media)
- On the displayed Windows Setup box, click Next.
- On the next page, click on Repair your computer.

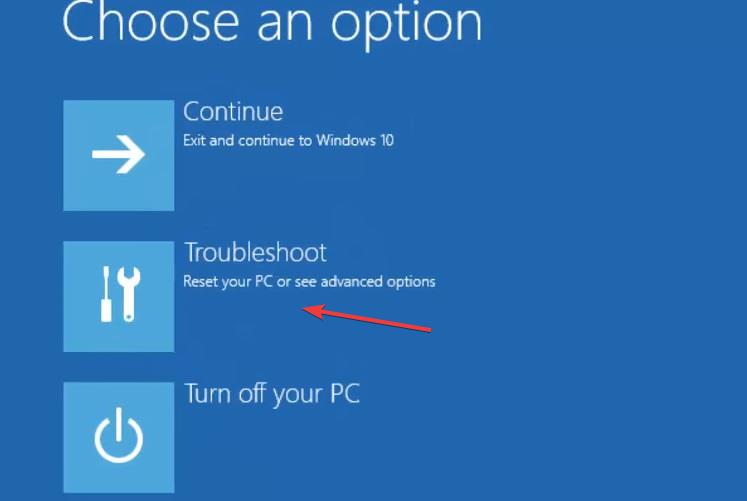
- On the Choose an option screen, click Troubleshoot.
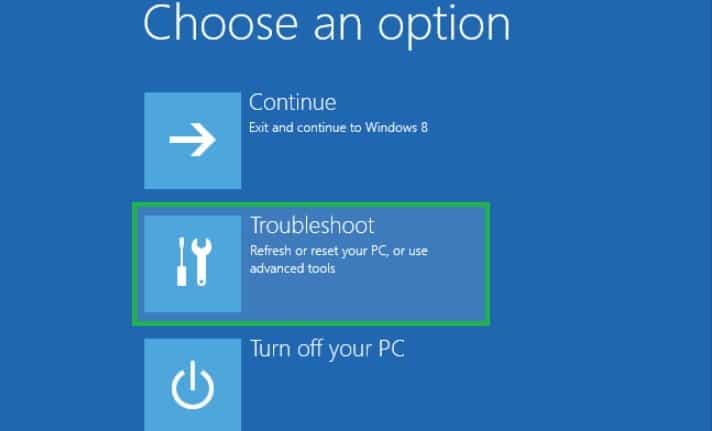
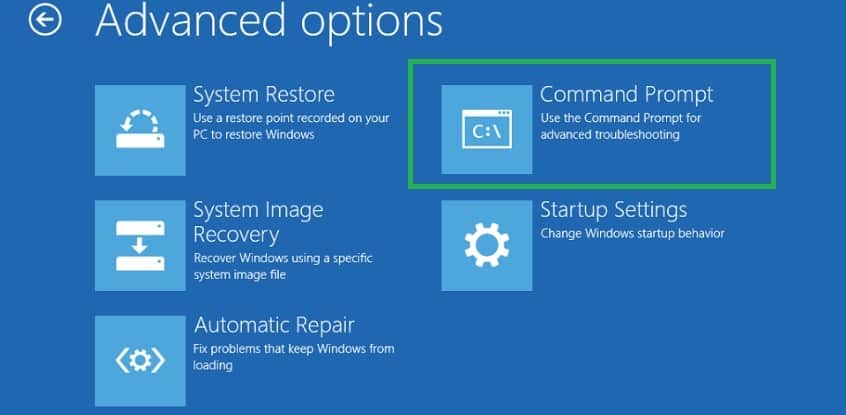
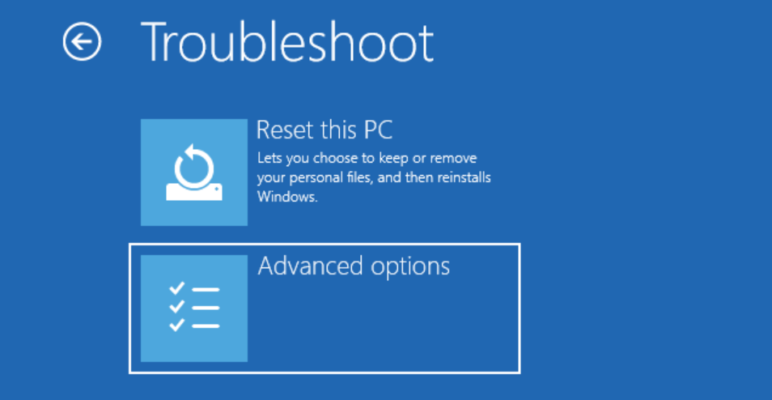
- Click on Advanced options.
- Now select Command Prompt.
- On the newly opened Command Prompt window, type C: and hit Enter.
- Type the following command and press Enter to enable the legacy advanced boot menu:
BCDEDIT /SET {DEFAULT} BOOTMENUPOLICY LEGACY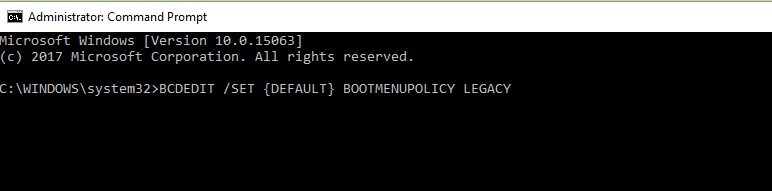
- Once the command executes successfully, type EXIT to close the Command Prompt window.
- Go back to the Choose an option screen, click Continue and start your computer normally.
3. Update and fix your drivers
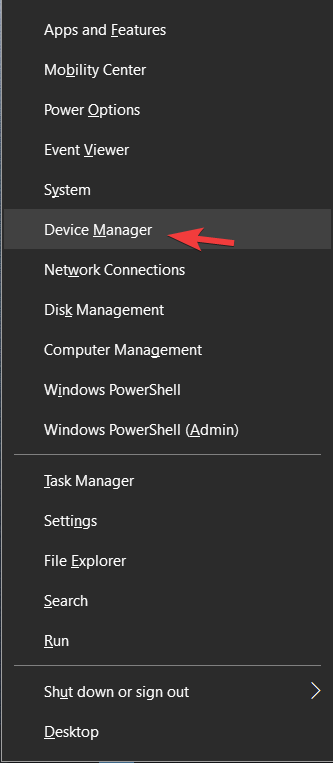
- Right-click the Start button and select Device Manager from the list.
- Click on a category of components to expand it.
- Right-click on the driver you want to update and select Update driver from the list.
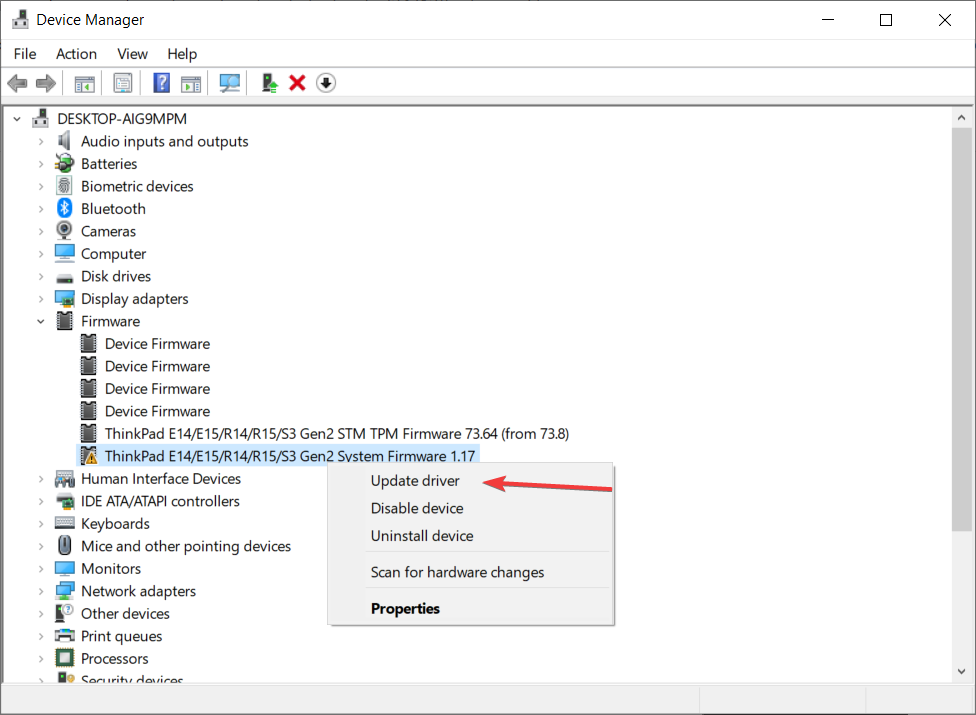
- In our case, we found a firmware with a yellow question mark on it so we addressed it with priority but you should try to update all drivers.
- In the next window, click on Search automatically for drivers.
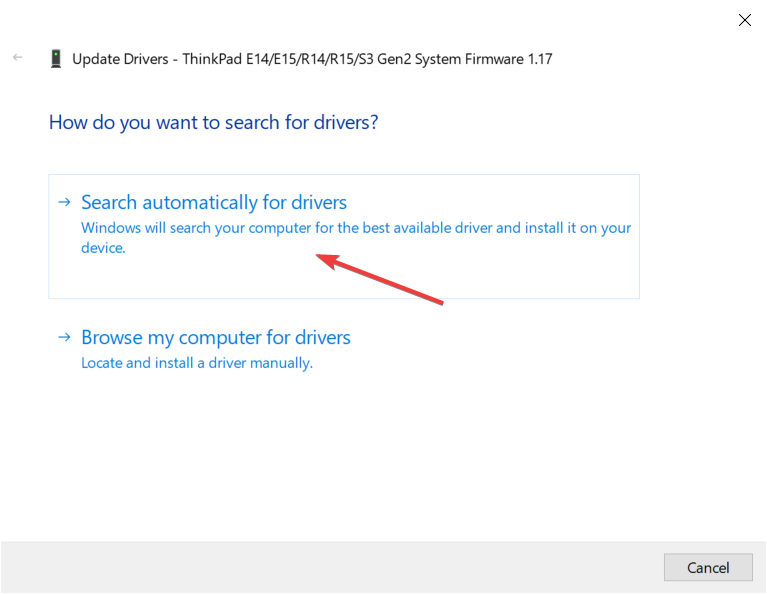
- If the system will find an updated driver, it will install it and you will have to restart the system.
All the BSoD errors can be caused by missing or corrupted drivers so updating or replacing them might be the key to fixing the Kernel Security Check Failure error.
4. Use System File Checker and Memory Diagnostic
1. Go to Advanced Startup Options.
2. Tap on Troubleshoot.

3. Go to Advanced Options.

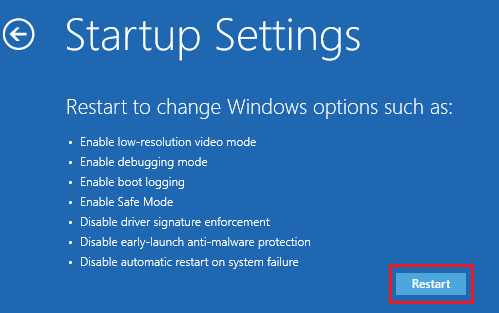
4. Click on Startup Settings.

5. Press the Restart button located on the lower right side of the screen. Your operating system should boot with the minimum system requirements.
6. Left-click the Search feature located on the taskbar and type cmd in it.

7. Click on Run as administrator to open Command Prompt with full privileges.

8. Type the following command and hit Enter to run it: sfc /scannow

9. Wait until the scanning process completes, then type Exit and hit Enter.
10. Now it’s time to run the Windows Memory Diagnostic tool. To start off, click on the Search button in your taskbar.
11. Type memory, and select Run as administrator under the Windows Memory Diagnostic option.

12. Select Restart now and check for problems.

13. After the reboot, the OS will automatically check your RAM and display the possible reasons why you got the Blue Screen of Death error.
14. Reboot your PC normally.
15. Check to see if the Kernel Security Check Failure BSOD error persists.
Another fix for the Kernel Security Check Failure error is to perform an SFC scan and then run the Memory Diagnostic tool. These will scan your PC for errors and are likely to fix the problem.
5. Update your PC
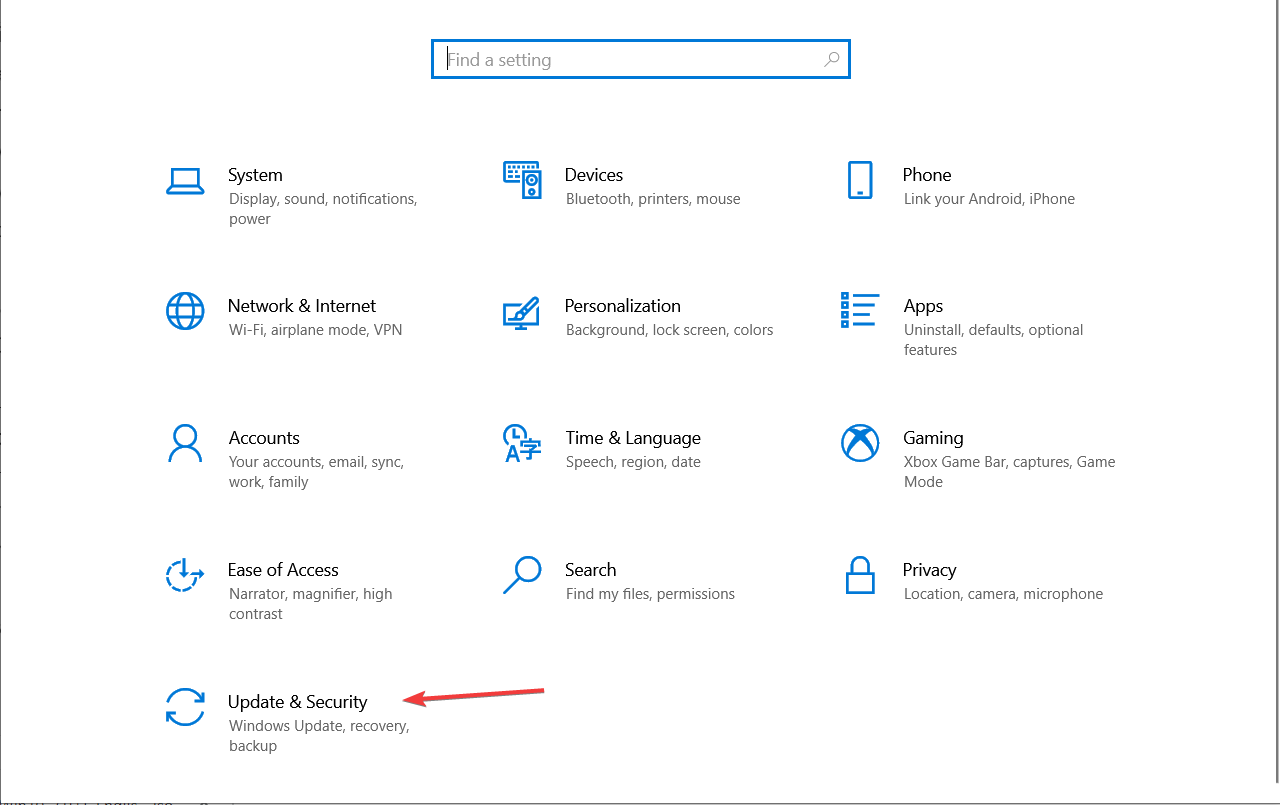
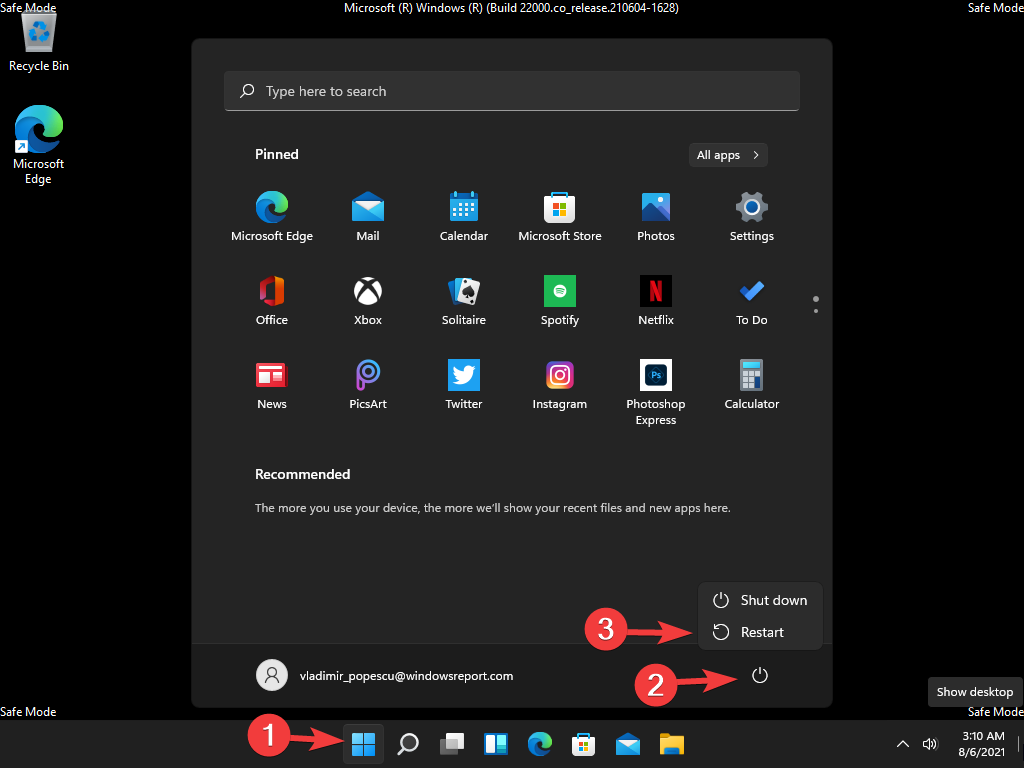
- Click the Start button and then select the Settings option.
- Next, click on Update & Security.
- Click on the Check for updates button from the top-right.
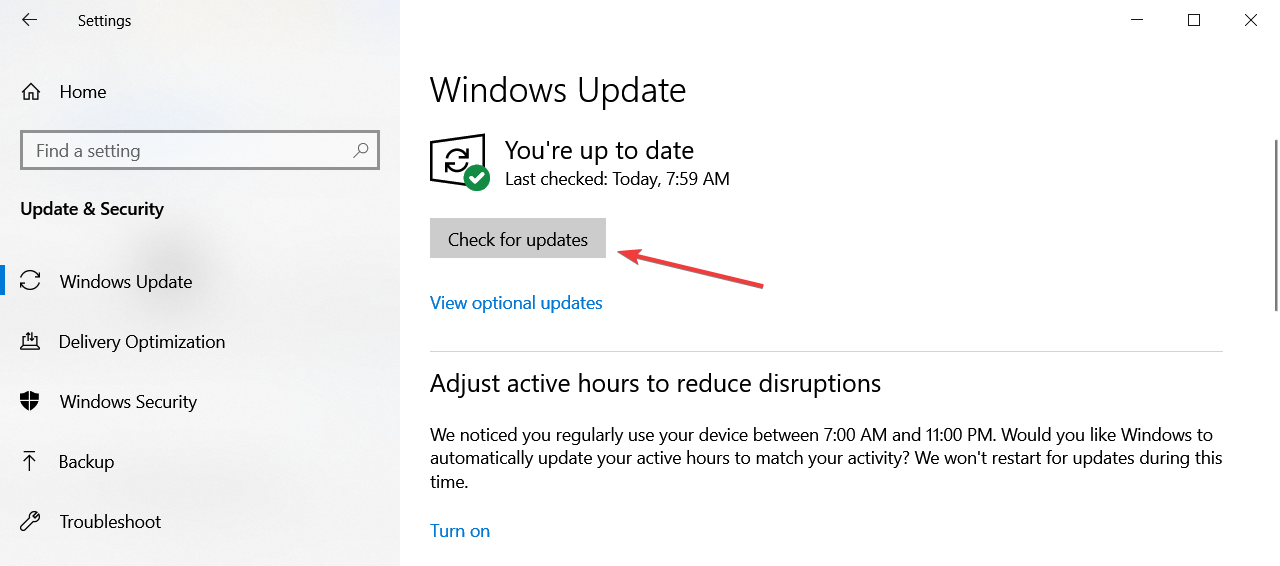
- If there are any new updates you can install them, and you will have to restart your PC for the changes to take effect.
Make sure that you’re running the latest Windows OS updates on your machine. As a quick reminder, Microsoft constantly rolls out Windows updates to improve the system’s stability and fix various issues.
6. Scan your PC for viruses
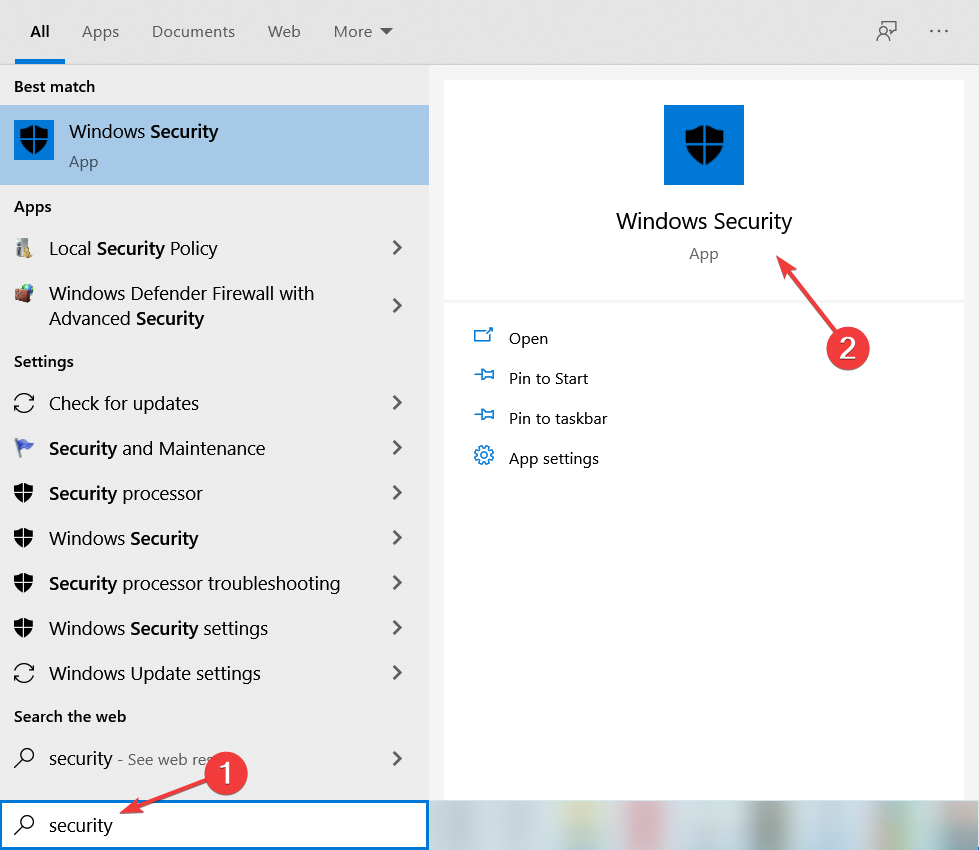
- Go to Start, type security, and double click Windows Security to launch the tool.
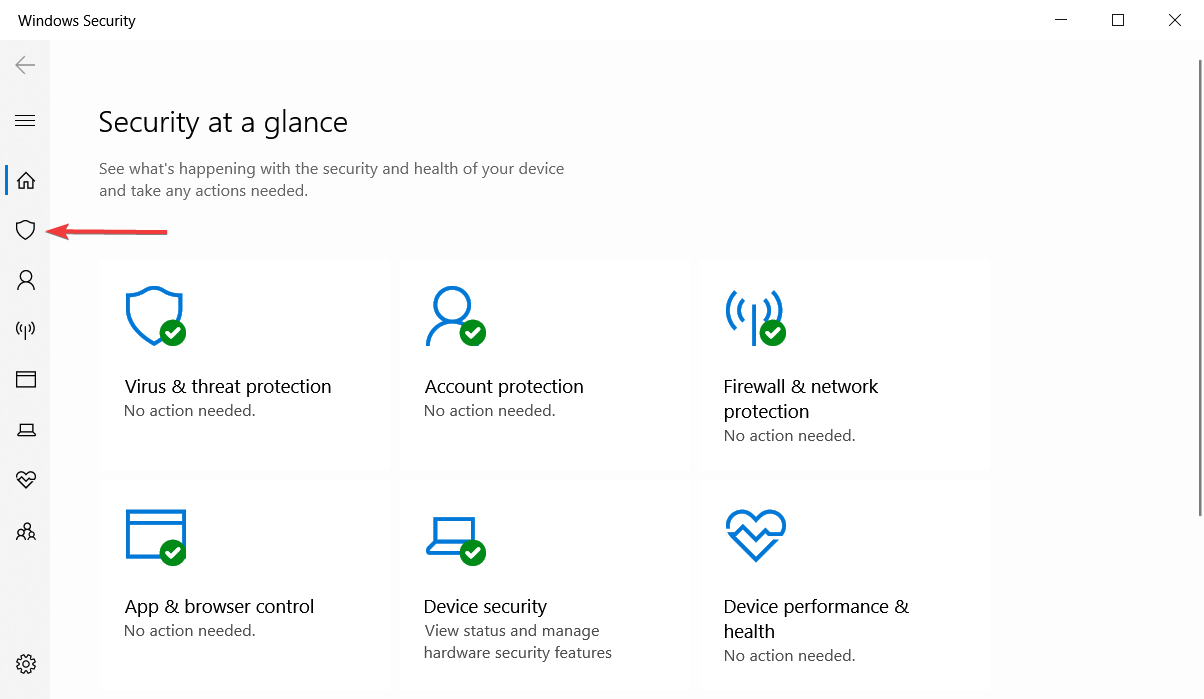
- In the left-hand pane, select the shield icon.
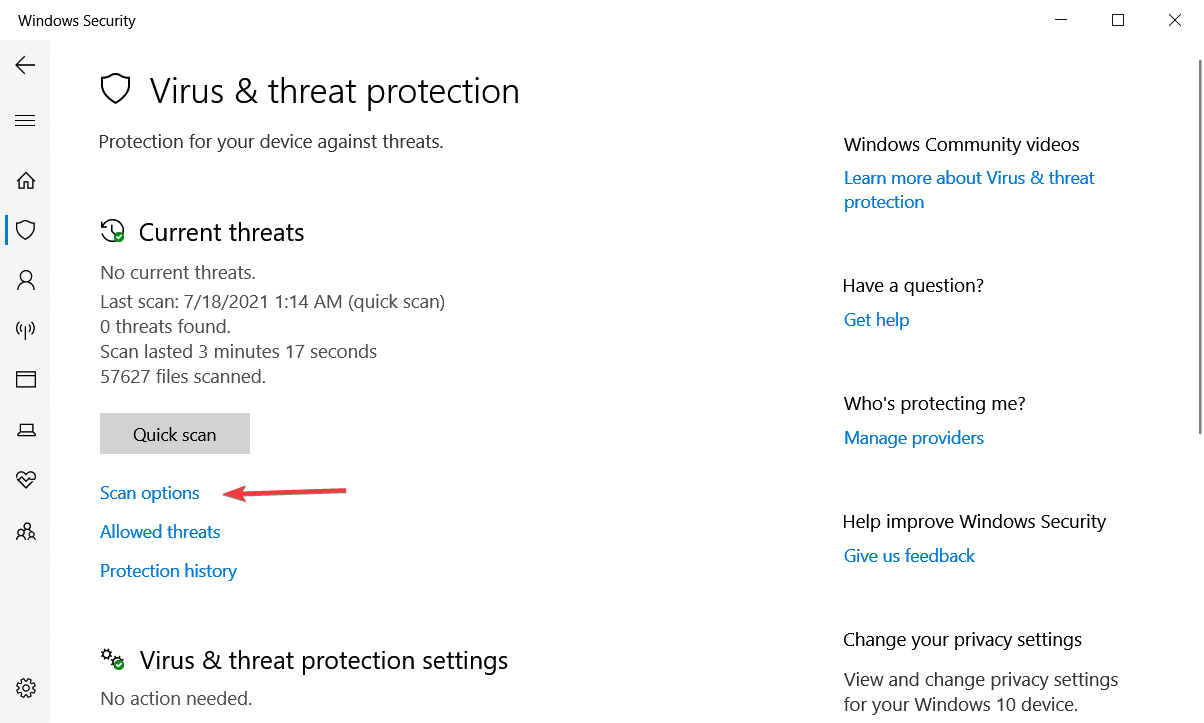
- Click on Scan options.
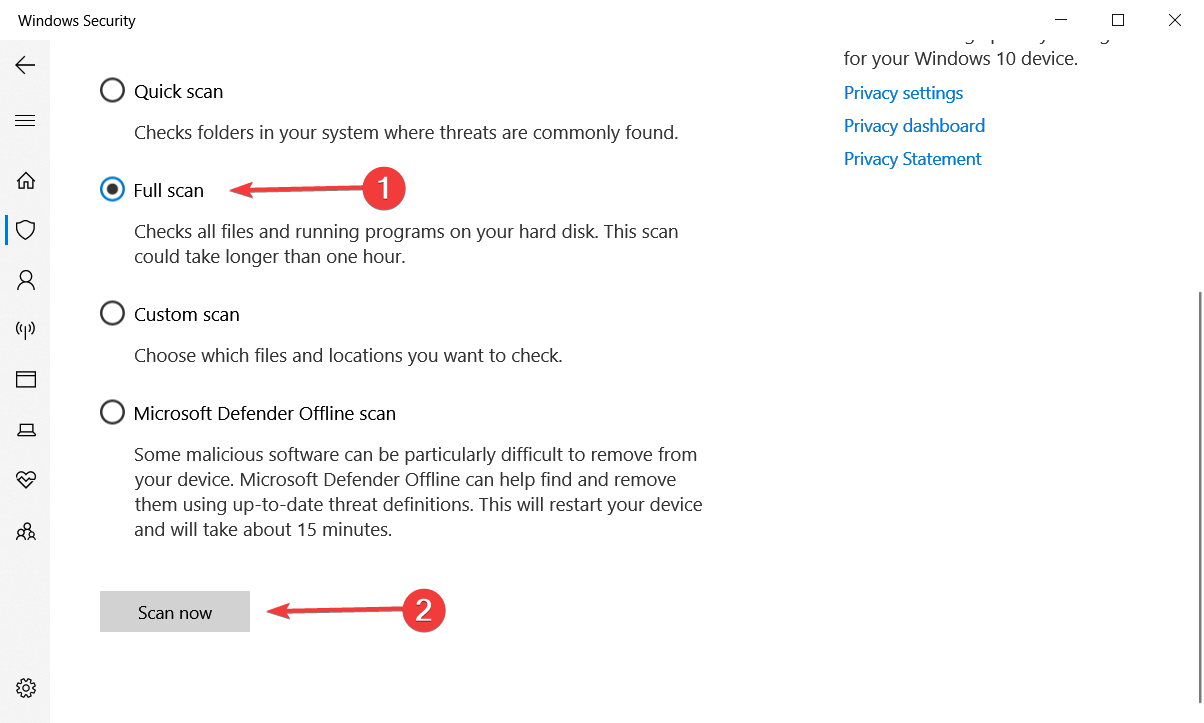
- Check the Full scan option and click the Scan now button.
If the Windows Defender cannot remove the malware detected, the best option is to try out a third-party antivirus with a better detection rate.
Run a full system scan to detect and remove any virus or malware that potentially sneaks into your PC. Malware may cause various issues on your computer, including the Kernel Security Check Failure error.
7. Check your disk for errors
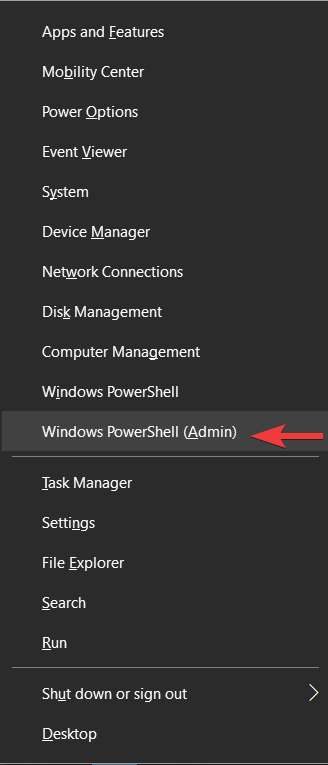
- Press the Windows key + X and select PowerShell (Admin) from the list of options.
- Type the following command and hit Enter to run it (Replace C with the letter of your hard drive partition):
chkdsk C: /f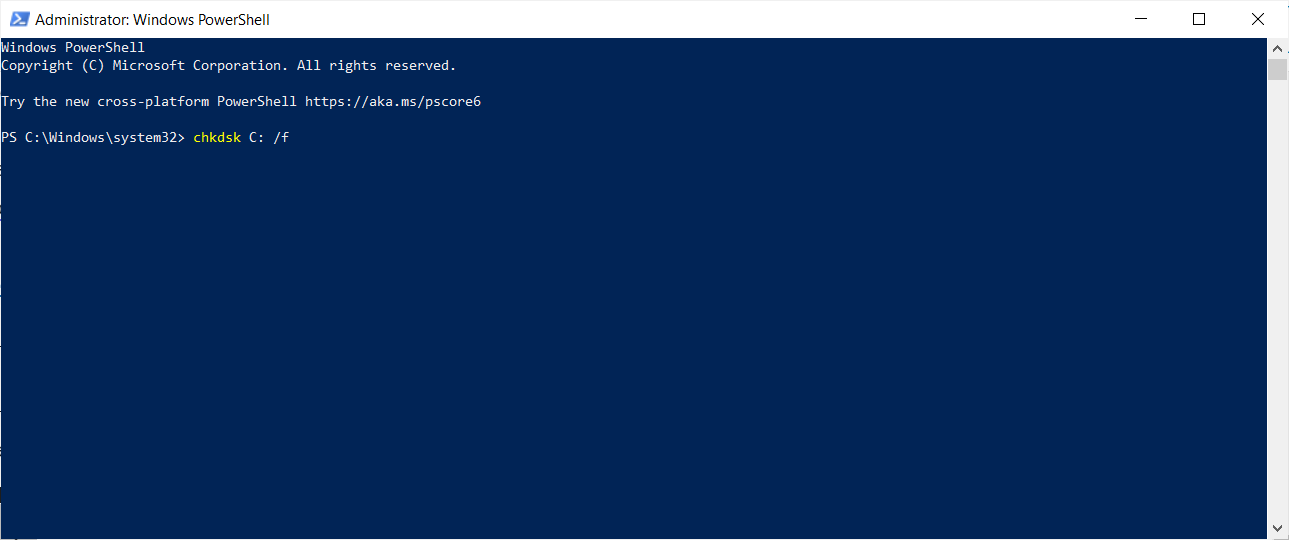
- As a quick reminder, if you do not use the /f parameter, chkdsk displays a message that the file needs to be fixed, but it does not fix any errors.
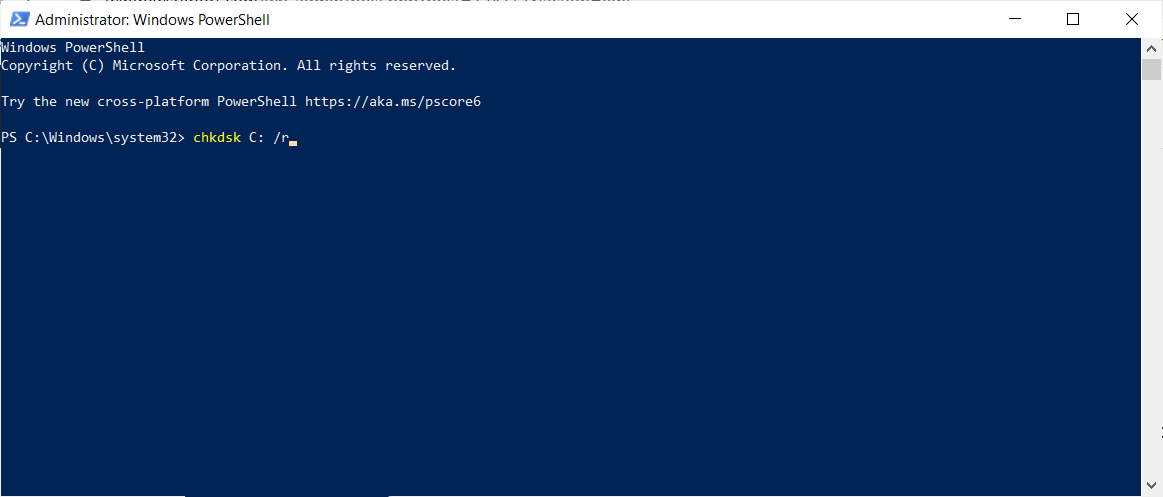
- To repair physical issues, run the /r parameter as well.
If the system is in use, you will be asked if you want to act as a restart. Press Y and then Enter, then restart your computer.
This process can be time-consuming. Depending on the hard drive’s memory, it can go between half an hour and two hours before it is done.
We also have a complete guide on how to repair hard drive errors so you can refer to it for more in-depth information.
8. Run your PC in Safe Mode
- Click the Start button on Windows and select the Settings app.
- Select Update & Security from the menu.
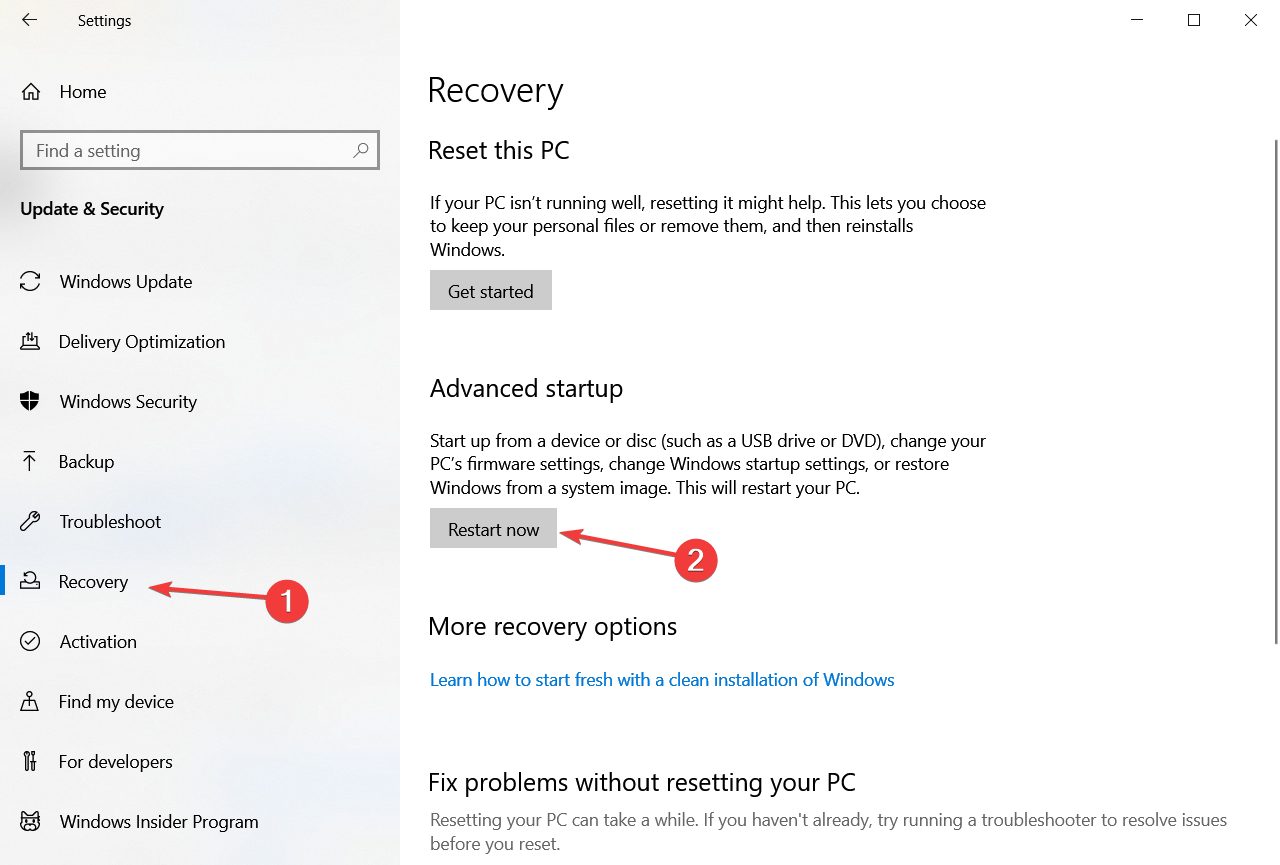
- Click on Recovery from the left pane, then select Restart now from the right.
- A list of options will appear. Select Troubleshoot.
- Next, select Advanced options.
- In the following window click Restart.
- After you enter Safe Mode, check if the problem persists.
 NOTE
NOTE
Enable your programs one by one to identify the culprit. Once you’ve done that, you can uninstall the problematic software.
If you don’t want to reset your computer, you can try to boot your computer in Safe Mode to identify if any apps or software are causing this problem.
The steps above showed you how to fix the Kernel Security Check Failure error message on your Windows 10 PC.
If there is a hardware failure of the HDD or the RAM in your device, you will most likely have to replace it with a new one.
9. Perform a System Restore
- Press Win Key + X and choose Settings from the menu.

- Select the Update & Security option.
- Now click on Recovery under the left pane and select the Get started button from the right.

- In the next window, choose Keep my files.

- Now you can either use the Cloud download or the Local reinstall options.

- The first option, which we recommend, will reinstall Windows using a cloud download but it will use more than 4 GB of data so you need to have enough Internet data available.
- The second will require you to have bootable media ready. Don’t worry, we have a helpful guide on how to create a Windows 10 bootable USB drive.
- Follow the on-screen instructions to complete the reset.
If the System Restore fails to extract the original copy, read our guide on what to do if the System Restore fails.
If the problem started recently after you installed new software on your computer, run System Restore. This tool helps you to remove recently added apps and programs.
Windows 10 offers a series of advanced recovery option that allows users to clean and install the OS. You can also use the Reset this PC recovery option.
10. Fix the Kernel Security Check Failure stop code on Windows 11
Now, you probably figured out by now that the error is by no means exclusive to Windows 10. So, what is kernel security check failure 11?
It’s the very same issue that has found a way to sneak into Microsoft’s newest OS as well. Don’t worry, we also have a solid guide on how to fix Kernel Security Check Failure on Windows 11.
10.1. Automatically diagnose your PC using the built-in recovery tool
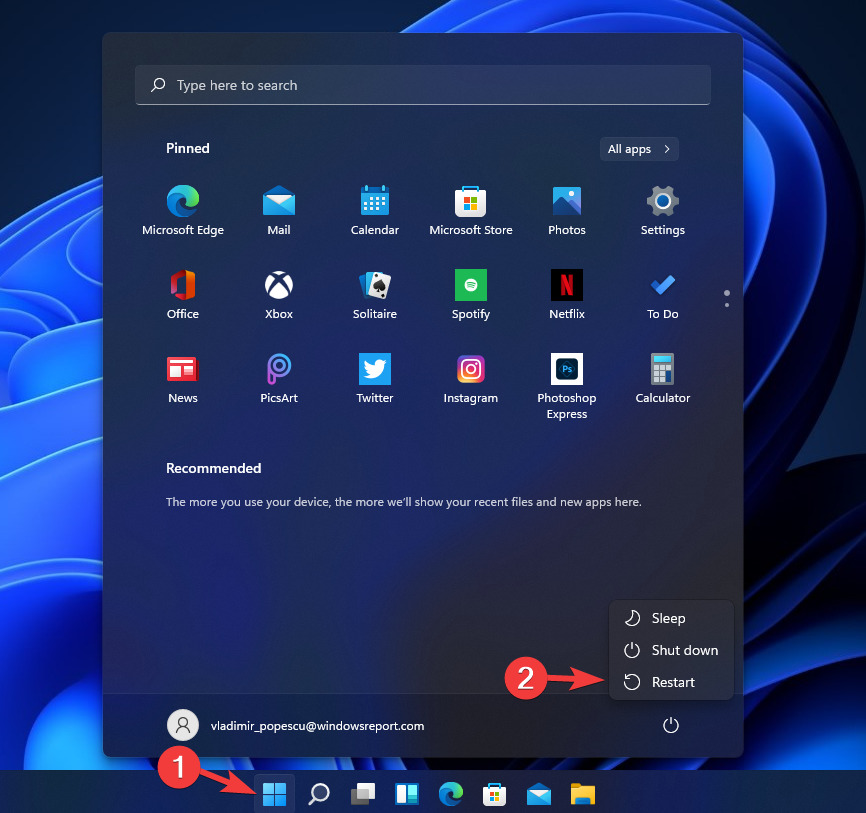
- To open the System recovery page, click on Start, and while holding the Shift button pressed, choose Restart.
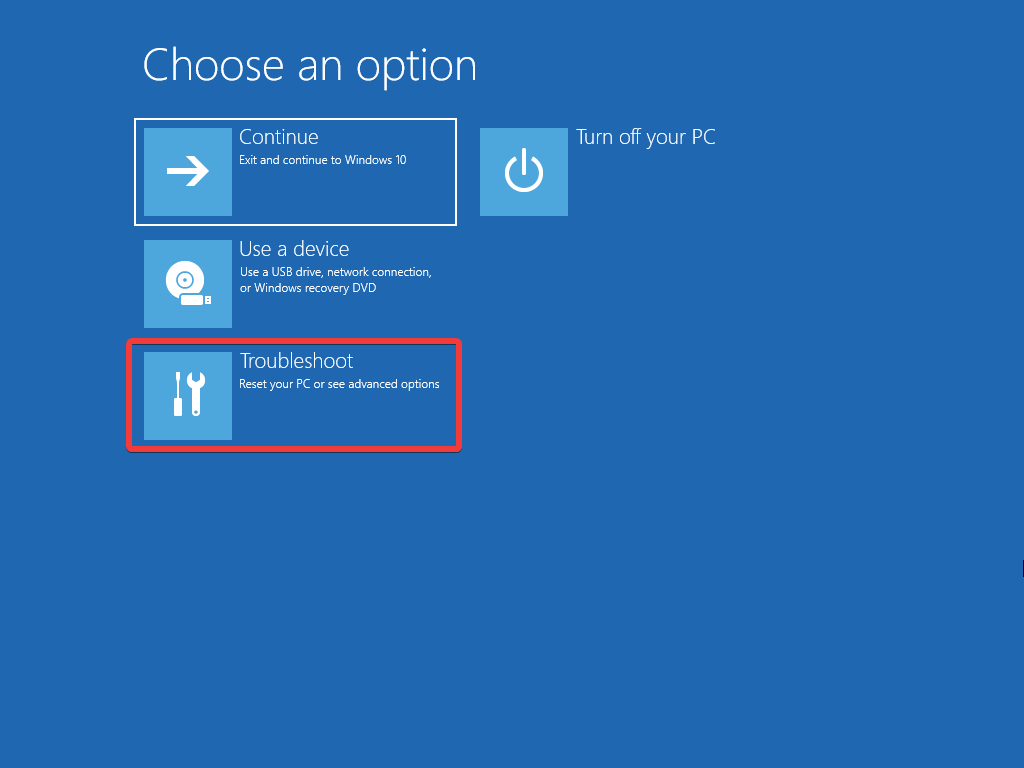
- Click on Troubleshoot.
- Choose Advanced Options.

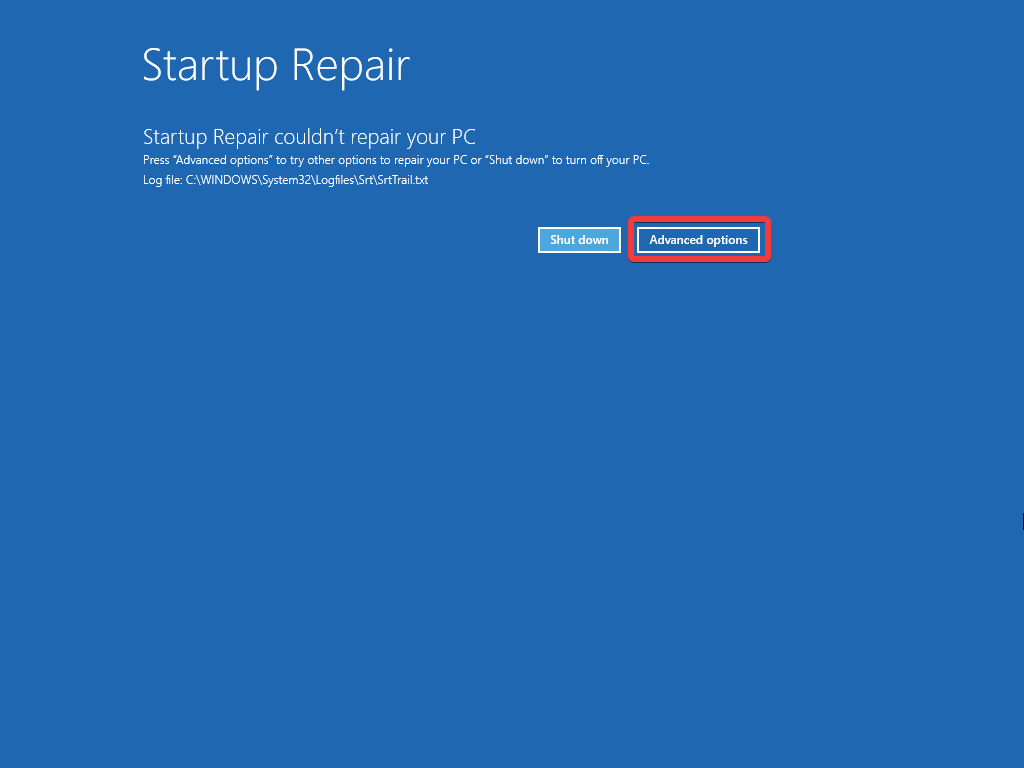
- Select Startup Repair.
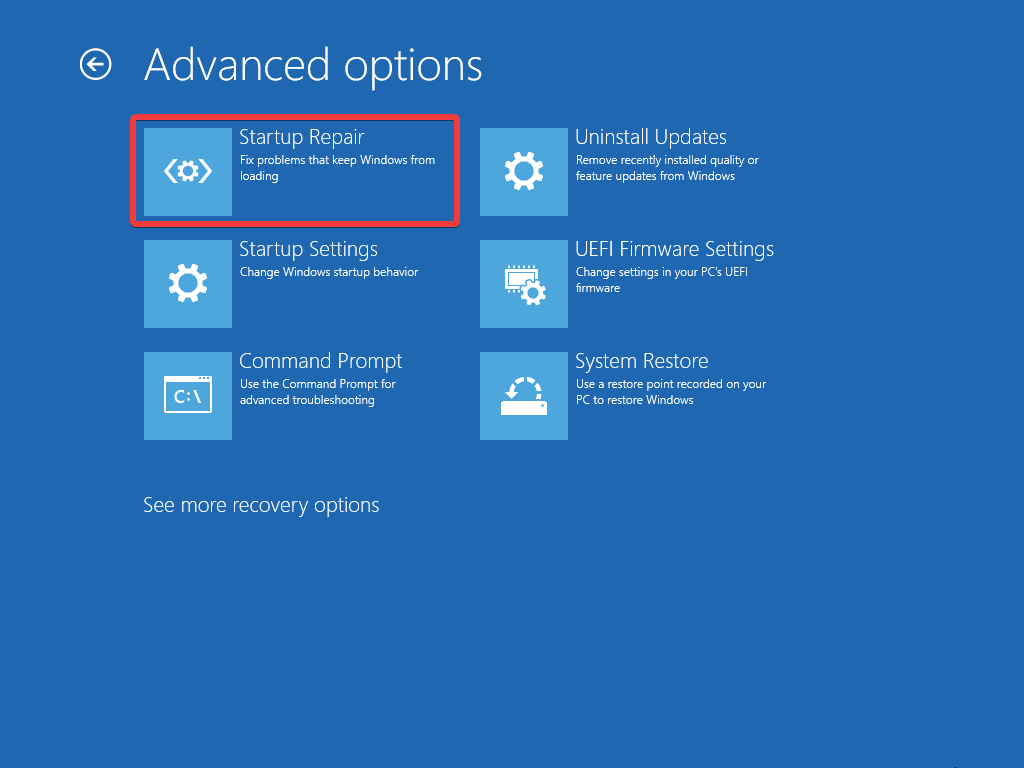
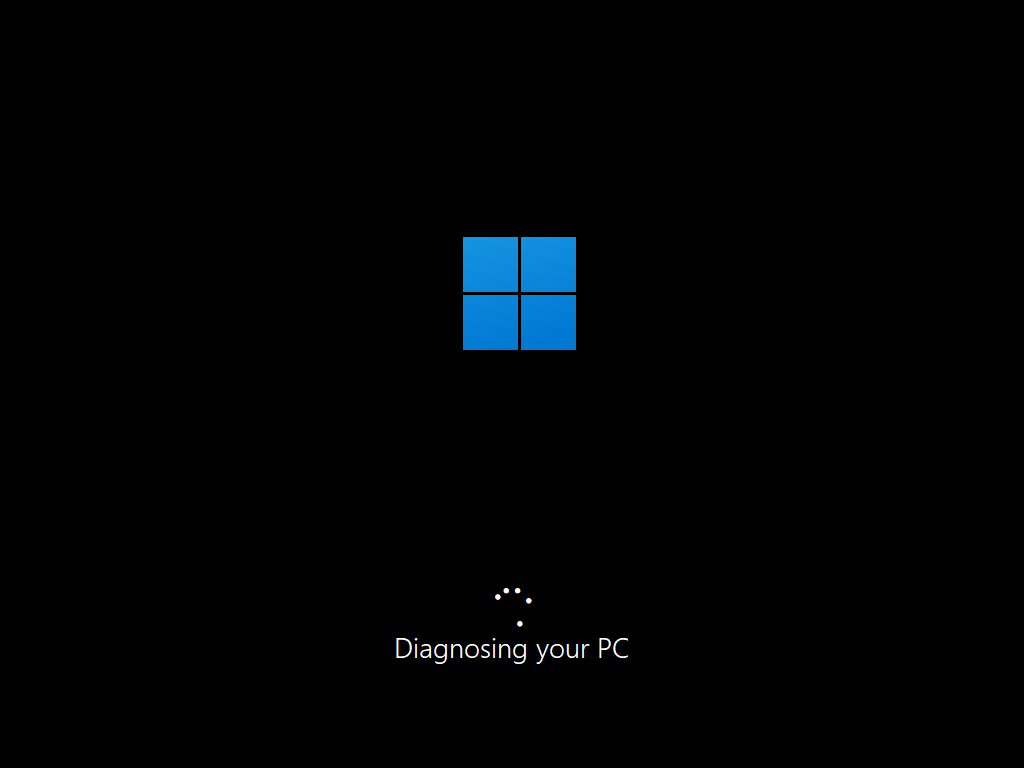
- Wait for Windows 11 to go through the process of diagnosing your PC.
- Depending on the results of the process, you will have Windows 11 boot normally, or you will see the following image.
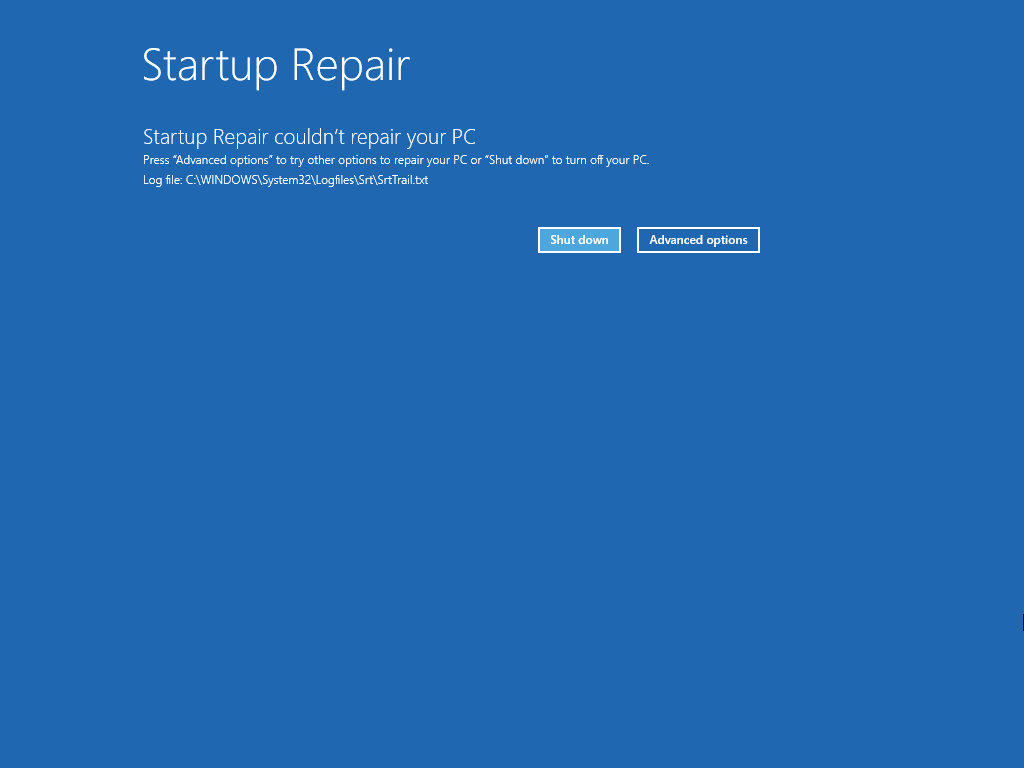
- If you see the image presented above, move on to the next step.
10.2. Enable safe mode by using Startup Settings to recover files
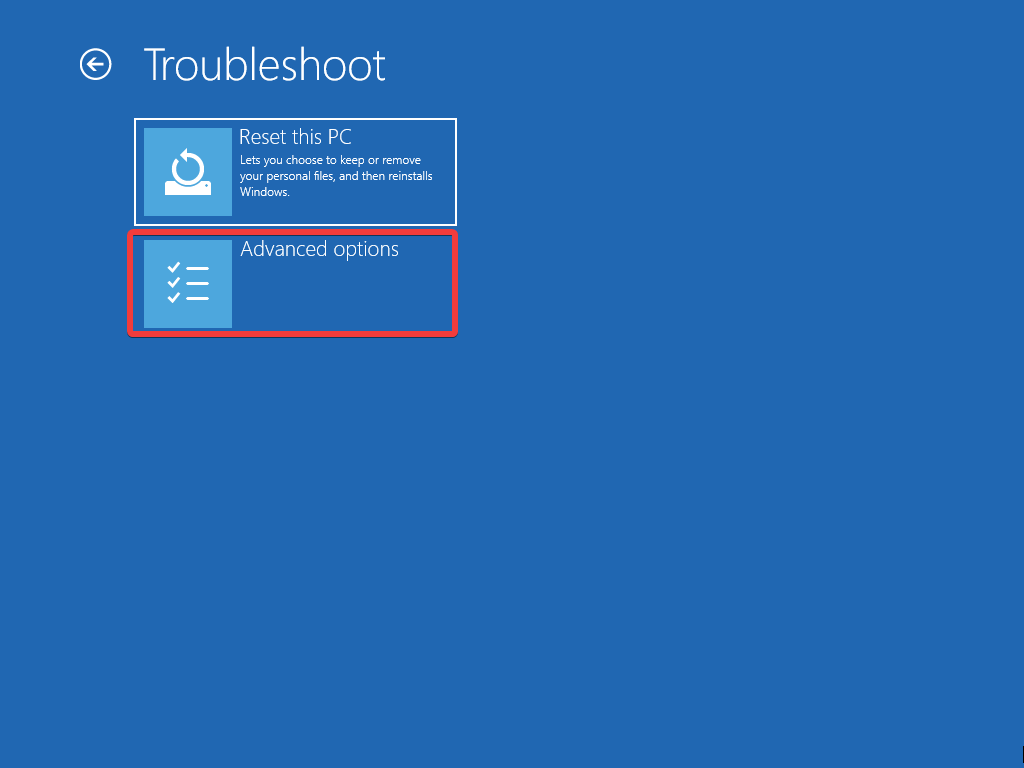
- Press the Advanced options button from the screen.
- Choose Troubleshoot again.

- Choose Advanced Options again.
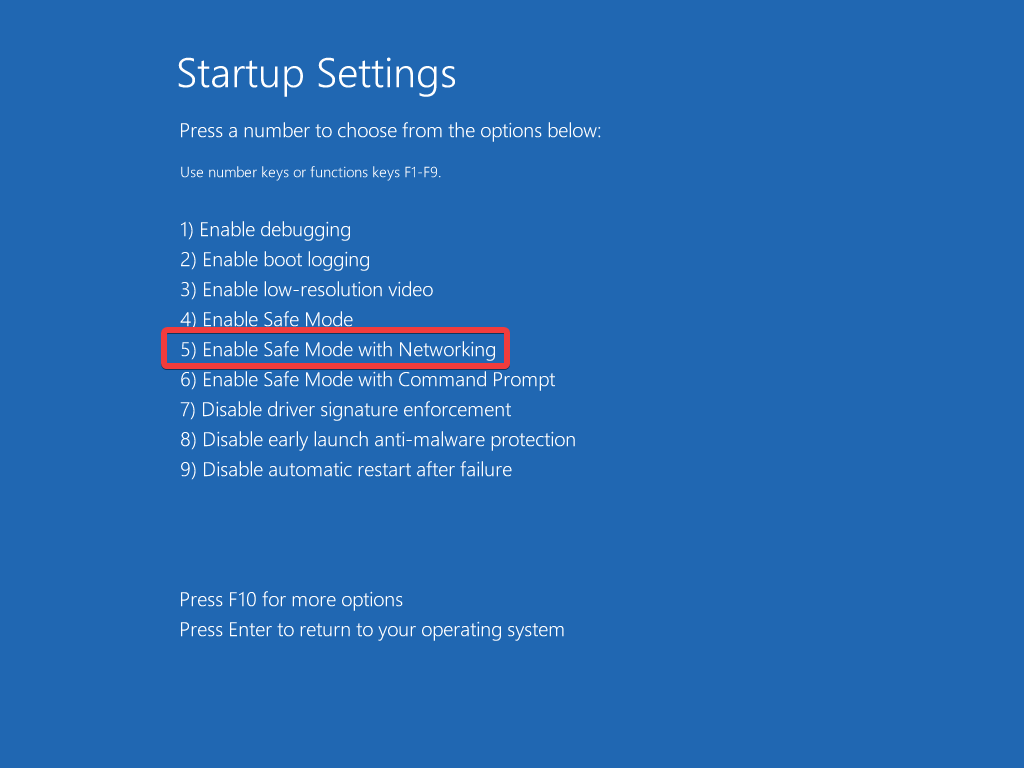
- Click on Startup Settings.
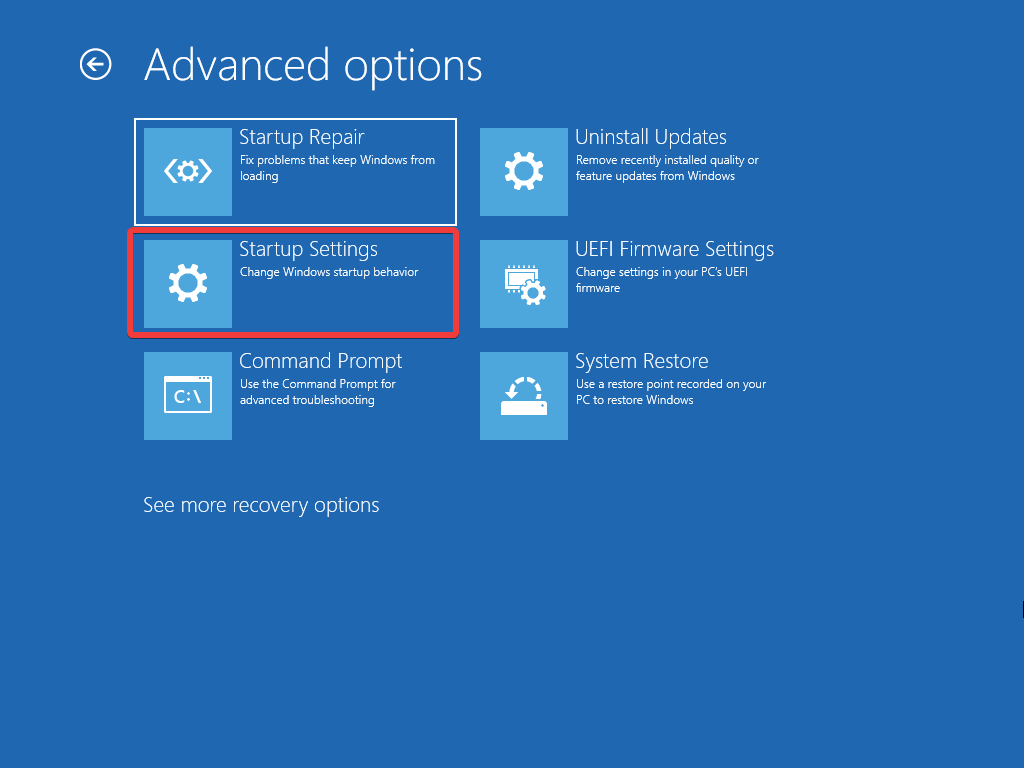
- Select Restart.
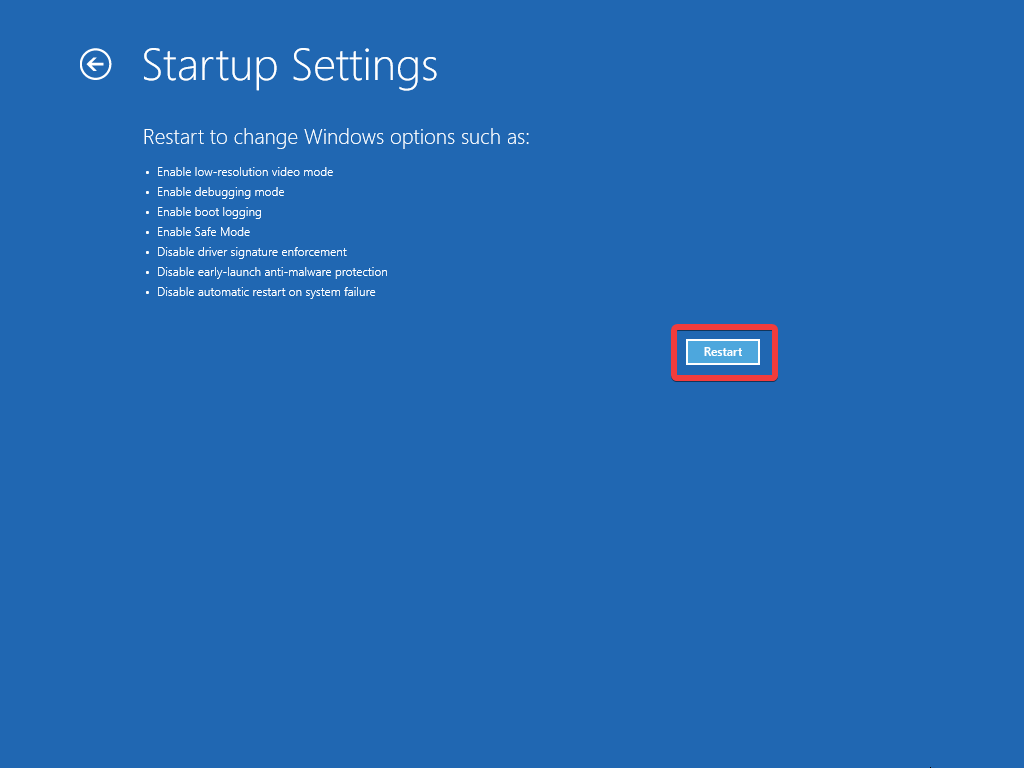
- Choose Safe Mode with Networking option by pressing the number 5 keypad.
- Your Windows desktop should look like this when booted into Safe Mode with Networking.
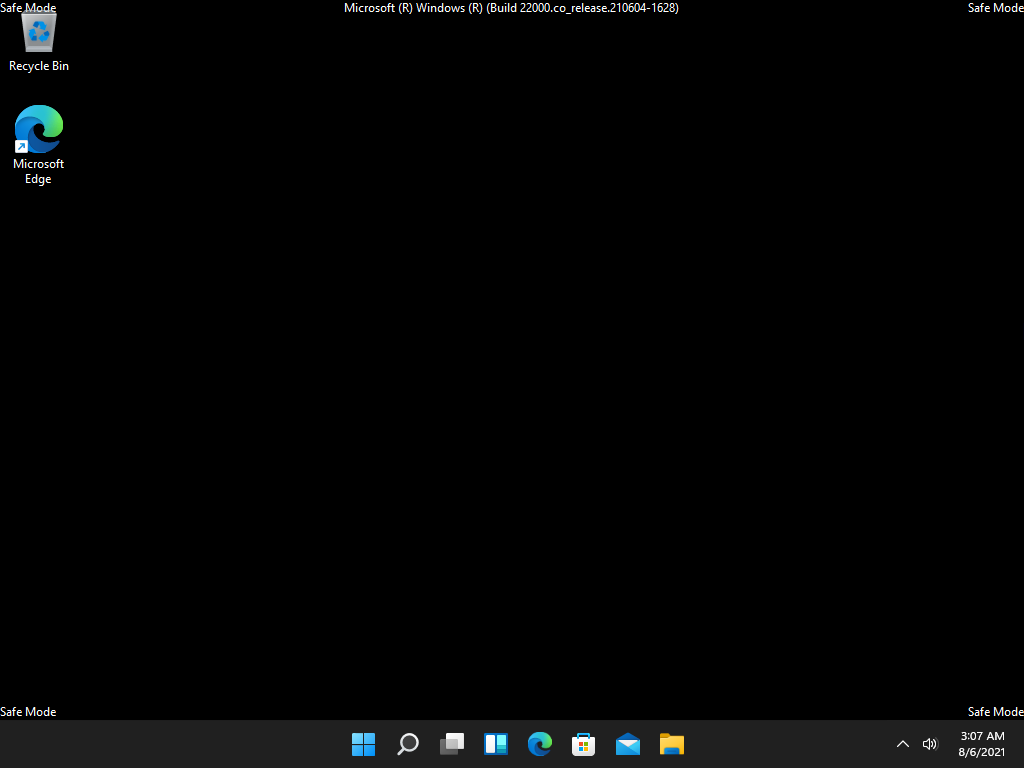
- Recover any files that you need and move on to the next step.
10.3. Uninstall any updates
- Click the Start button, hold the Shift key pressed, and click Restart.
- Click Troubleshoot.
- Select Advanced options.
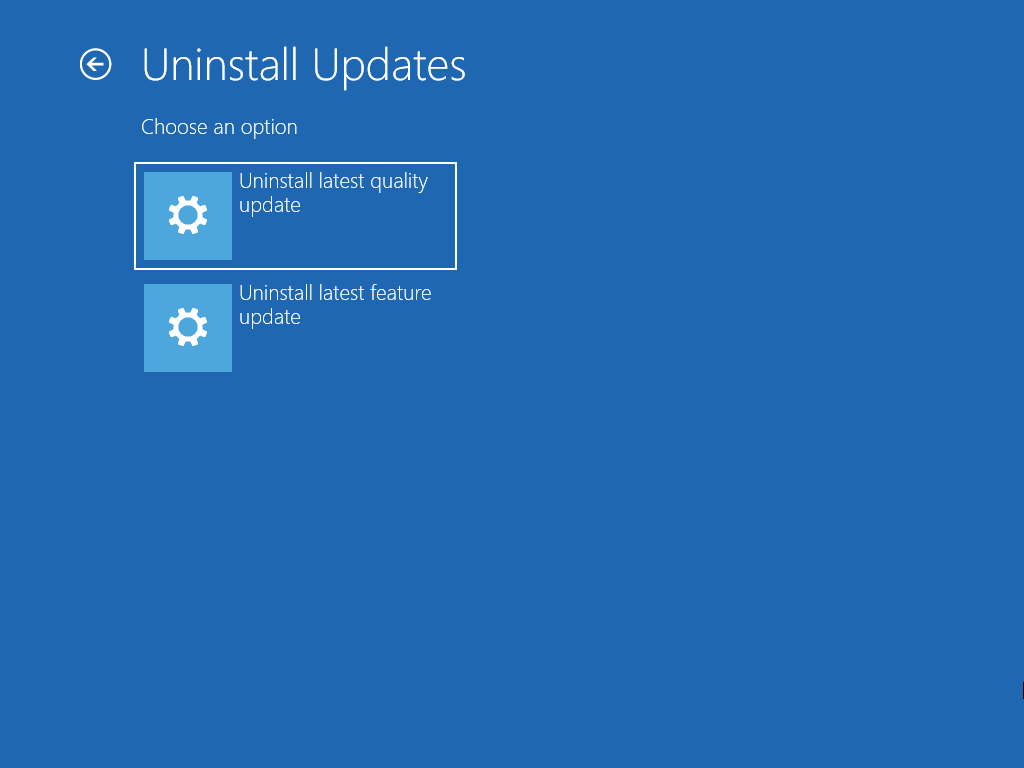
- Choose Uninstall Updates.
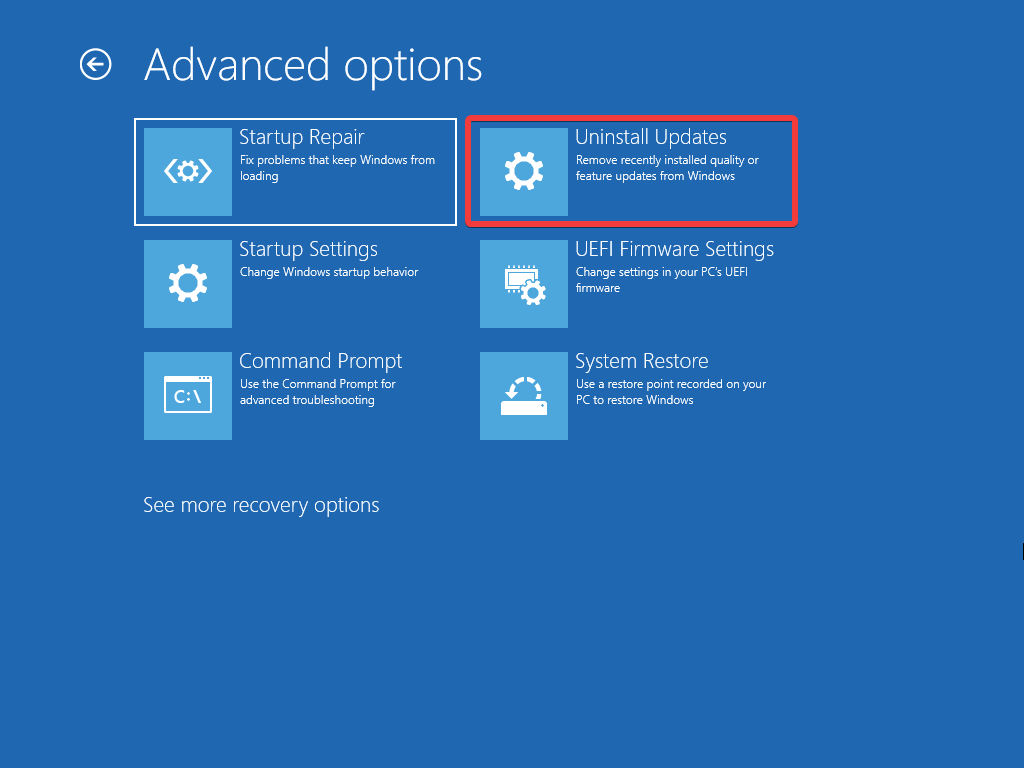
- Choose if you want to uninstall the latest quality update (smaller update), or the latest feature update (bigger update).
- Press the Uninstall quality update button or the Uninstall feature update button, depending on your previous choice.
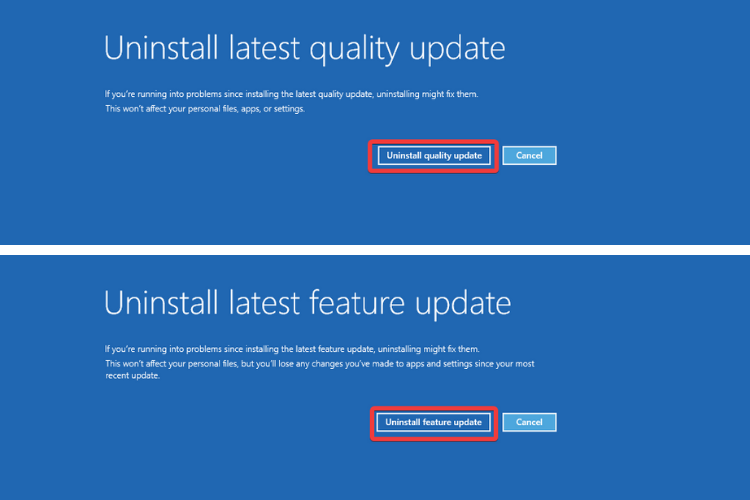
- Follow the on-screen instructions to complete the uninstallation process.
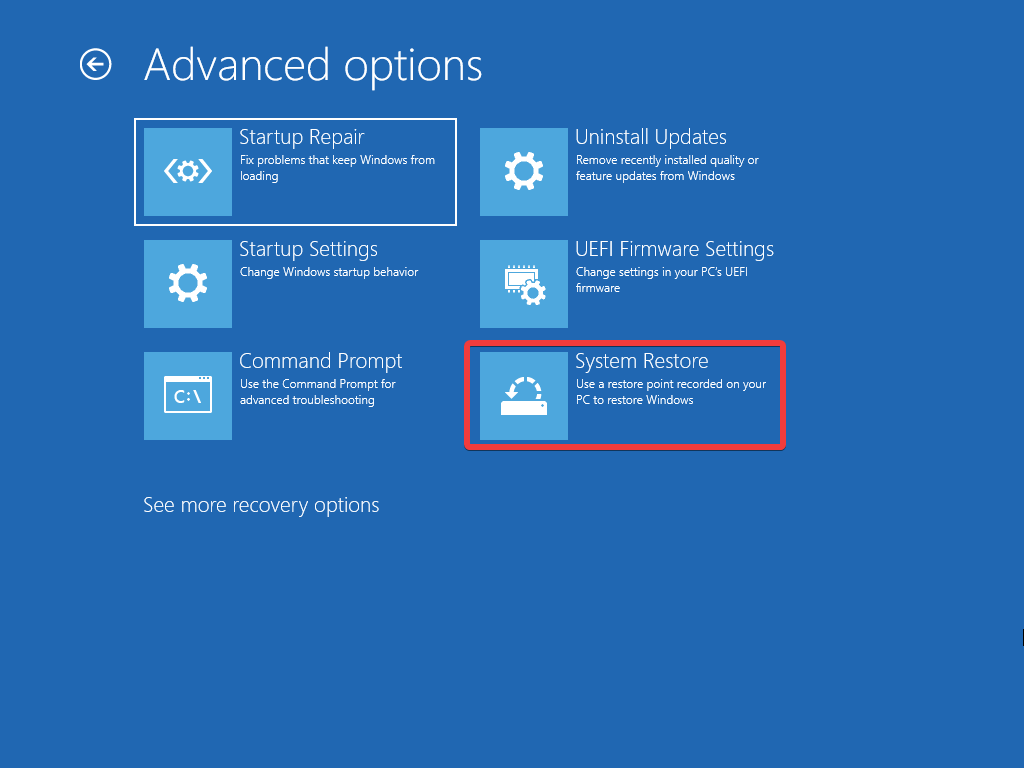
10.4. Restore your system
- Inside the Advanced Options menu, choose System Restore.
- Click Next.
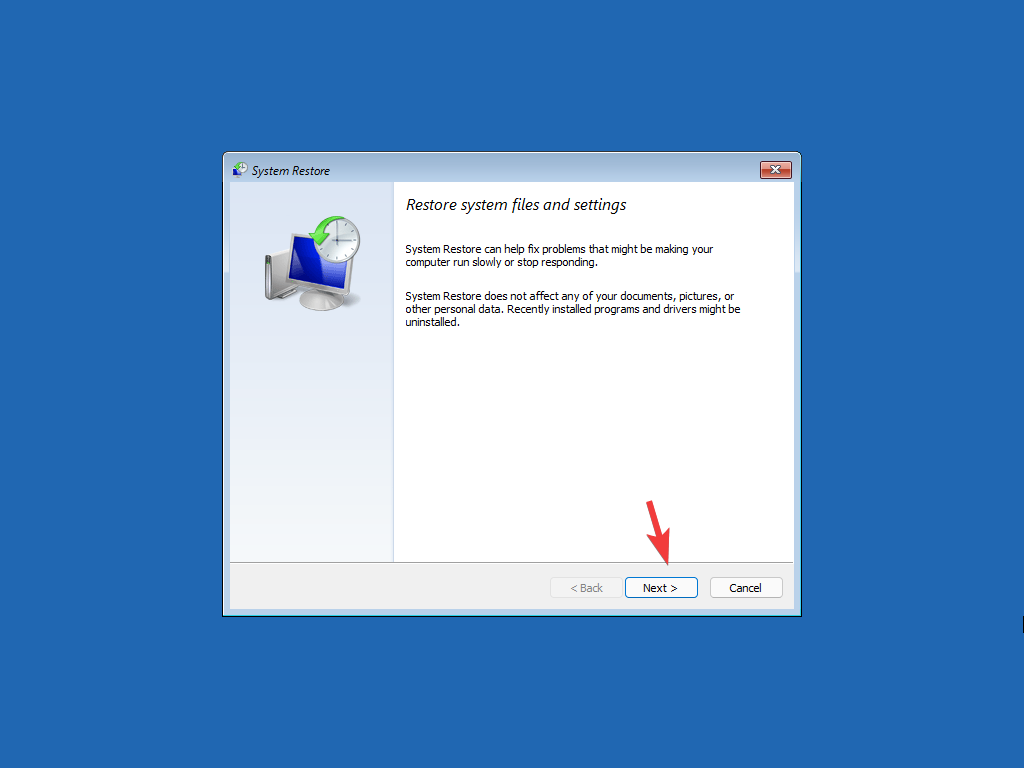
- Select the most recently created restore point, and press Next.

- Click Finish.
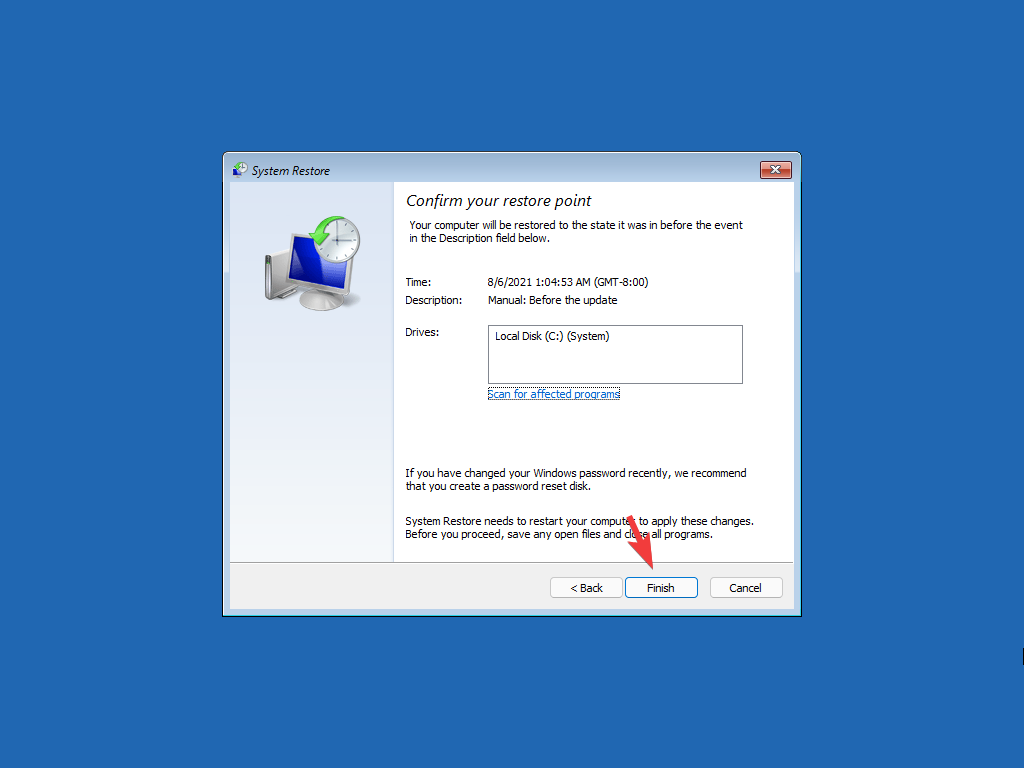
- Confirm the action inside the pop-up.

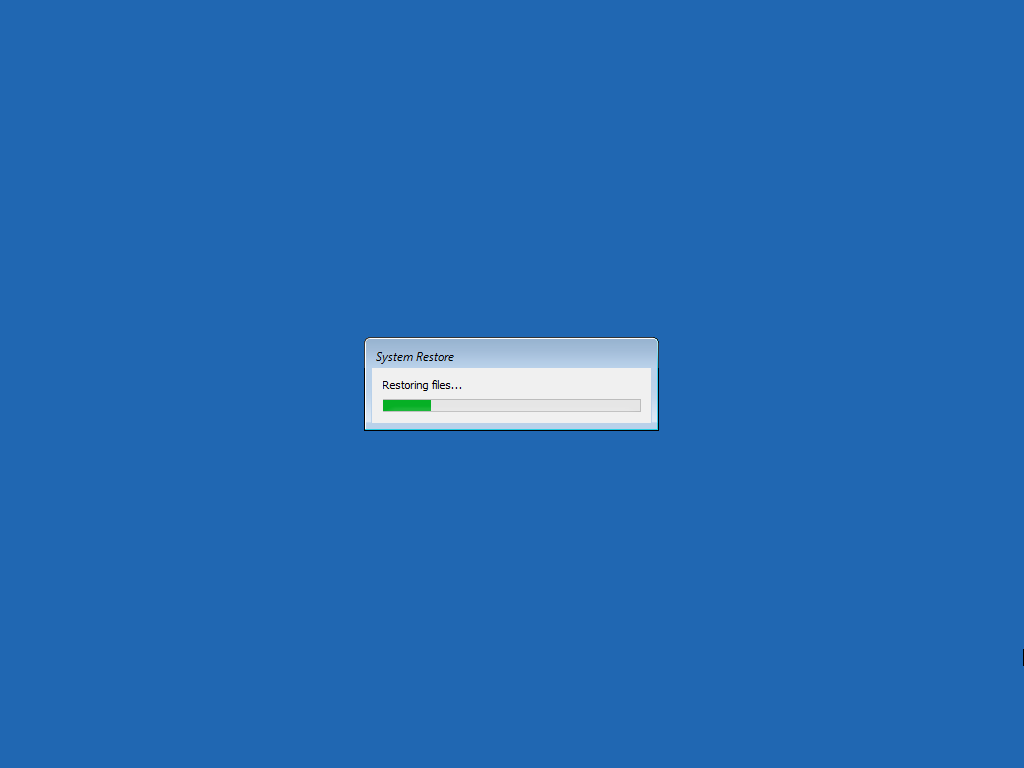
- Wait for the system restore process to proceed.
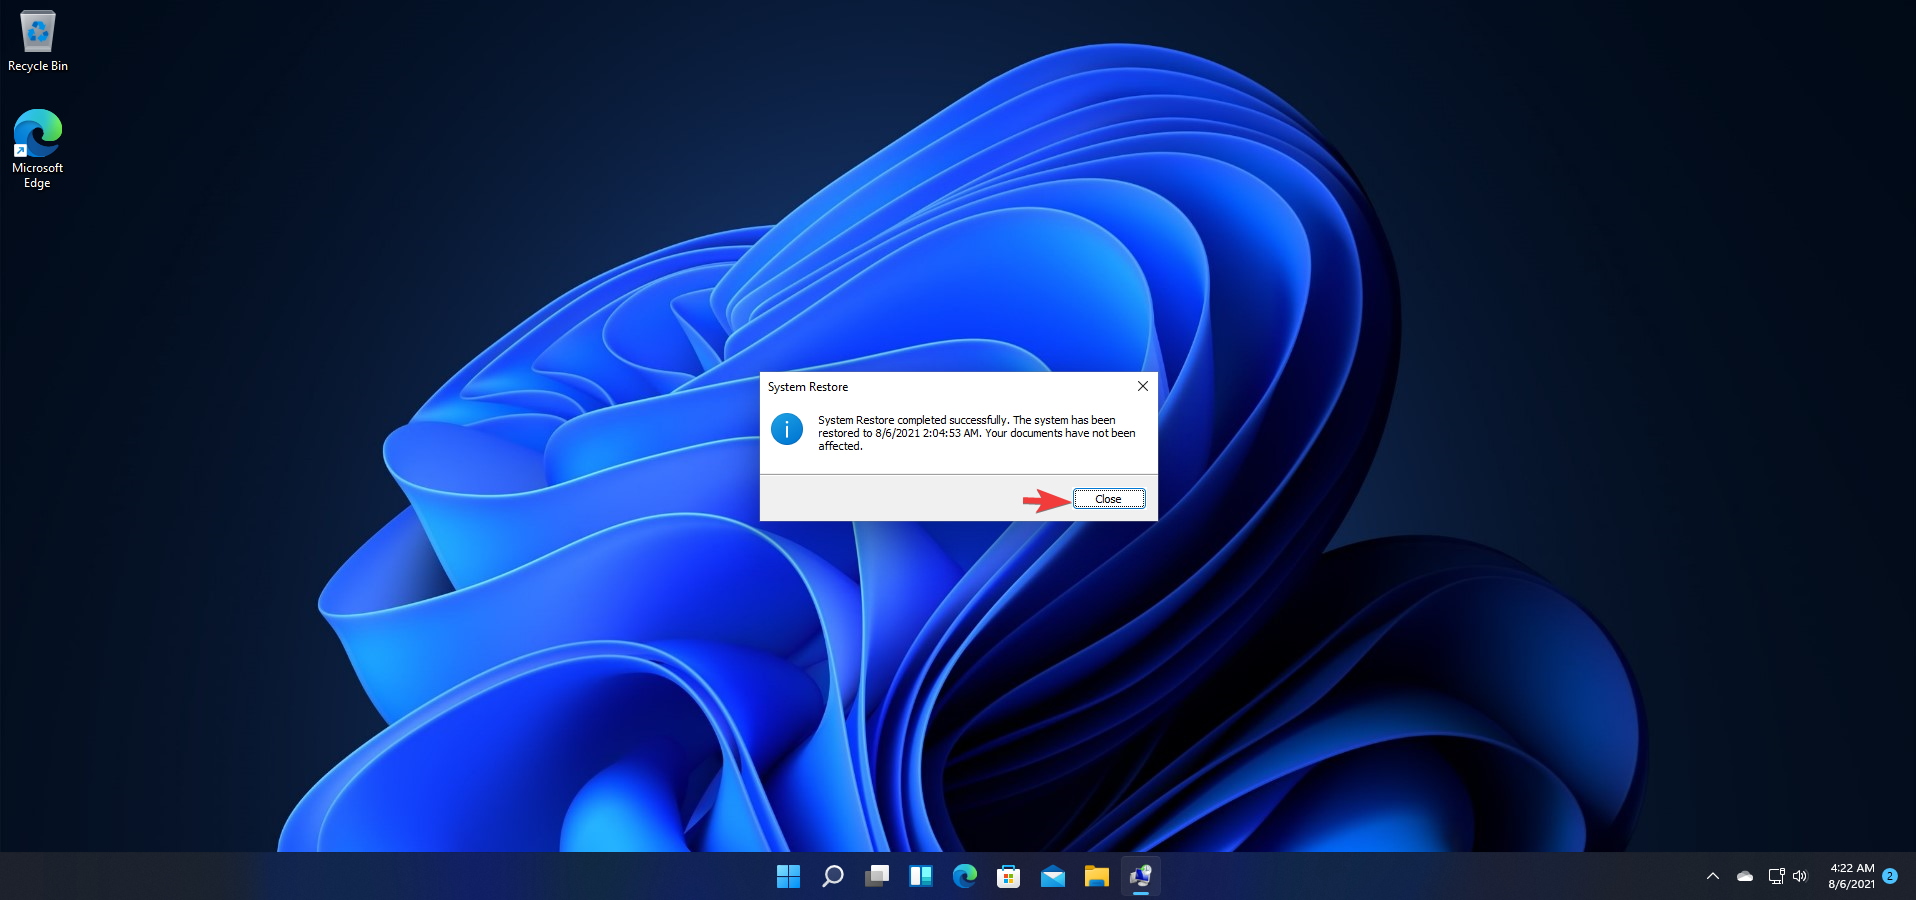
- Click Restart when the process is completed.
- Windows 11 should boot normally now. Click the Close button and start using your PC.
If the System Restore didn’t manage to resolve the problem, then follow the next extra methods to ensure that this issue is resolved once and for all.
10.5. Run Command Prompt from the Advanced options menu
- Re-open the Recovery menu by choosing Start, holding down the Shift key, and choosing the Restart option.
- Choose Troubleshoot from the list.
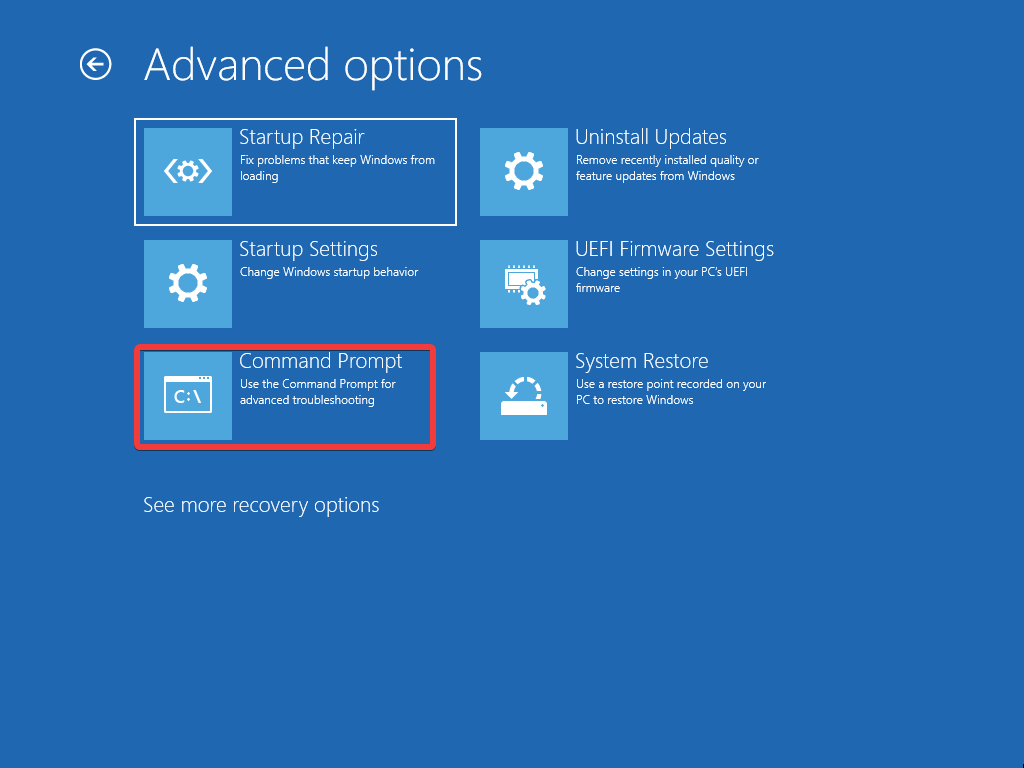
- Click Advanced options.
- Select Command Prompt.
- Inside the Command Prompt window type the following command and press Enter:
C: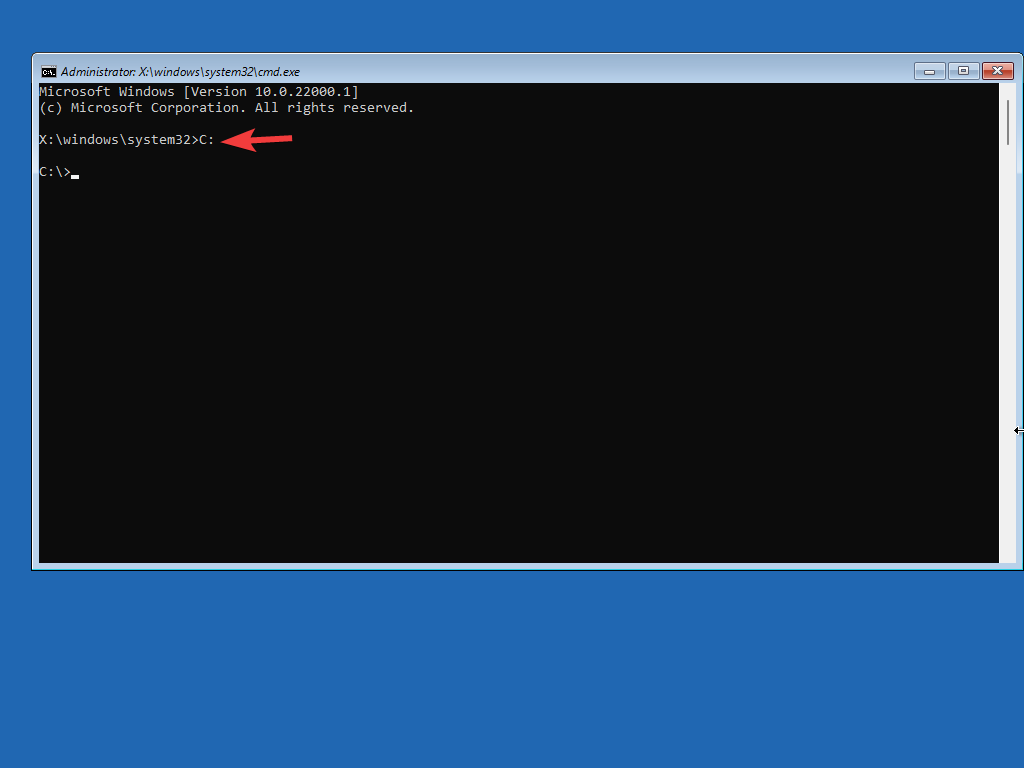
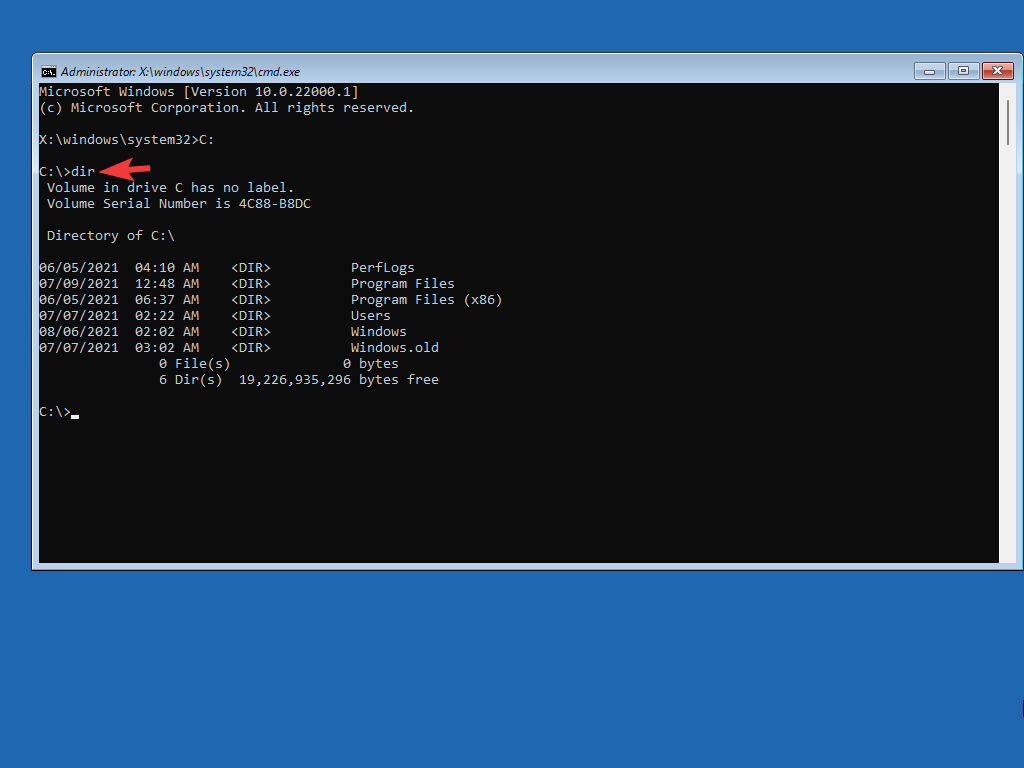
- Type in the following command and press Enter to run it:
dir - You will see a result similar to the one in this image.
- Type the following command and press Enter to run it:
cd \windows\system32\config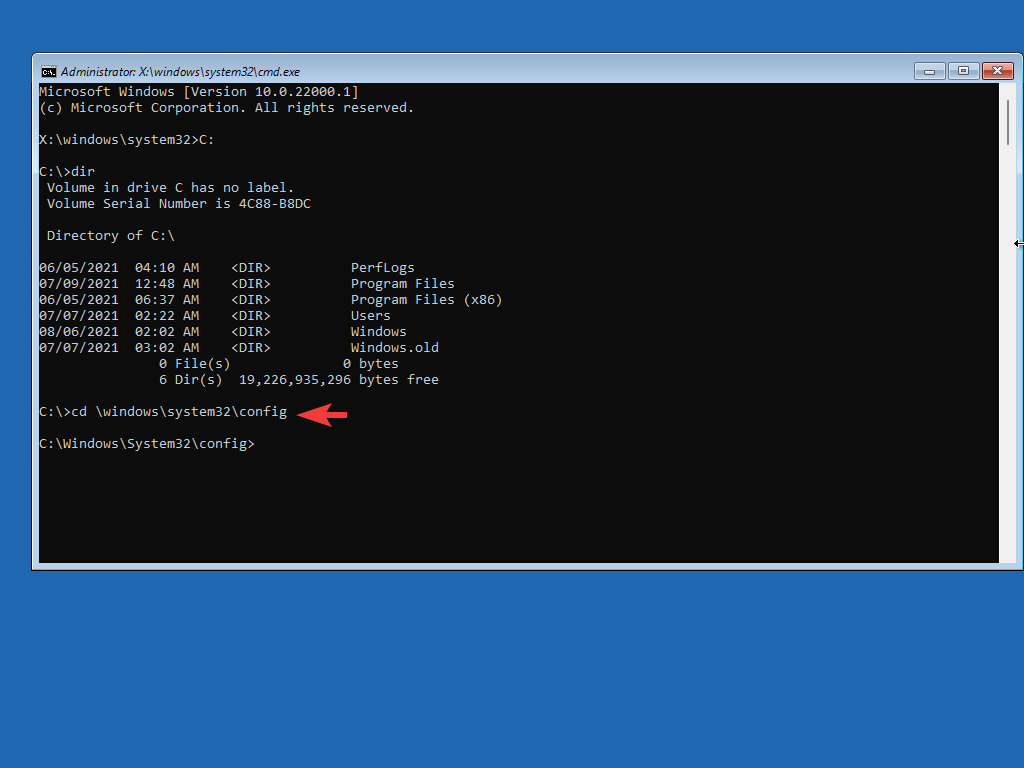
- Write the command and press Enter:
md backup
- Type the following command and press Enter to activate it:
copy *.* backup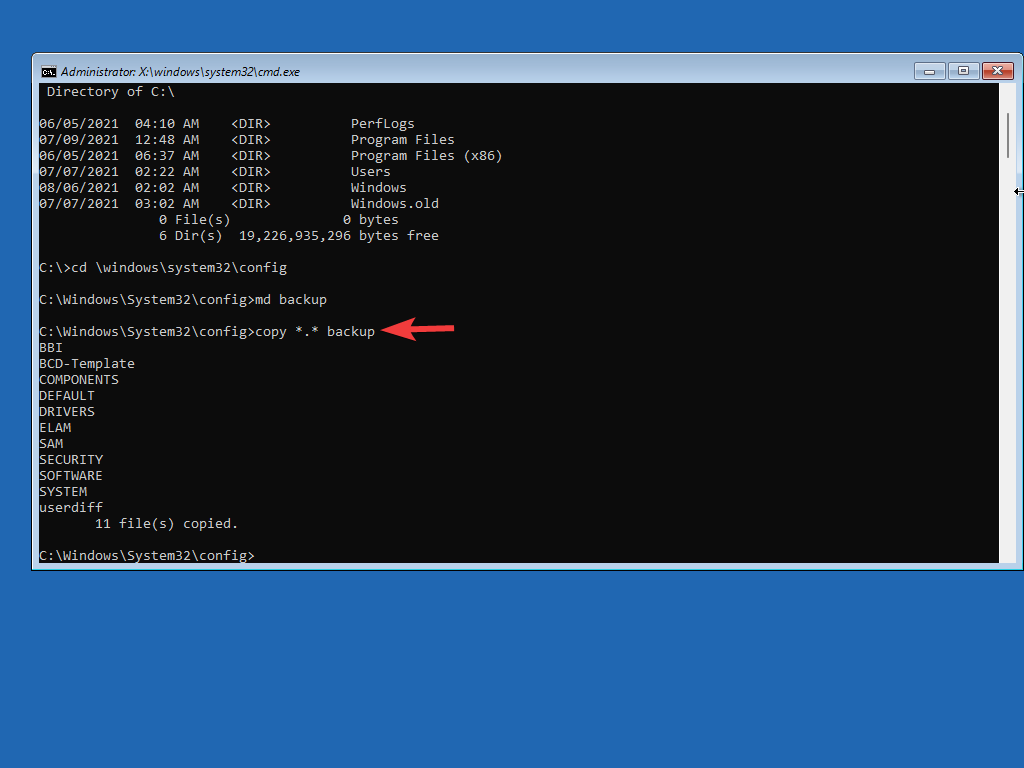
- Write this command and run it by pressing Enter:
cd regback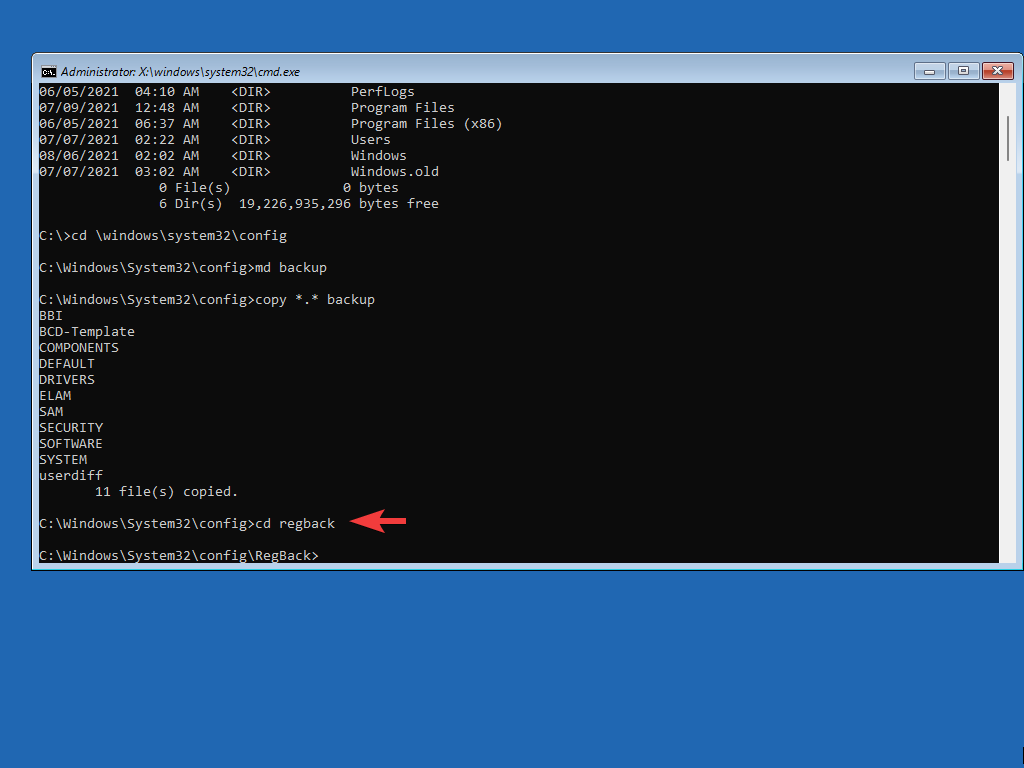
- Type the next command and press Enter:
dir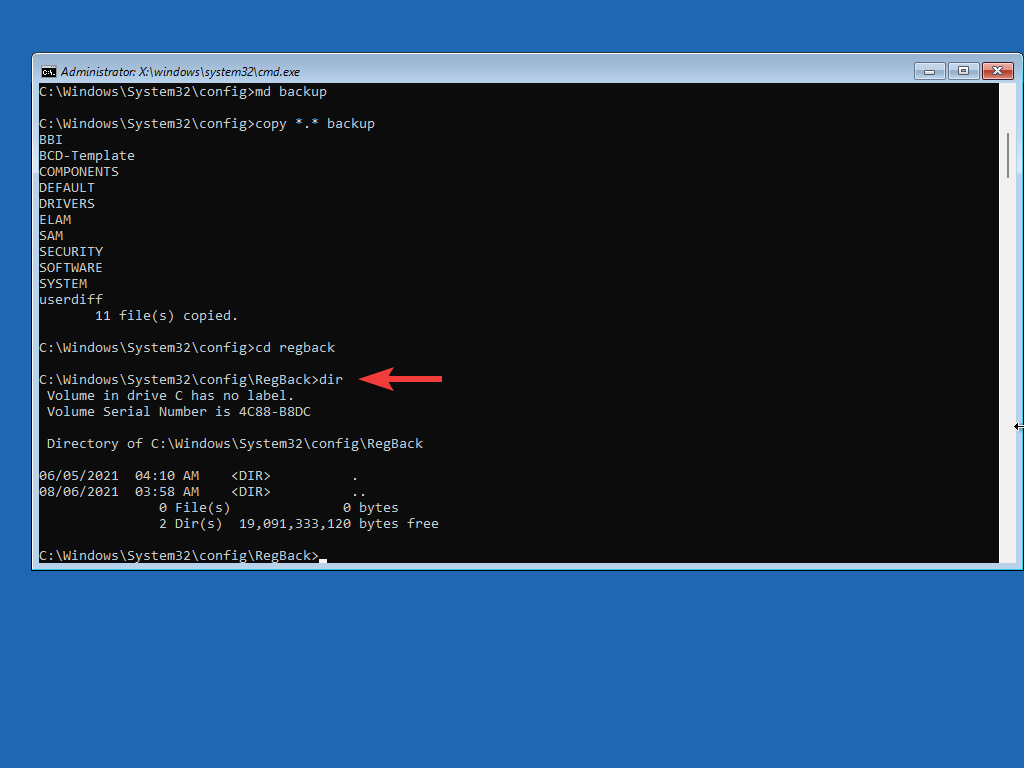
- Write the following command and run it by pressing the Enter key:
copy *.* ..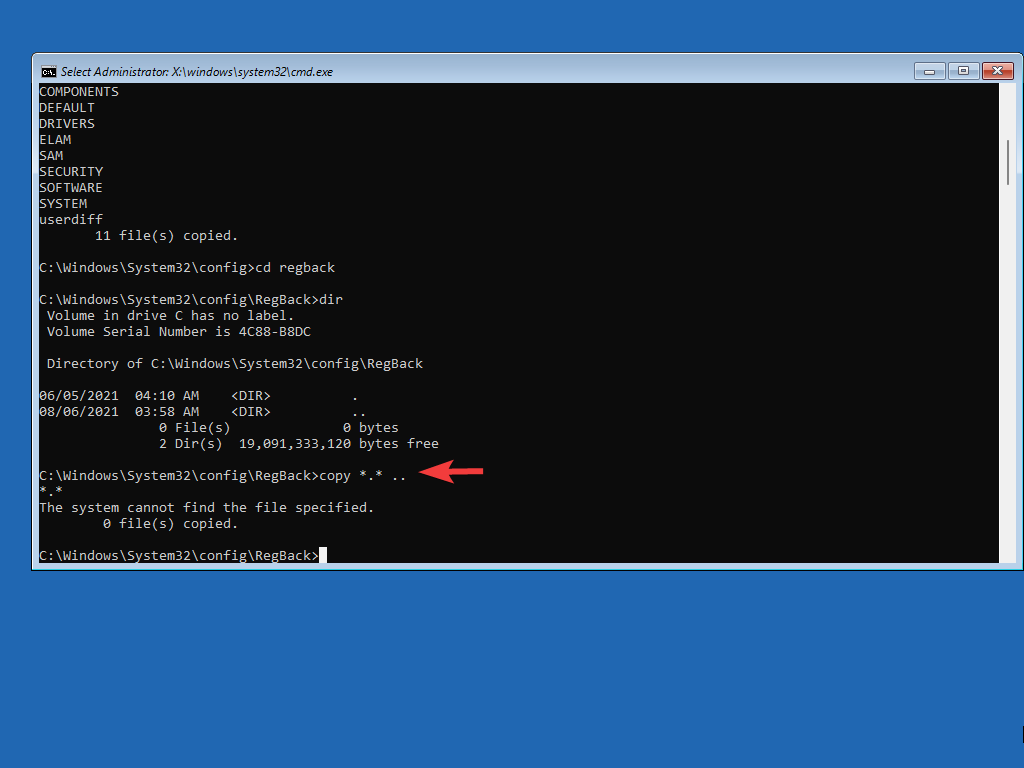
- Type A and press Enter to accept the changes.
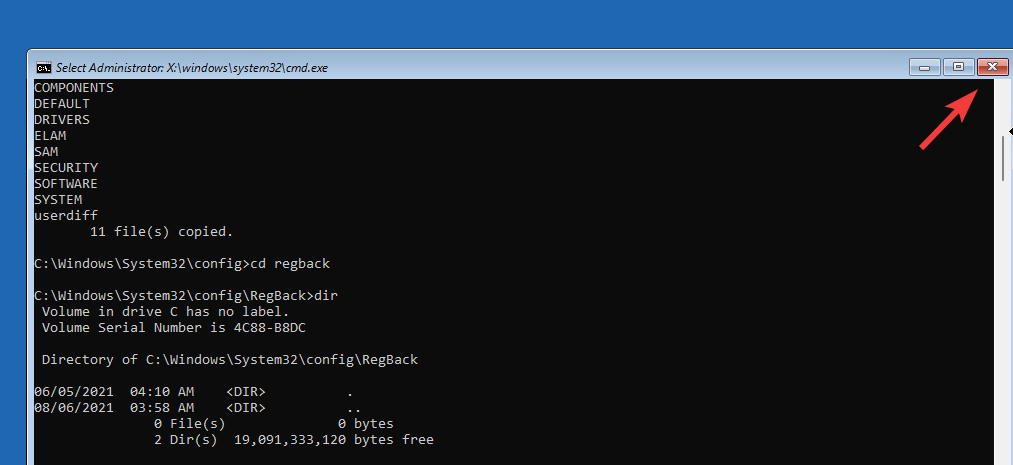
- Close the Command prompt by clicking the X in the upper-right corner.
NOTE
If this solution hasn’t resolved your problem, then the only method that remains is to try to reset your PC entirely.
10.6. Reset your PC
- Navigate back to the Recovery boot menu by clicking Start, holding Shift pressed, and clicking on Restart.
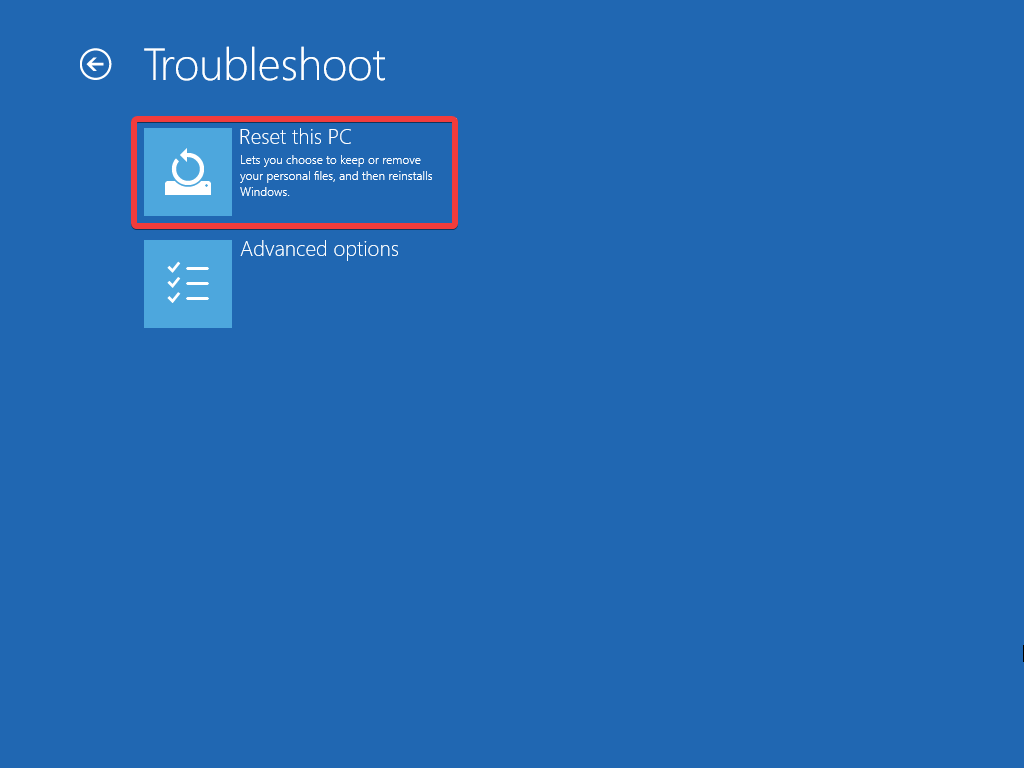
- Click Troubleshoot.
- Choose Reset this PC.
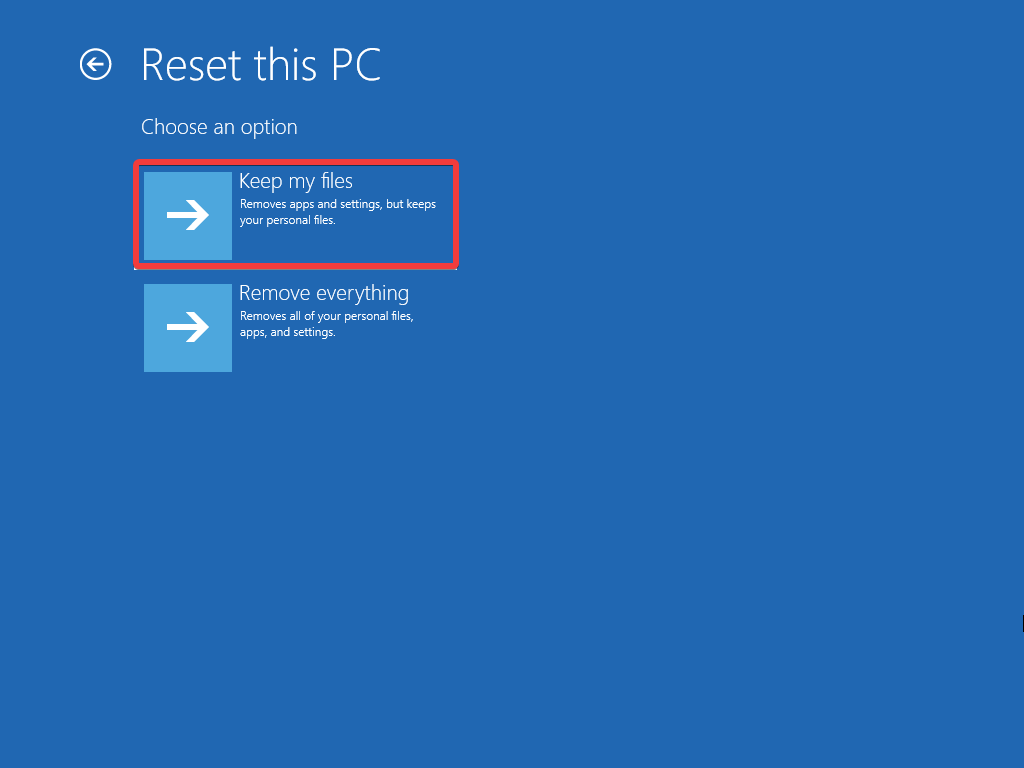
- Choose between the Keep my files and Remove everything options. We recommend going with the first one, as it would also keep the settings you couldn’t manually recover in the previous step.
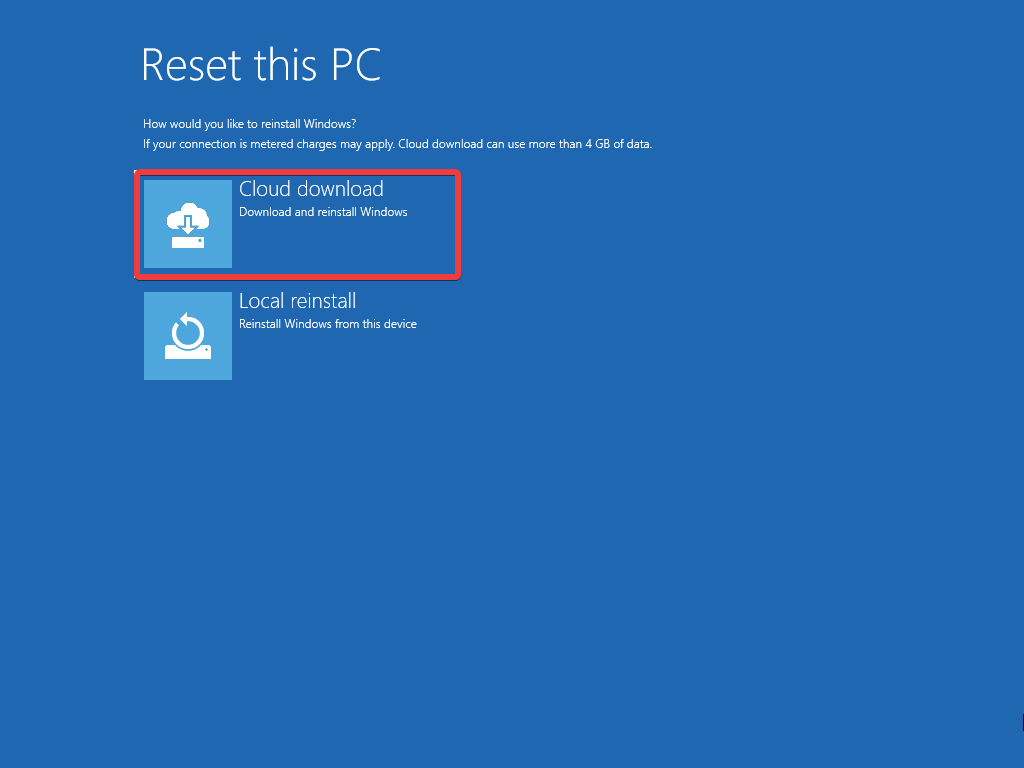
- Choose Cloud download for an easier method, or choose Local reinstall if you have the Windows 11 installation disc downloaded.
- Follow the on-screen instructions and complete the reinstallation of your OS.
? How to prevent Kernel Security Check Failure in the future
BSOD or stop errors can cause a lot of stress and worry and even more so when it occurs after you update your system like the Kernel Security Check Failure.
The triggers are usually similar, so we can give you a few tips on how to avoid Kernel Security Check Failure and BSOD errors in general in the future.
➡ Keep your system and drivers updated
- Windows Updates
An updated system will always work better, and it also enables you to use the latest security features, and patches released by Microsoft.
This ensures prolonged system stability and safety in the online environment. It is recommended that you check for updates as often as possible, and you can do so by following these simple steps:
- Press Win Key + X and choose Settings.
- Choose the Windows Update tab, and then click on Check for updates.
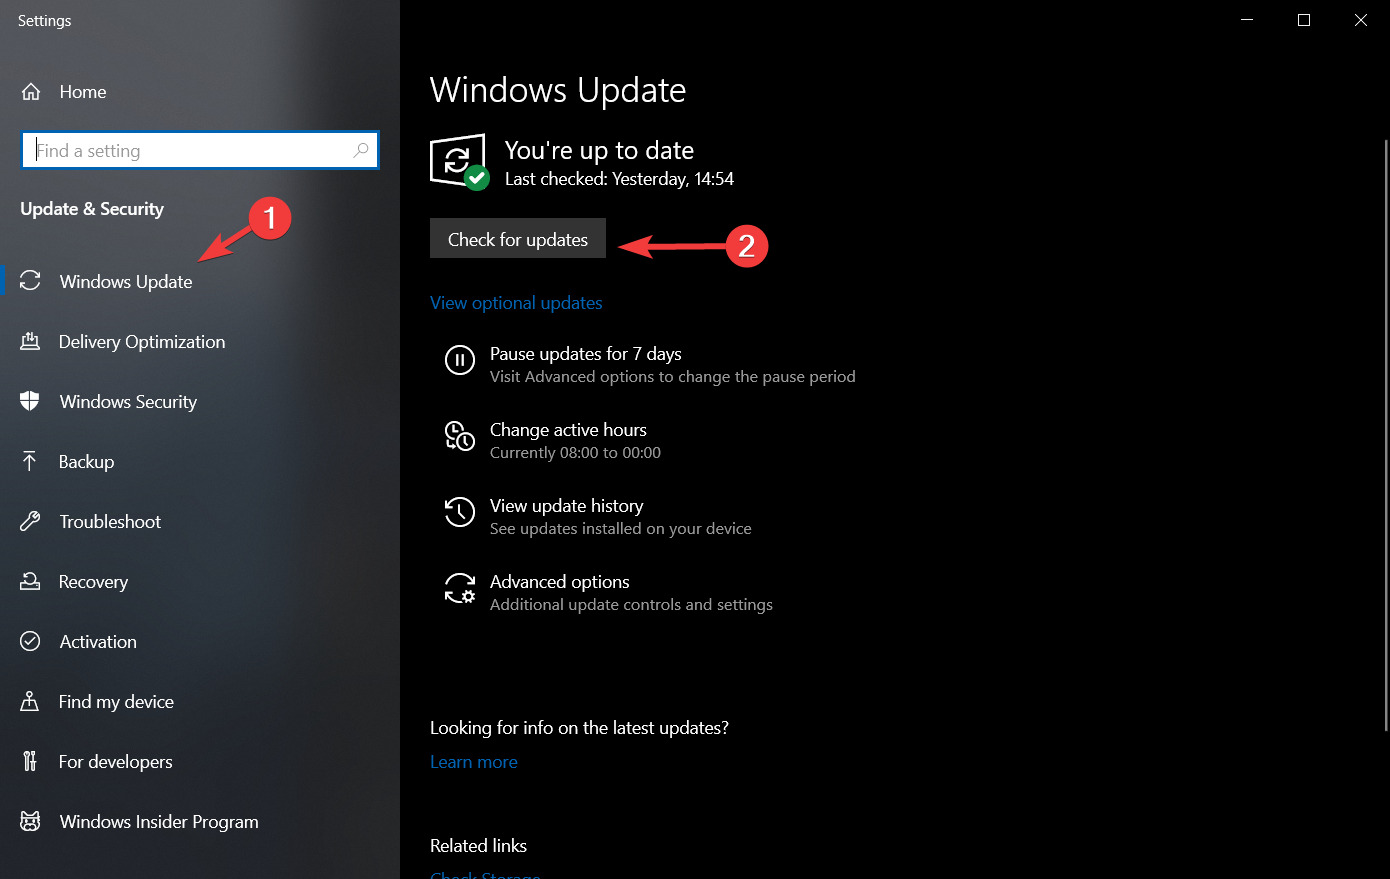
- Wait for the updates to be downloaded, and follow the on-screen instructions to restart your system so the updates can be applied.
- Optional driver updates
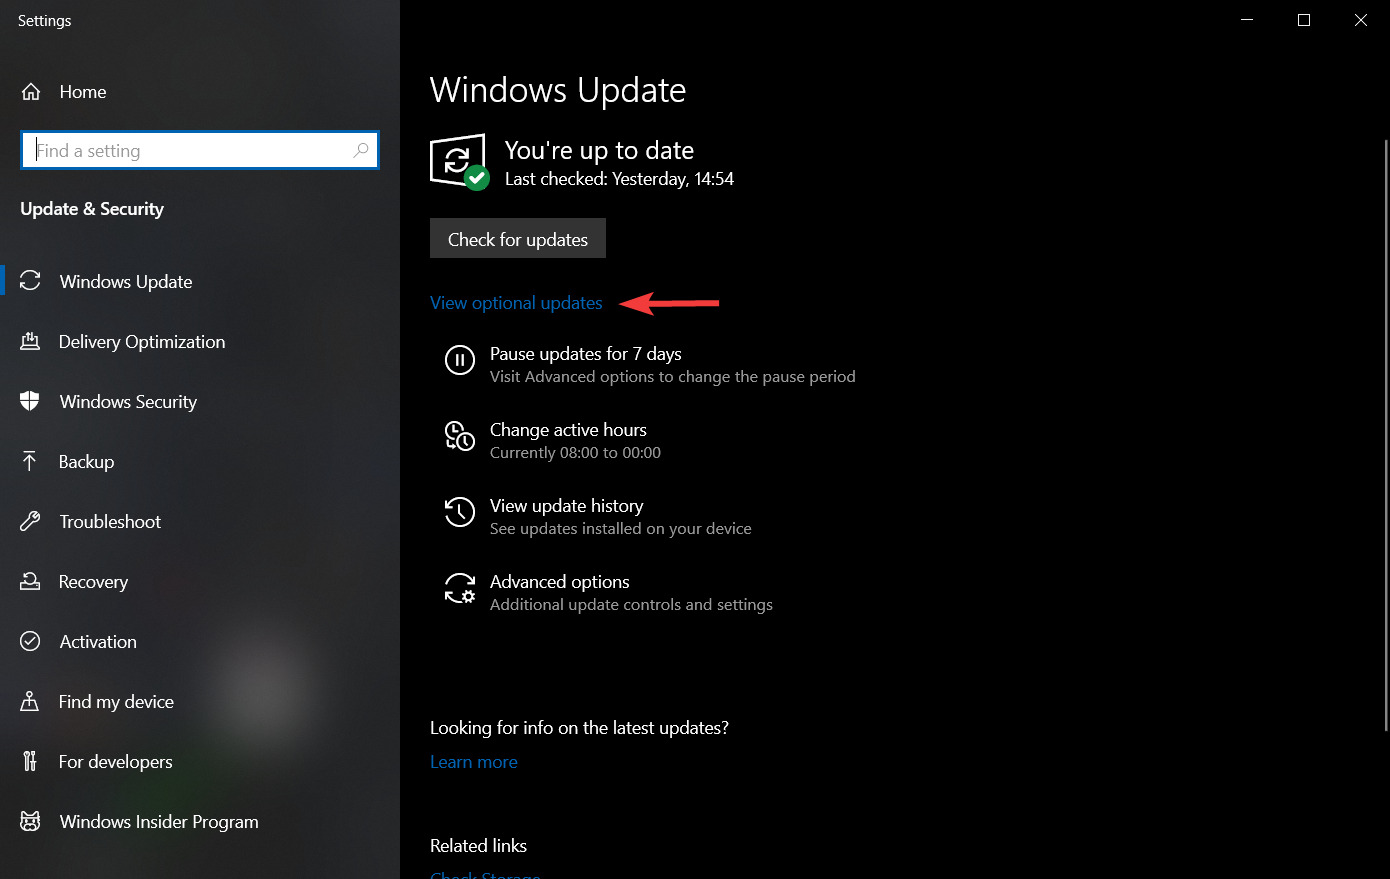
Not all the drivers are updated automatically, most of them you will find within the View optional updates link from the Windows Updates settings menu.
To reach this menu, simply follow these steps:
- Press Win Key + X and choose Settings.
- Open the Windows Update section.
- Click the View optional updates link.
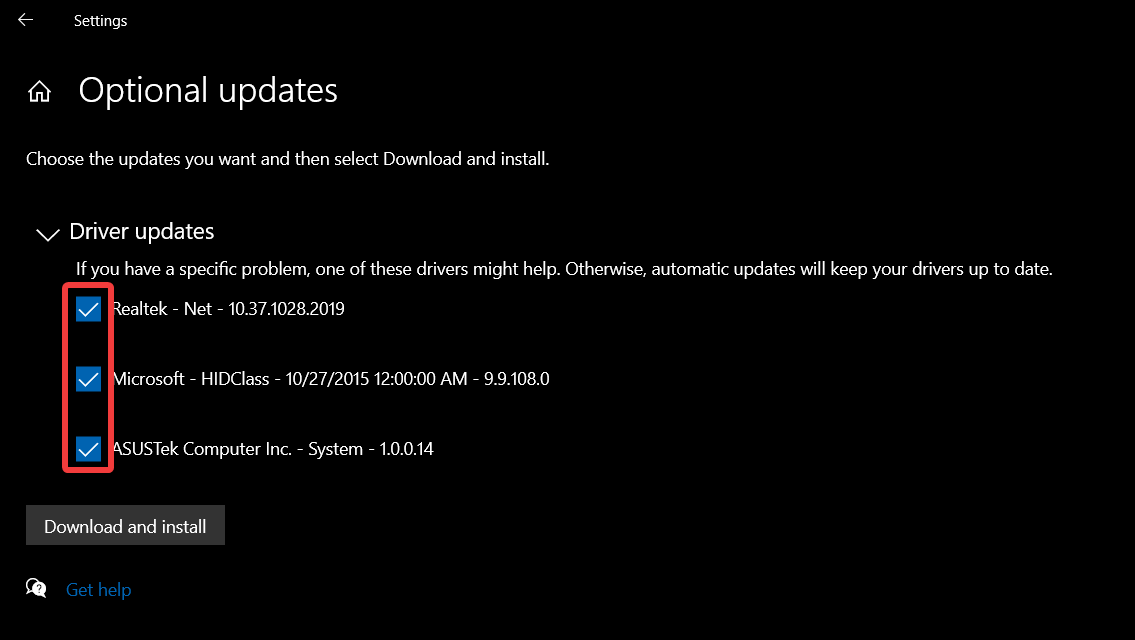
- Toggle the Driver updates section by clicking on it.

- Choose the optional drivers you want to install by ticking the respective boxes.
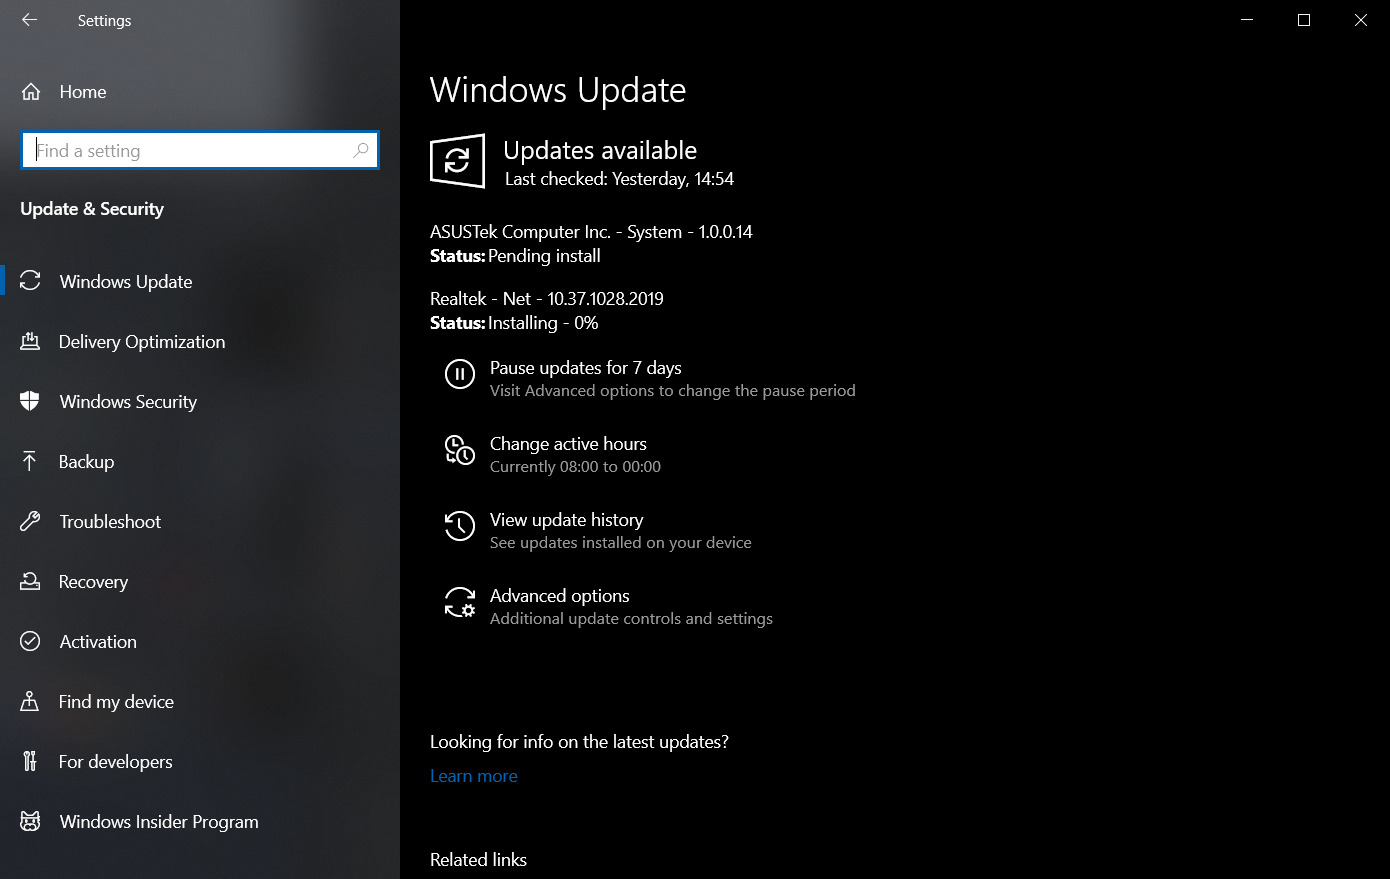
- Click Download and install.
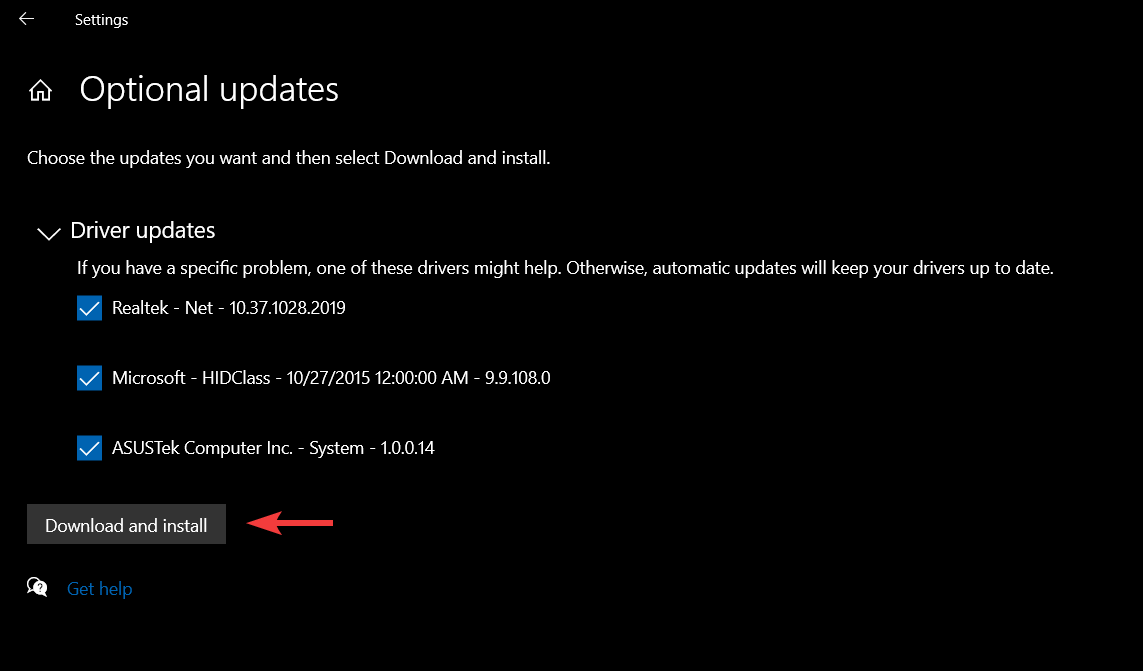
- Wait for Windows Update to install the selected drivers.
➡ Clear your computer from junk programs and files
Uninstall unnecessary programs from your PC and run the Disk Cleanup tool from time to time because a clean system is less prone to errors and BSoDs.
Just type disk cleanup in Windows search and click on Disk Cleanup from the results to start it. Then select the category of files you want to delete and hit the OK button.
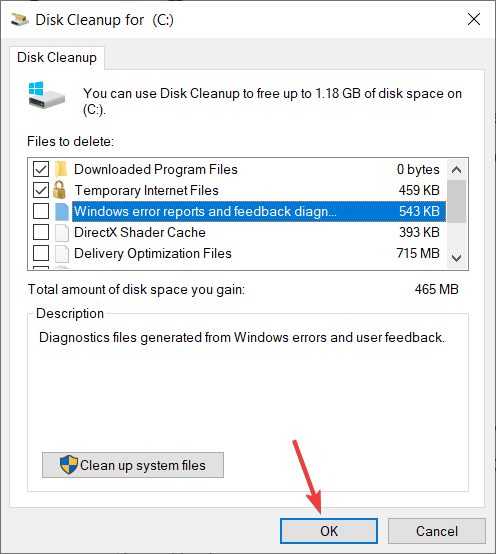
This is just a quick way of doing some internal cleaning but you can also delete the unused and old files manually by using File Explorer or you can use a dedicated cleaning software.
We encountered this issue in the office while we were trying to set up a network, so the steps described in this guide are the ones that helped us fix the issue.
If you have any additional questions regarding this subject, please don’t hesitate to write us in the comments section below and we will be happy to answer.
Read our disclosure page to find out how can you help Windows Report sustain the editorial team. Read more


Improve this guide


User forum
76 messages