USB Drive is Showing Wrong Size? Fix it in 2 Steps
To resolve the size issue with USB drive, simply format it
3 min. read
Updated on
Read our disclosure page to find out how can you help Windows Report sustain the editorial team Read more
Key notes
- Using the diskpart command line tool has been proven to handle this problem.
- Formatting your USB drive is quite effective in handling this issue.
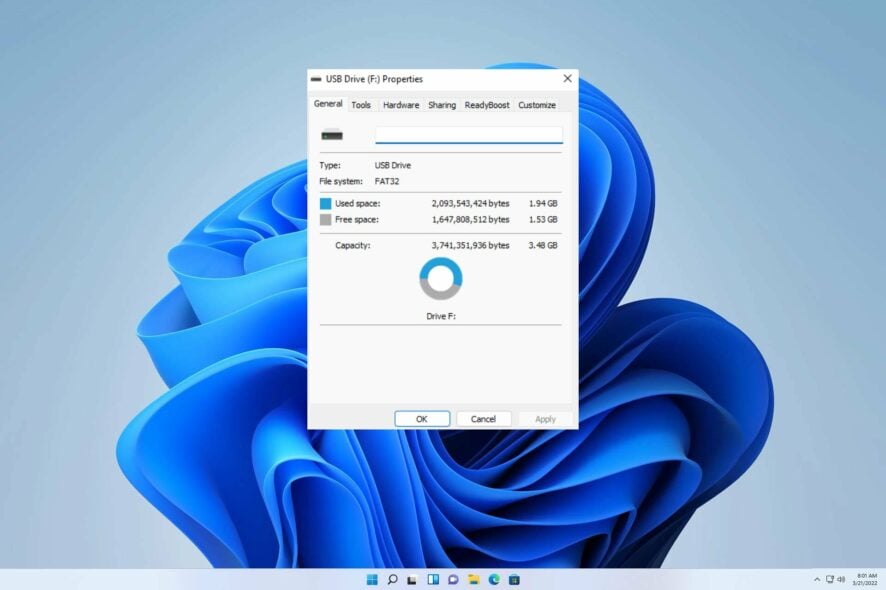
External storage devices, like USB drives, have become integral to our daily lives. They offer a convenient solution for storing photos, videos, and other files.
However, have you ever encountered a situation where your USB drive is showing the wrong size? This issue often arises when the storage medium is corrupted. Reformatting the drive with the correct format may offer a potential solution to this problem.
The current problem at hand resembles the USB drive detected but not accessible, which was addressed in our earlier guide. To adequately address the issue, it is crucial that we first examine its underlying source.
Why is the USB drive showing the wrong size?
The following are making your USB drive show the wrong size:
- Hidden space – When it comes to disk space, various factors can take up space without being easily noticeable. These include sizeable unallocated space, recovery partitions hidden from view, and shadow files that remain unseen.
- Excess partition – Despite an additional partition on the flash drive, it appears that Windows can only recognize the first one.
What can I do if the USB drive is showing the wrong size?
1. Format the drive
- Hold the Windows + E keys together.
- Now click on This PC when the File Explorer opens.
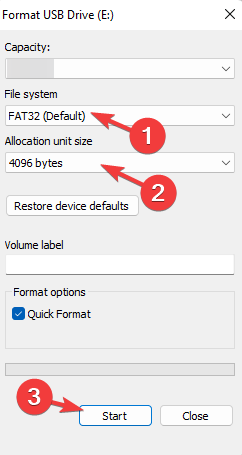
- Next, right-click on the USB drive and click on Format.
- Select the accurate file system from the list.
- Click on Start to commence the format process.
2. Use Command Prompt
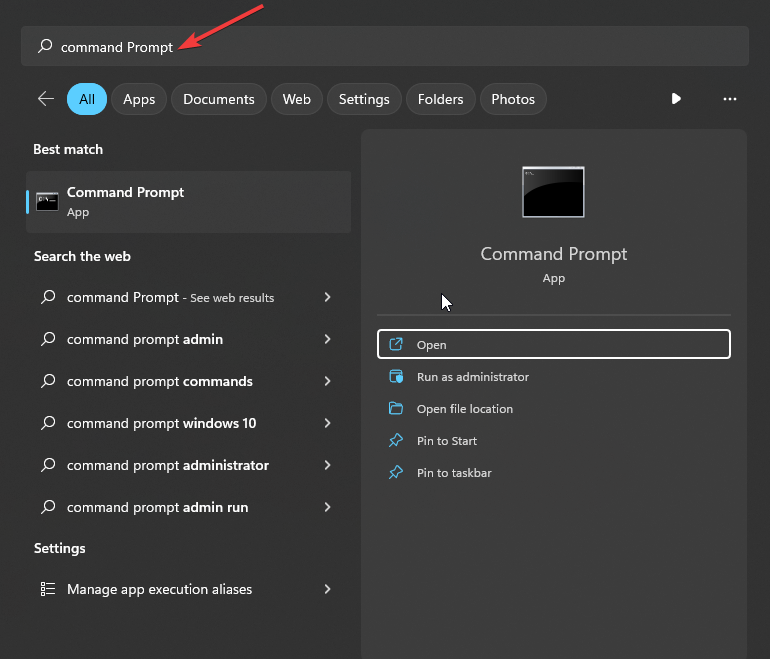
- On your home screen type cmd.
- Now click and open the Command Prompt.
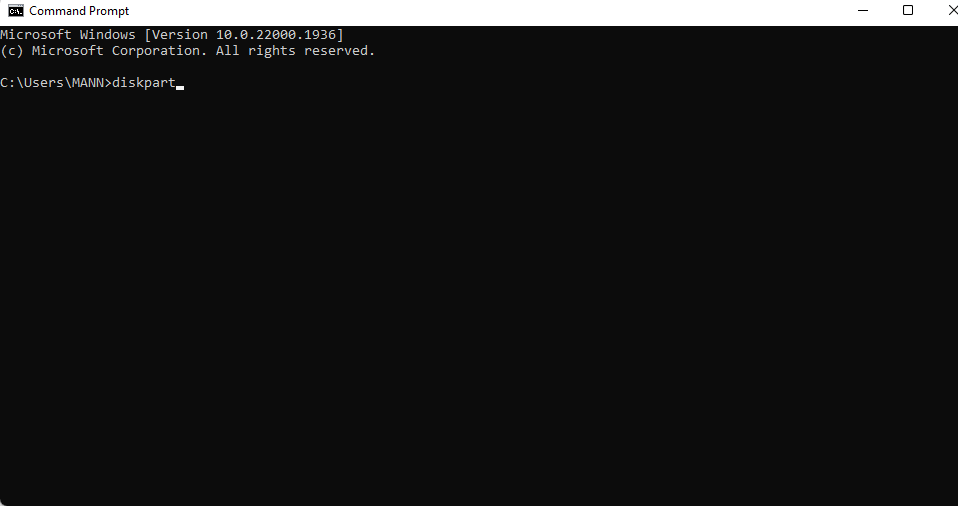
- When it has opened type diskpart and press Enter.
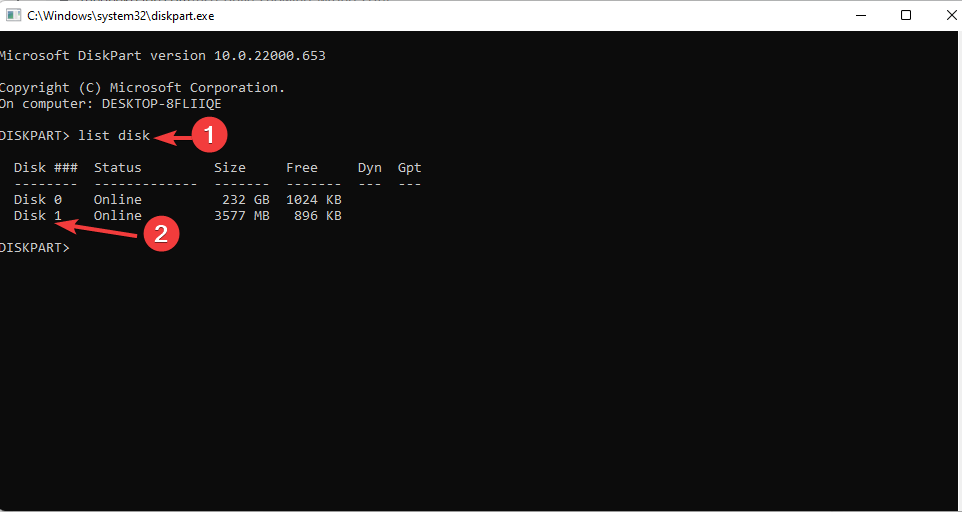
- Now type List disk close to Diskpart and hit Enter to view all the disks on the drive. Now, here you will have various disks. You can select the specific drive from the size of the drives.
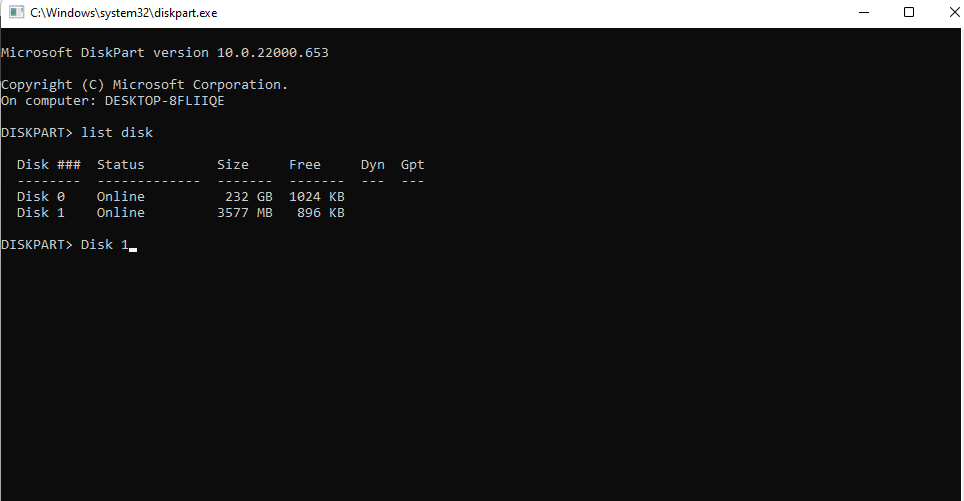
- Next, choose the particular drive you are having this issue with. change and run this code to select the disk.
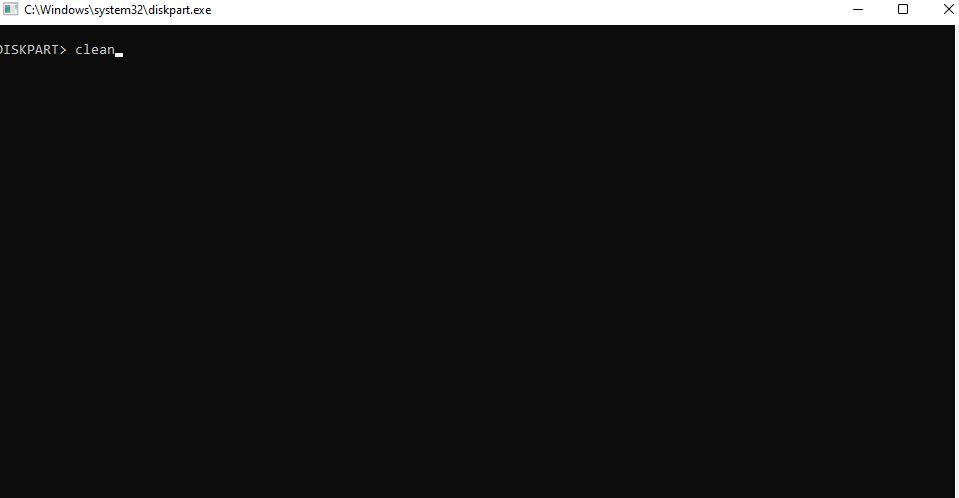
- Now run this command clean.
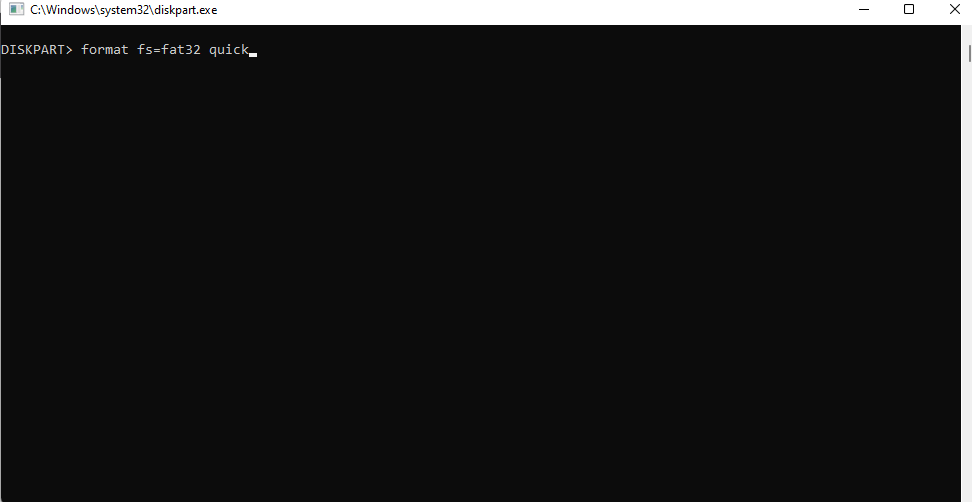
- Lastly format the drive by entering this command format fs=fat32 quick.
We truly trust that this guide has assisted you in resolving your concern. It’s evident that addressing this matter is much easier than you may have initially thought.
If you face any further hindrances, we recommend researching our USB drive showing as an unallocated guide to explore similar solutions.
We would appreciate your valuable feedback on the effectiveness of the solution you discovered. Kindly leave a comment below to let us know.

User forum
0 messages